You will also need some of your favorite tools and supplies to make the build easier, we recommend at least the following:
Medium and thin CA
Epoxy resin
Masking tape
Diamond files
Tweezers
Pliers
Flathead and Phillips-head screwdrivers
Sandpaper
Rubbing alcohol
2.5mm shrink-tube
Soldering iron, solder, and flux
Kapton tape, or the other sticky tape that you prefer.
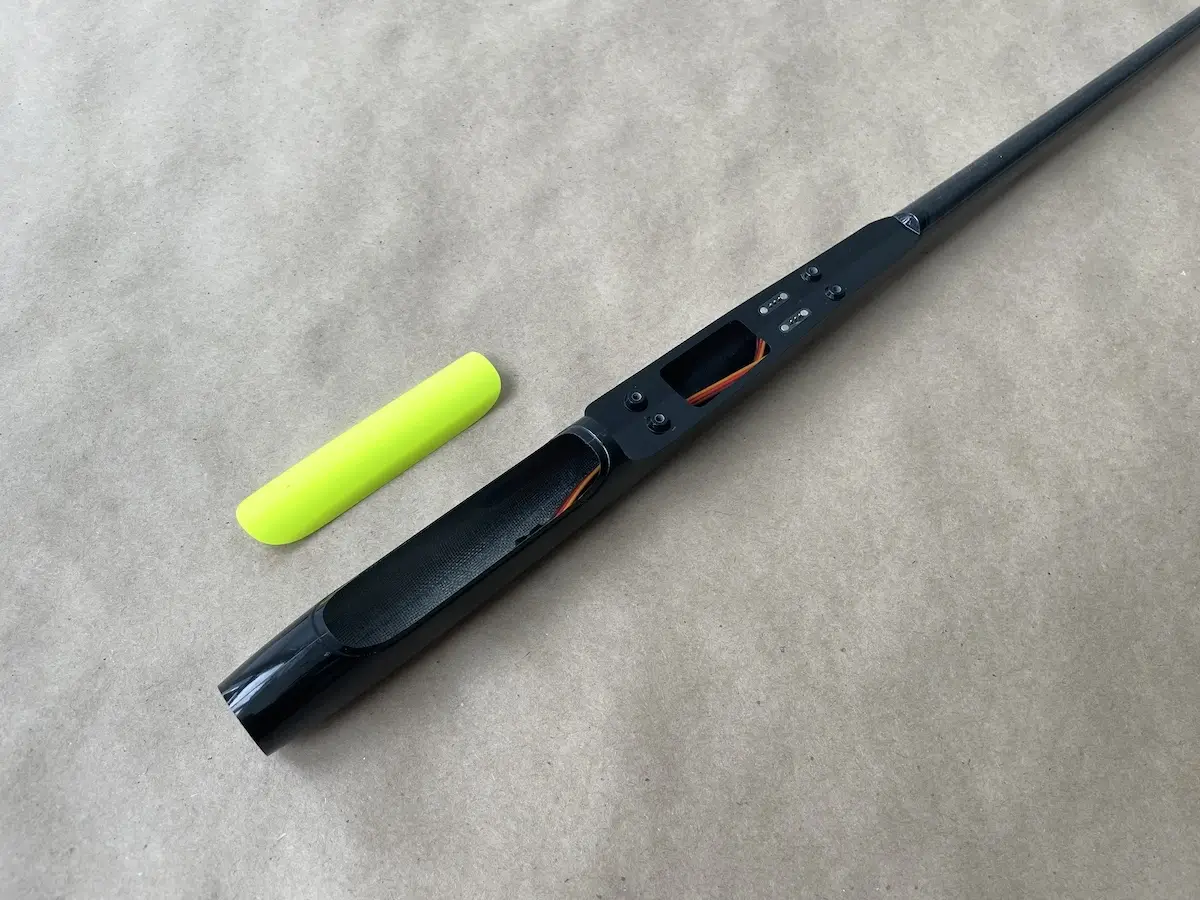
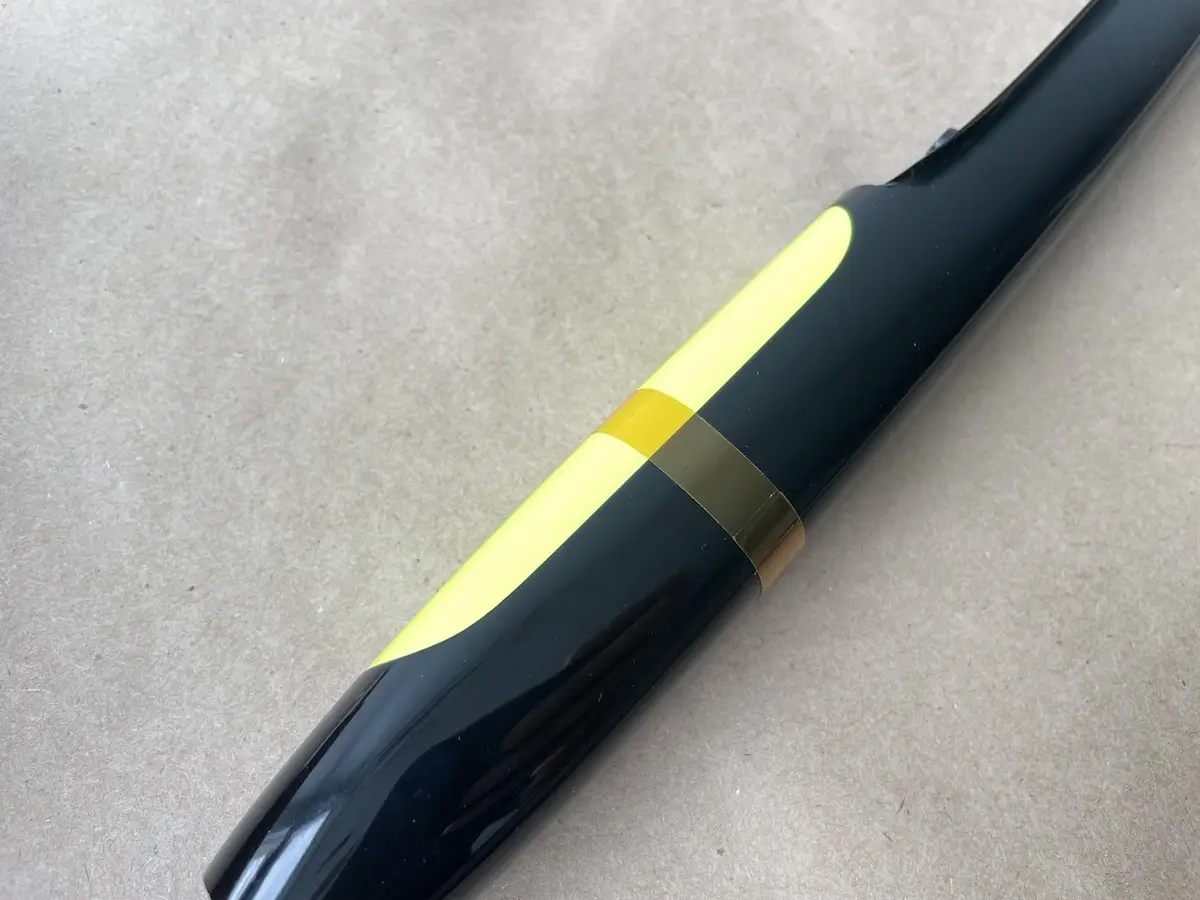
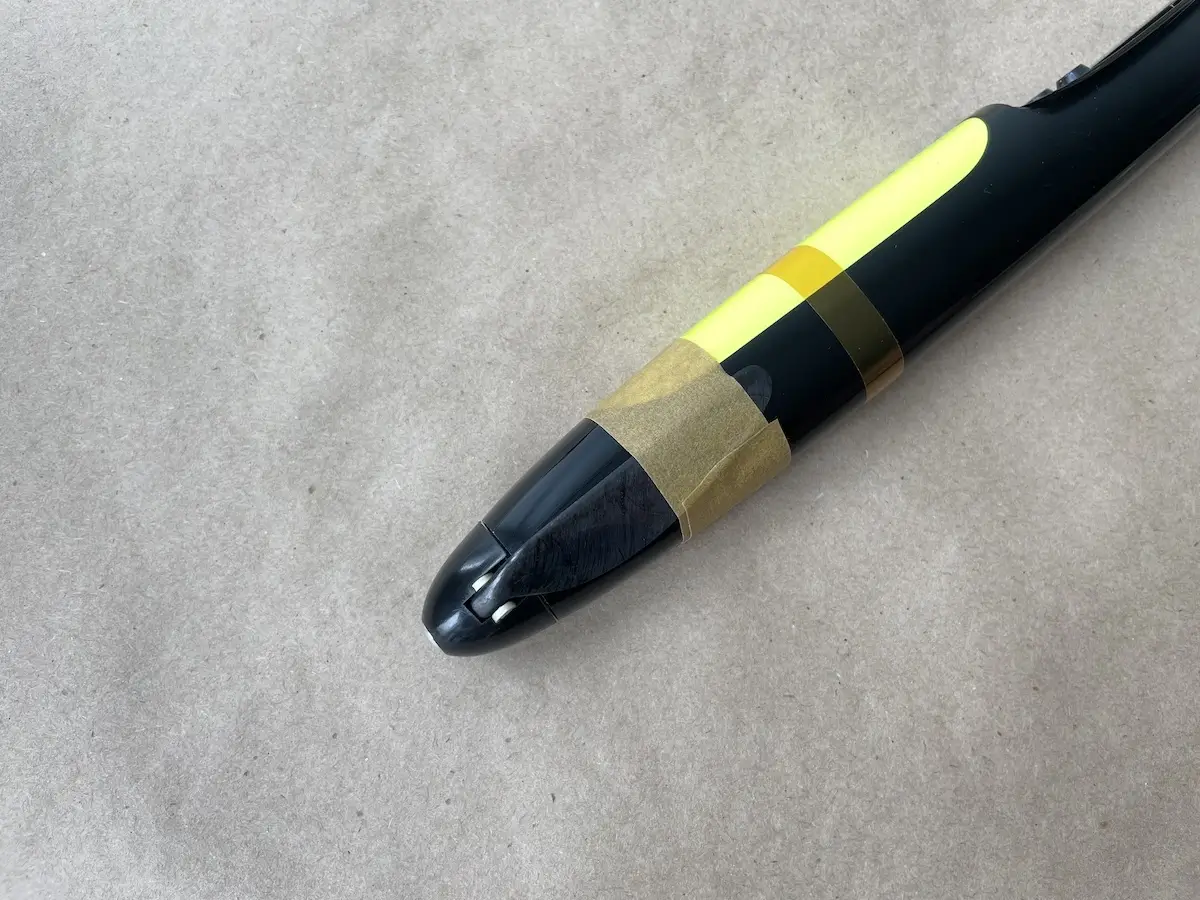
Part 1. O-Ring For A Canopy
Getting a kit, your canopy will not have any “security” system to hold it in place while flying.
We find an O-ring to be both the easiest and the most reliable tool for this purpose, especially since it is so easy to make.
Even if your kit will have a latching system, the O-Ring will act as a fail-proof system.
For a detailed instruction please, follow the steps described in the video below:
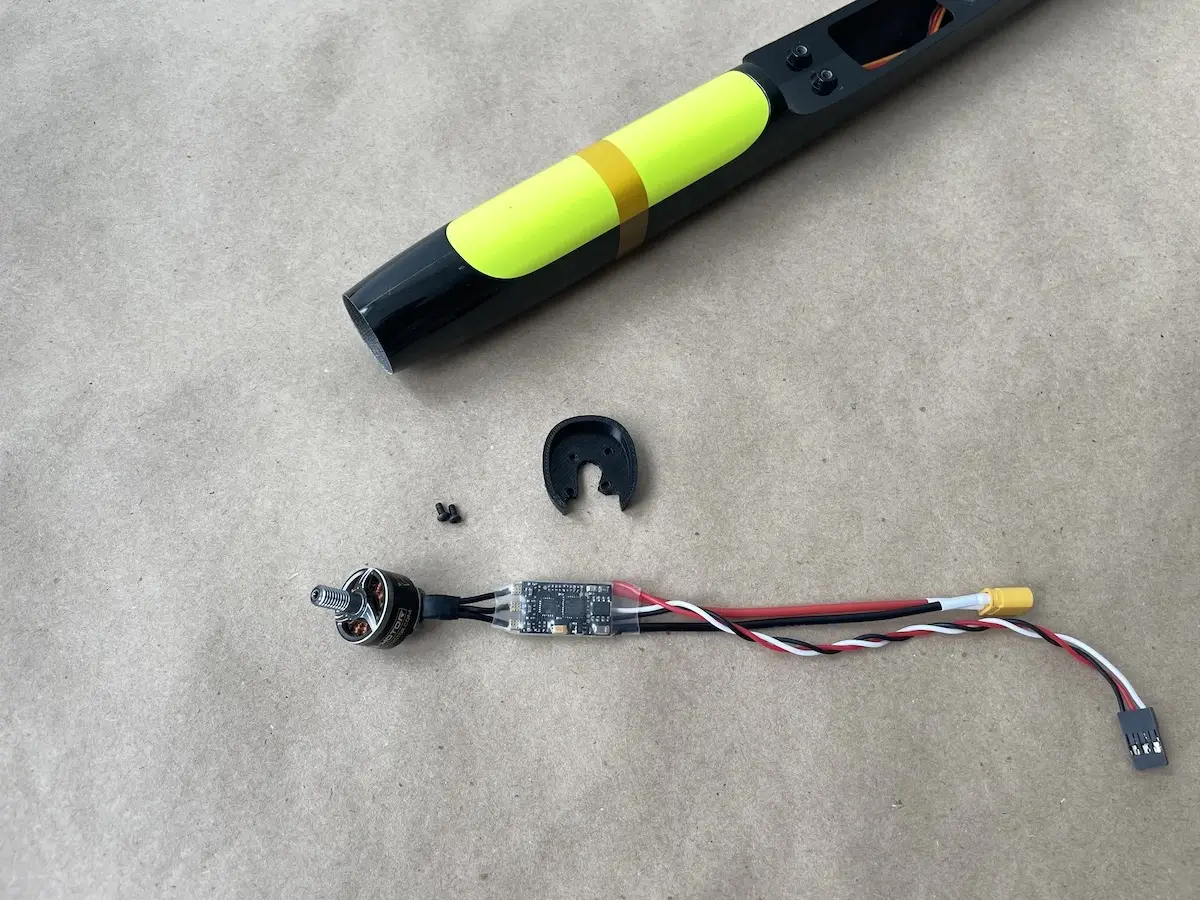
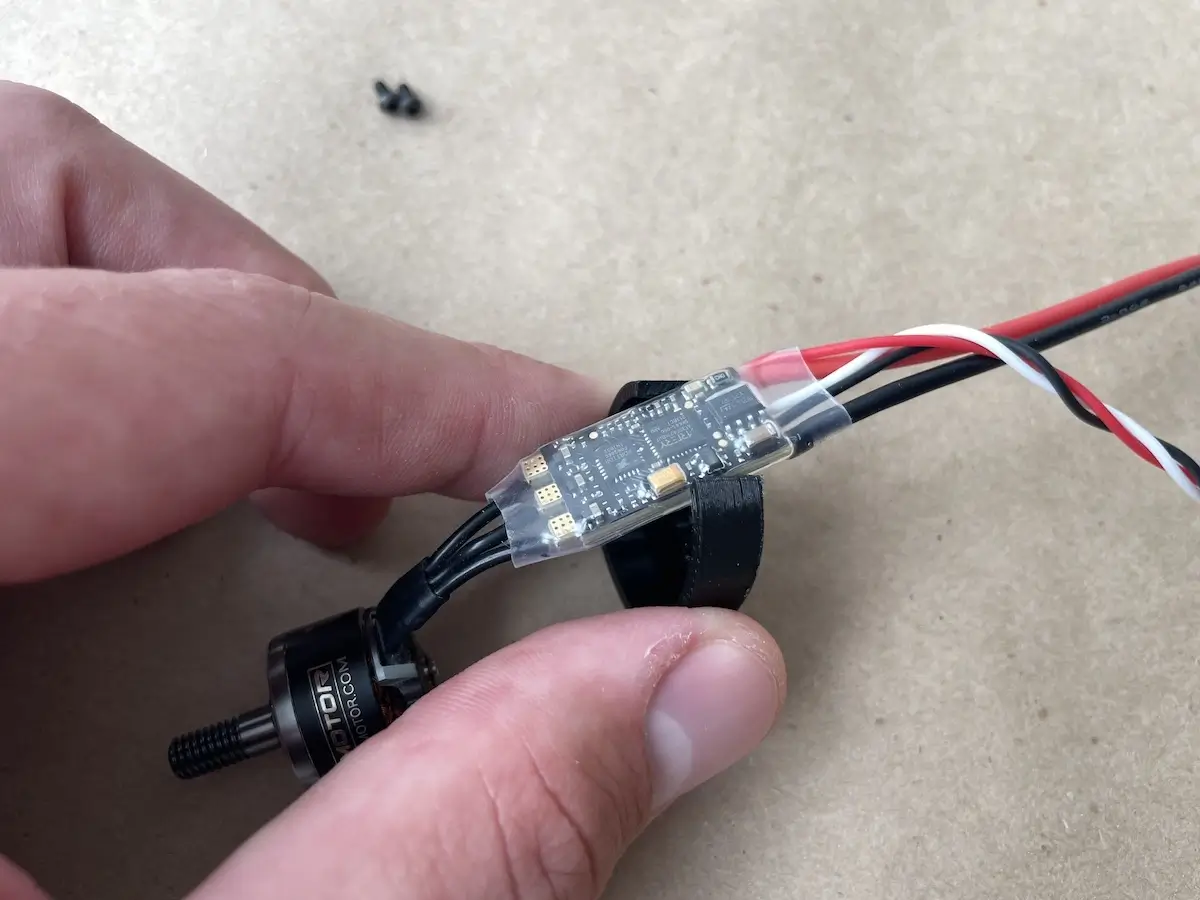
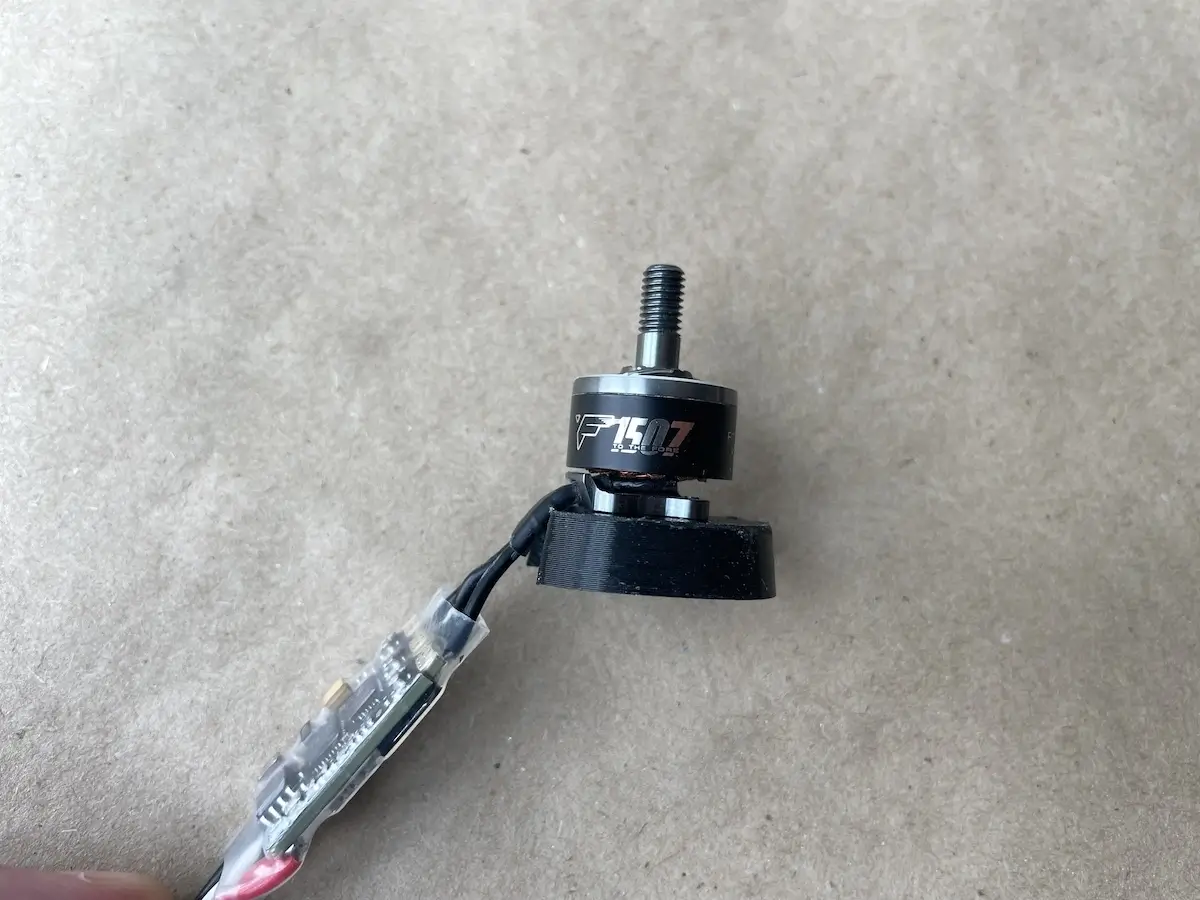
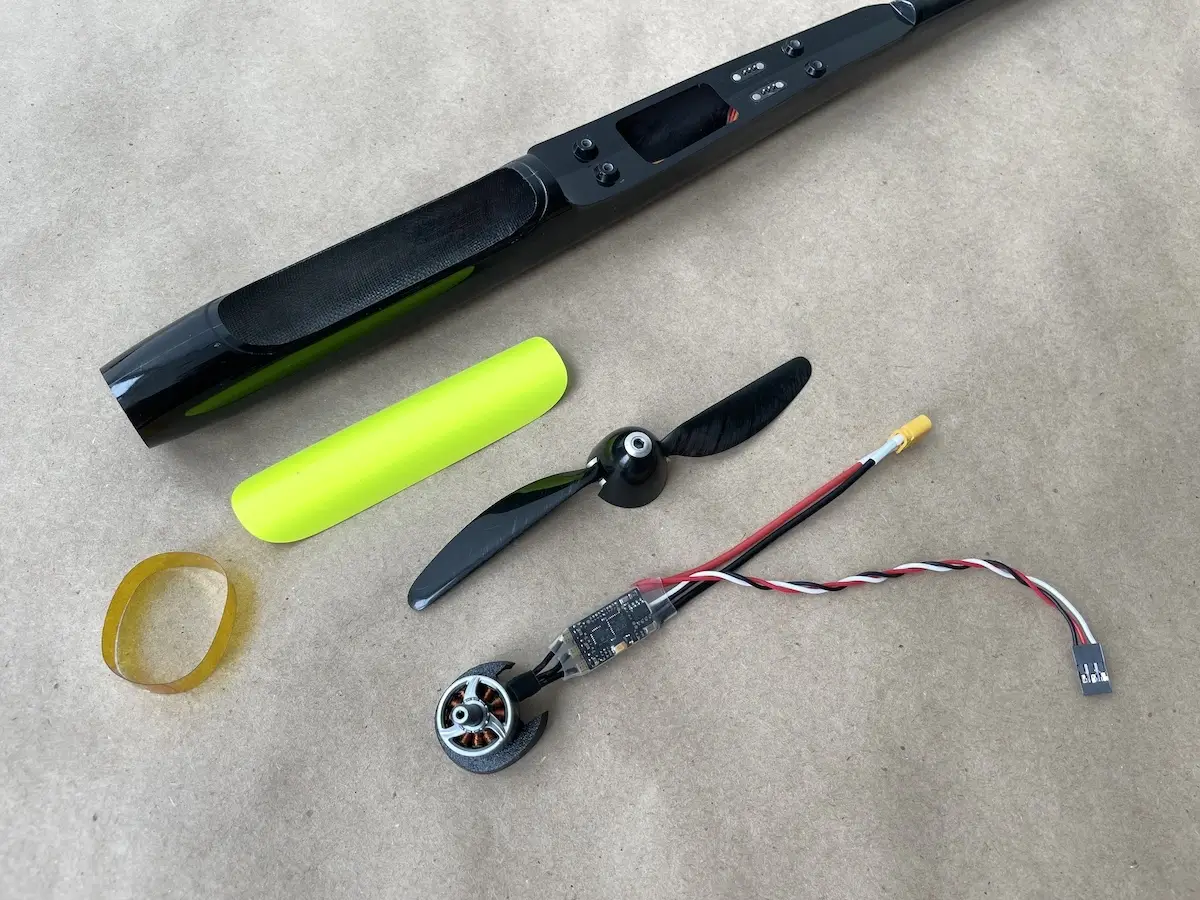
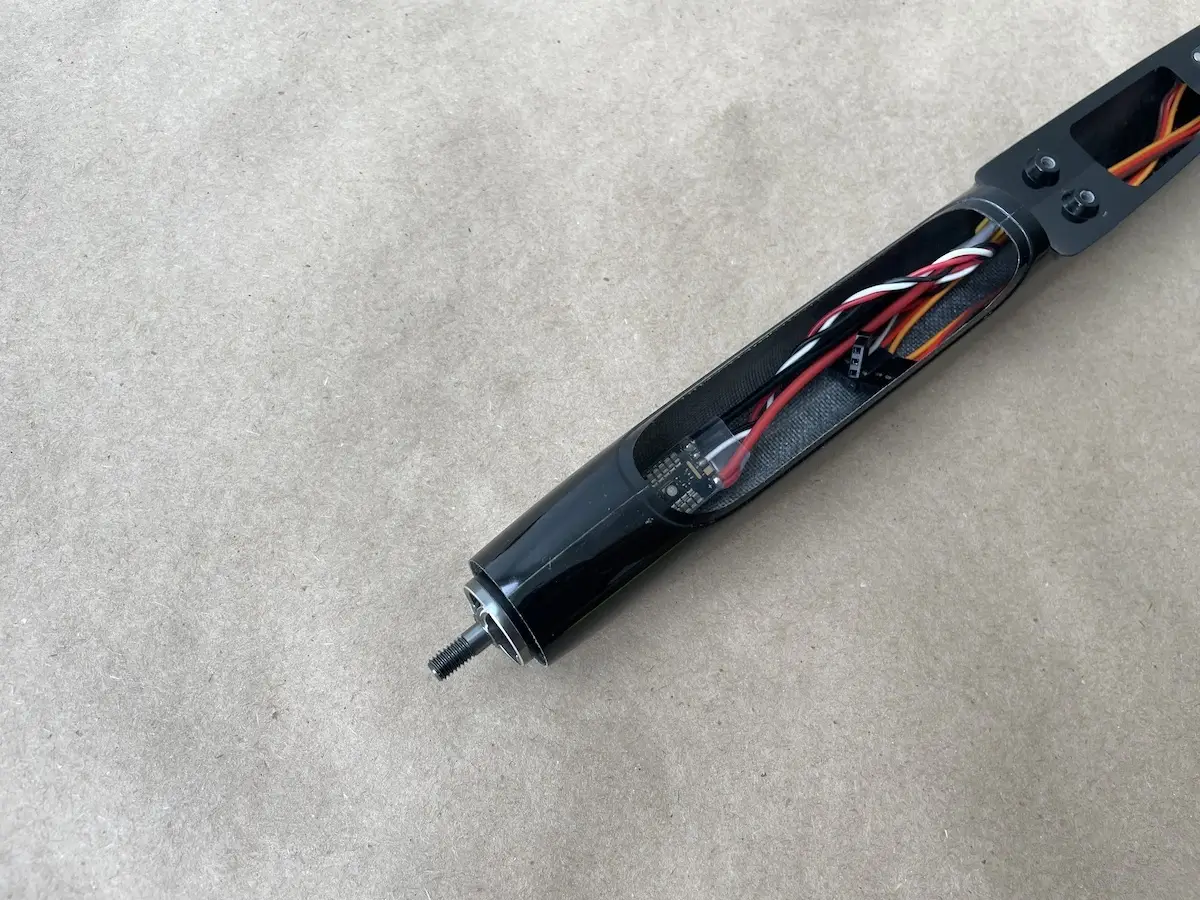
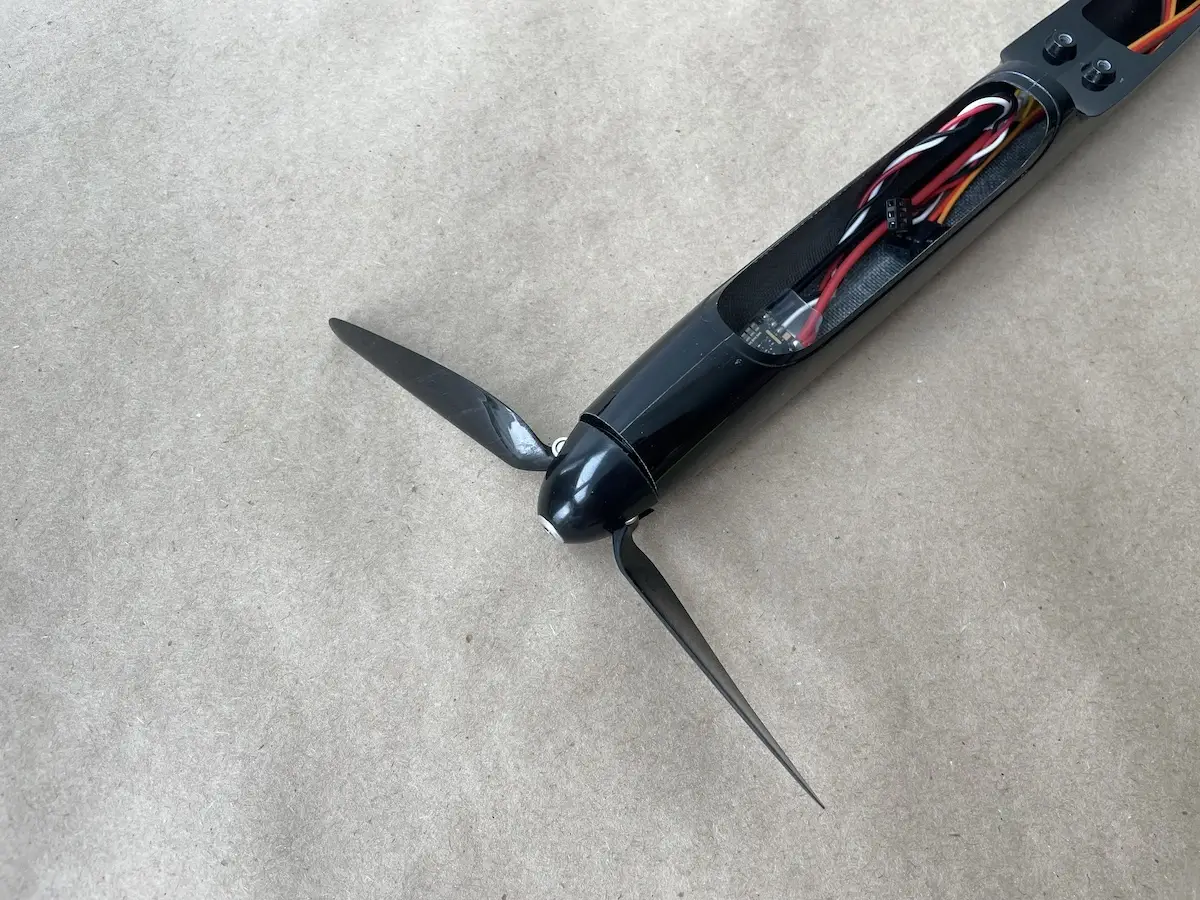
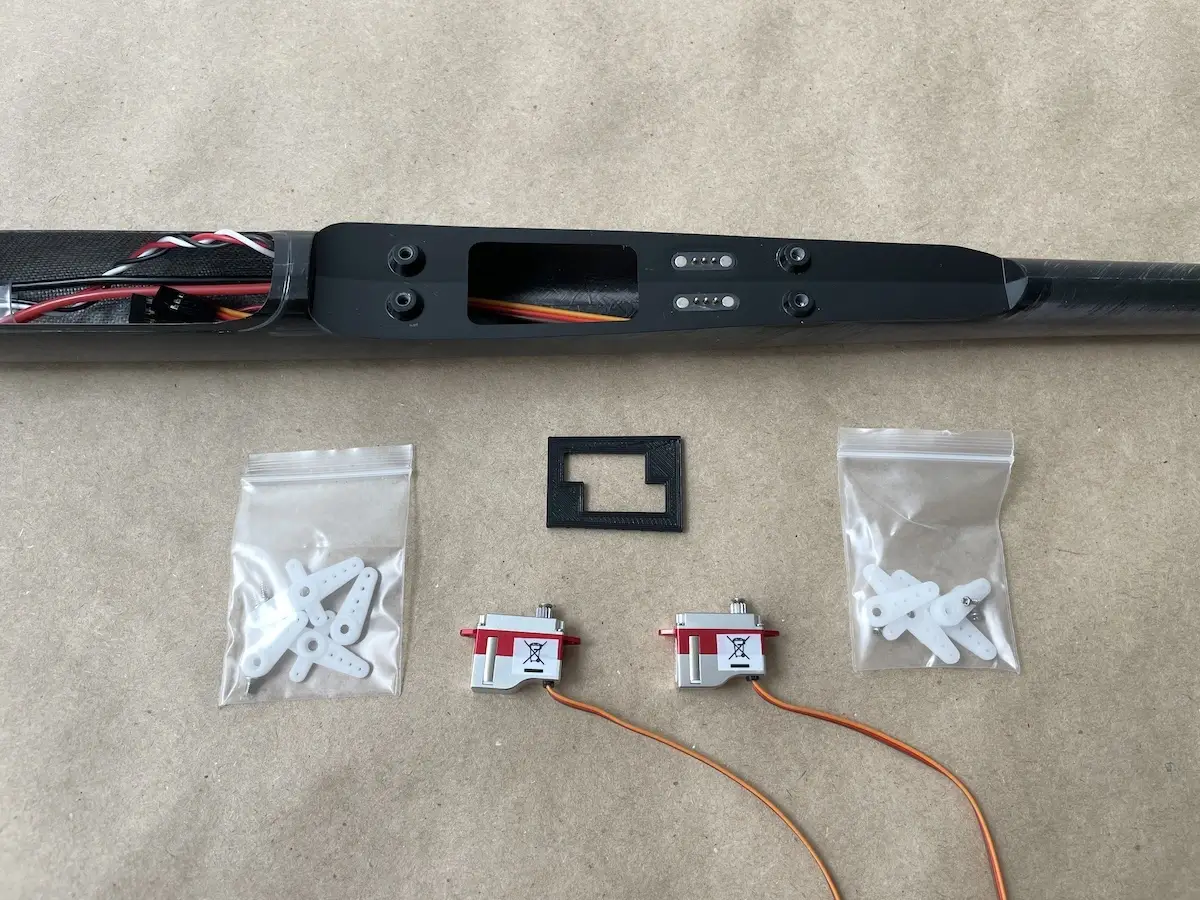
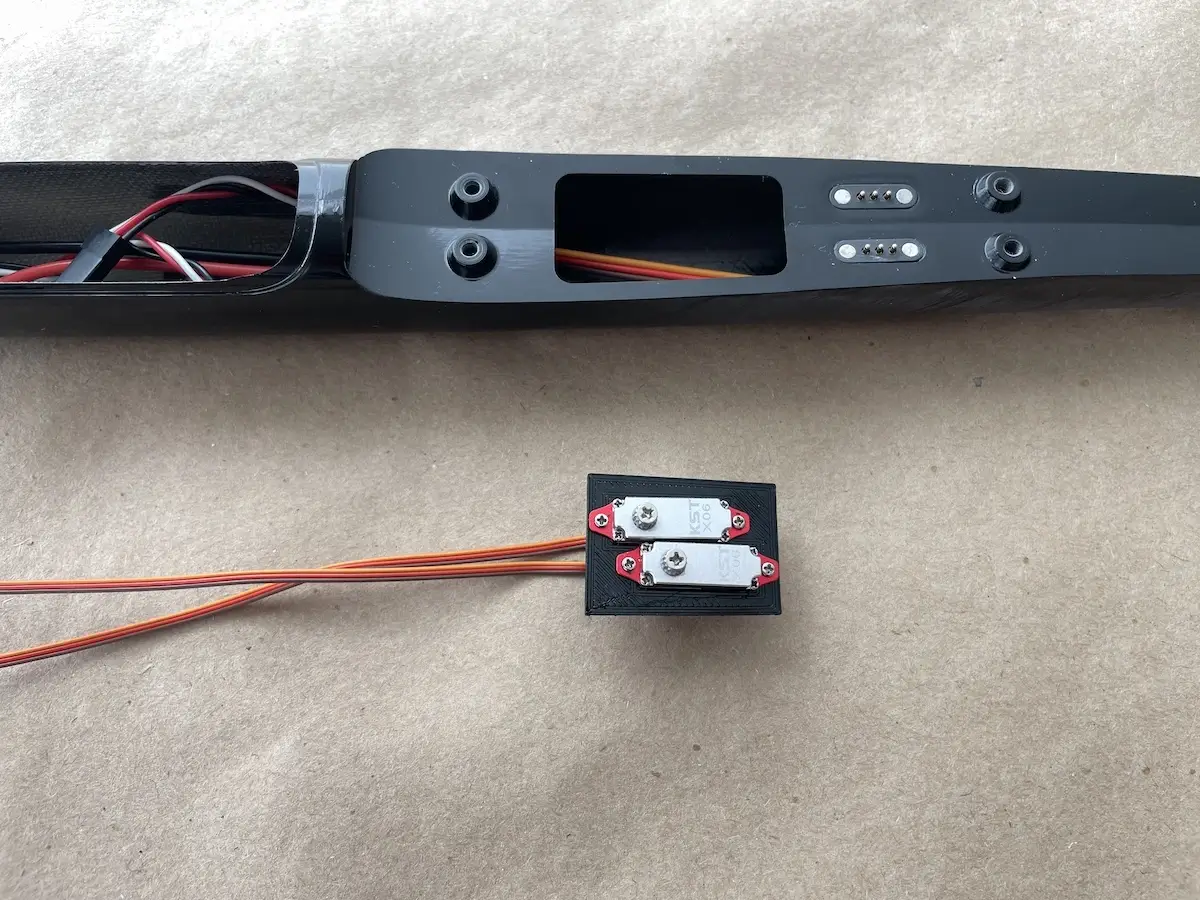
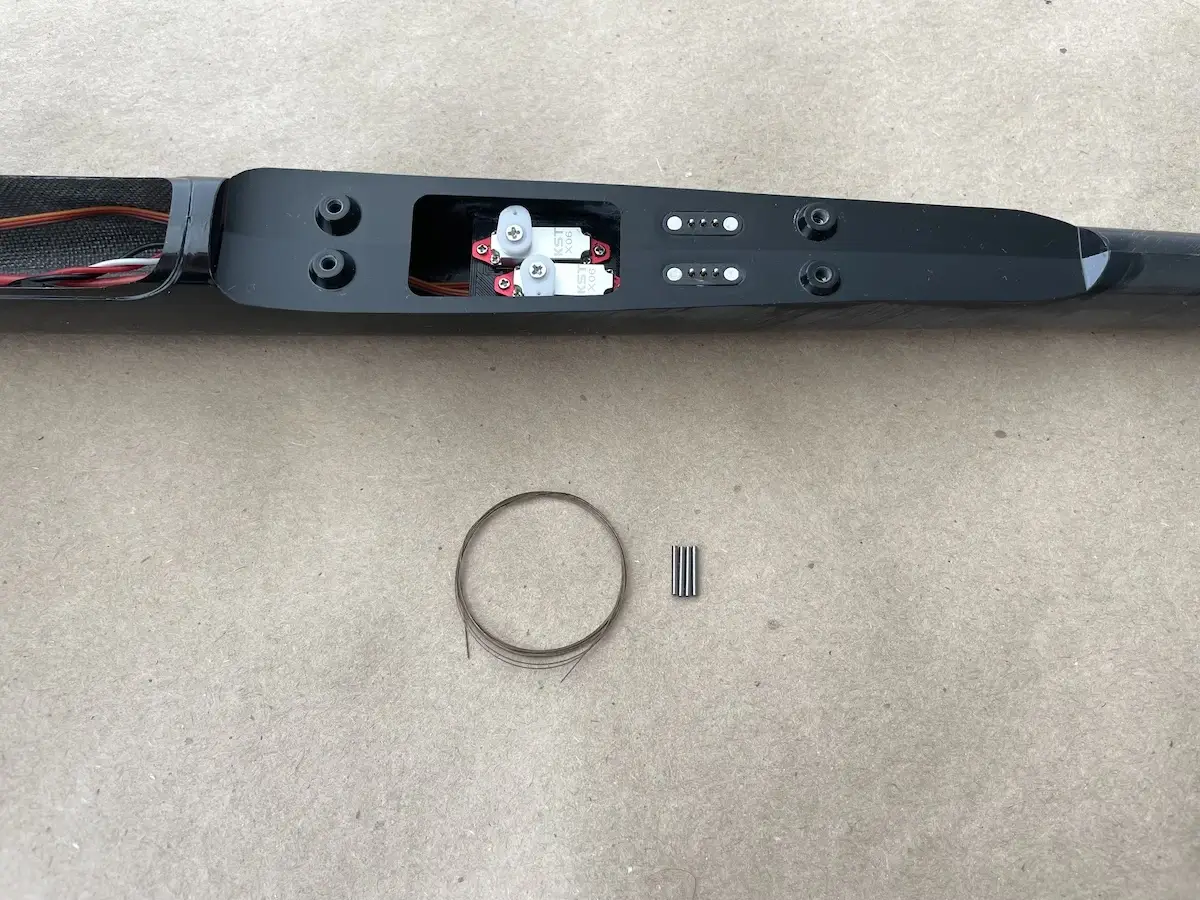
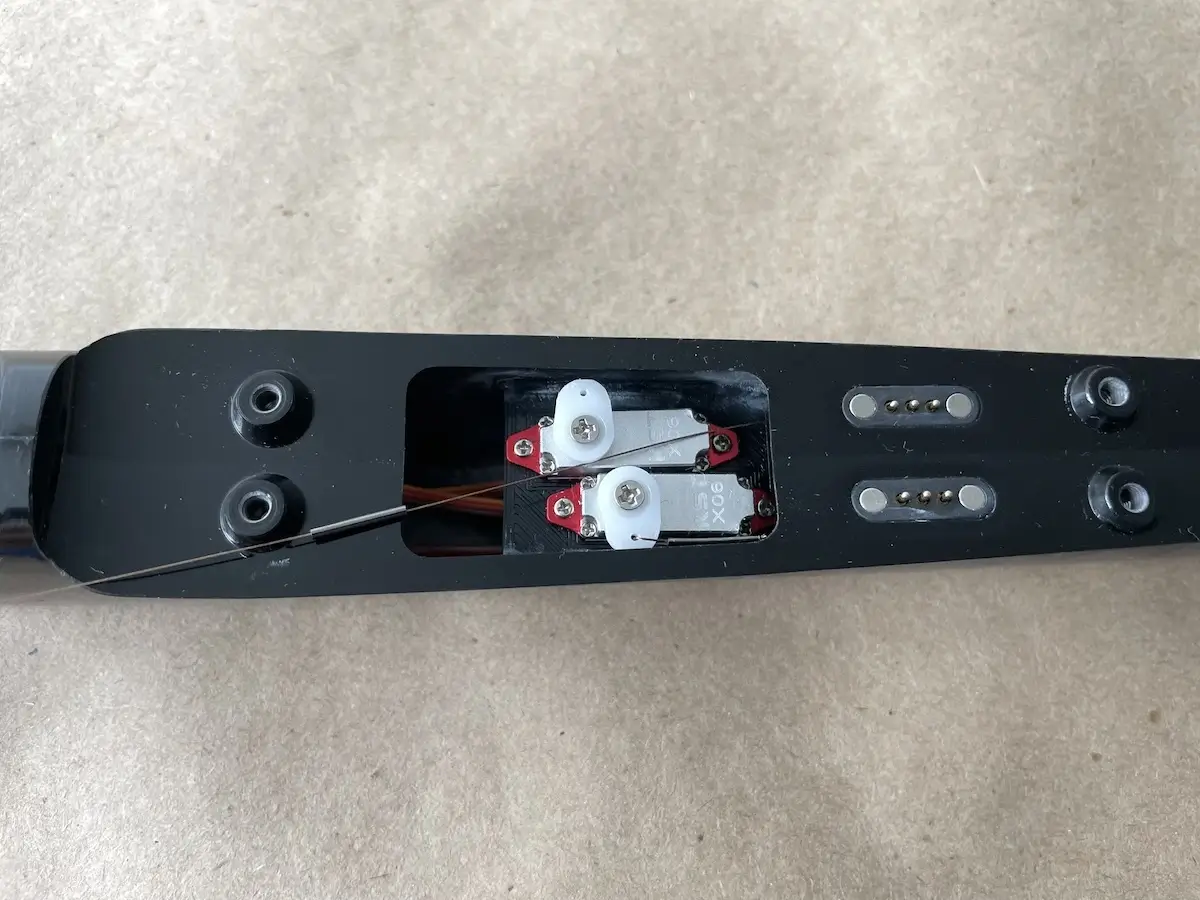
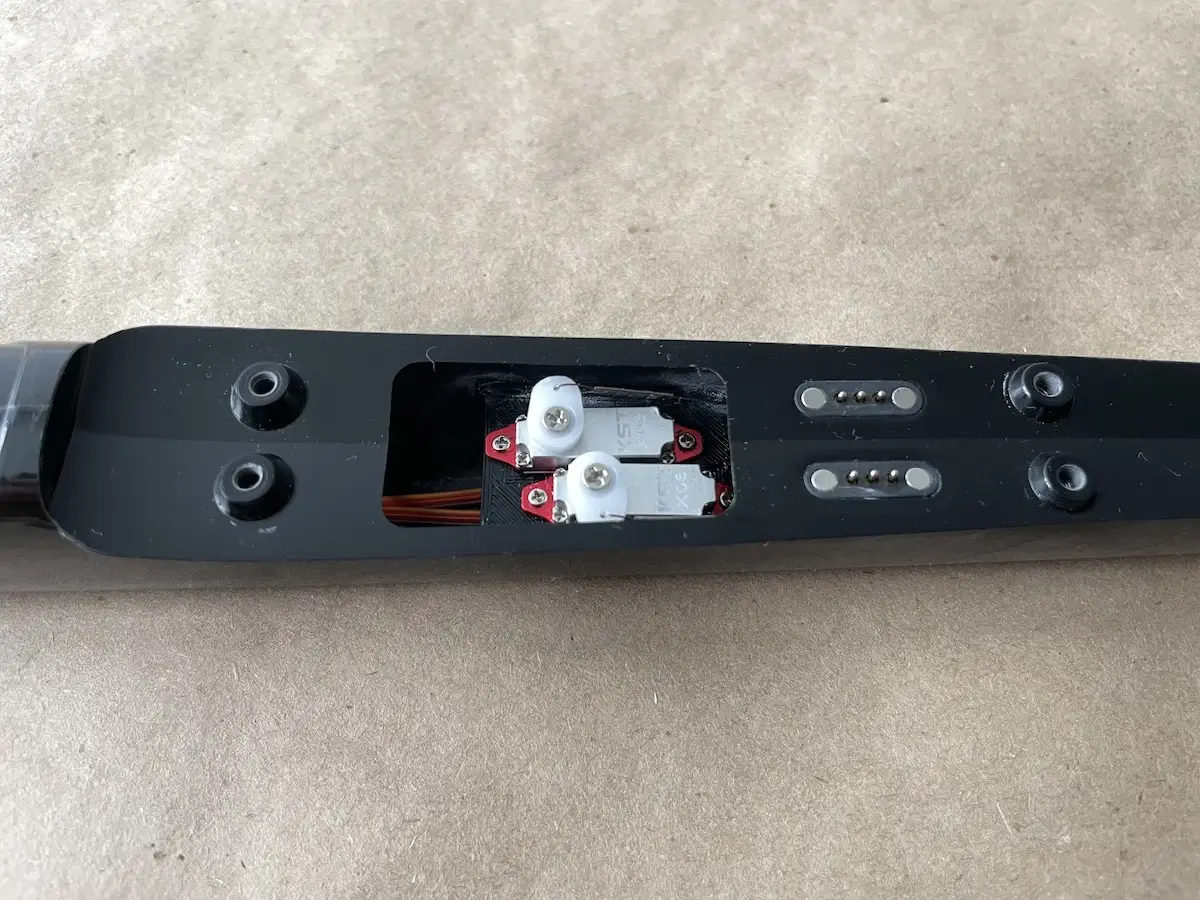
Part 2. Motor Mount & Tail Servos
Next, let’s move on to the fuselage and install your motor and tail servos.
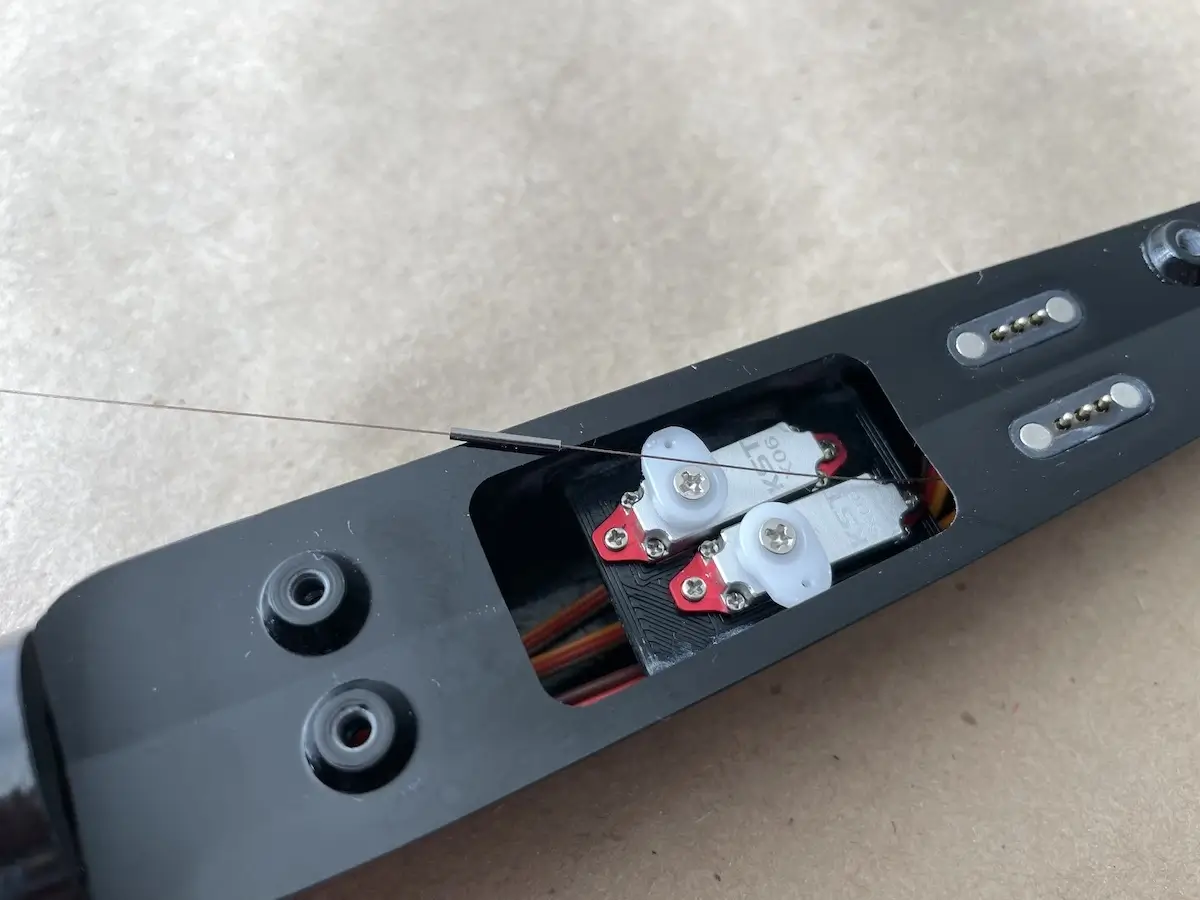
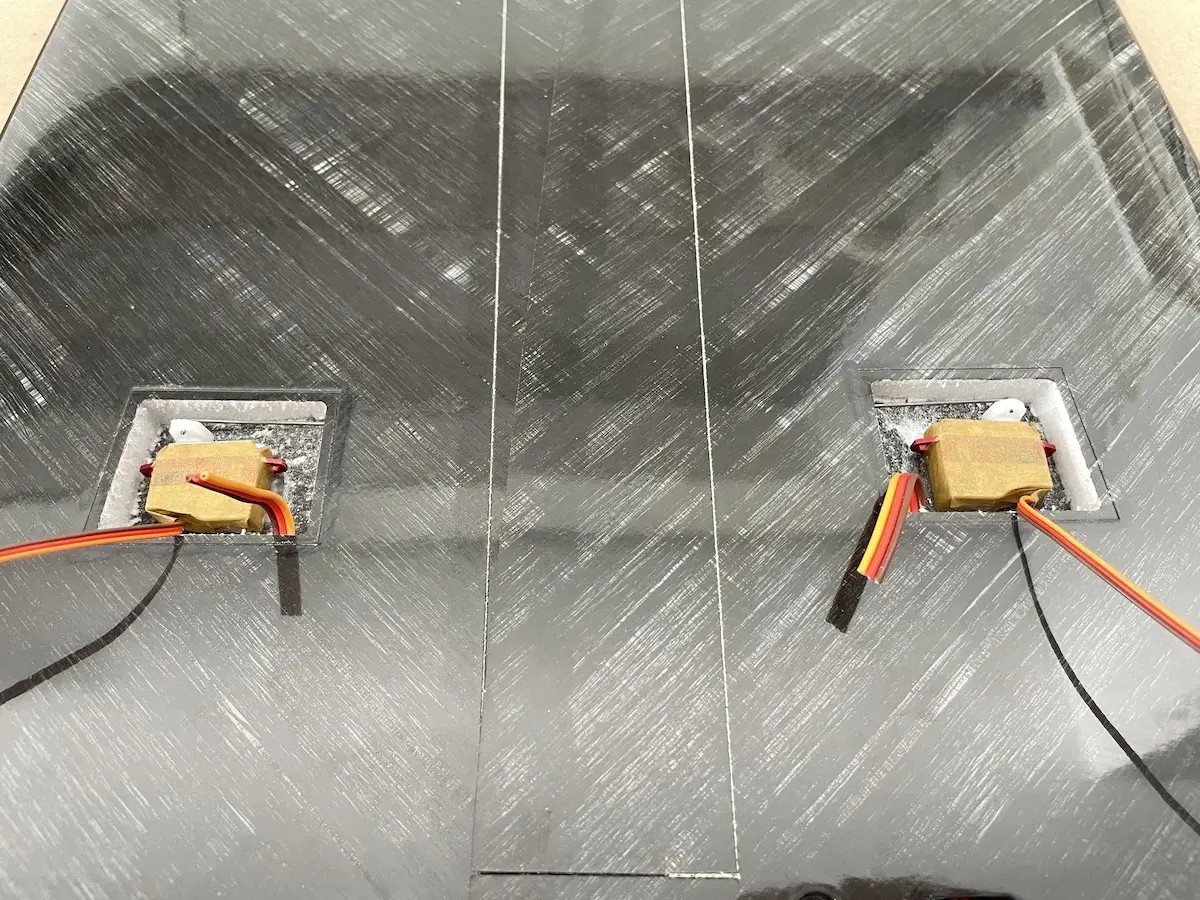
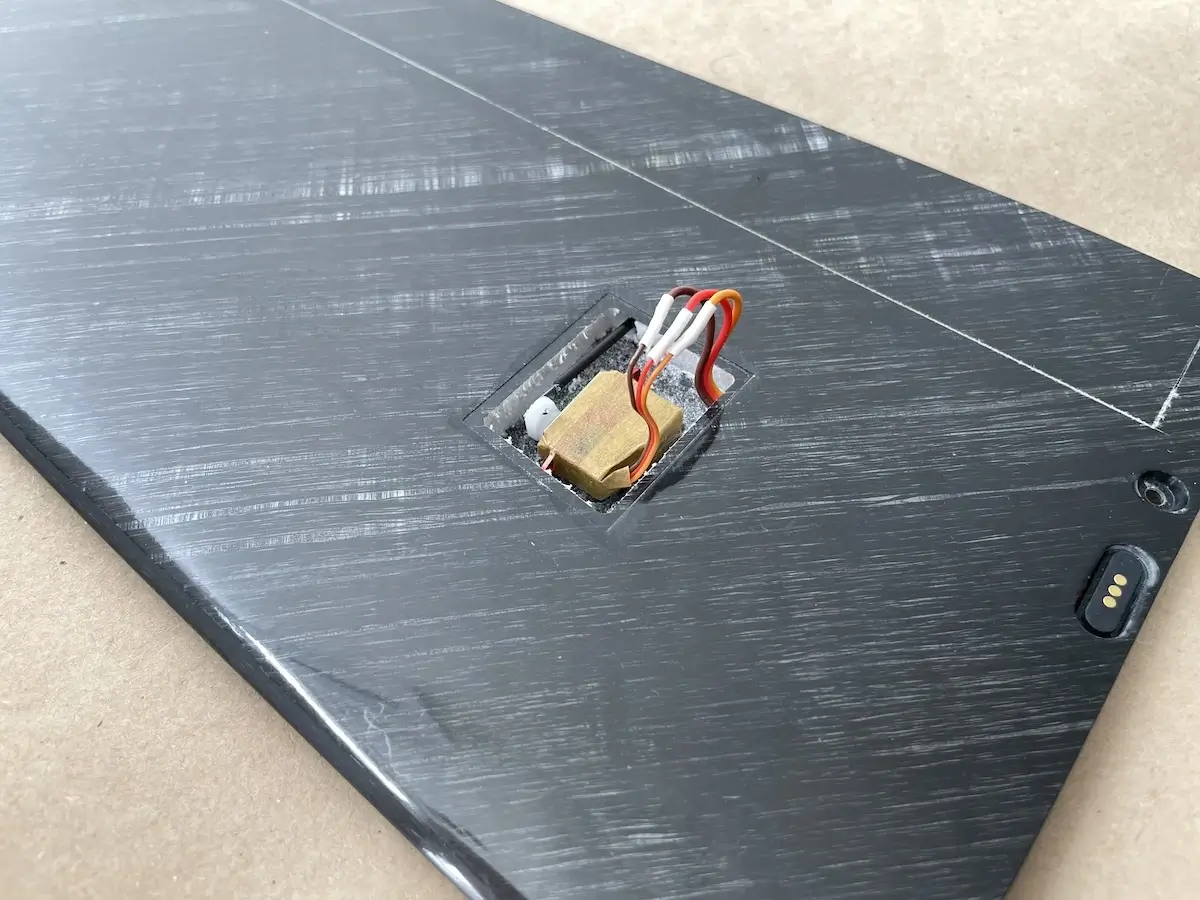
Prepare a supplied motor mount, your power set, and mounting boltsWhen using a power set, make sure that your ESC slides in the slot in the motor mount. Extend it for a loose fit if neededScrew a motor to the mount, make sure to use the screws of a right length not to damage the motor coilsPrepare your spinner & prop, scrub the outer surface of the motor mount where the glue will be appliedPush motor & mount sandwich into the fuselage, facing ESC to the bottom of the fuseSlide it forward to reach the motor shaft in frontMount your spinner on with a moderate forceUse prop blades and spinner to position motor mount inside the fuse. Leave ~1mm gap between the back ring of the spinner and the front edge of the fuselage. Fix the prop blades to a fuselage with a masking tape, and apply medium CA or epoxy between the motor mount and the fuselage walls from the inside of the pod. Leave it like that until your glue curesNext, prepare two KST X06 servos with standard mounting tabsMount the servos to the provided servo frameScrub the side surfaces of the servo frame, put it into the pod and slide backwards under the wing saddle. Position it in place and fix with epoxy or CAPrepare tail servo arms. Trim them down leaving only the 1st hole – the one the closest to the hubCenter your servos and install servo arms in a position that is the cosest to the 90° relative to the centerline of the fuselage. Fix servo arms with the M2 bolts from the accessory bag
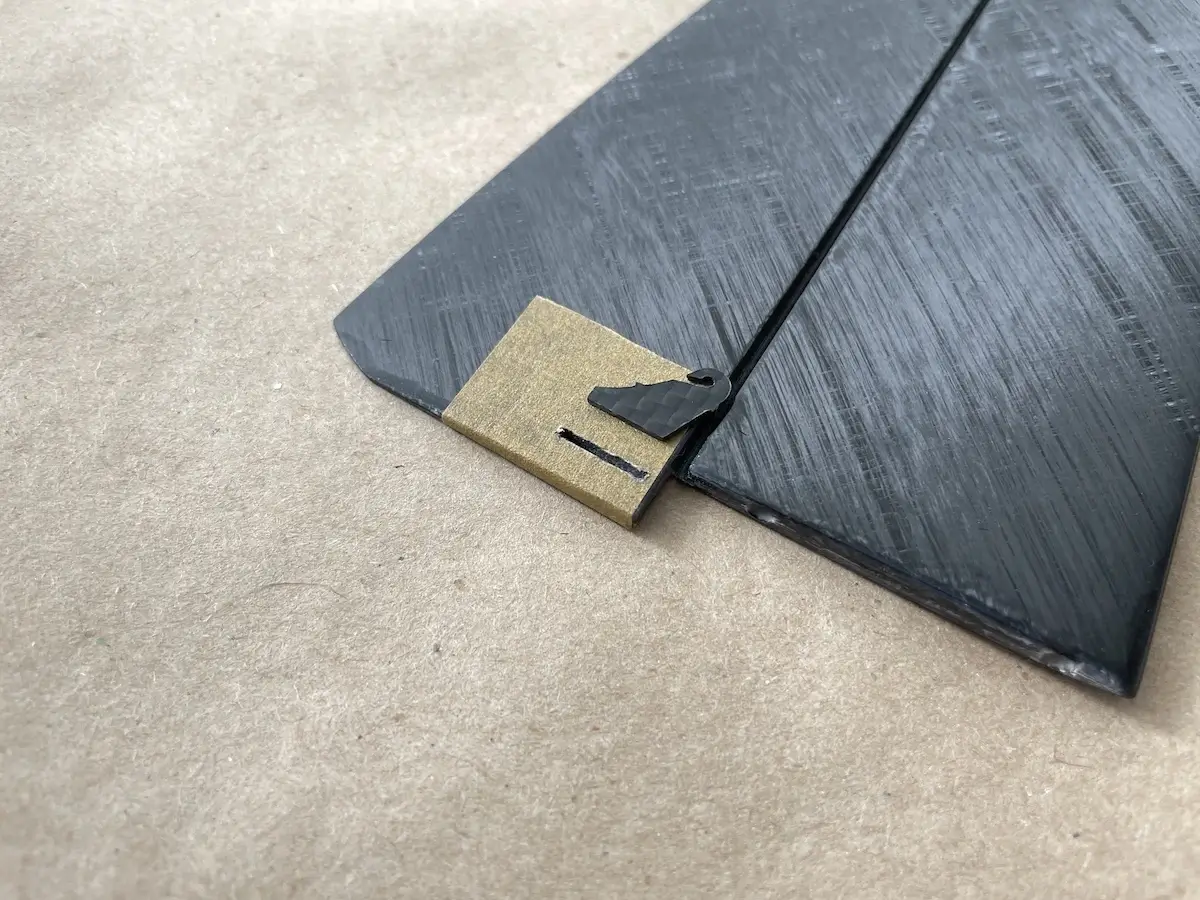
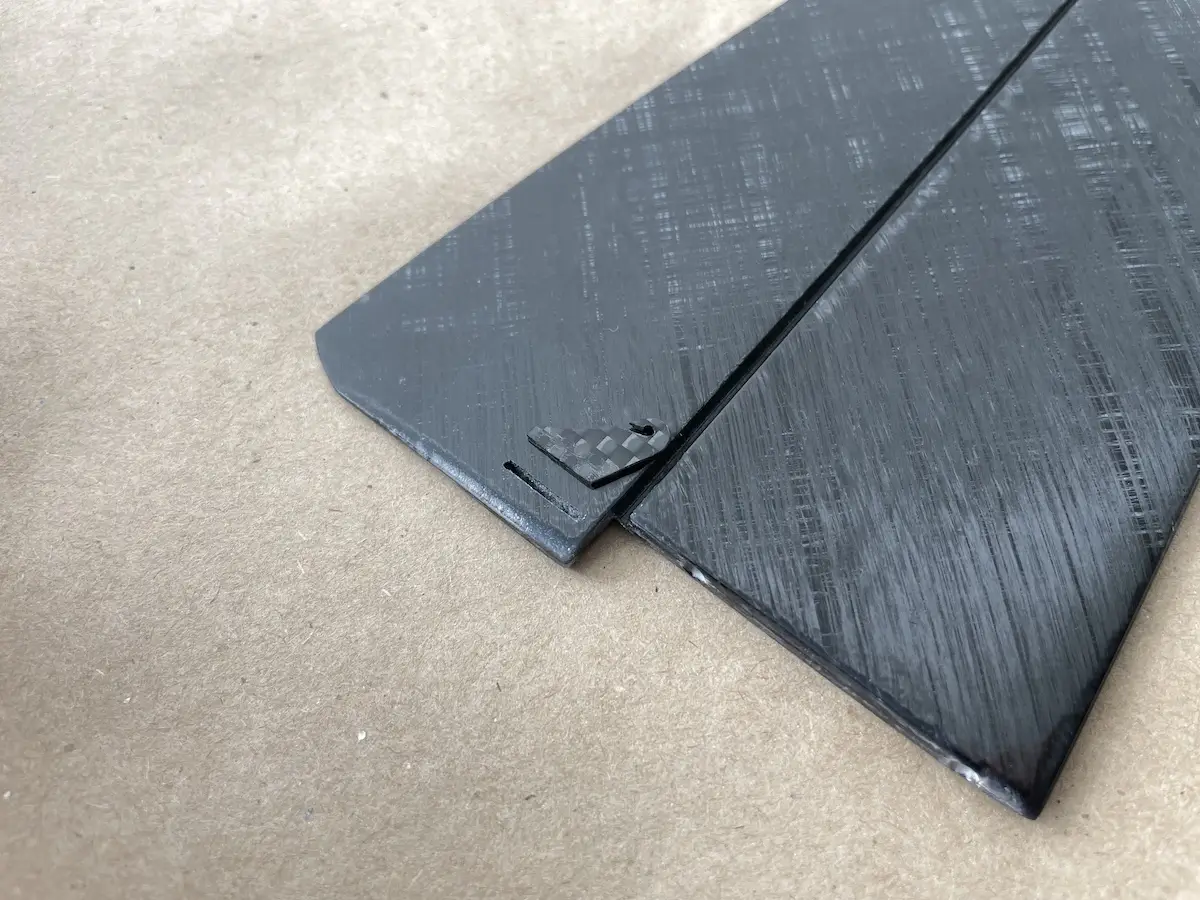
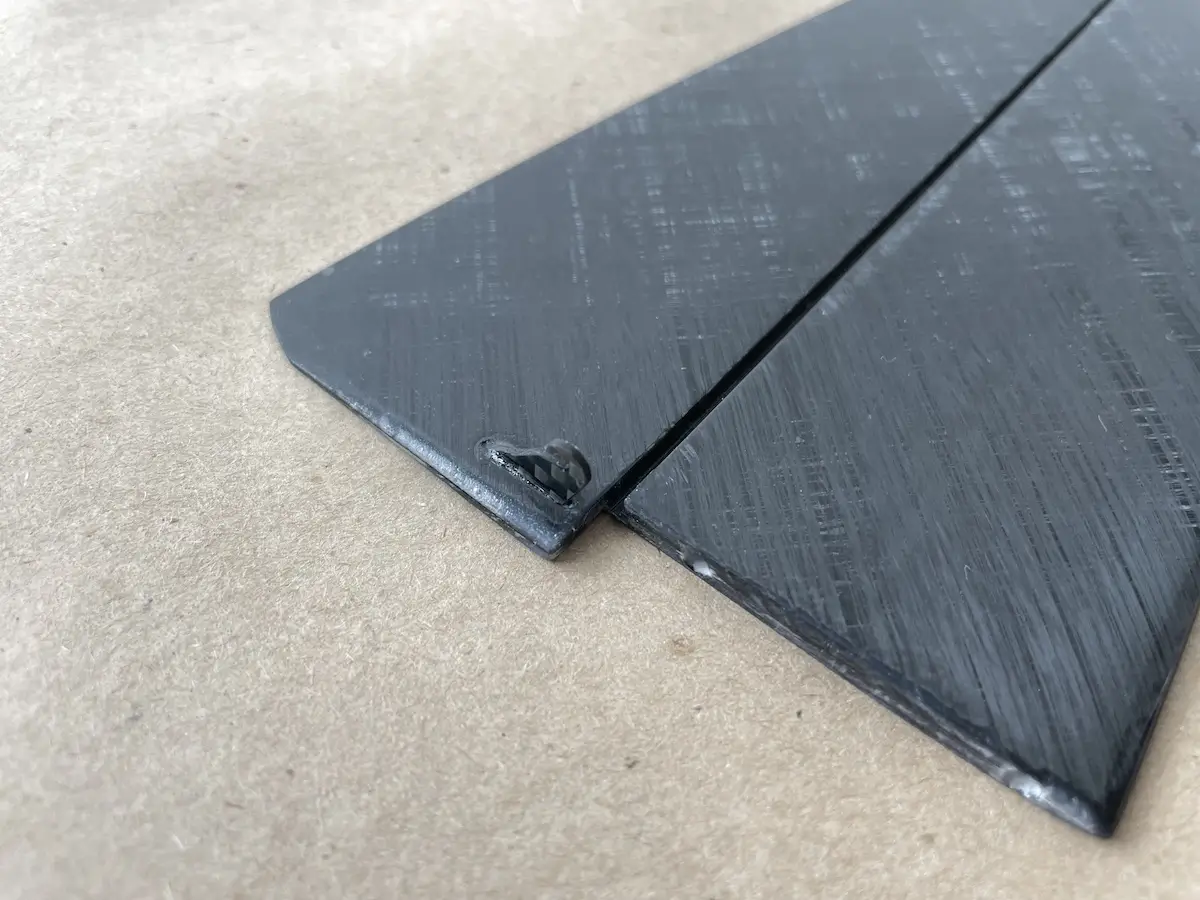
Part 3. The Tail Surfaces
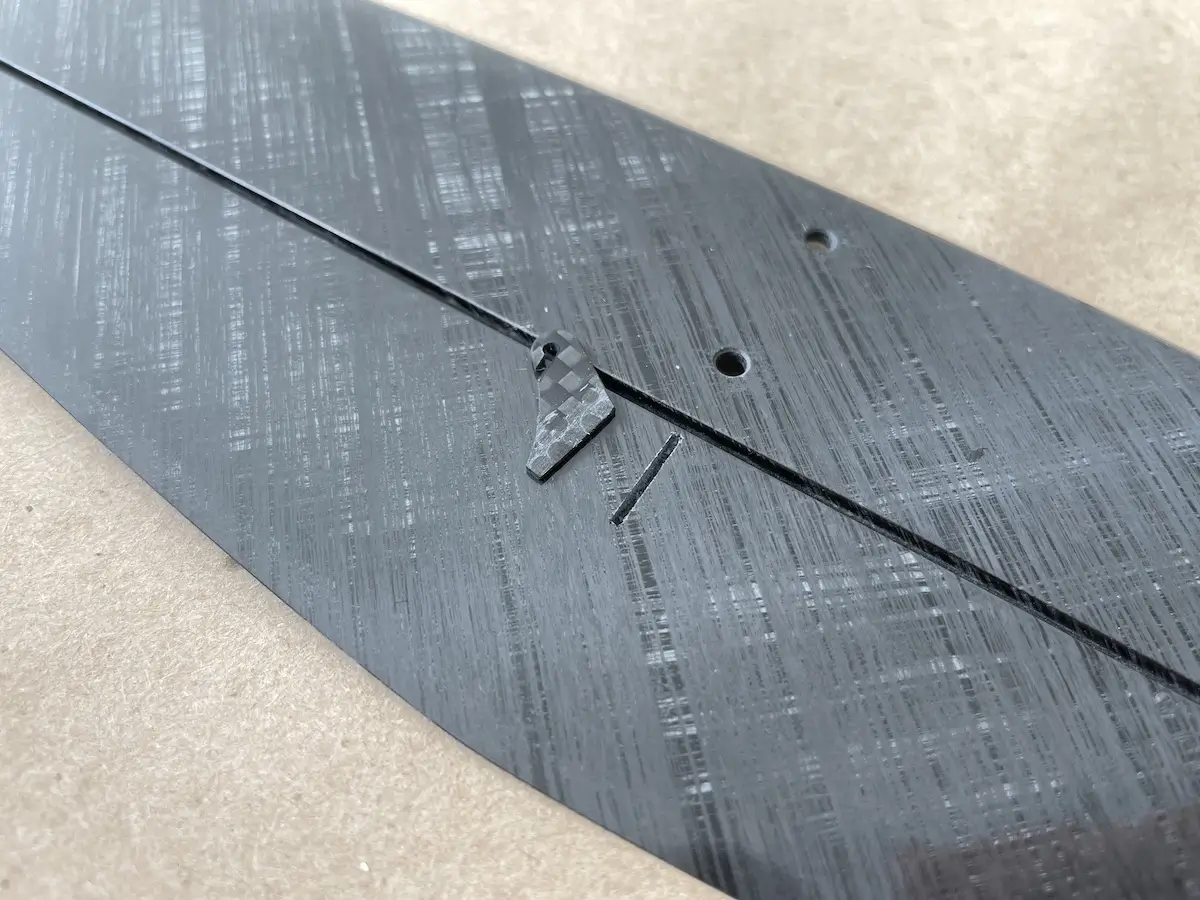
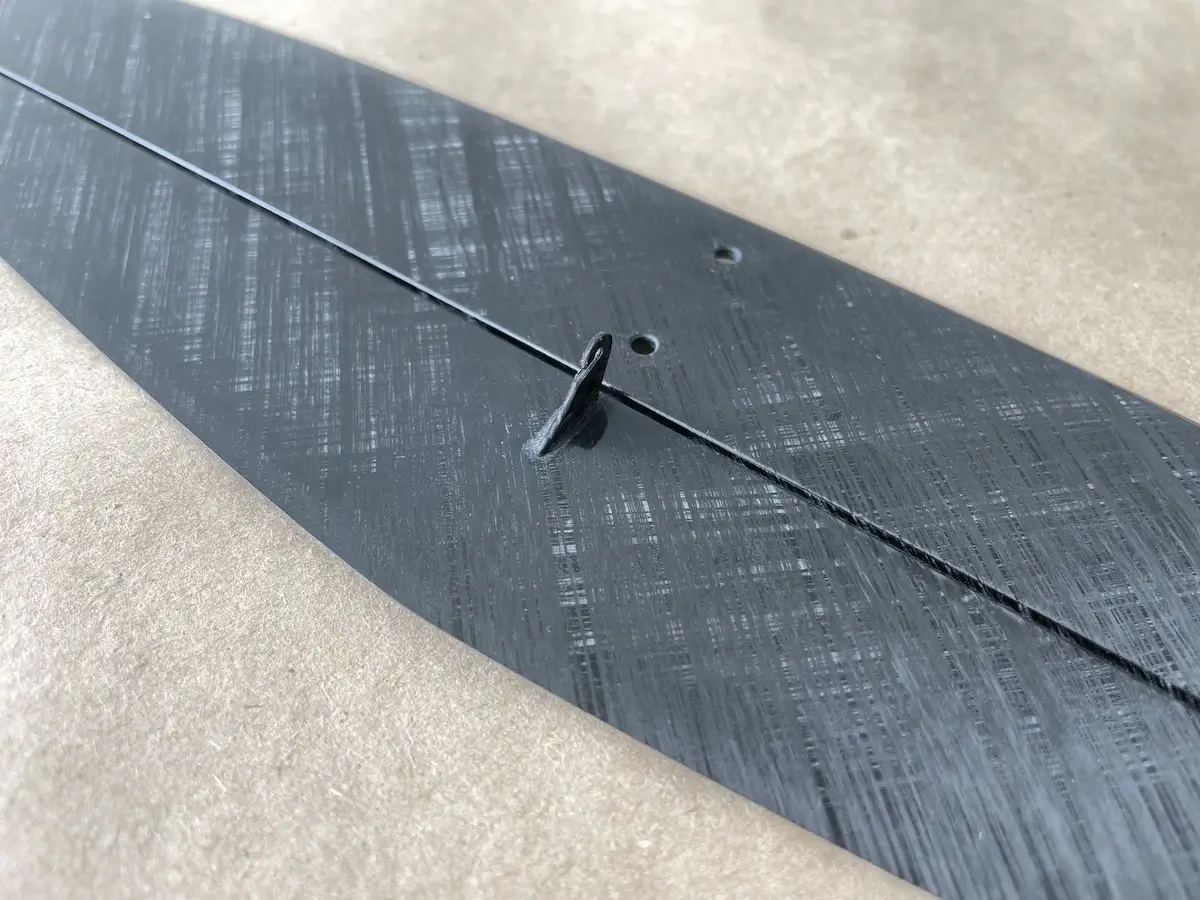
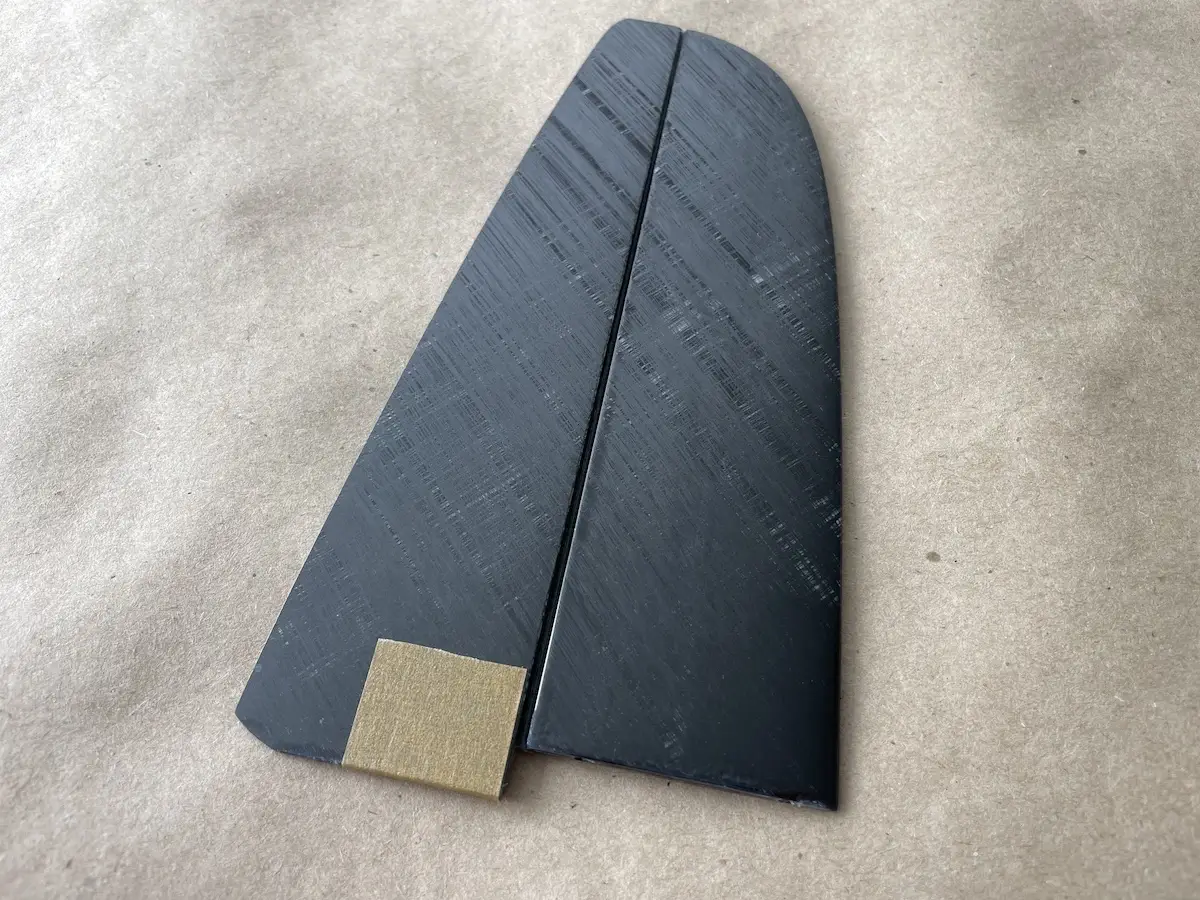
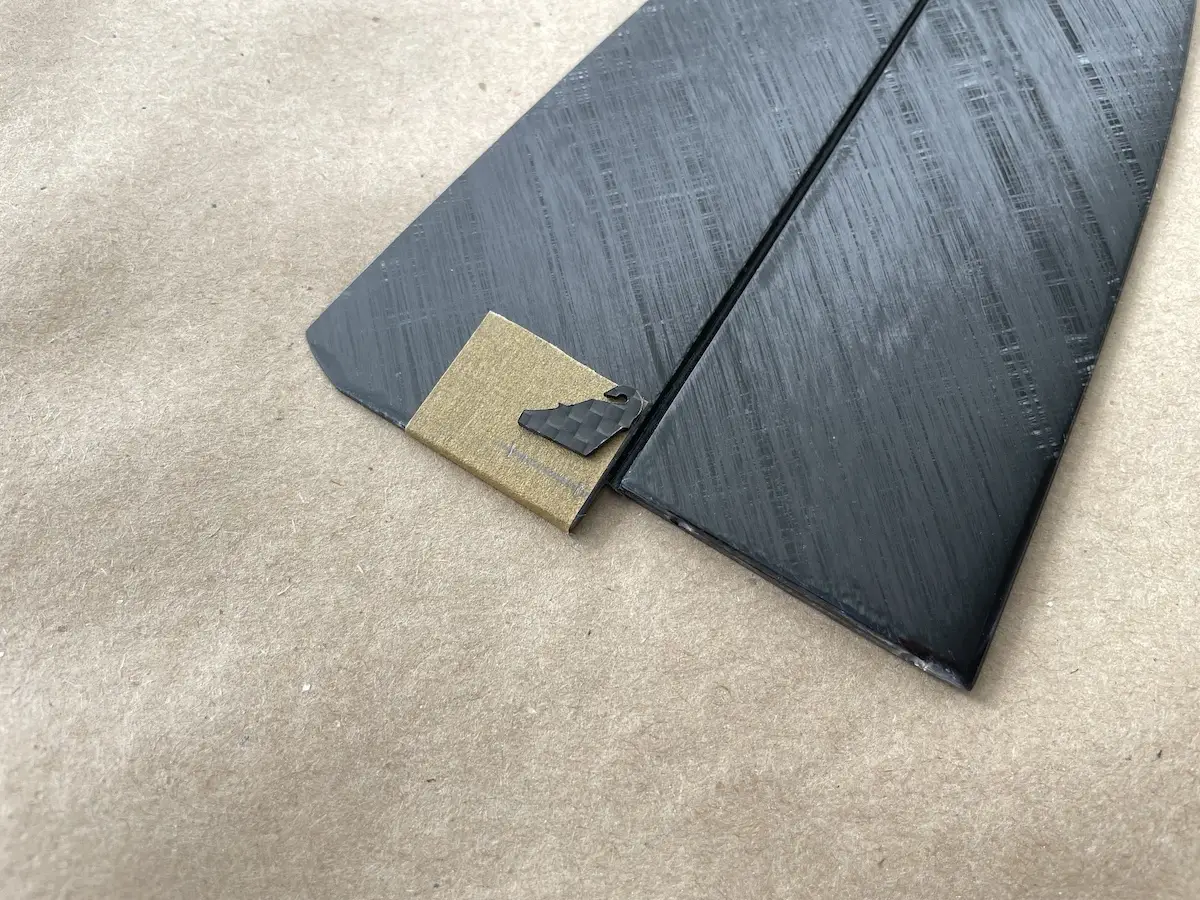
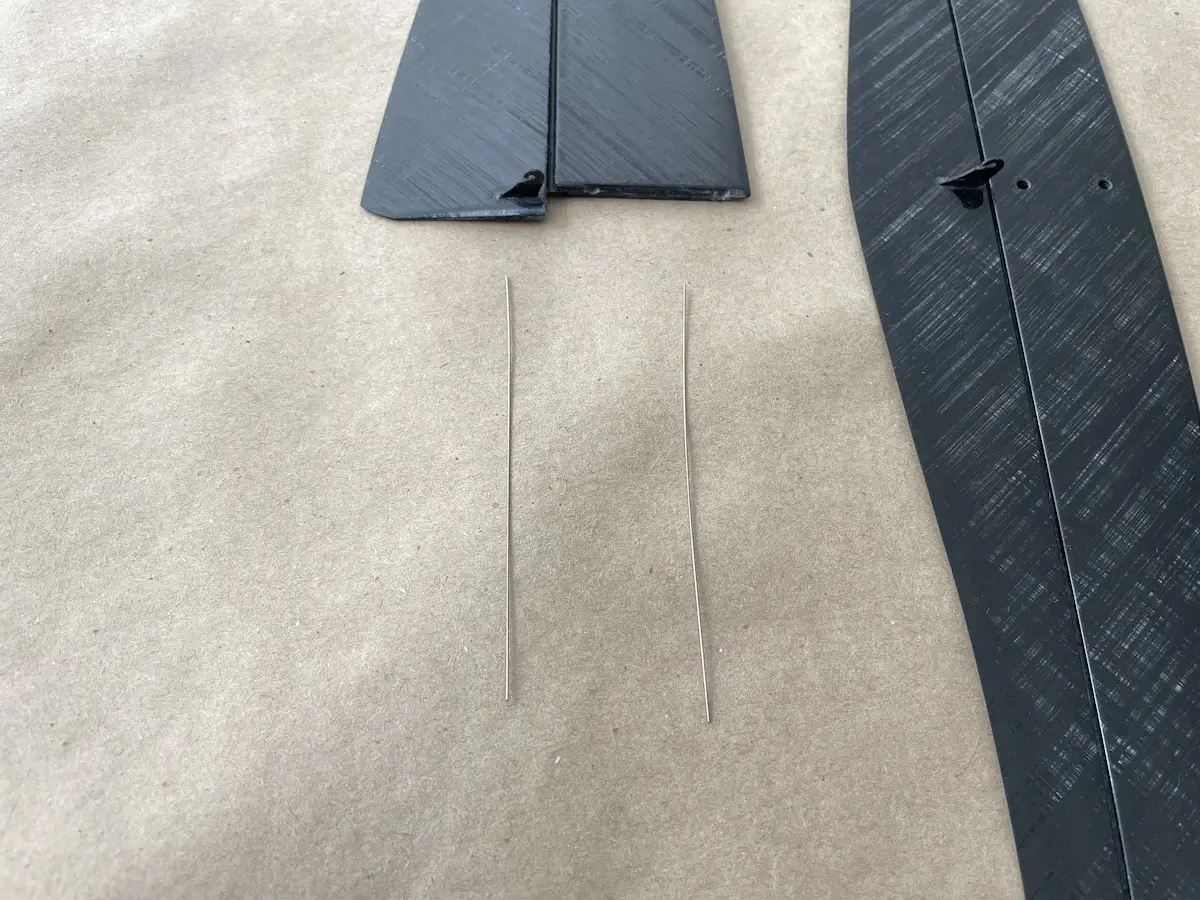
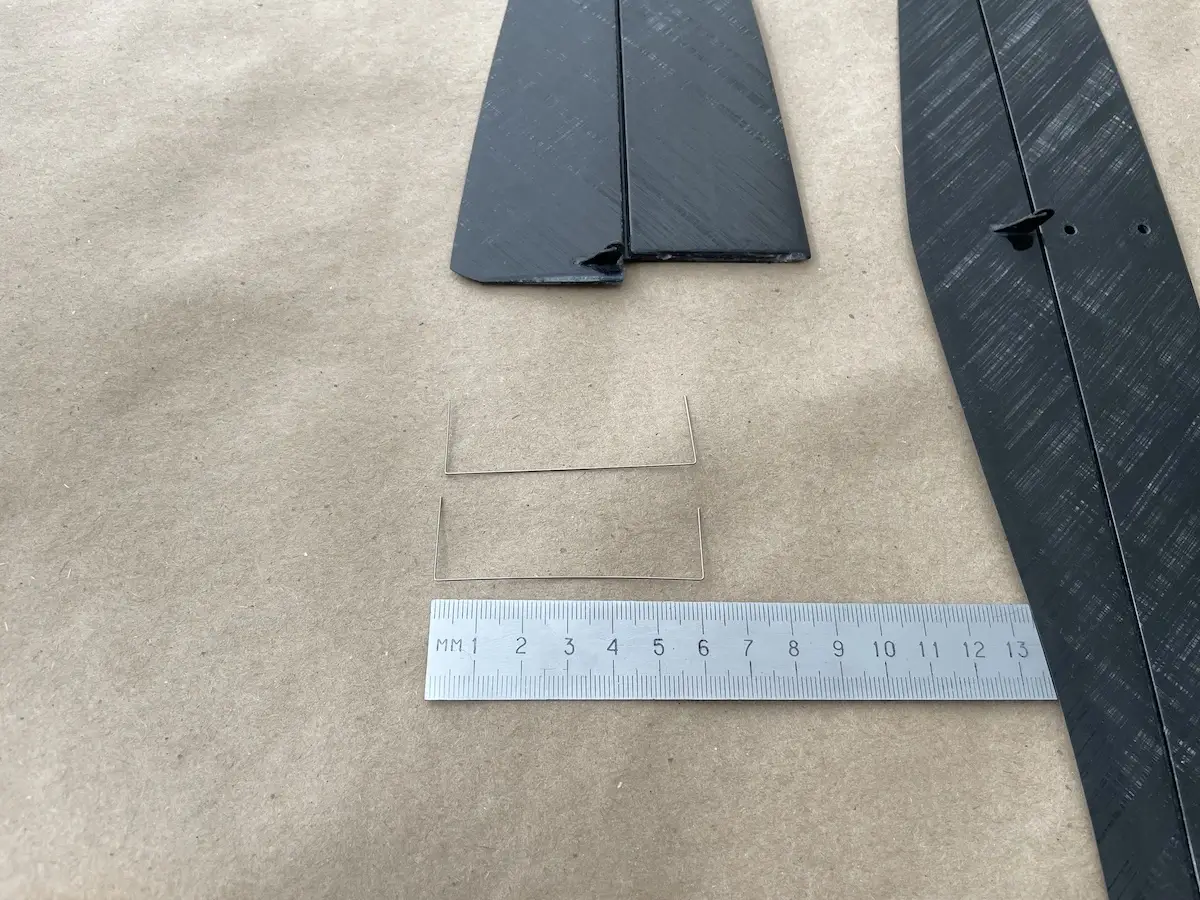
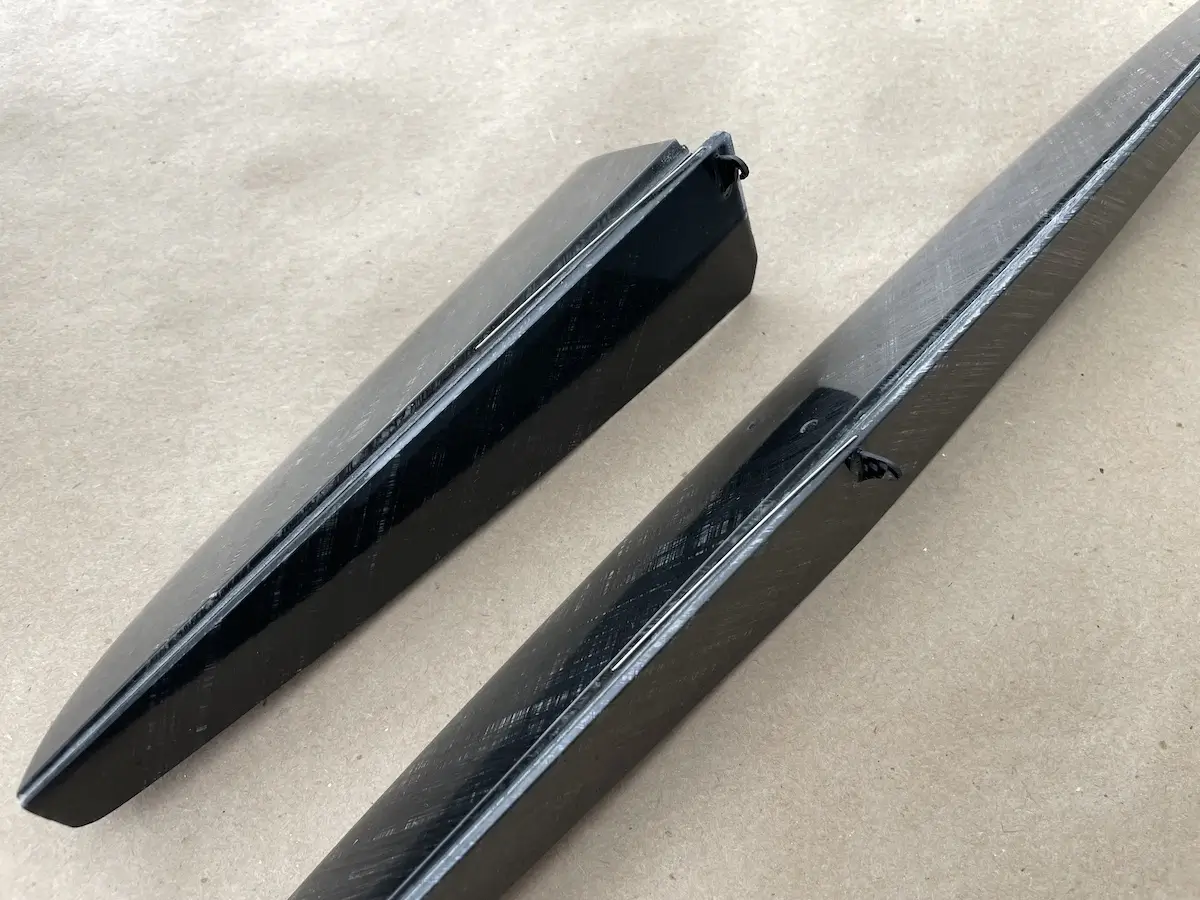
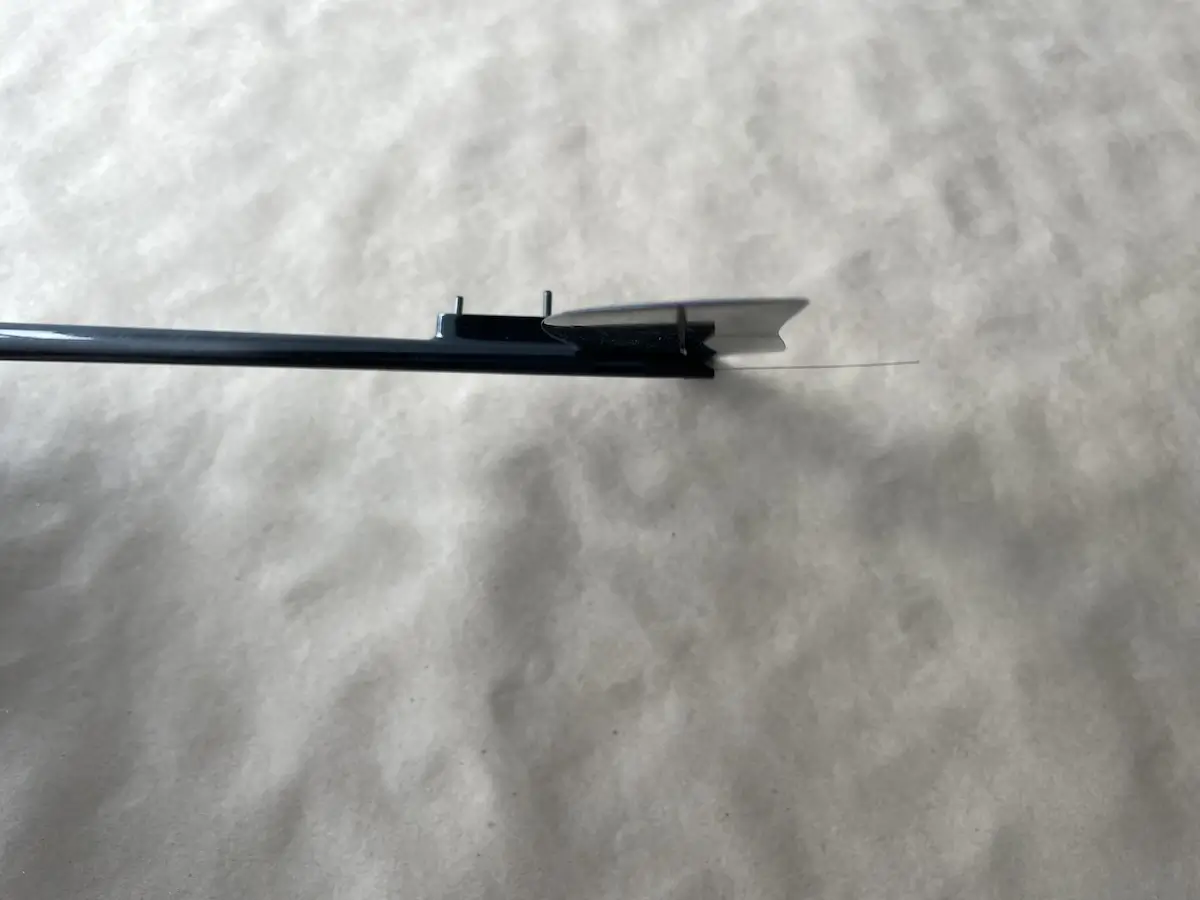
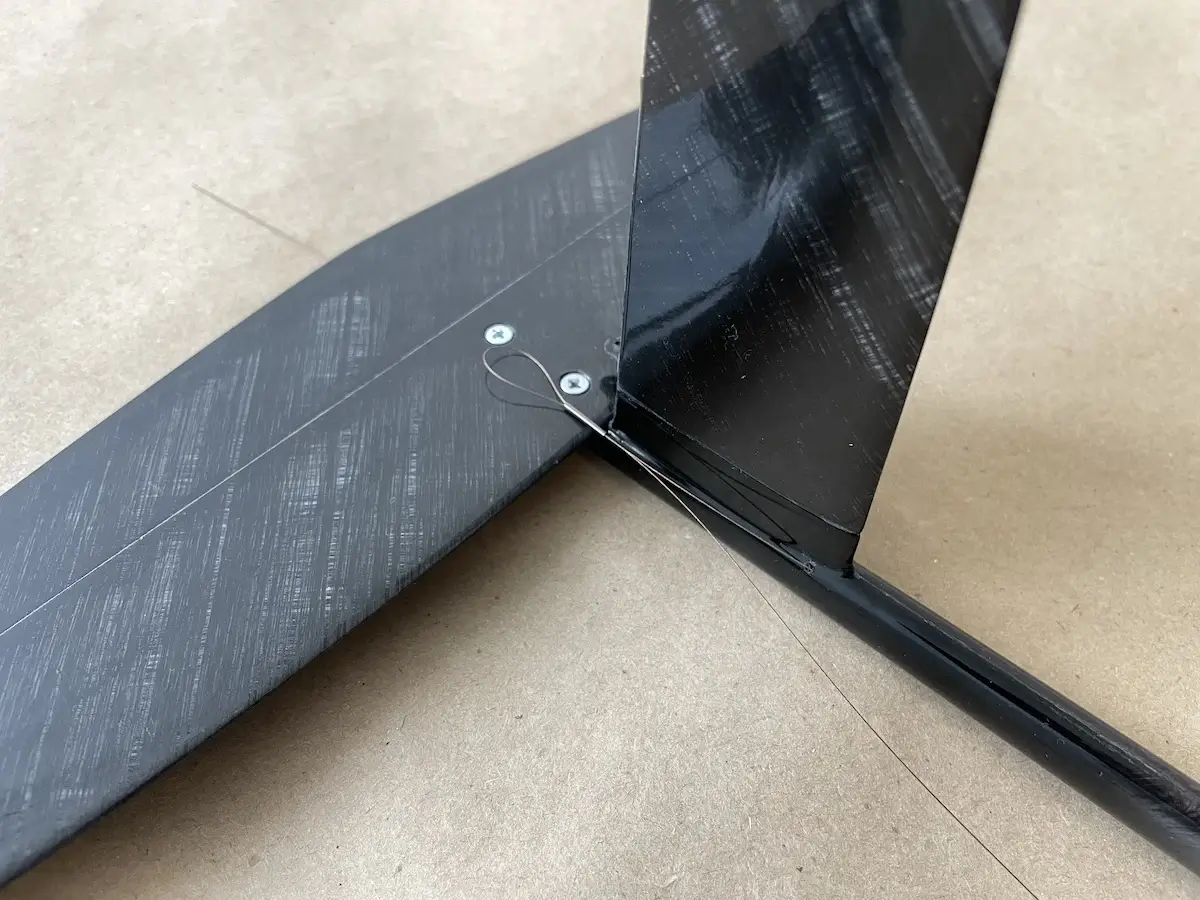
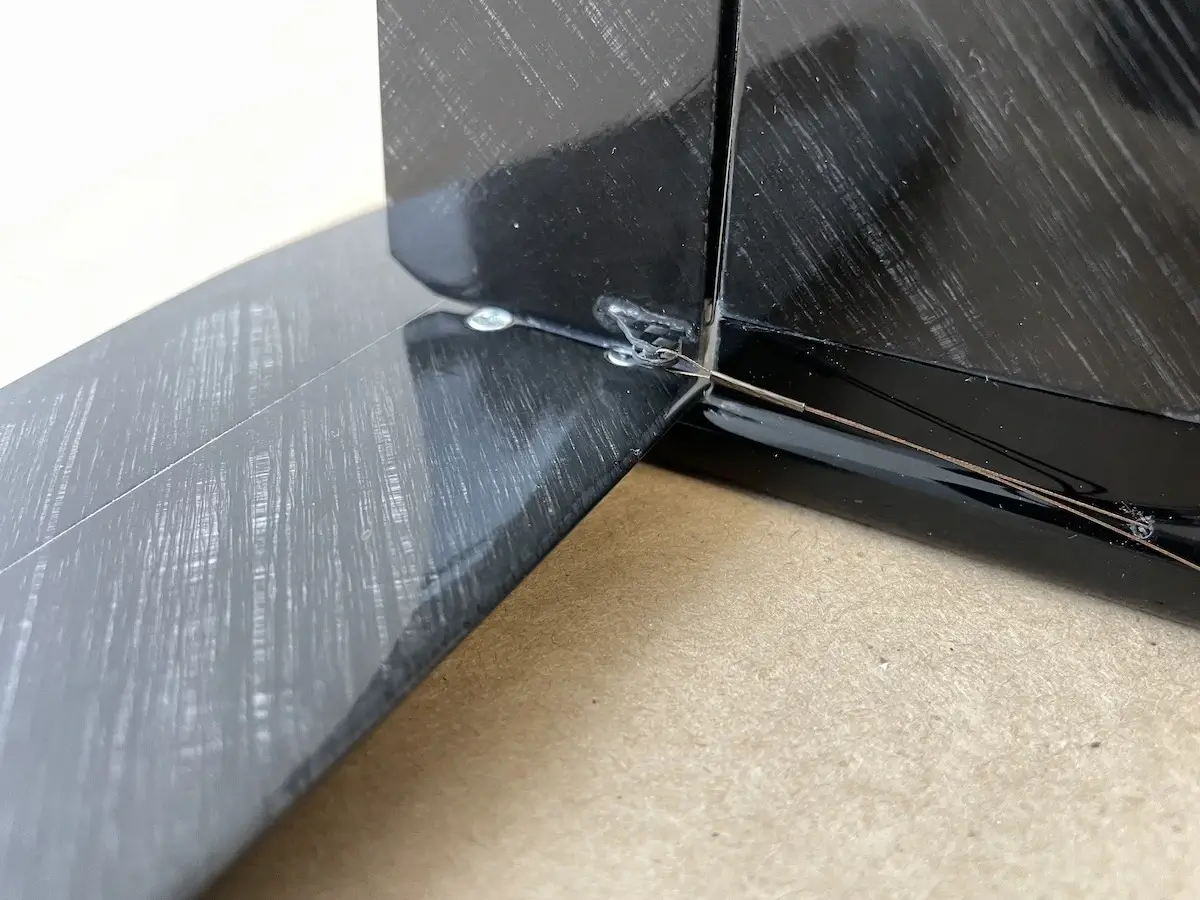
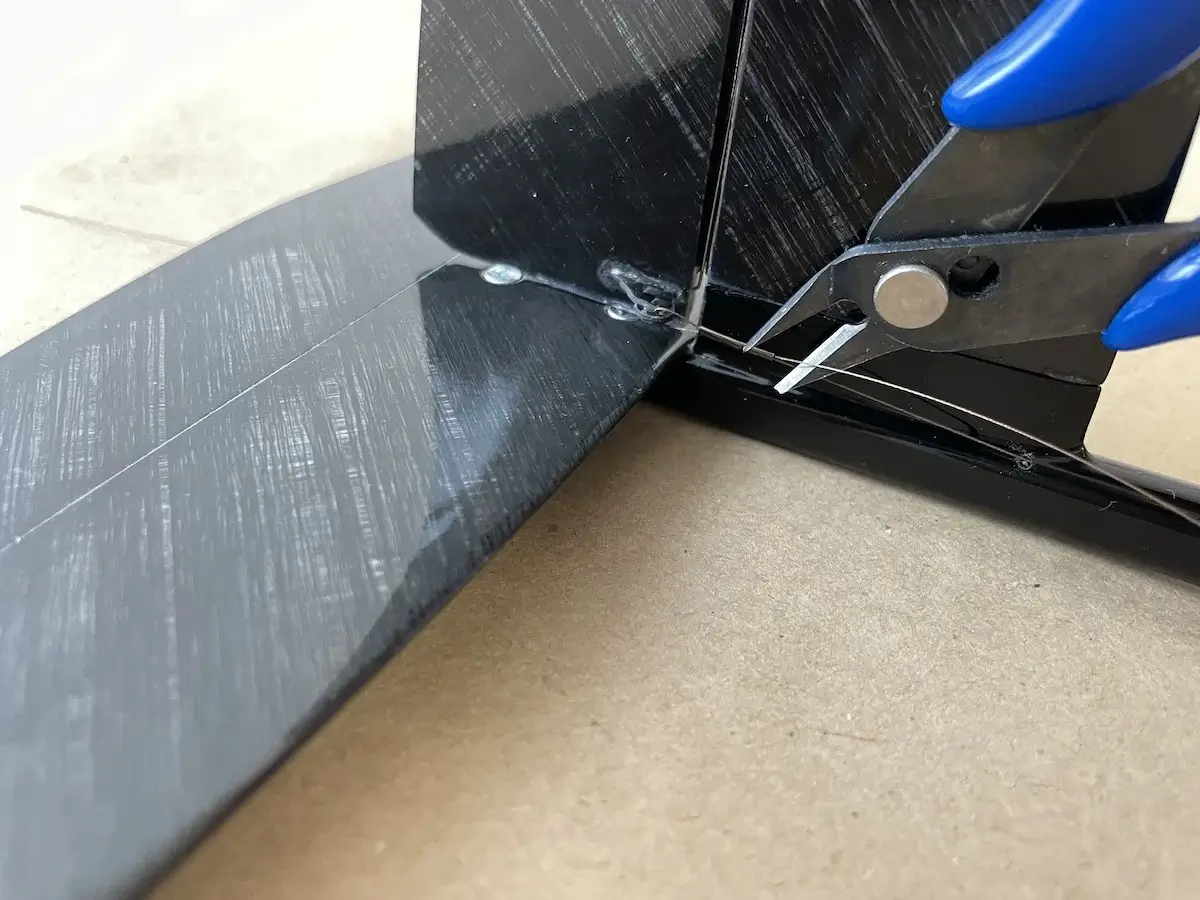
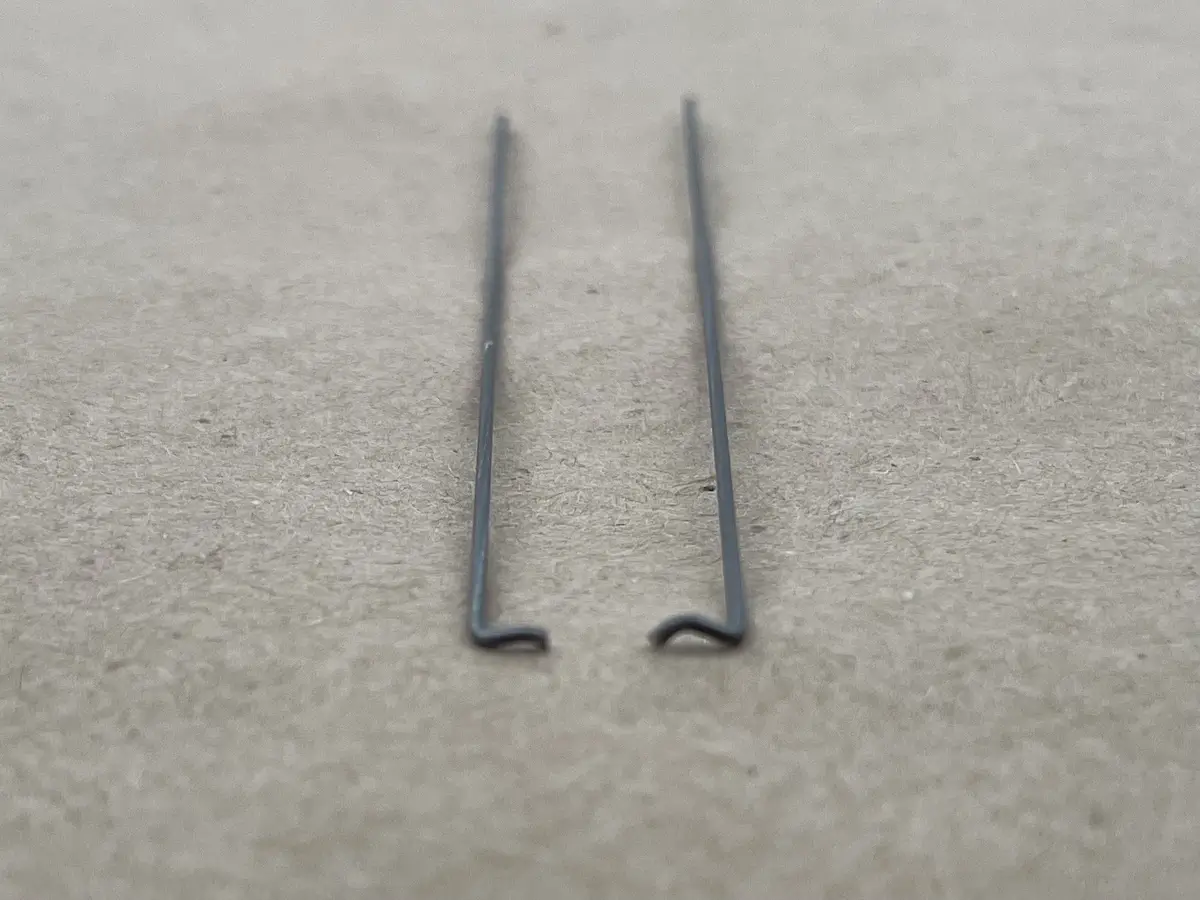
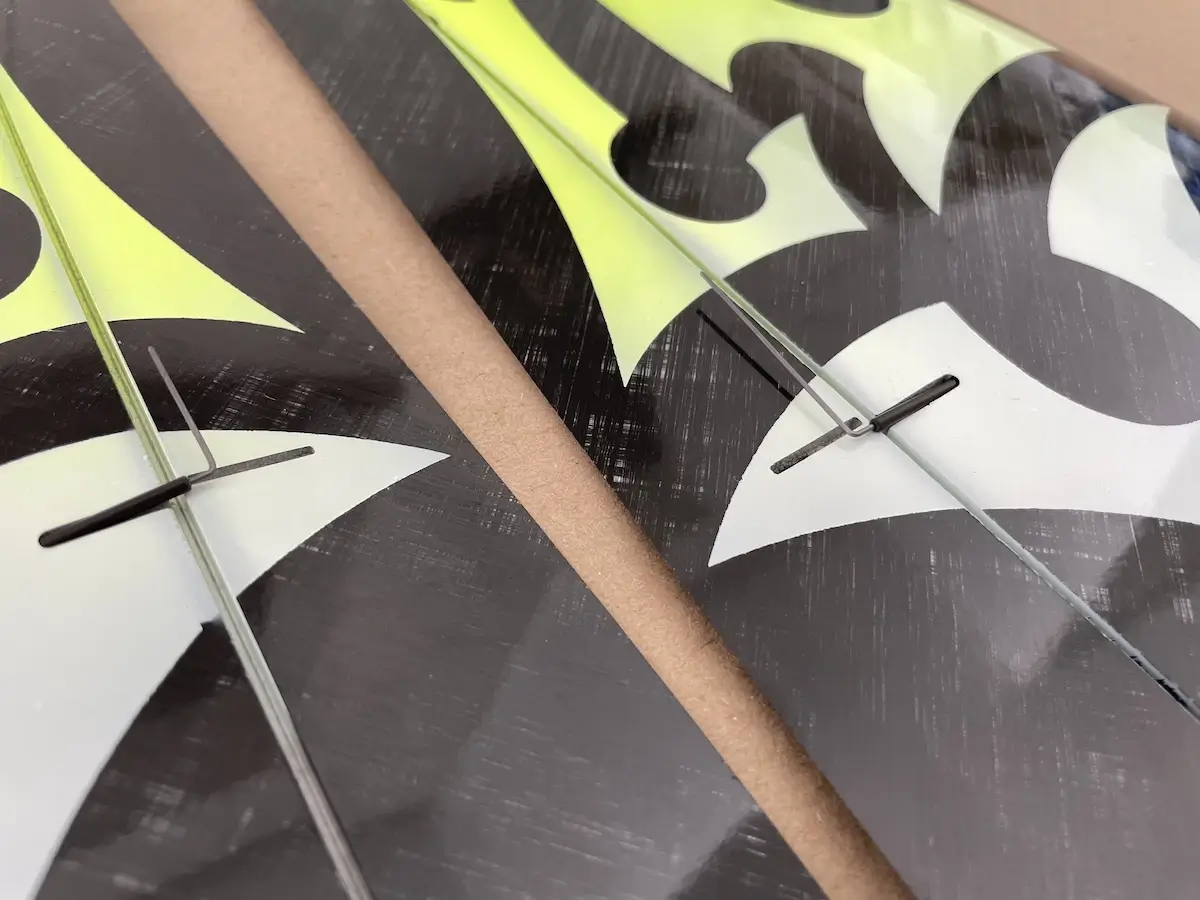
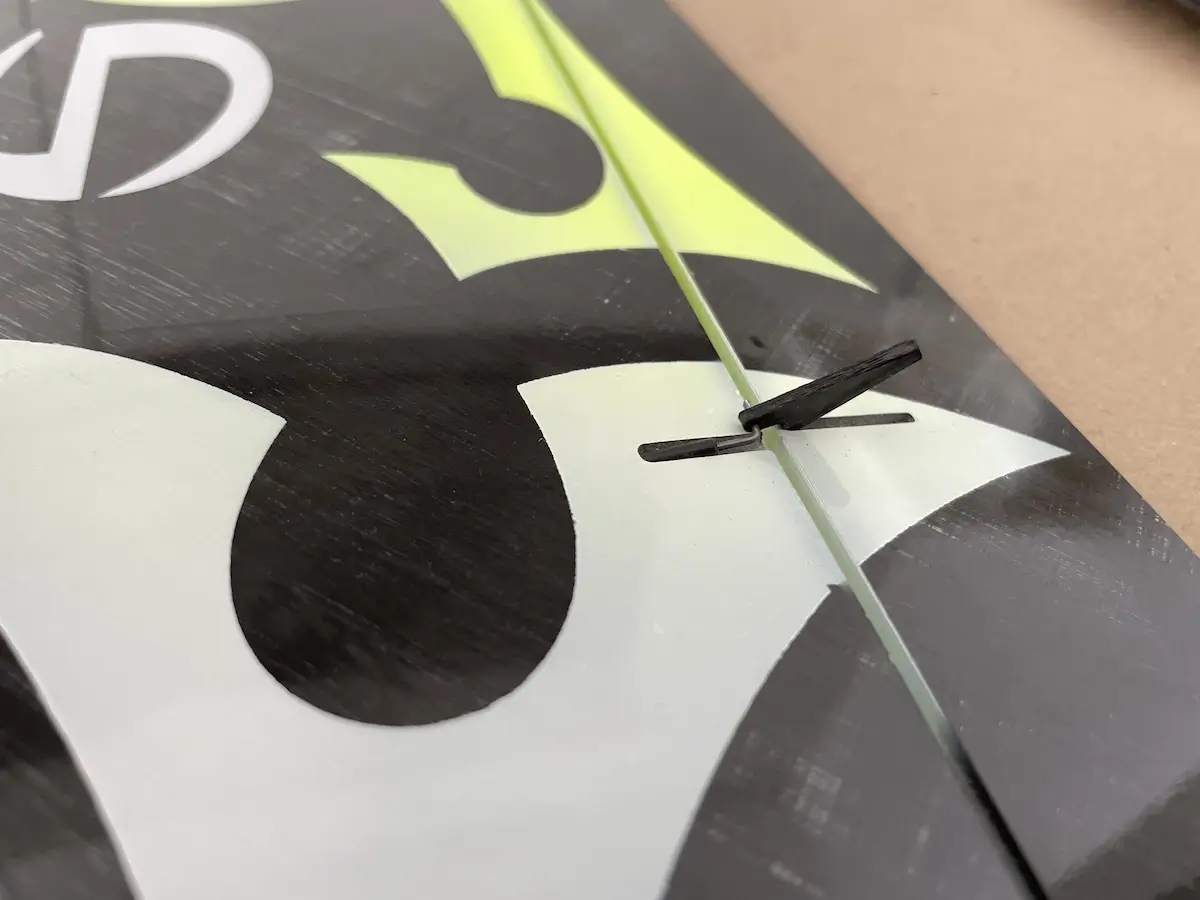
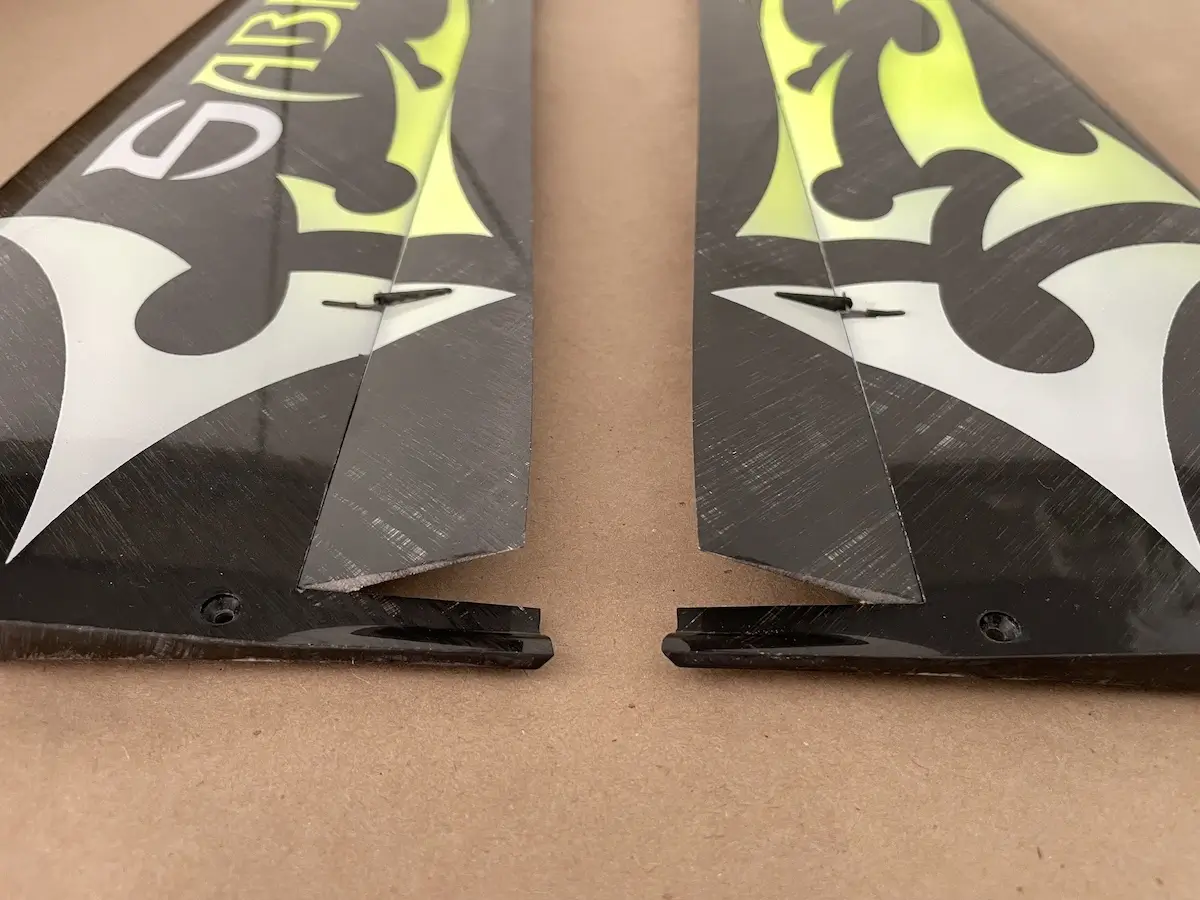
Mask out the area around the control horn slot on the elevatorUsing the mounting holes as guides, draw a center line and measure the lenght of a future slot based on the control horn length and thiknessCut through the top skin where the masking tape is applied and remove the foam from the inside. Leave the skin on the other side untouched Remove the masking tape, round the sharp corners on the control horn, scrub its sides where the glue will apply. Double-check the fitInstall the control horn in place and fix it with CA (the core is a CA-friendly Rohacell) or epoxy resinRepeat the same steps for the rudder control hornNext, prepare the thin music wire from the kit acessory bagBend these in C-shape approximately 60mm longInstall you C-shaped springs into the tails pushing the legs into the opposite sides of the hinge slot of both tail surfaces. Make sure to put one leg right next to the control horn to prevent bending the control surface under load
Part 4. Tail Control Linkages
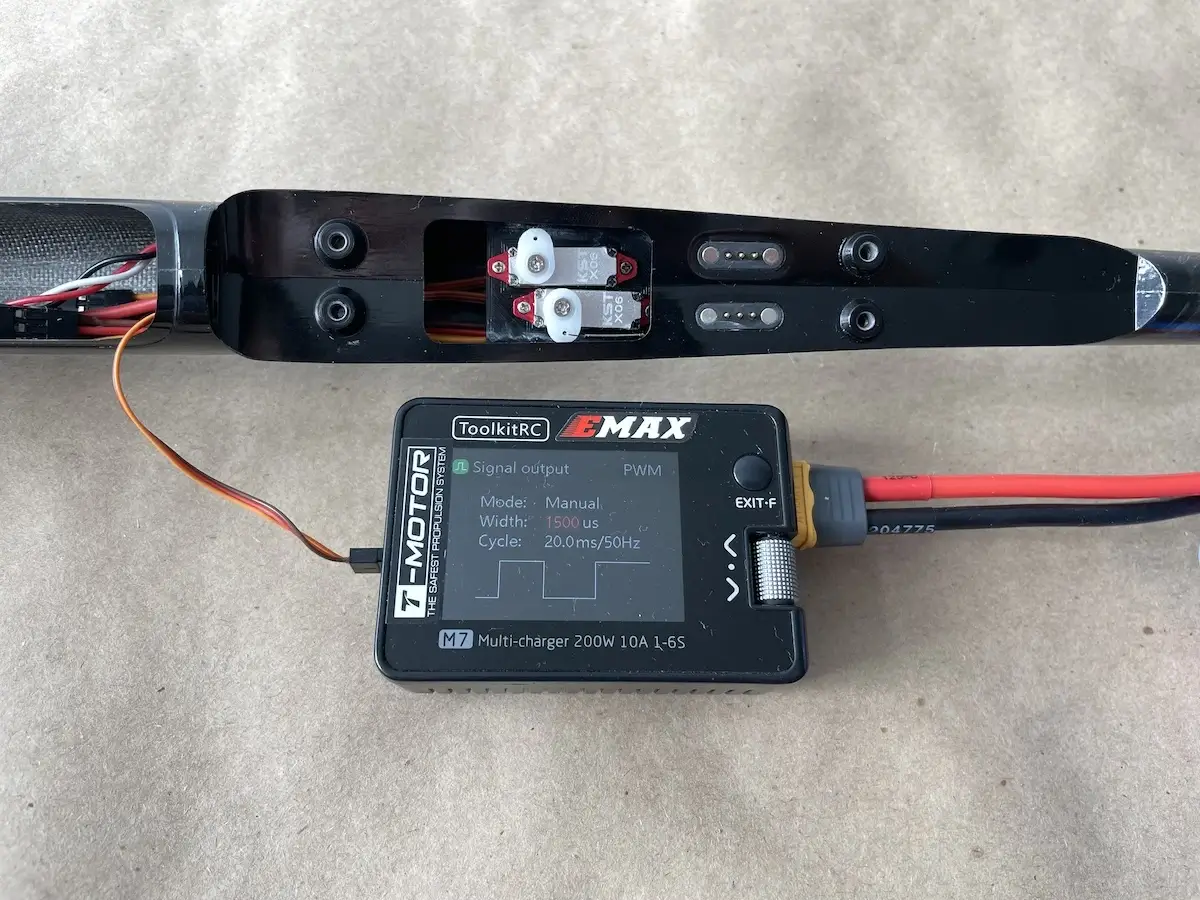
Now you can connect the tail servos and your tail control surfaces.
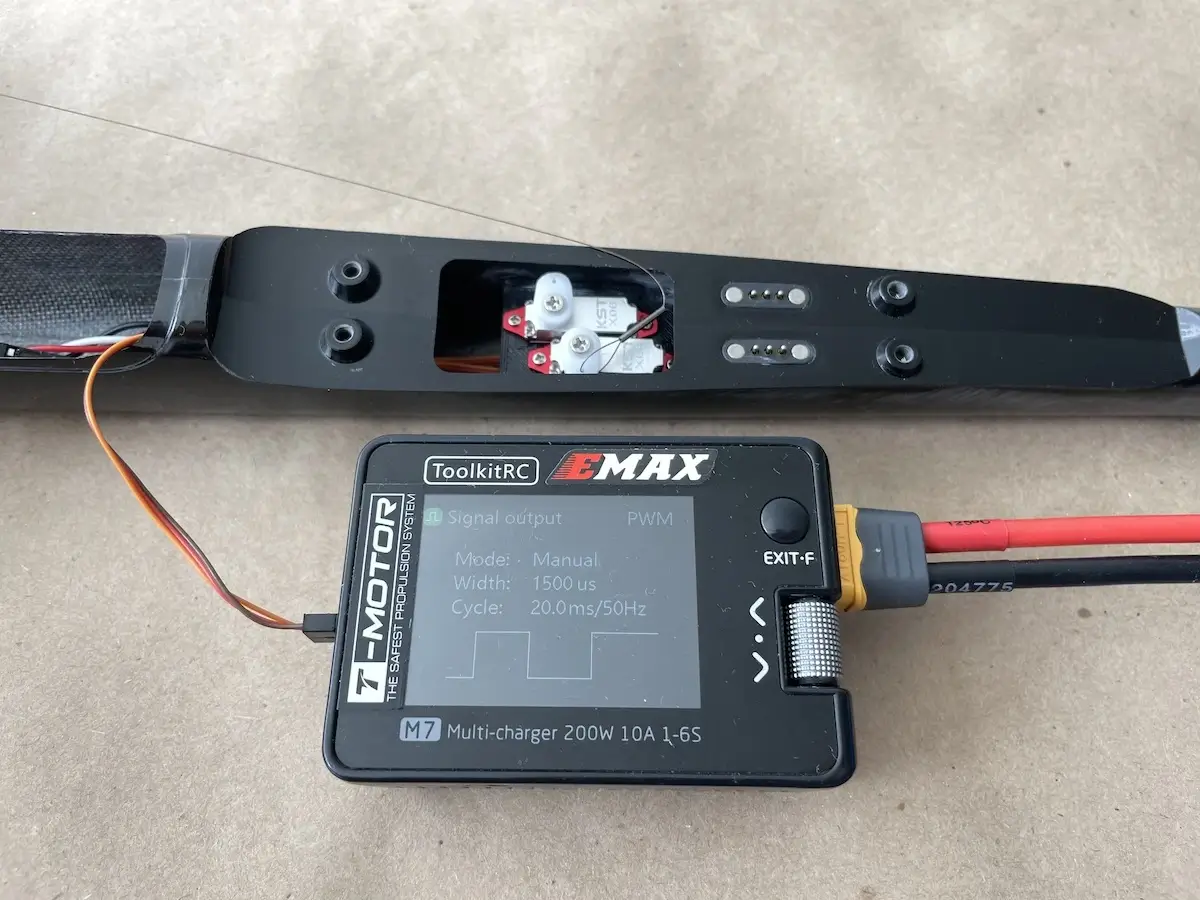
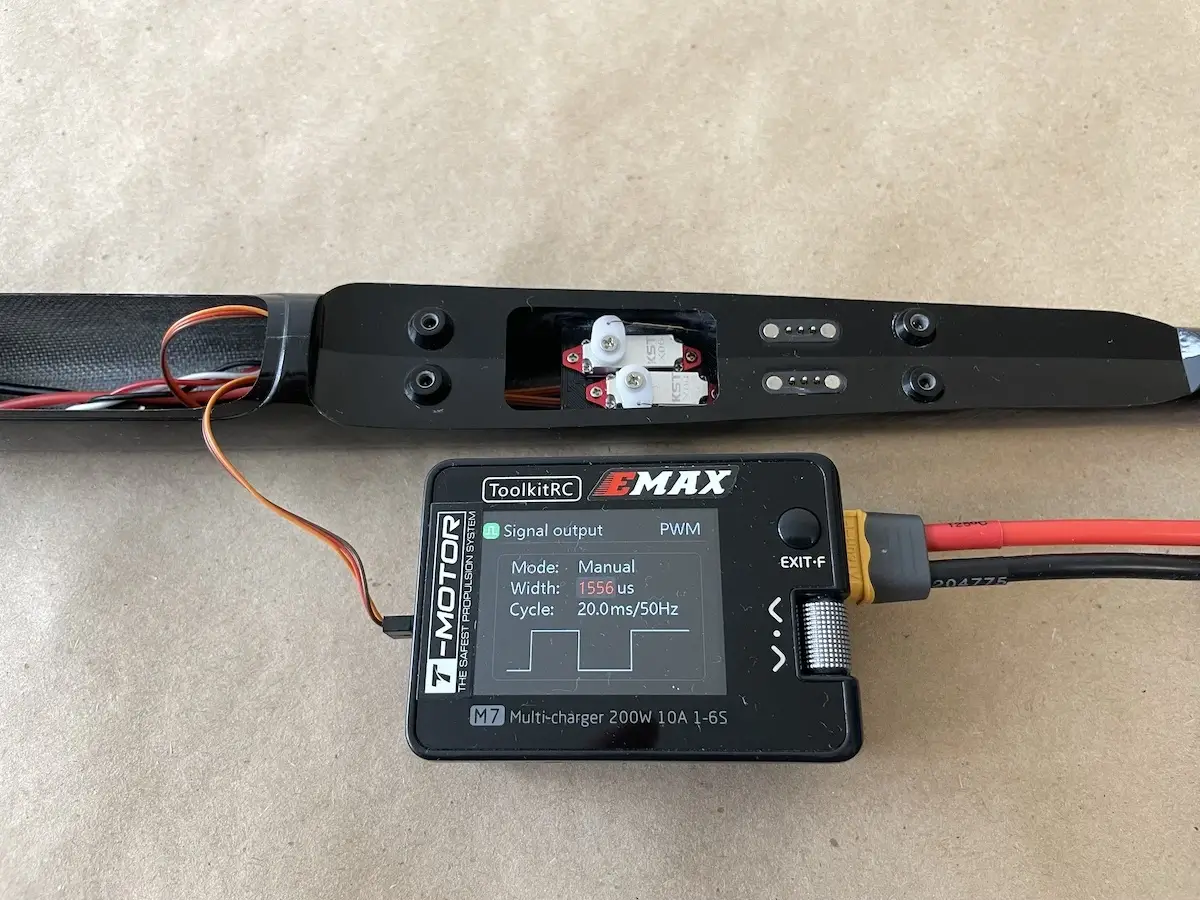
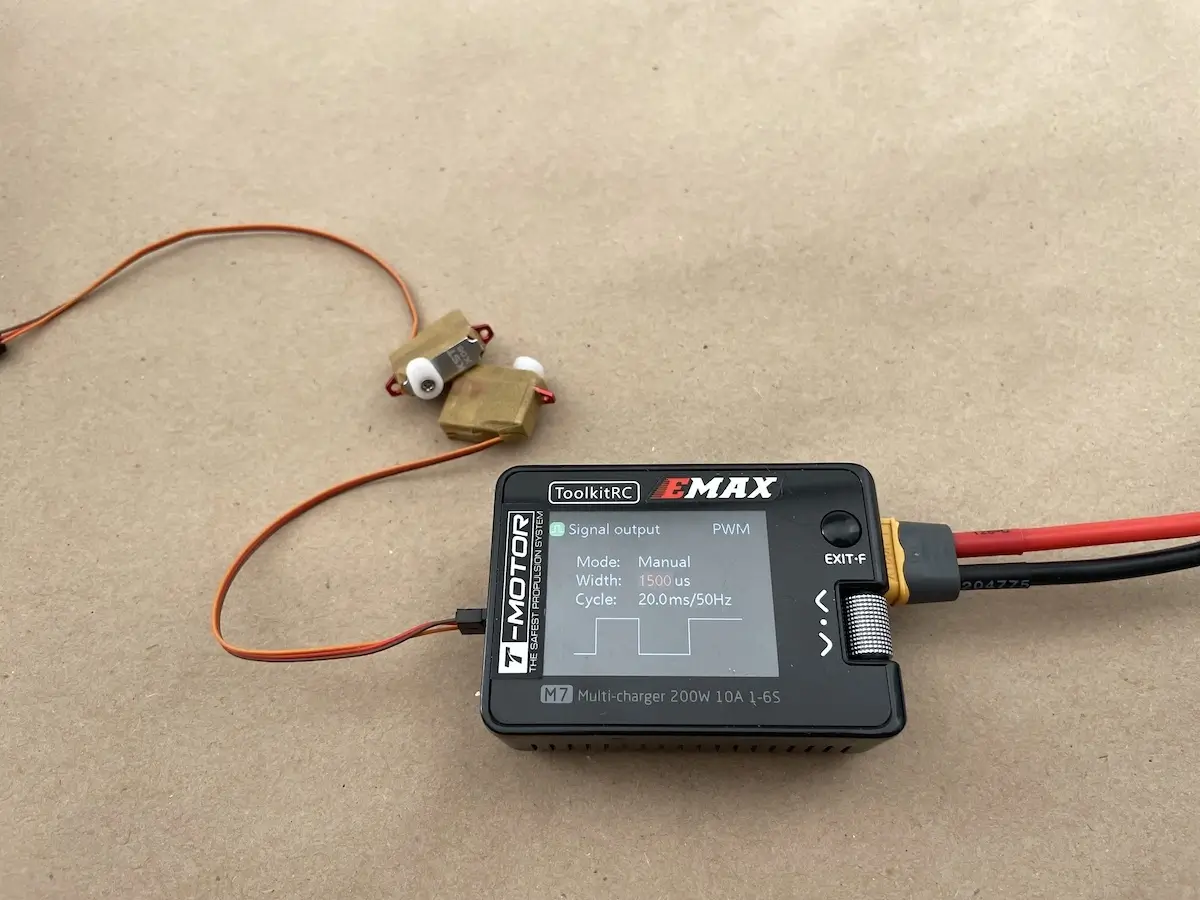
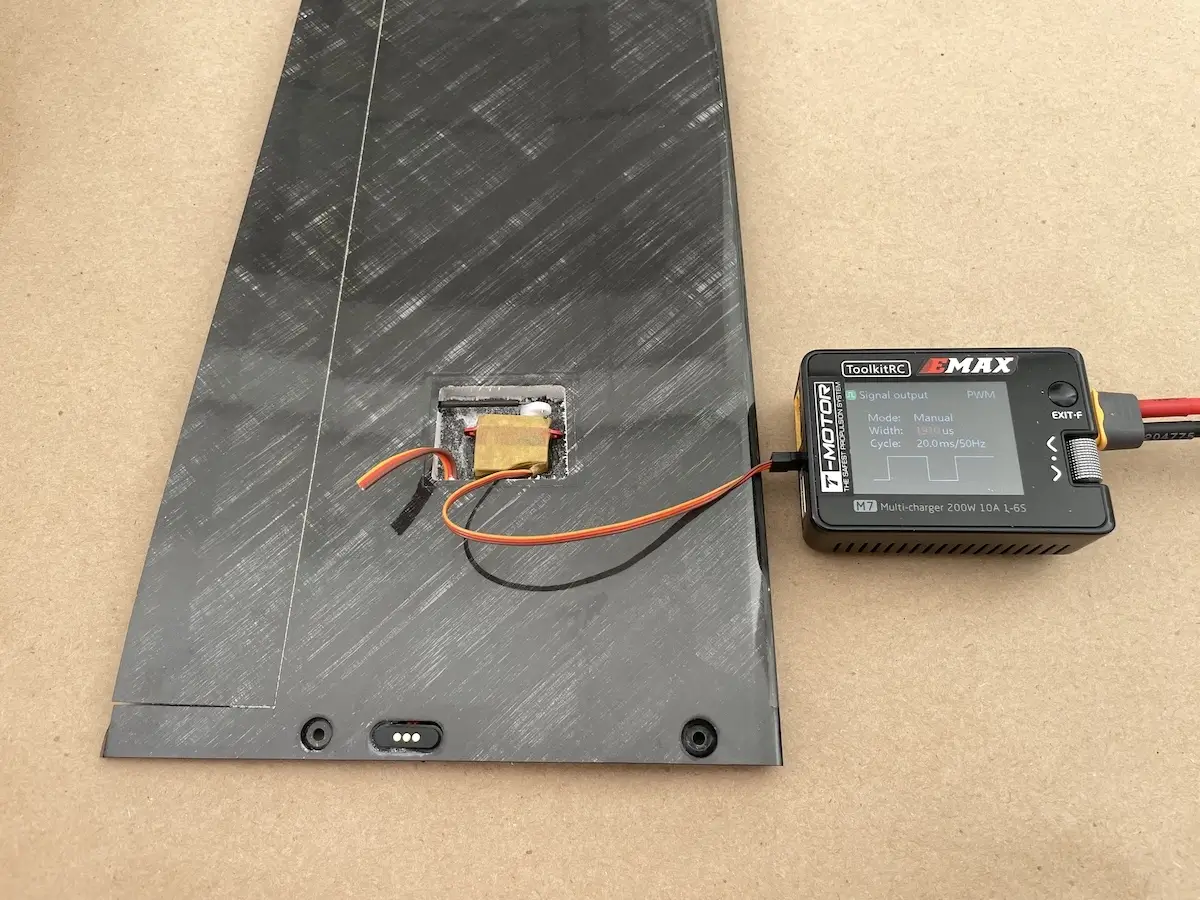
You will need a servo tester or just your radio and Rx to center and adjust the neutral position of your servos in the process.
Thin pliers with a side cutter will come in handy to.
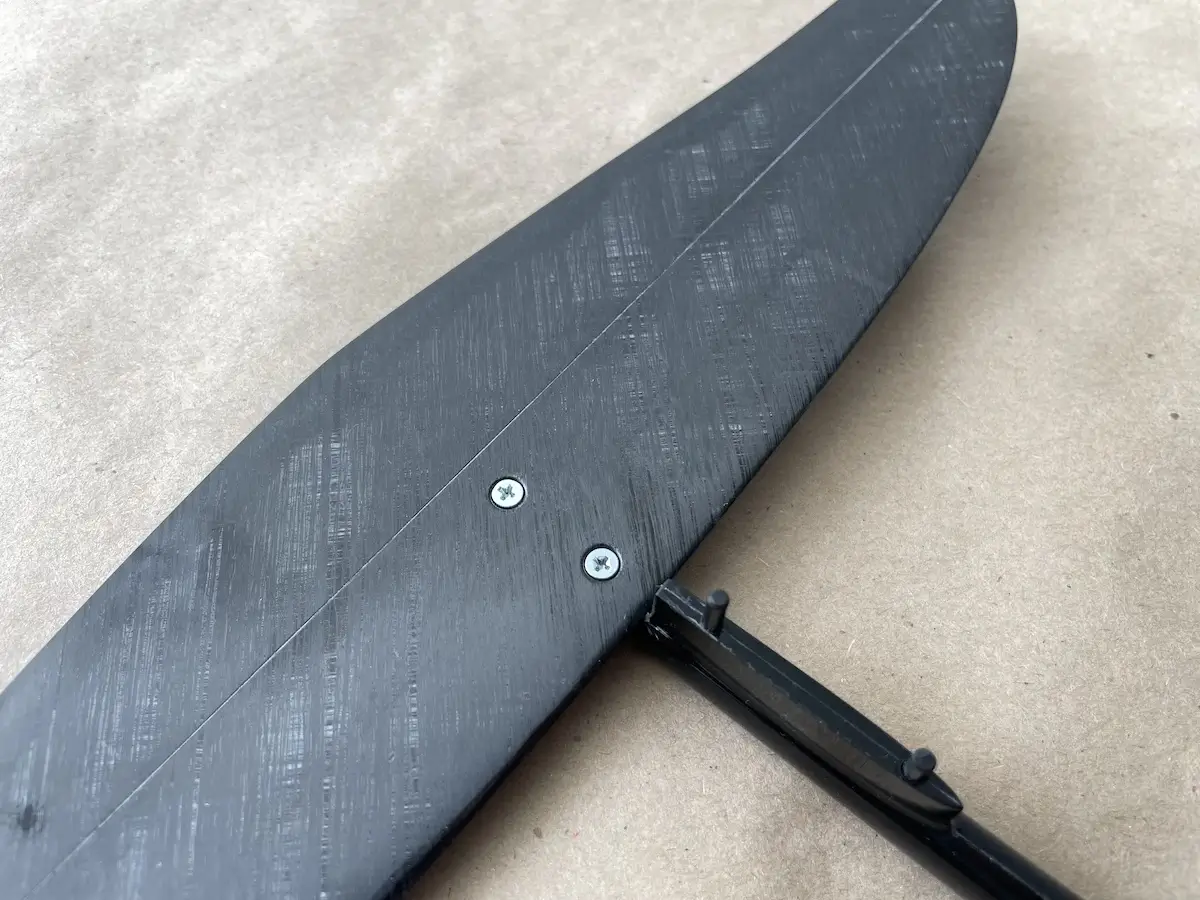
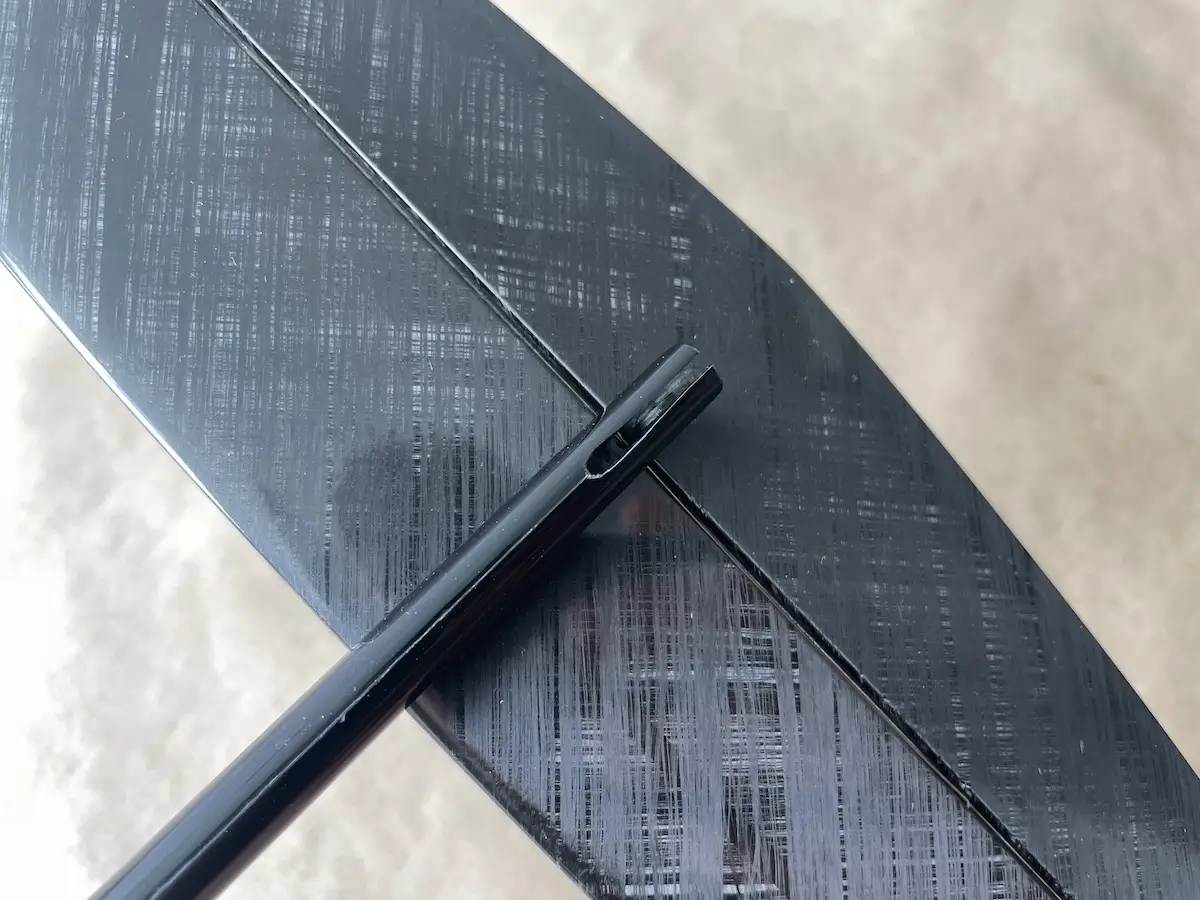
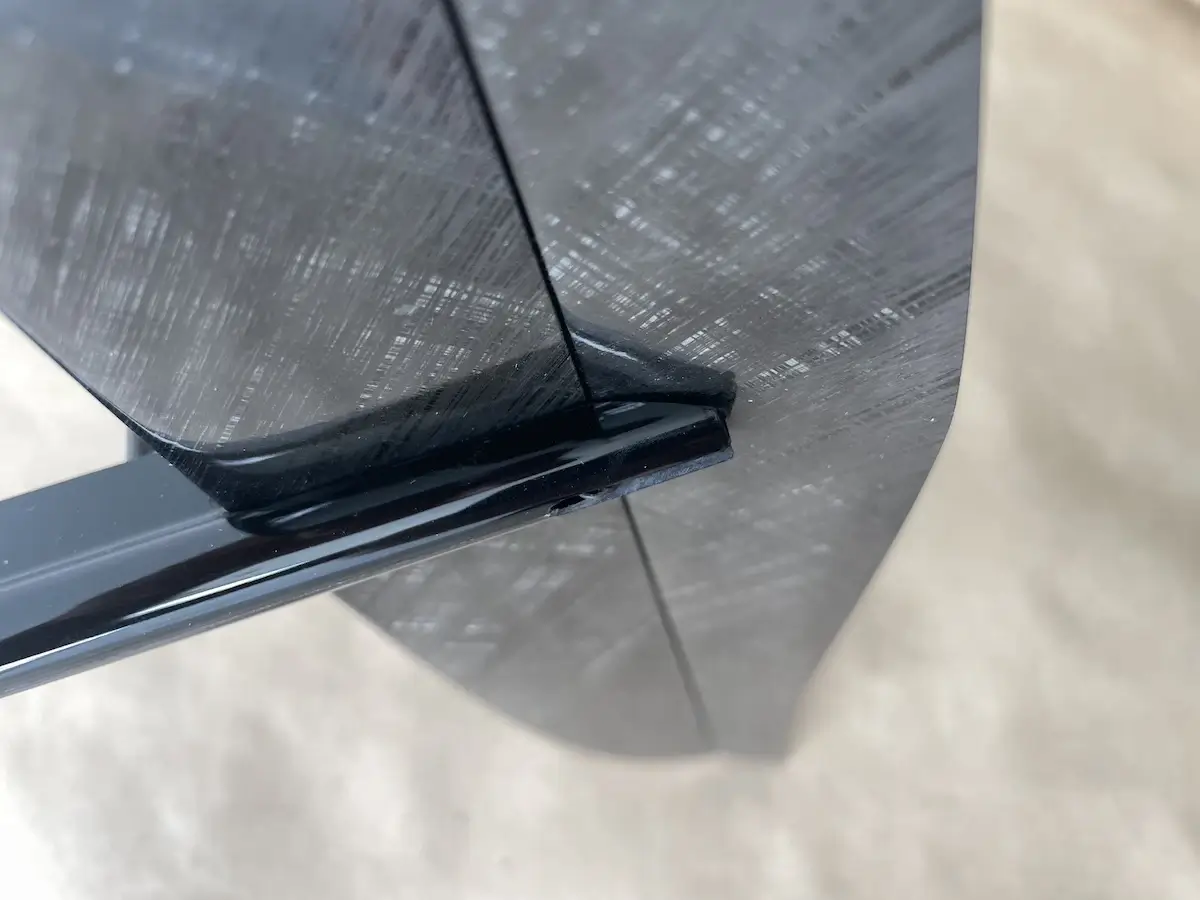
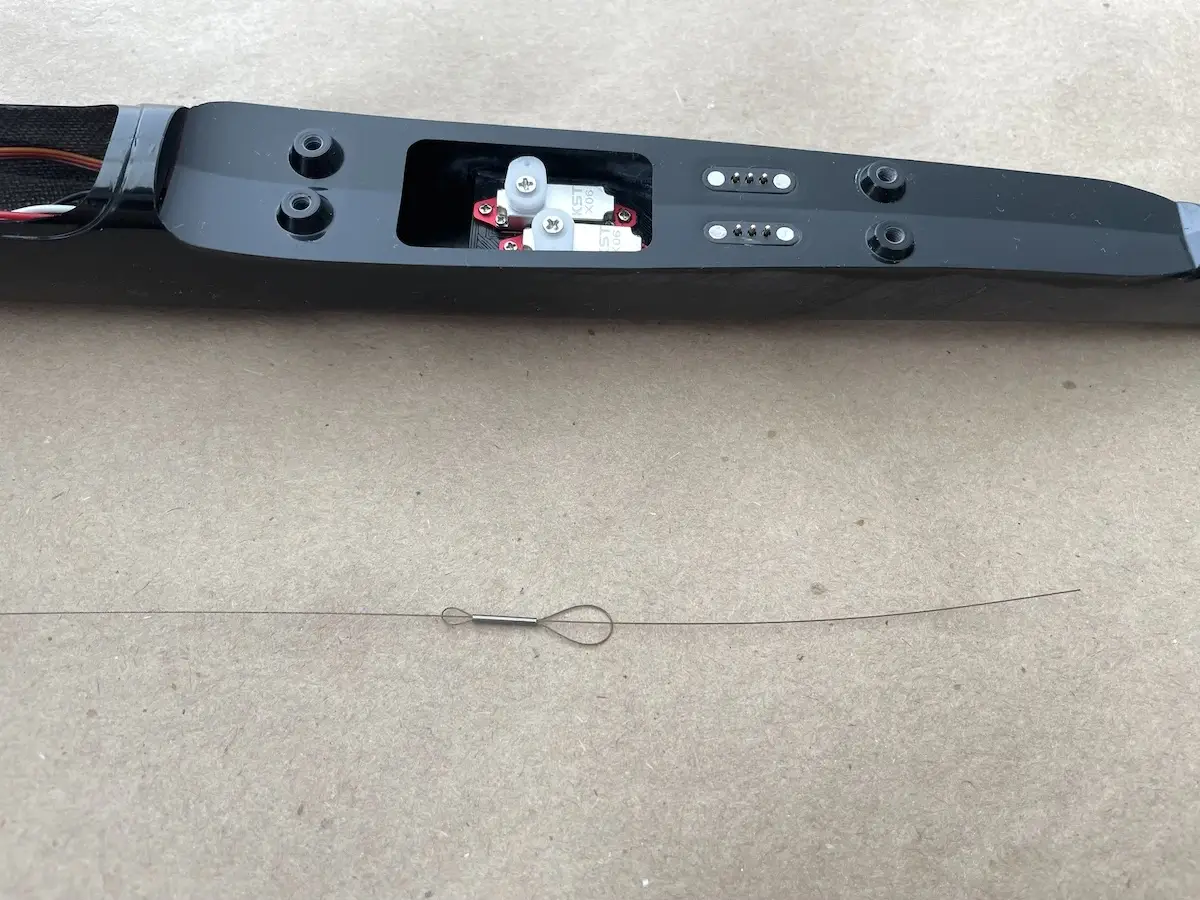
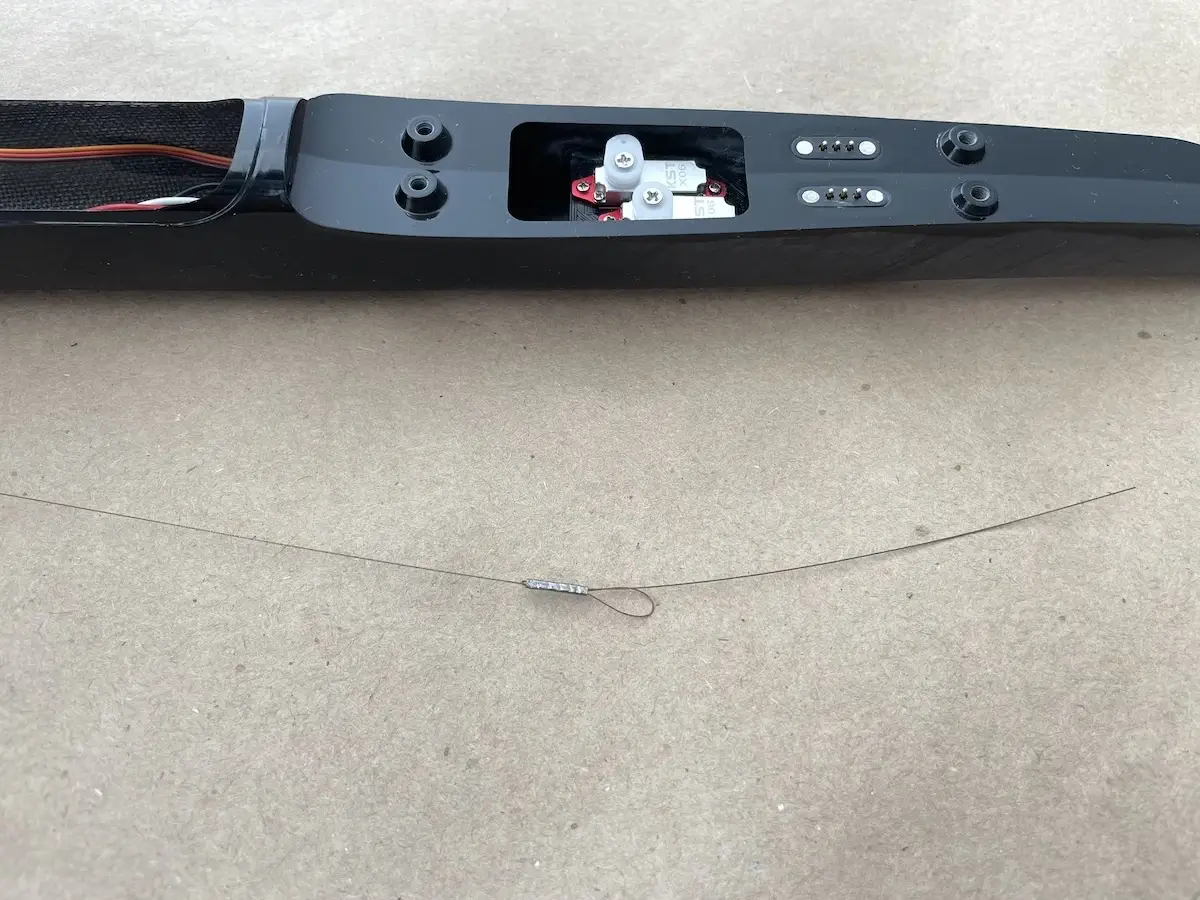
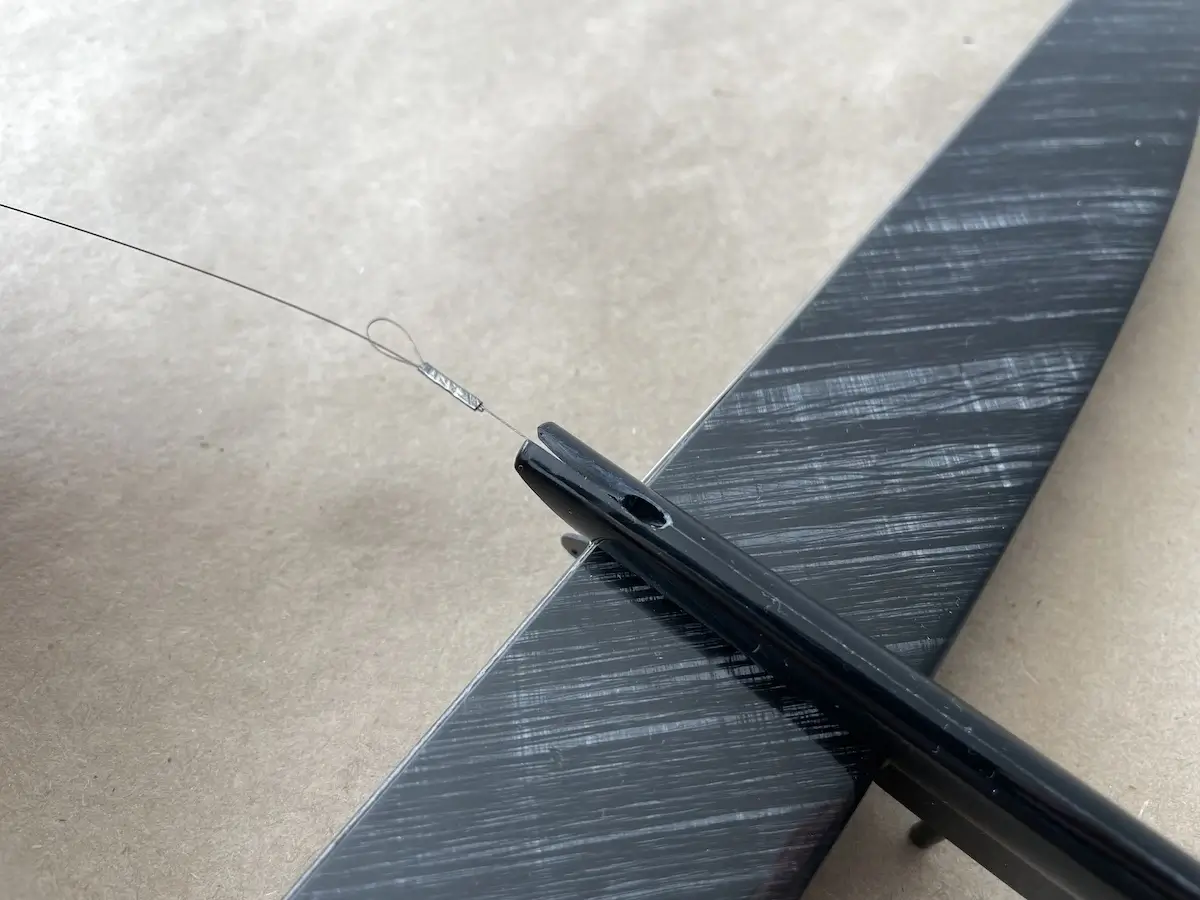
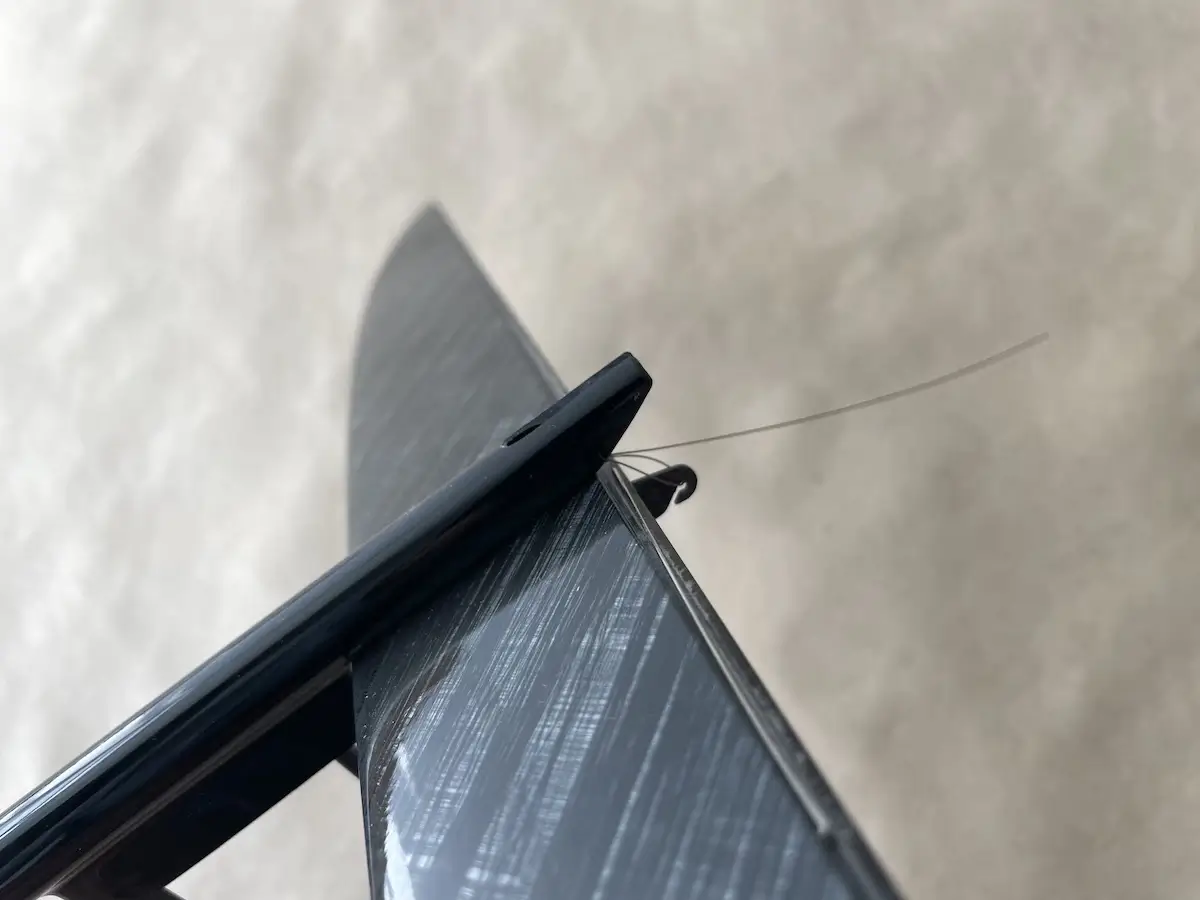
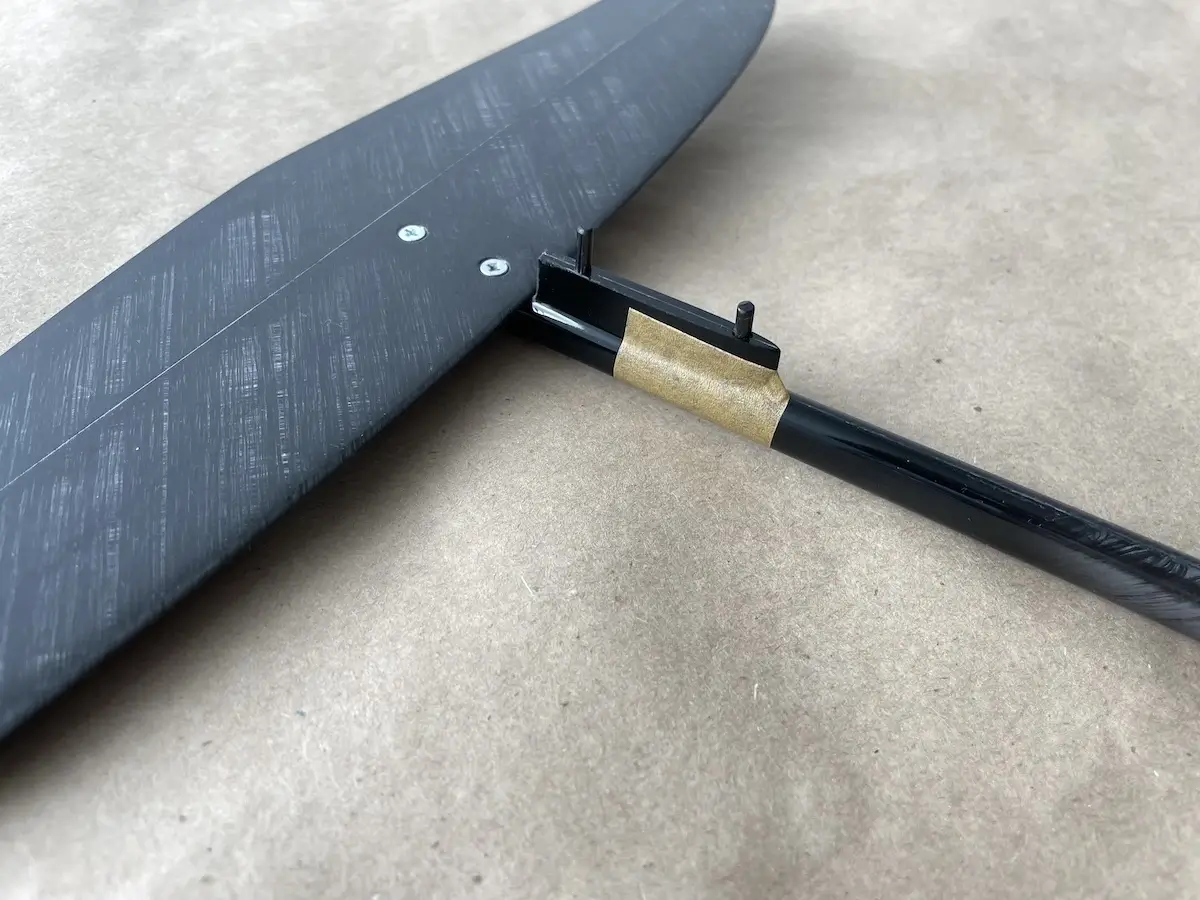
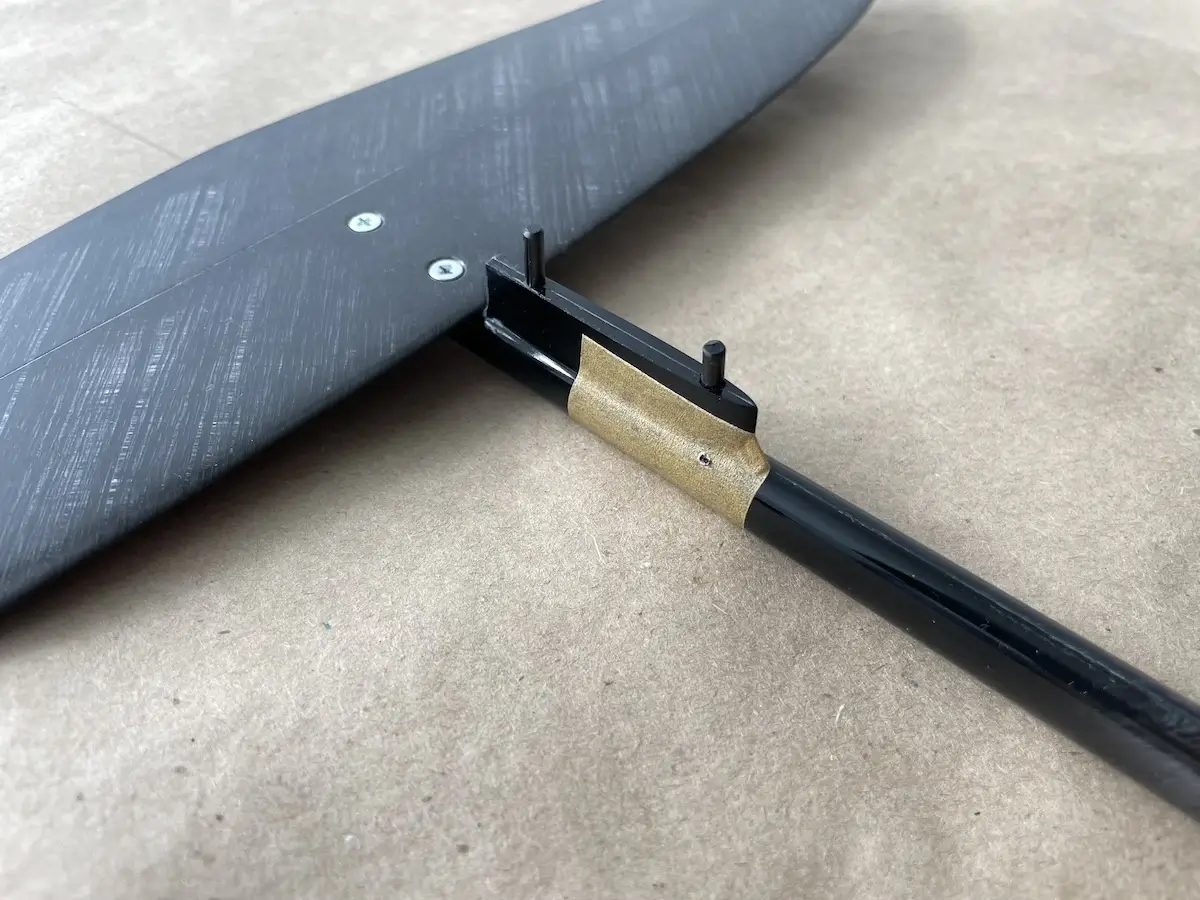
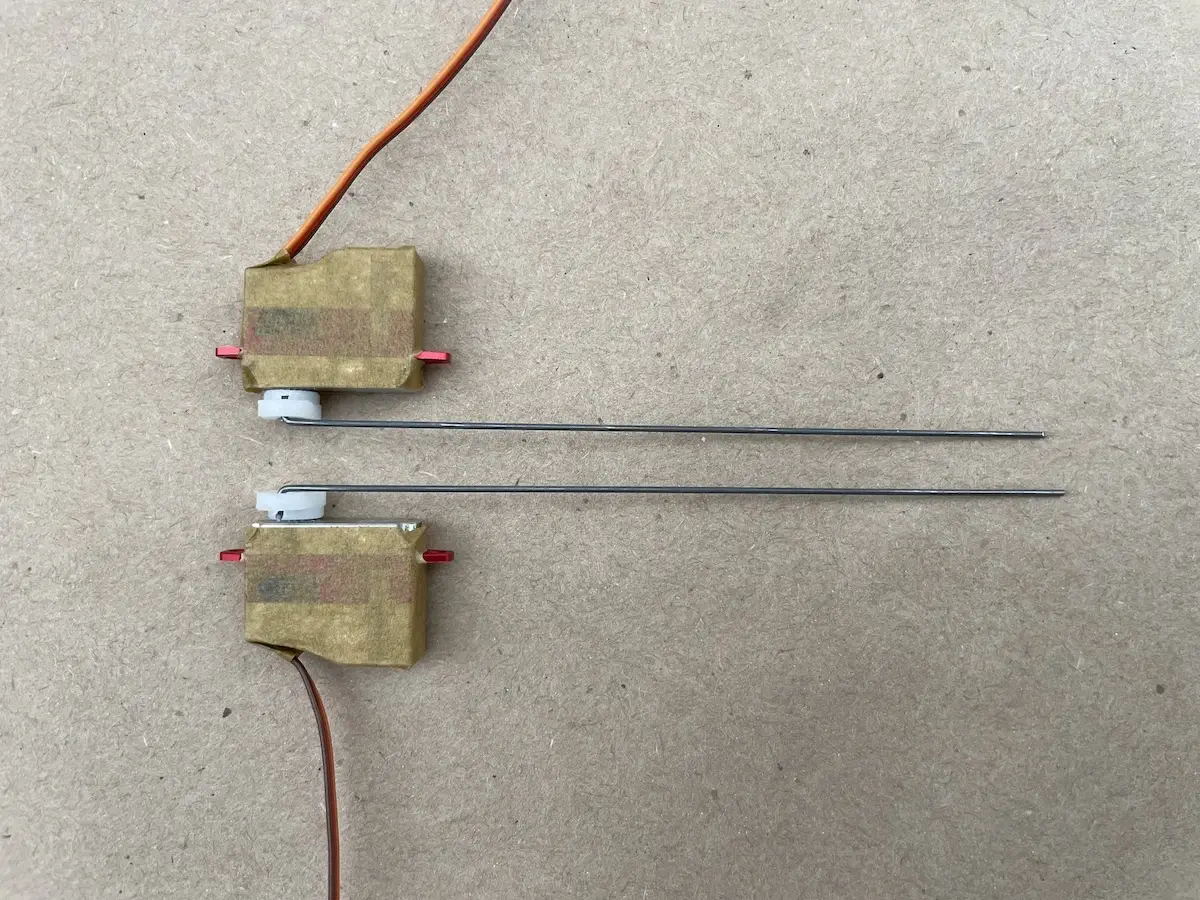
Mount tailplane to the fuselageMake sure that the slot in the boom is wide enough to allow a full down travel for the elevatorThe full down deflection should rest the elevator on the boomPrepare your pull-wire and the crimp tubesFirst of all, make a loop through the crimping tubeThen, push the tail of that cable through the tube one more time, creating another loop from the other side of the crimping tubeMake the second loop as small as possible and crimp the tube. Apply thin or medium CA to the both sides of the crimping tube to secure the jointPull the wire with the loop you just made though the boomHook the loop to the elevator control hornPull the other side of the pull cable through the crimping tube firstNext, pull the cable through the servo arm and then – back into the crimping tube. Connect the elevator servo (down on the pic) to the servo tester to keep it in the neutral position while crimpingTrim the length of the cable in the boom to set the elevator to neutral position, and crimp the tube to fix the needed length. Secure the joint with two drops of CA on both sides of the crimping tubeThe elevator need to be in this position when the servo is centered, or as close to it as possibleNext, apply the masking tape on the side of vertical fin pylon, to the front part of itDrill a small hole in the boom close to the base of the pylon, approx 7-10mm back form the leading edgeRemove the masking tape and thread the cable through this hole and all the way to the front, where the servo tray is locatedNext, pull the cable through the crimping tube, the servo arm, and back into the crimping tubeCrimp, trim the excess wire, and secure the joint with a few drops of CAInstall the fin in place and make a loop on this side pulling the cable through the crimping tube and backSet the rudder servo (up on the pic) to 90° to the fuselage centerline even if it’ll be slightly off the servo center. Leave the servo connected to servo tester (or Rx) to hold position while crimping the other sideHook the loop to the rudder control horn and trim the length of the wire to set the rudder in neutral positionCrimp the cable and cut off the excessAdd a few drops of CA on both sides of the tube to secure the joint
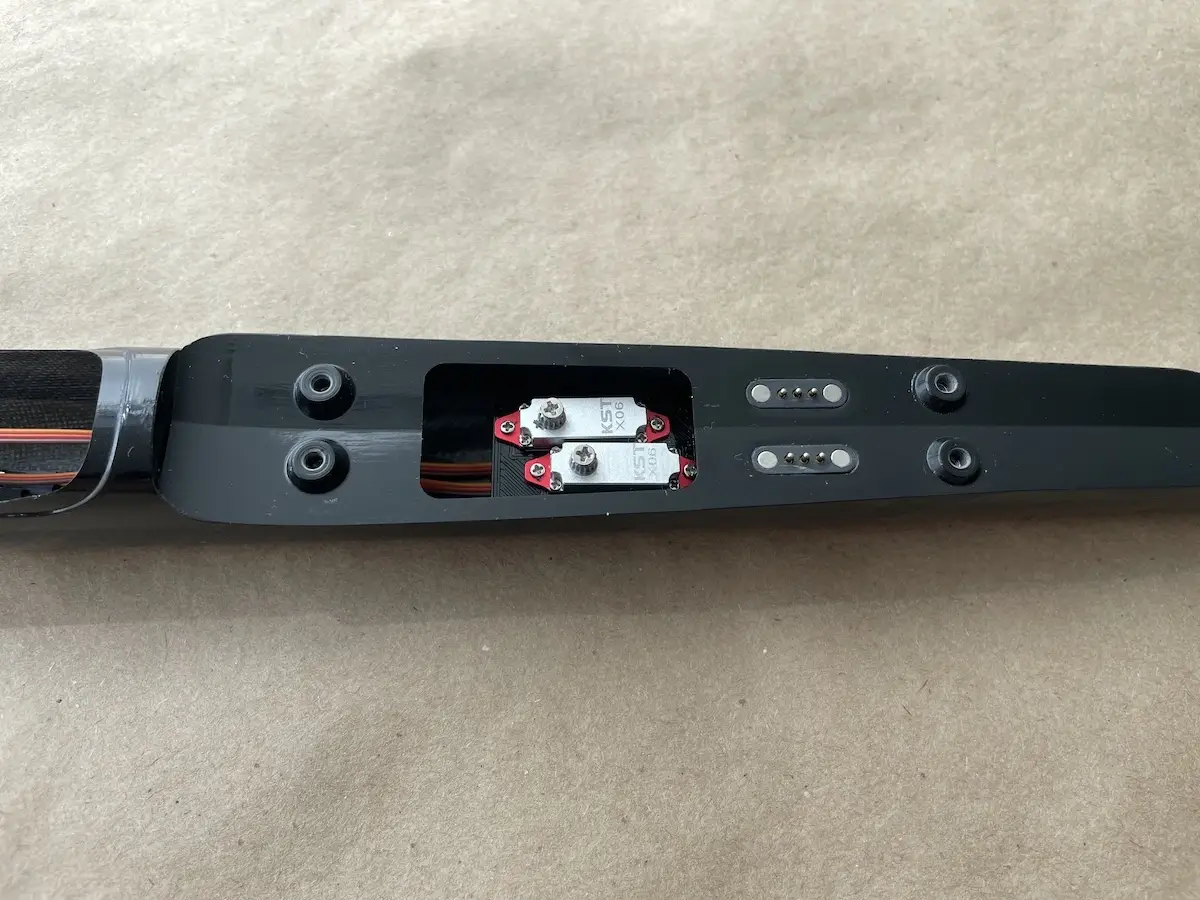
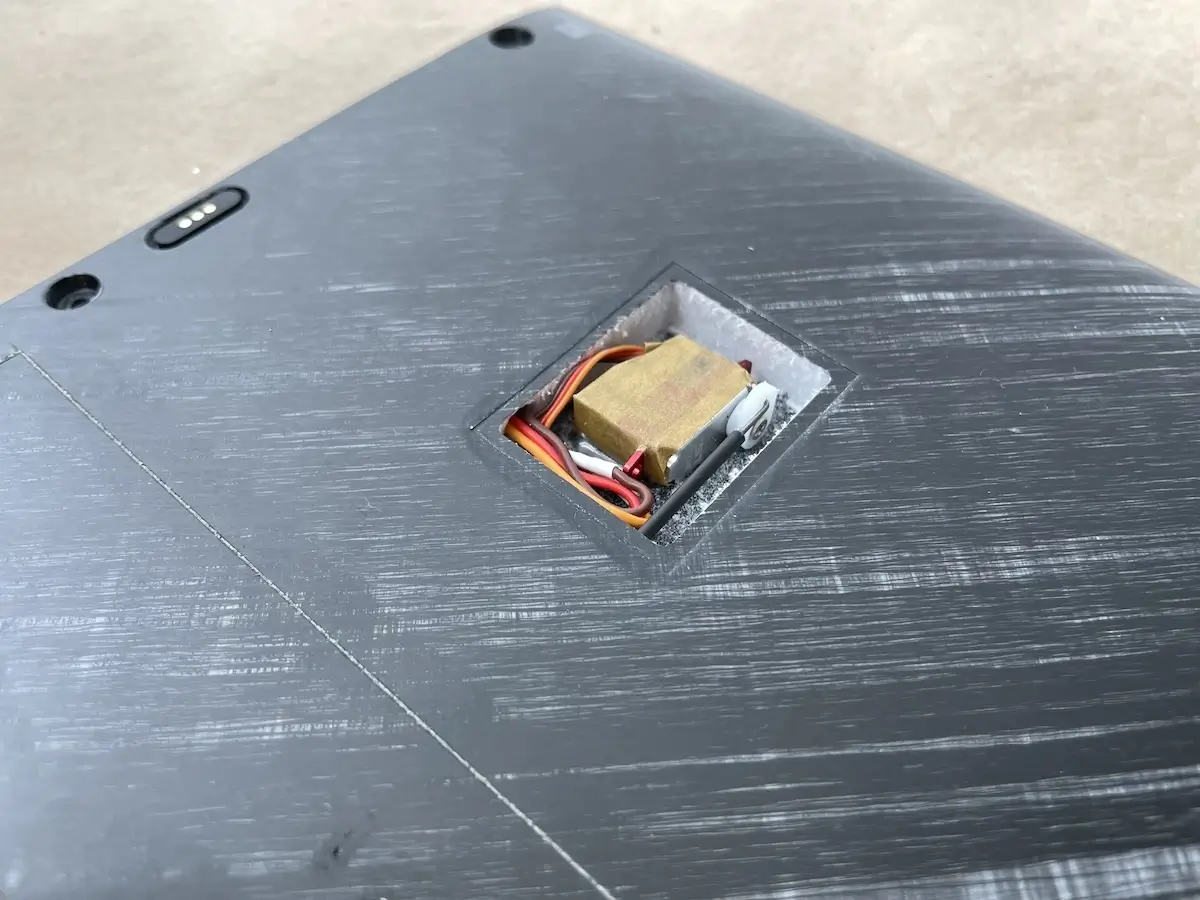
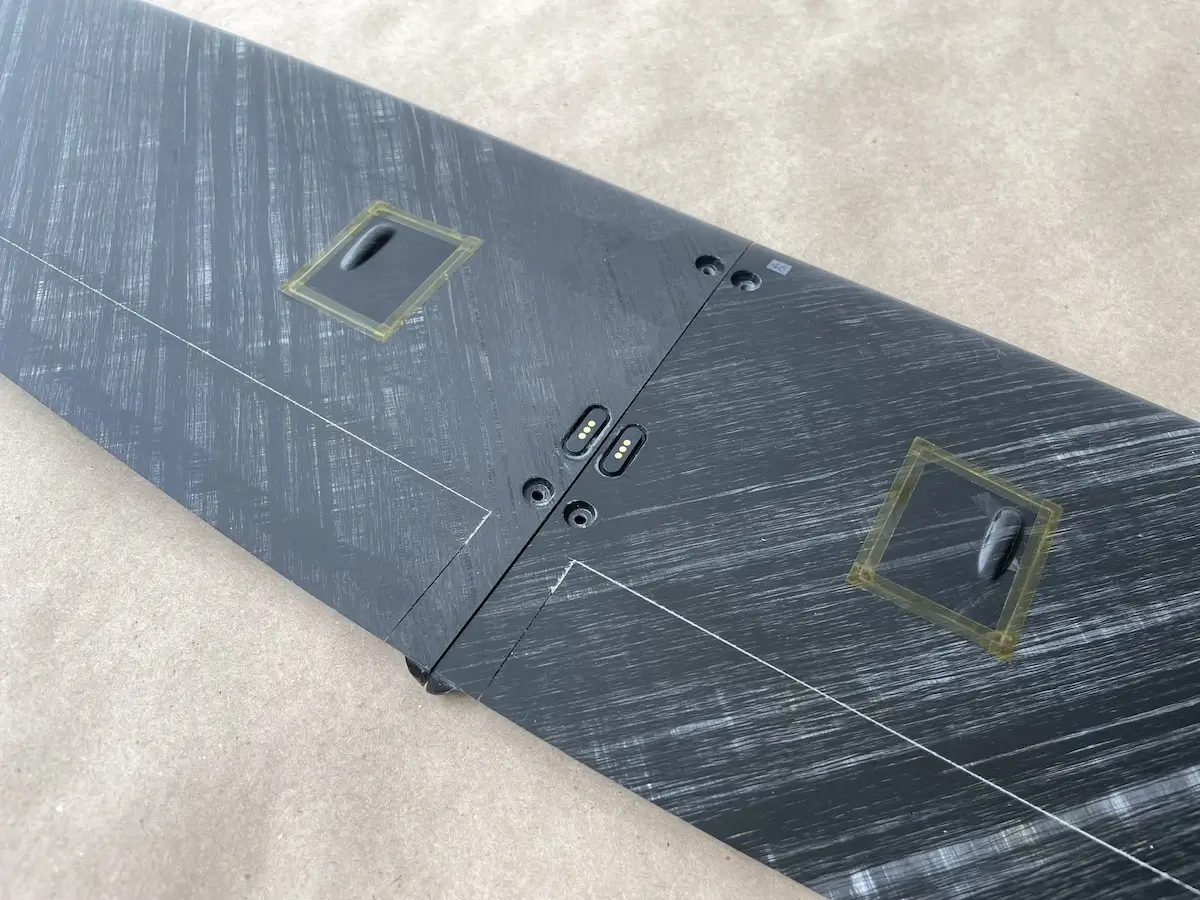
Part 5. Aileron Servos And Linkages
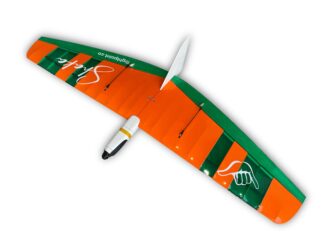
Sabre’s wing is designed to use 3D-printed frames for installing KST X06H servos.
However, you can get away with using X06 or X06N servos as well w/o using a printed frame, but gluing the servos directly into the wing.
The only difference between these options is the potential maintenance and replacement of the servos.
But in case you are not planning to crash too often, you should be good 😉
Your choice of either or doesn’t change the overall process, so please, use the following steps as a guide for building your wings.
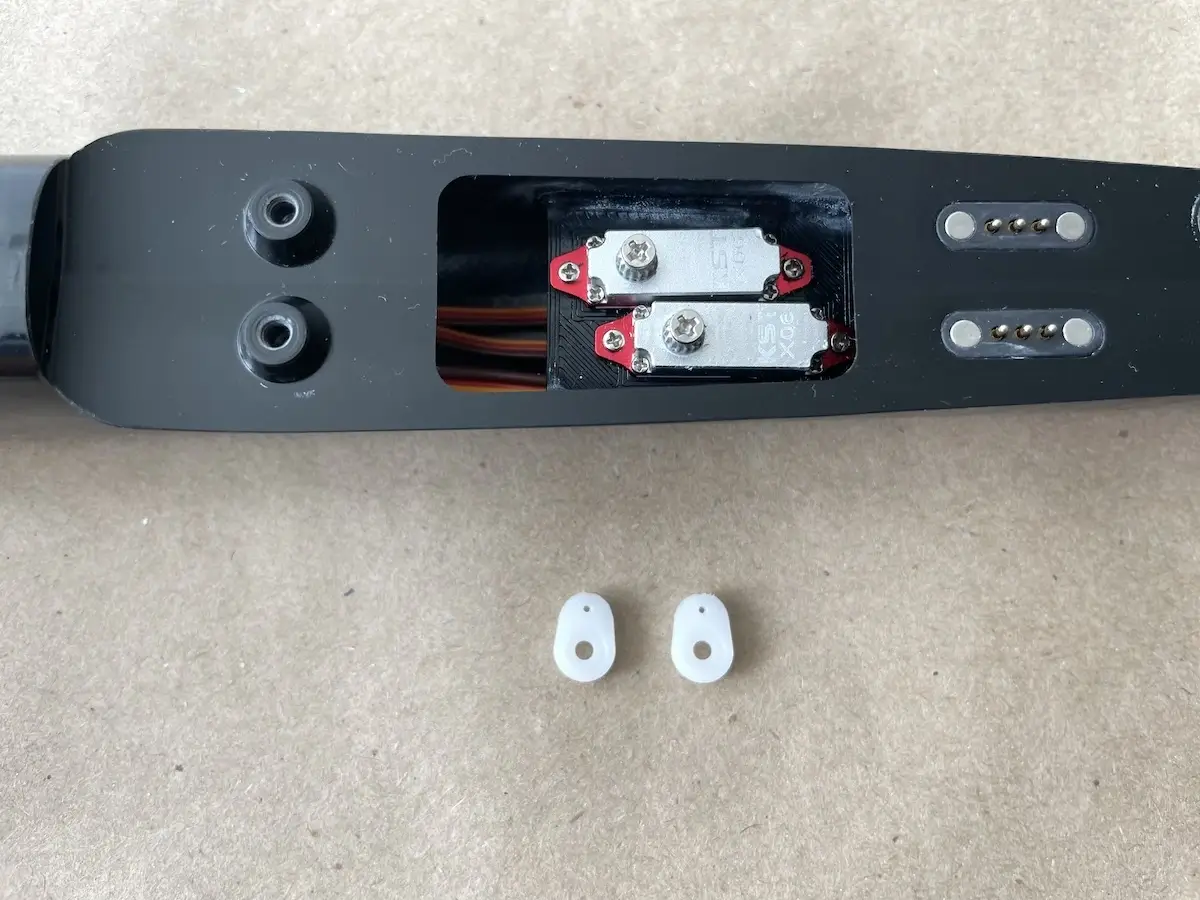
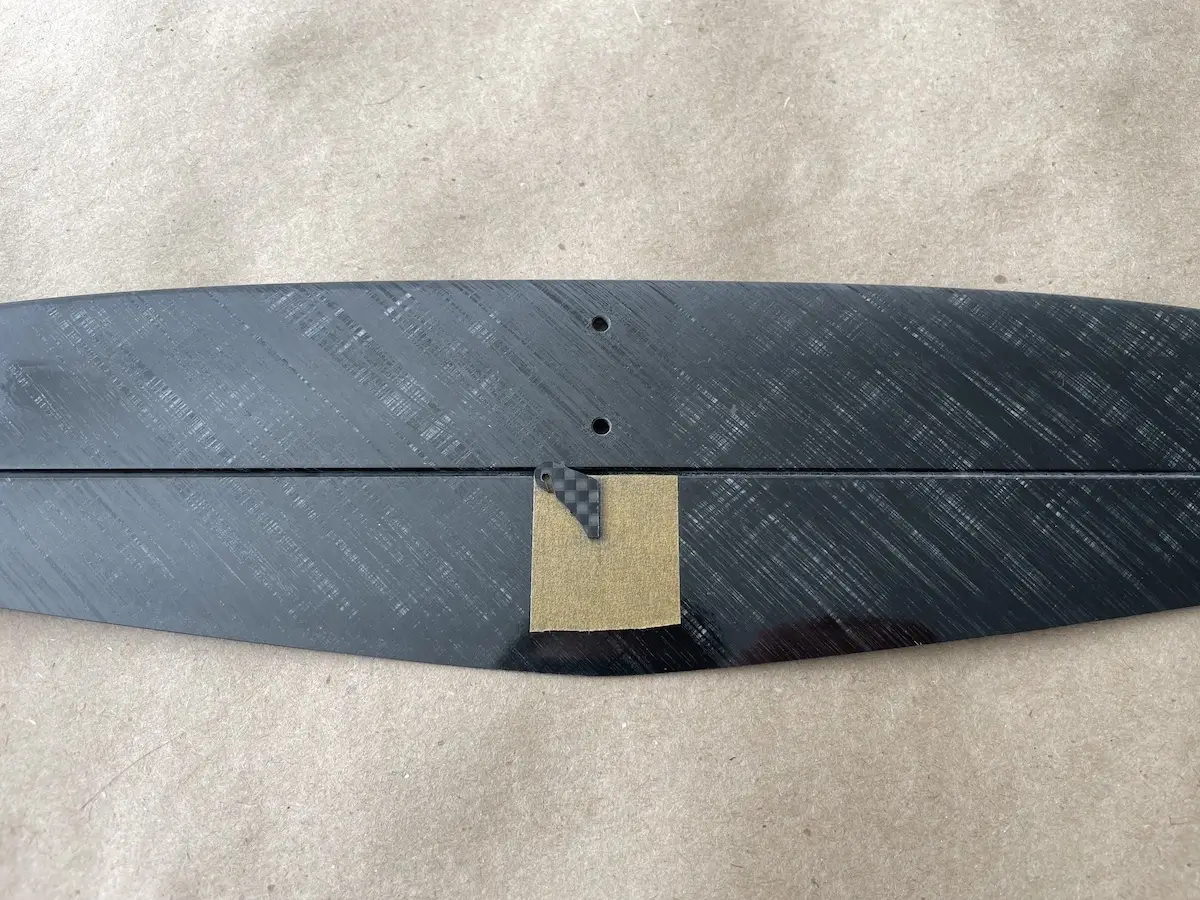
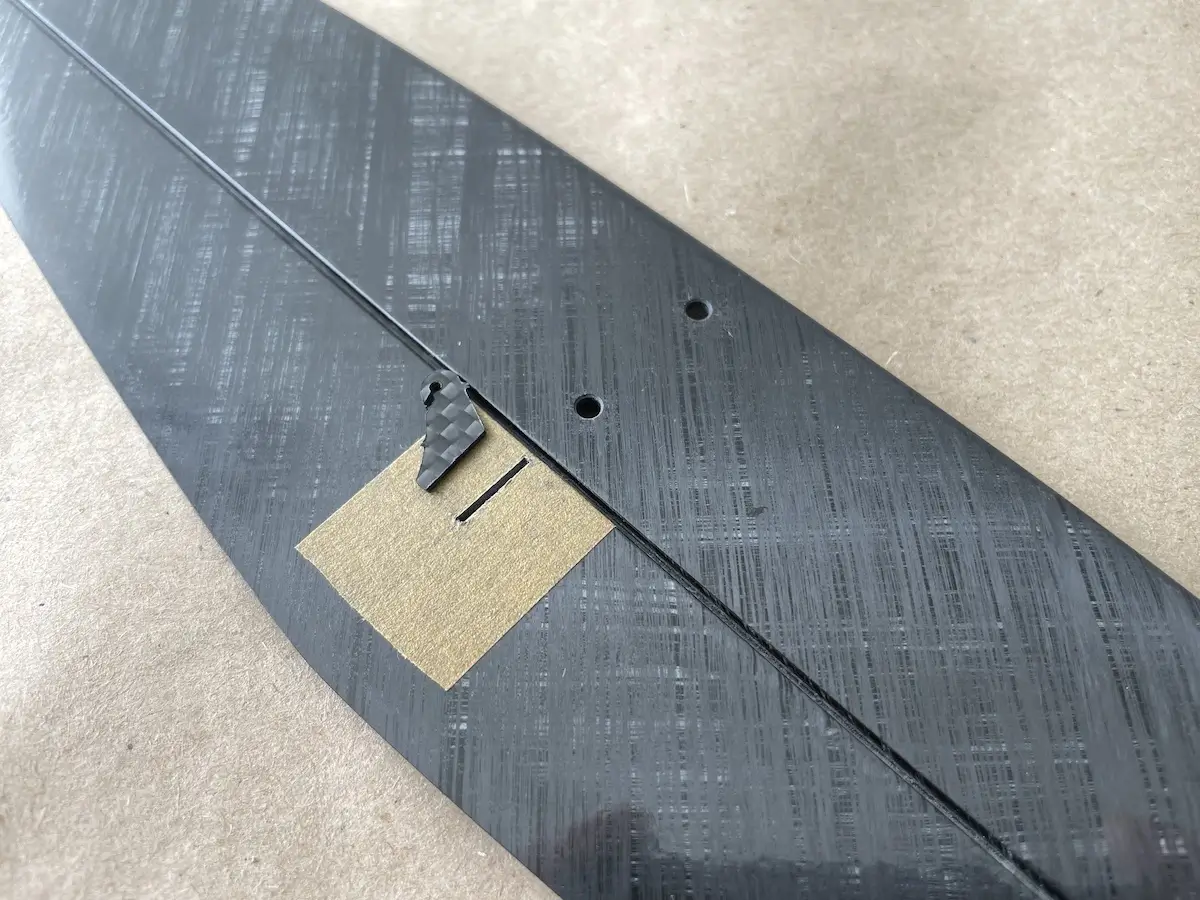
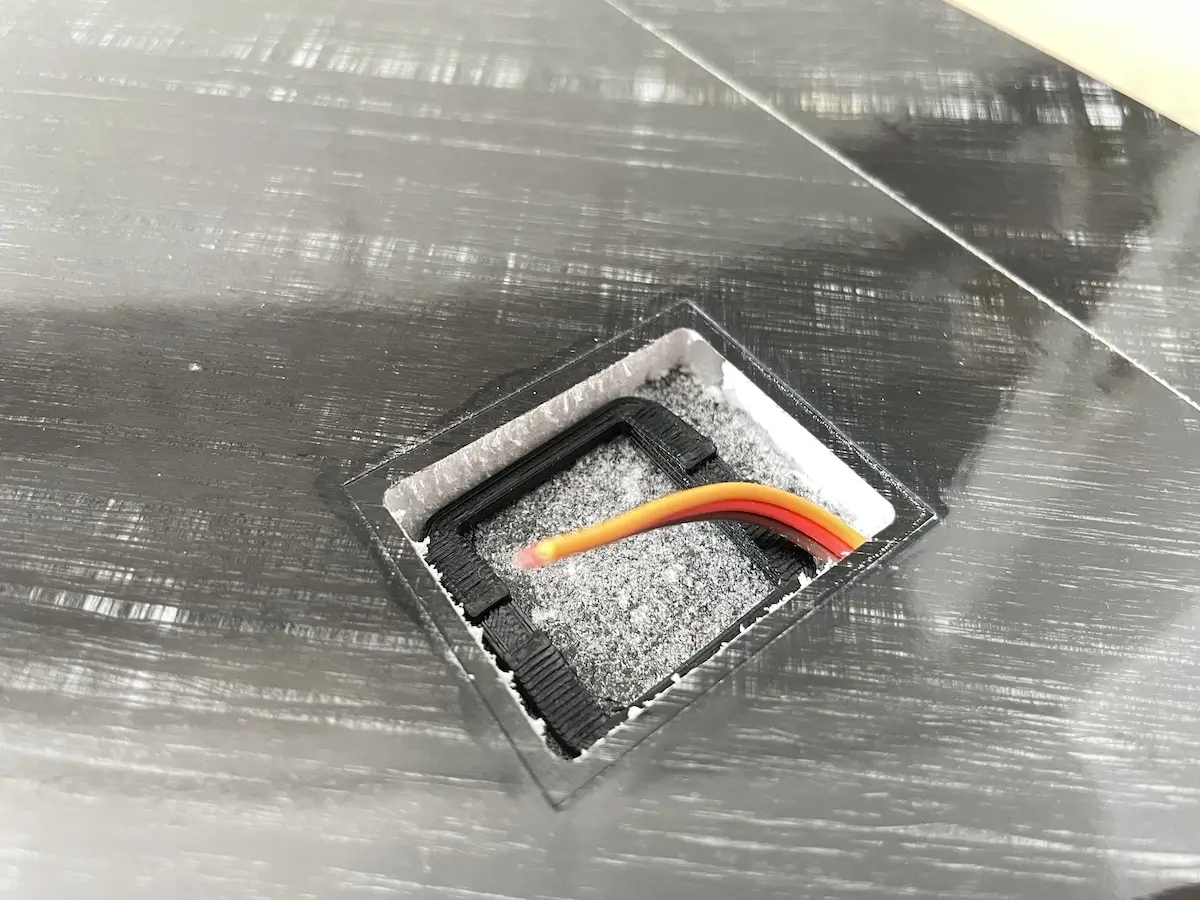
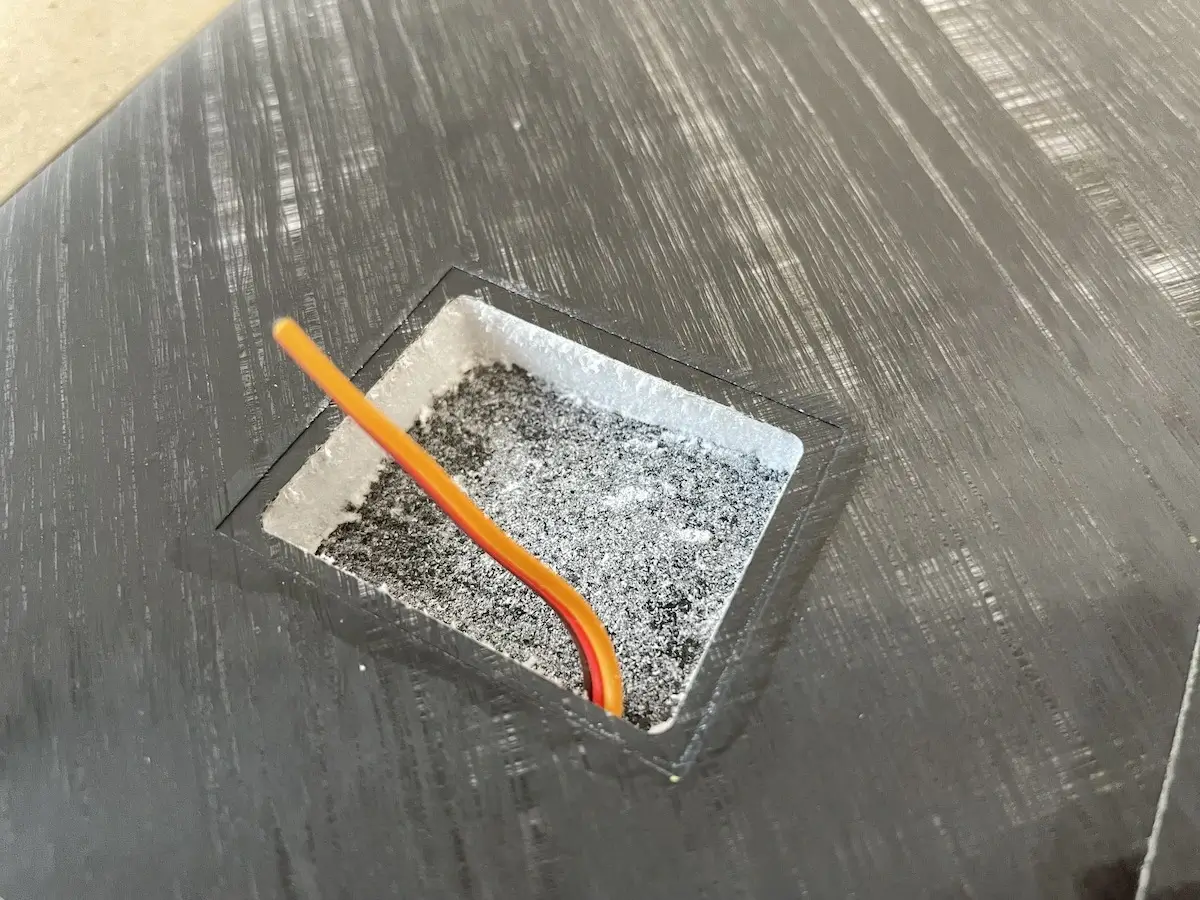
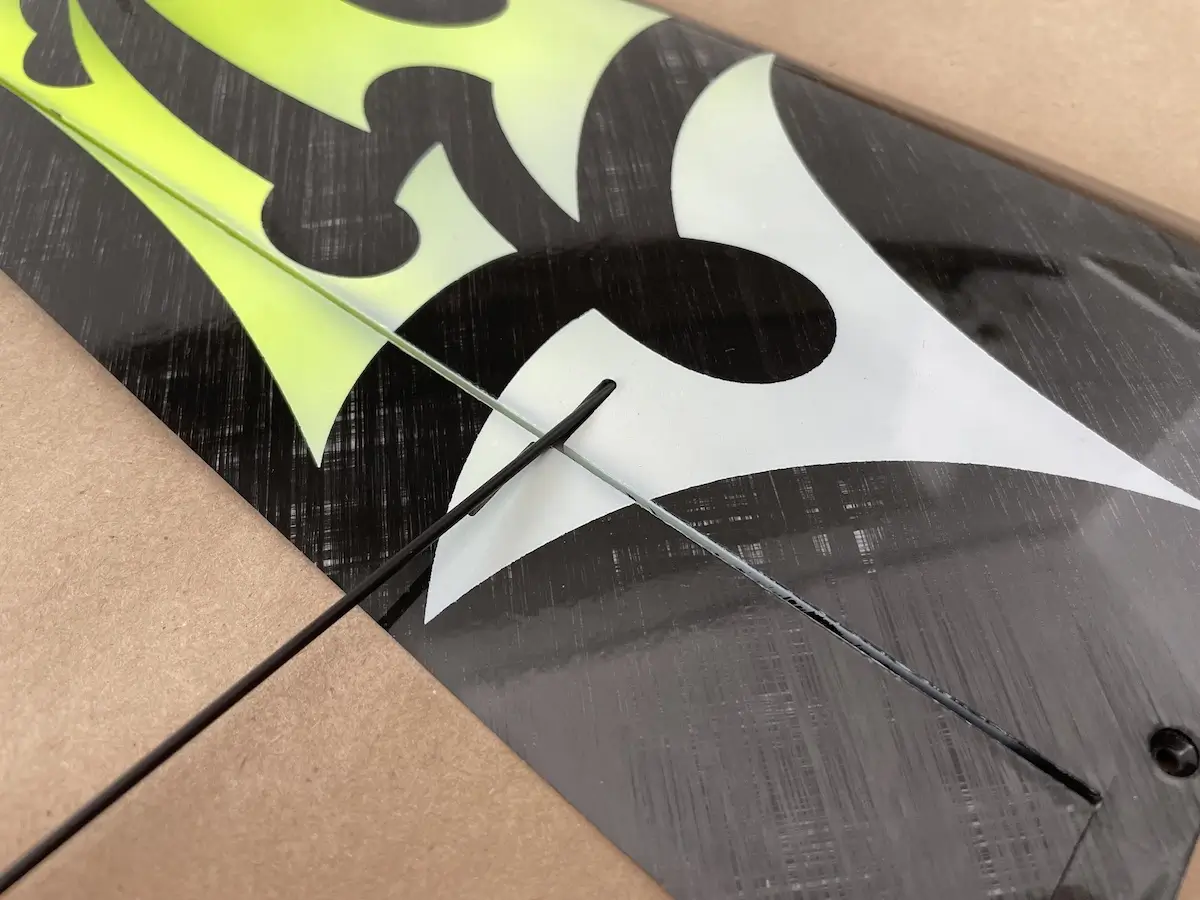
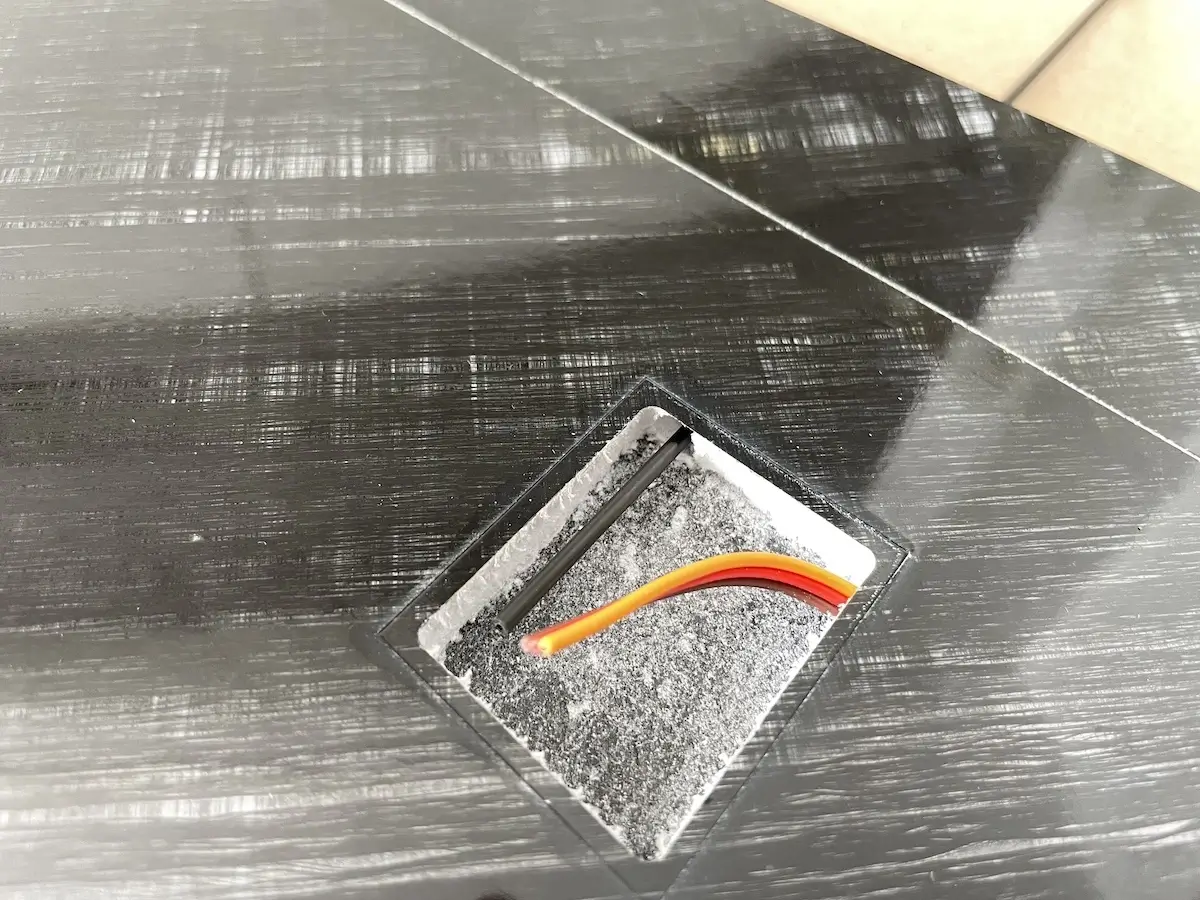
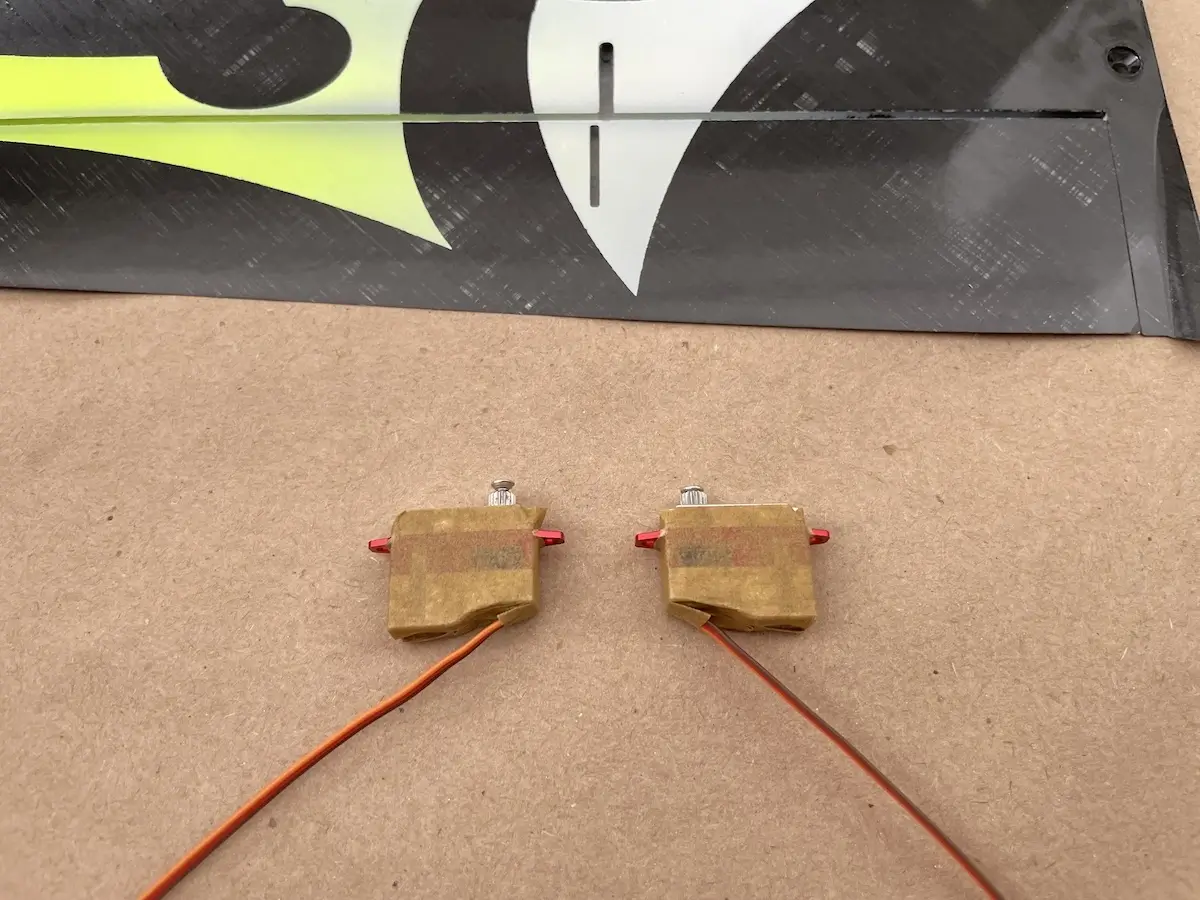
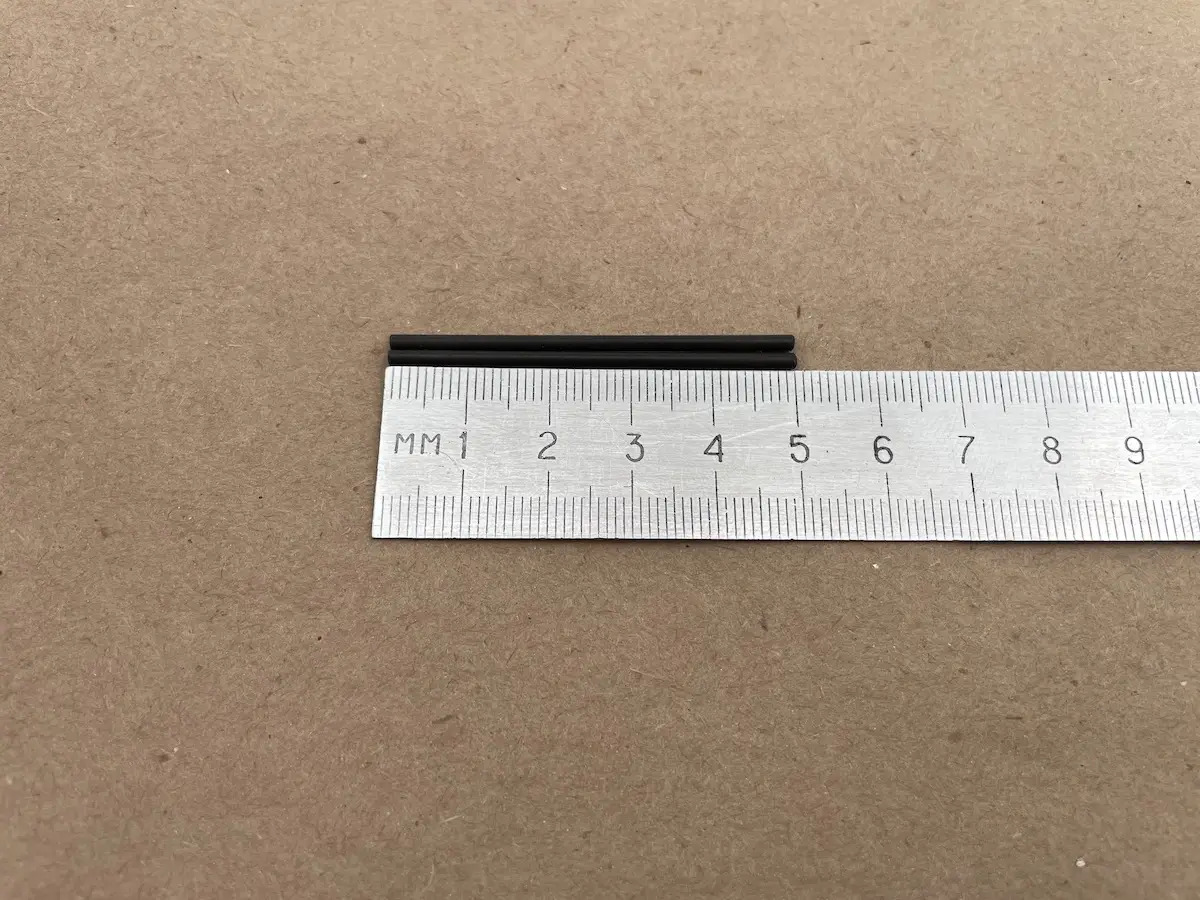
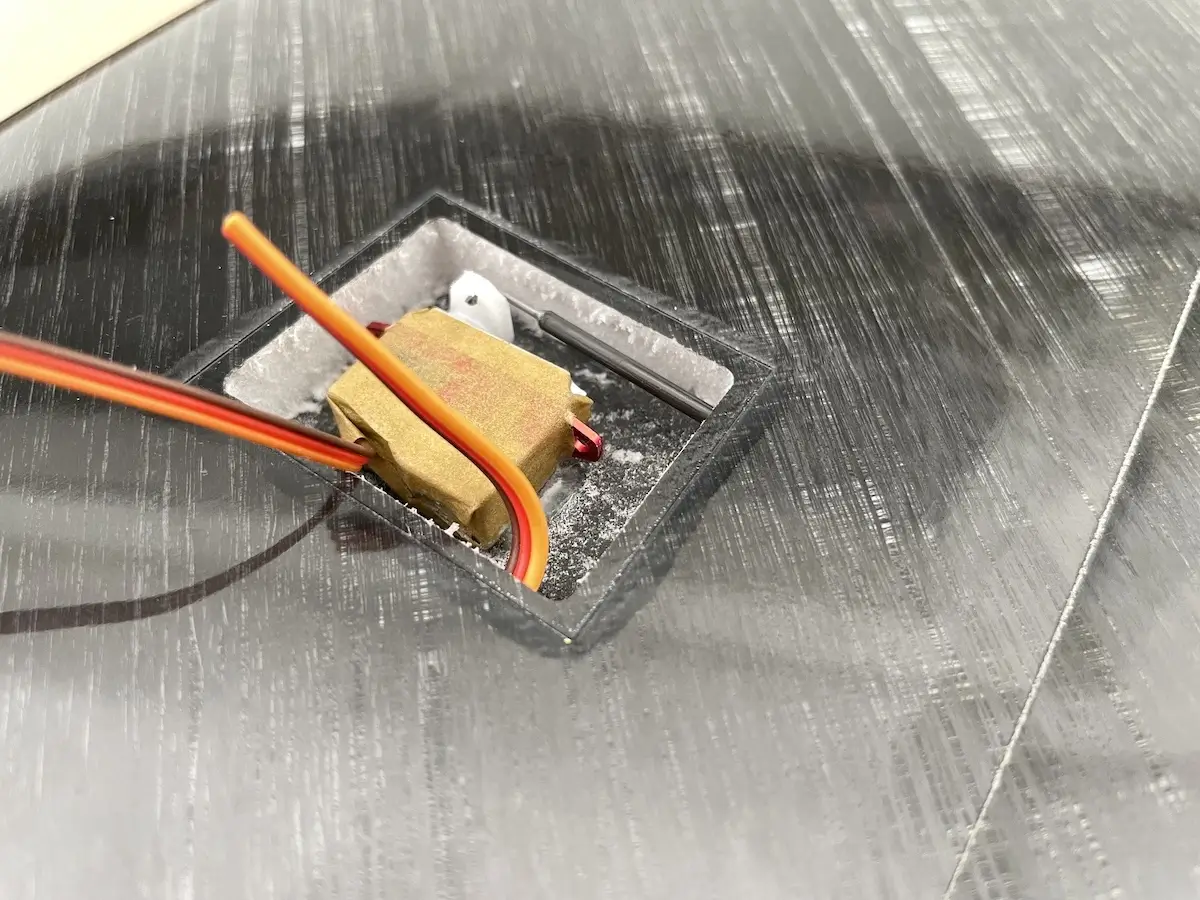
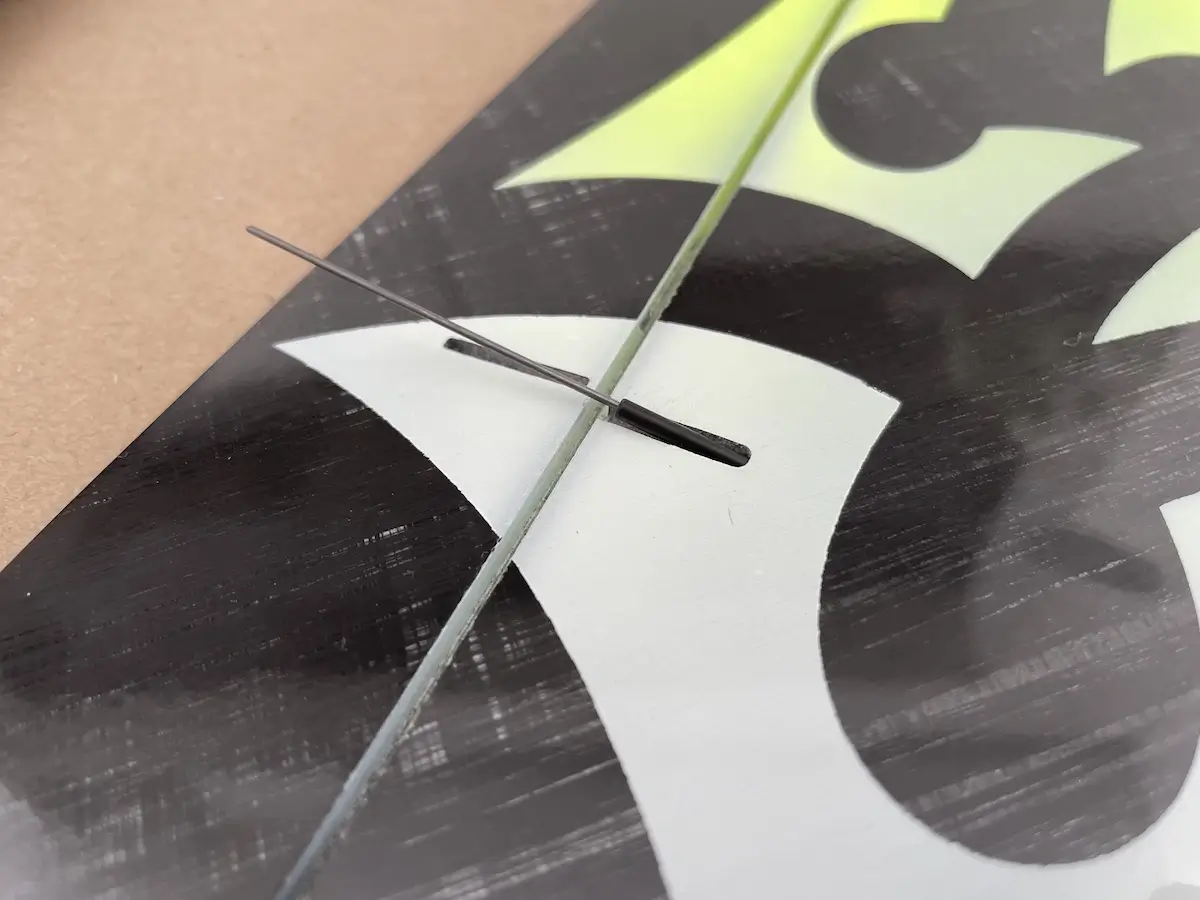
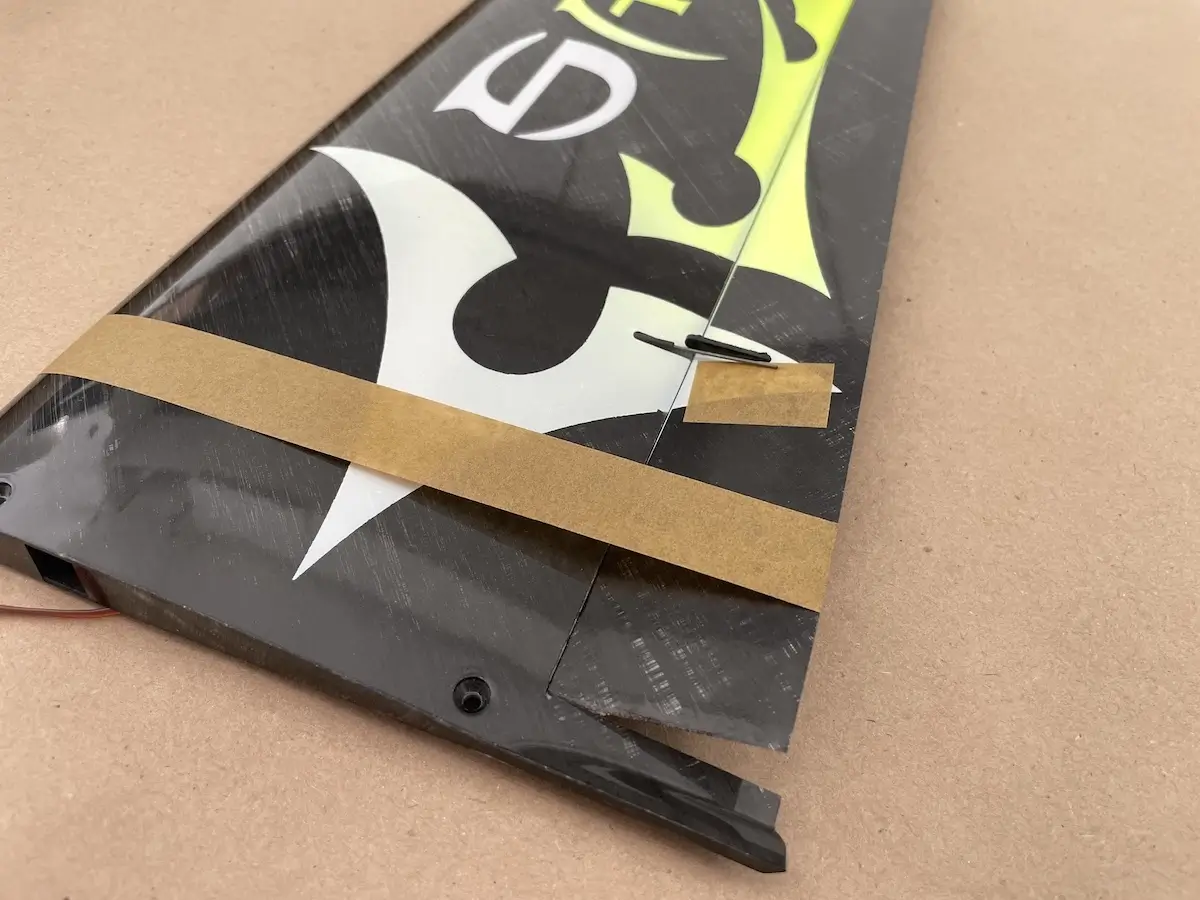
Remove the foam from the inside of the servo bay to reach the top skin of the wing from the inside. Be careful, not to produce any damage. Flathead screwdriver might helpUse 2mm round rod or file to make a channel in the foam core for the pushrodYour channel should align with the sidewall of the servo bayHere, we’ll use KST X06 servos with standard mounting tabs and will glue them directly into the wingWrap aileron servos with masking tape. Cut off the servo tabs before wrapping (Optional) If using servo frames from the kit, install your X06H servos into the frames before proceeding istead. DO NOT glue these yetTrim the servo arms leaving only the first hole – closest to the hub. Center the servos and install the arms as close to 90° to the servo body as possible. Fix the arms in place with the provided boltsMake a twisted Z-bends on one side of the 0.8mm music wires provided with the kitInstall pushrods into the servo armsInsert pushrods into the channels in the wings and position your servos (with or w/o frames) inside the servo bays. Fix them permanently applying CA or Epoxy between the masking tape and the top skin of the wing from the inside of the servo bay(Optional) Add 2x1mm carbon fiber tubes to the wires for stiffer linkage. length of ~48mm works best(Optional) Install these tubes as close to the servo arm as possible, leaving enough naked wire for proper servo arm travel. Test the travel before proceeding(Optional) On the other side, the tube should have around 2-3mm gap to the control horn. Fix the tube on the wire with a drop of CA from both sidesConnect your servo to a servo tester and set it to the full UP positionFix the aileron in the full UP position as well using a strip of masking tape. Dry-fit the control horns and mark where you need to make an L-bend on the wireSet the servo to the full DOWN position to release more pushrod length to work with and make your bends at 90° towards the control hornsCut off the excess wire, round the sharp corners of the control horn, and scrub its sides for better adhesion. Install the control horn onto the pushrod wireSet the servos to the full UP position once again & fix the ailerons respectively. Then, install control horns into their slots in the ailerons and apply CA or Epoxy to glue the control horns permanentlyCut off the unneeded servo wire and solder it to the pigtail in the wing, matching the Ground, Power, and Signal lines respectively. Isolate the connection with a thin shrink tubePack the wire inside the servo bay making sure it doesn’t interfere with the pushrod or servo arm travelCover the servo bay with covers provided with the kit, and fix these in place with a sticky tape
Expert’s Advice
In case your pushrod connection has a slop, it will create issues while flying.
To eliminate the slop, put a drop of CA on the moving connections of the pushrod to the control horn, and the servo arm. Literally, glue the pushrod into the control horn 😉
Let it sit, and move the control surface slightly.
The CA fillet will slide on the wire, filling in the harmful gaps, and making your pushrod connection more precise.
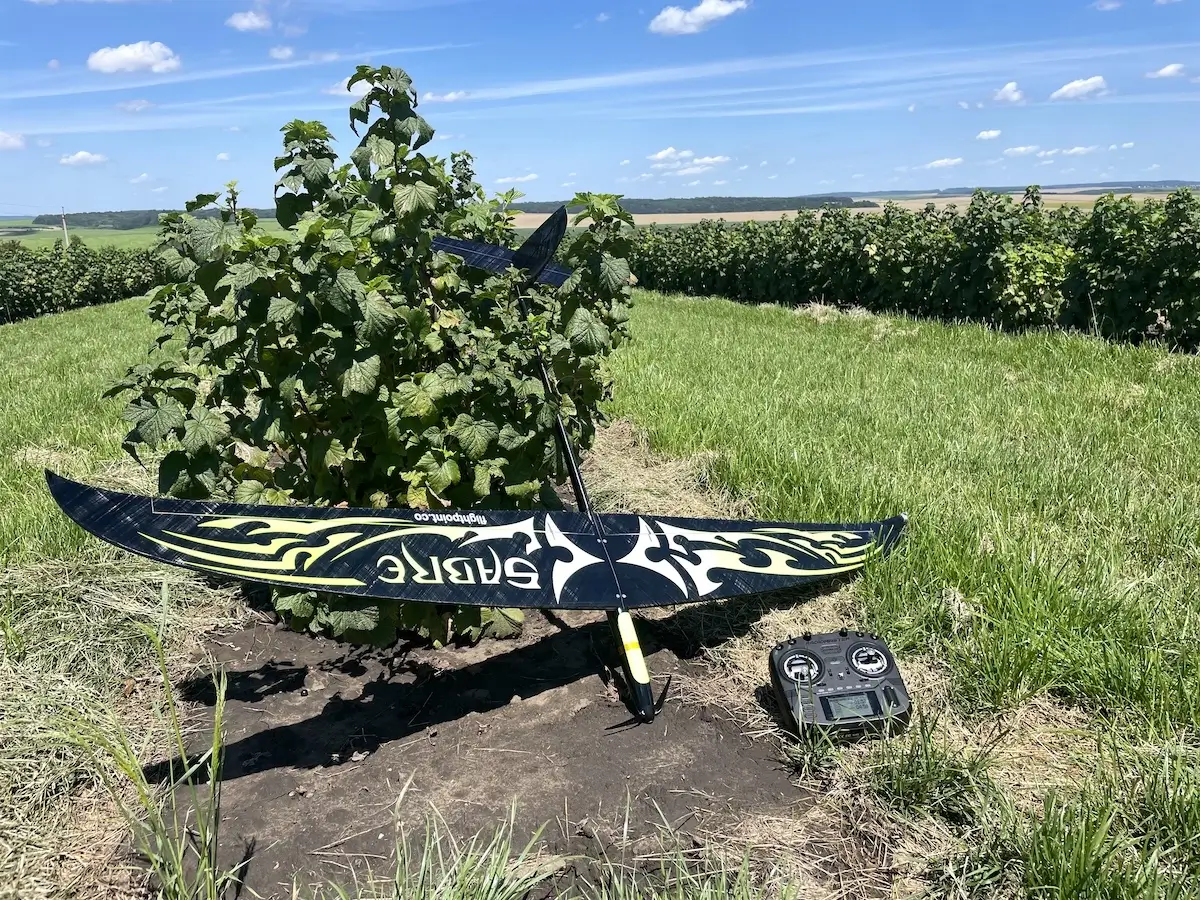
Get Ready For Maiden
That’s it!
Now, it’s time to install your Rx, and battery, check your CG-point, and set up your radio.


amazing Instructions! Thank you very much!
Doing our best 😉
Hope it helps