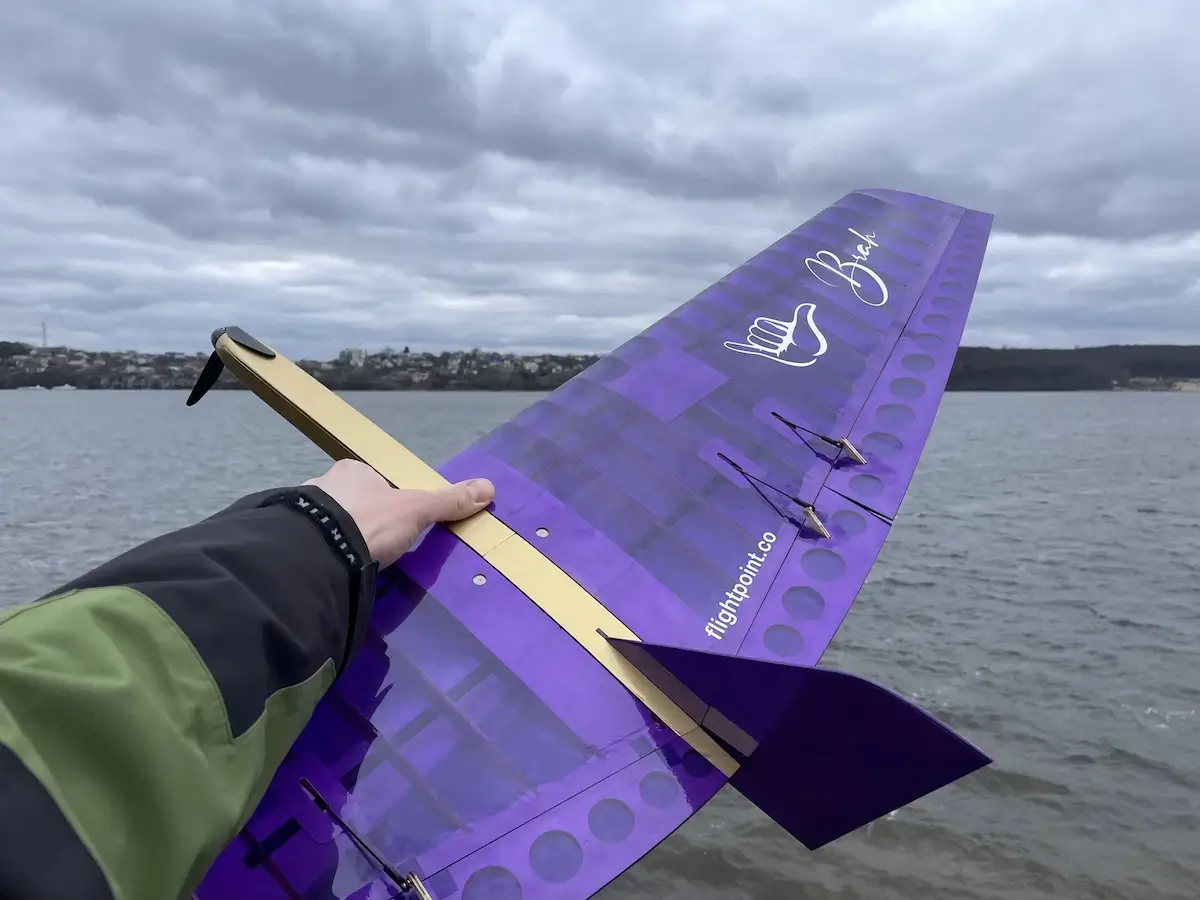
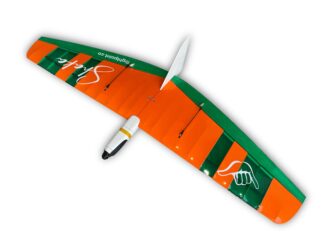
Brah, aka Shaka XL, is a 1.5m / 40in flying wing with flaps and ailerons that provides you with ultimate control over your RC Glider.
This model is a long-awaited development of the original Shaka Slope Wing.
It preserves the original shape while adding some features that did not exist in the previous design.
On the other side, the Brah inherits some design decisions of the original Shaka, including the build process as well.
We’ll refer to the original build guide as needed.
Elevons Only or Elevons & Flaps?
One of the main features of the Brah are the optional Flaps.
The wingspan and area of this flying wing are on the bigger side, so it likes to stay airborne, even when you need to land.
So we strongly recommend opting in for flaps, as these will help a lot on landings.
On the other side, the programming of a wing with flaps, also known as a full-house wing, may be a challenge.
There are some basic recommendations that you can use to program your radio.
But if you don’t feel confident enough setting up an airframe like this, get the hang of an experienced colleague, or just keep the control surfaces uncut and build it with Elevons only.
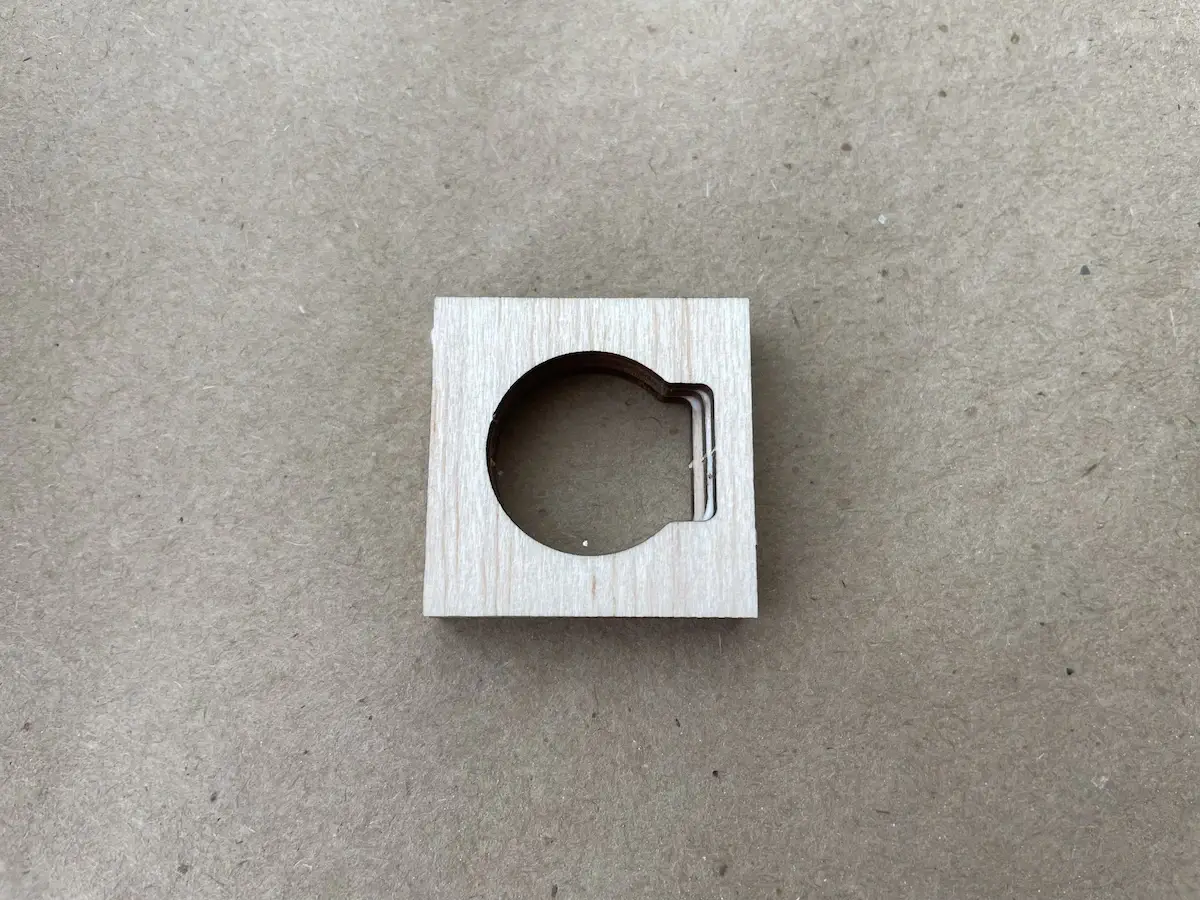
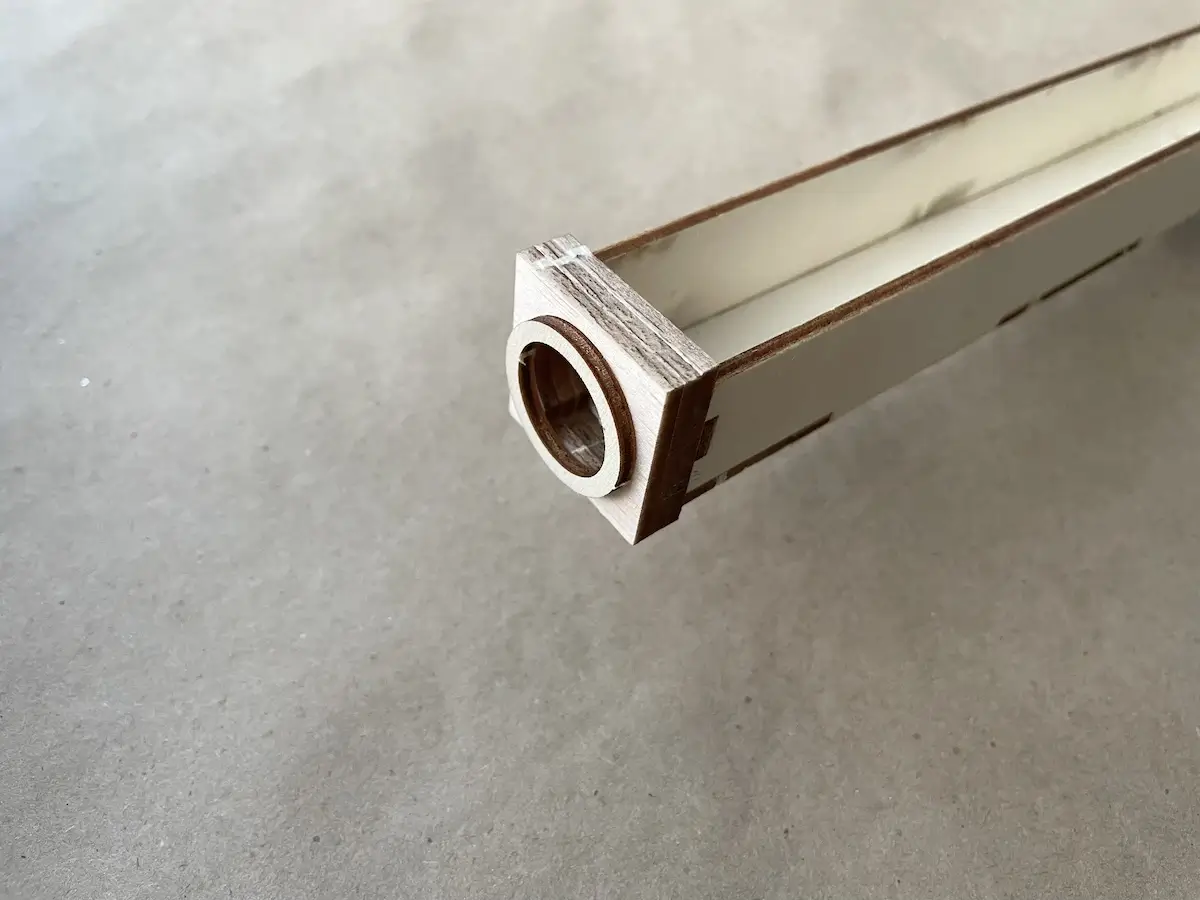
Part 1: The eFuselage
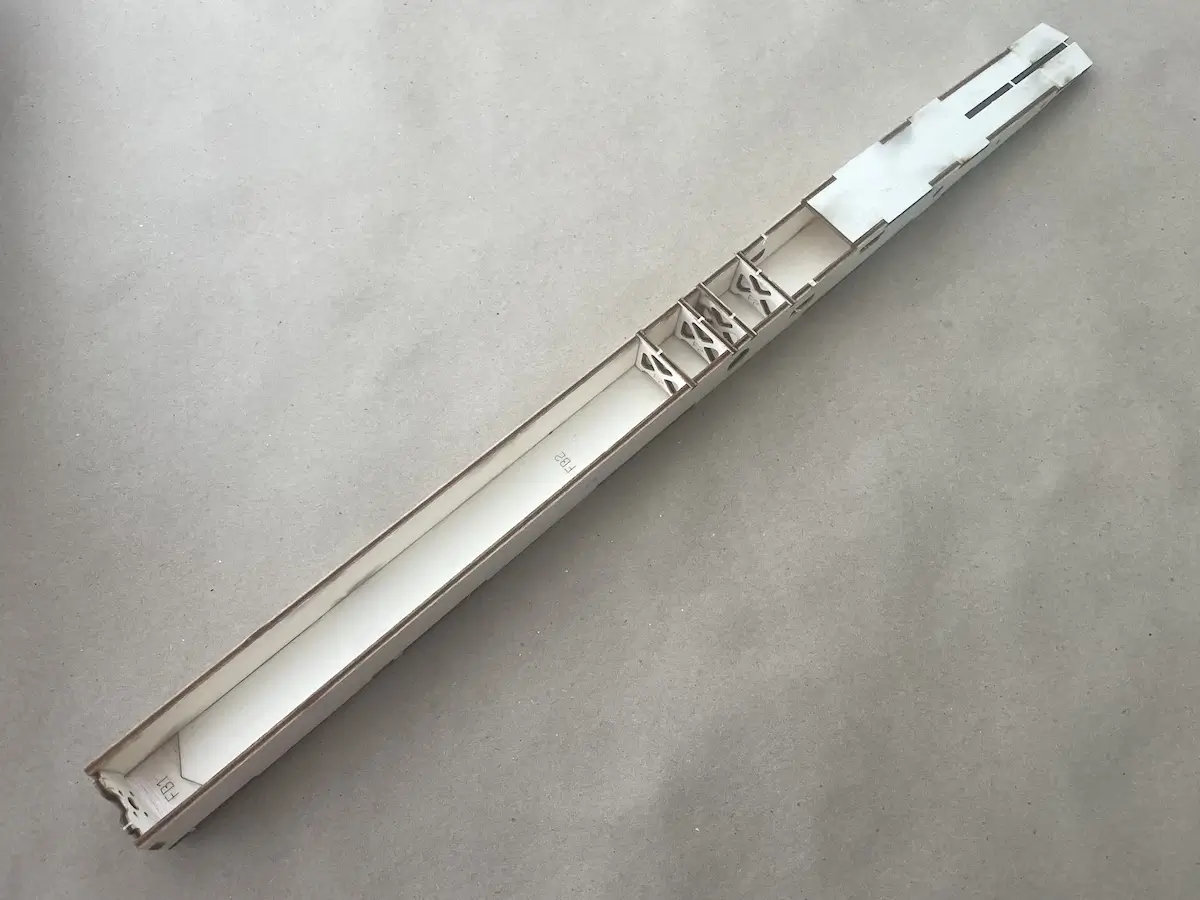
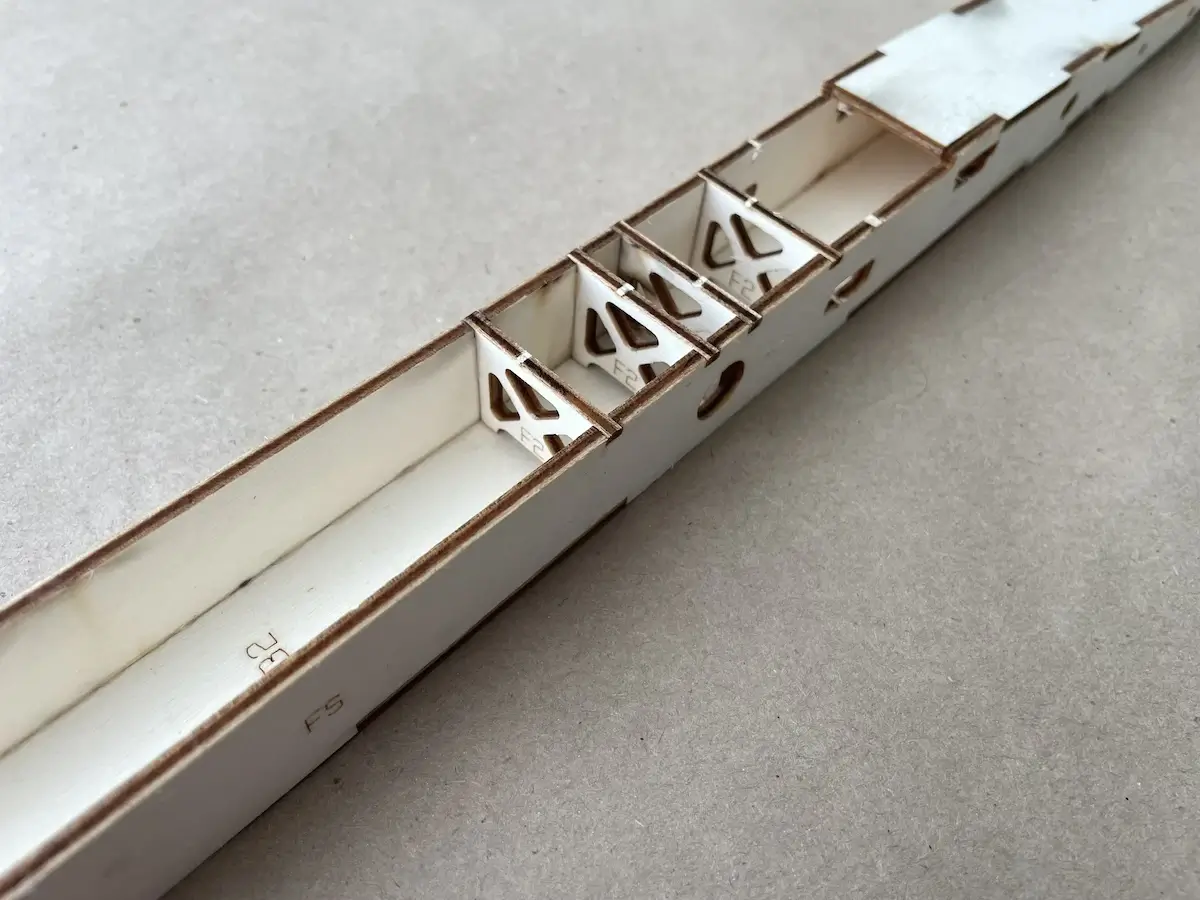
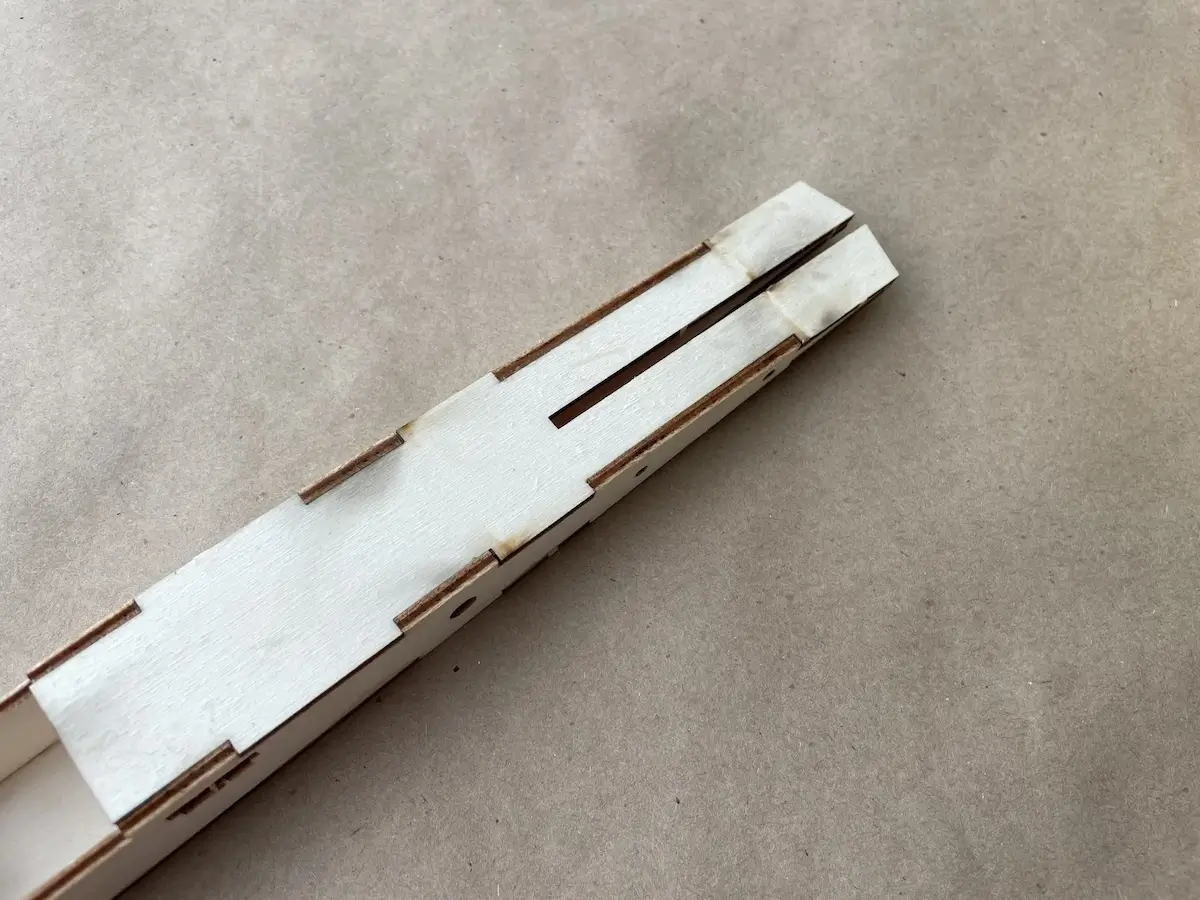
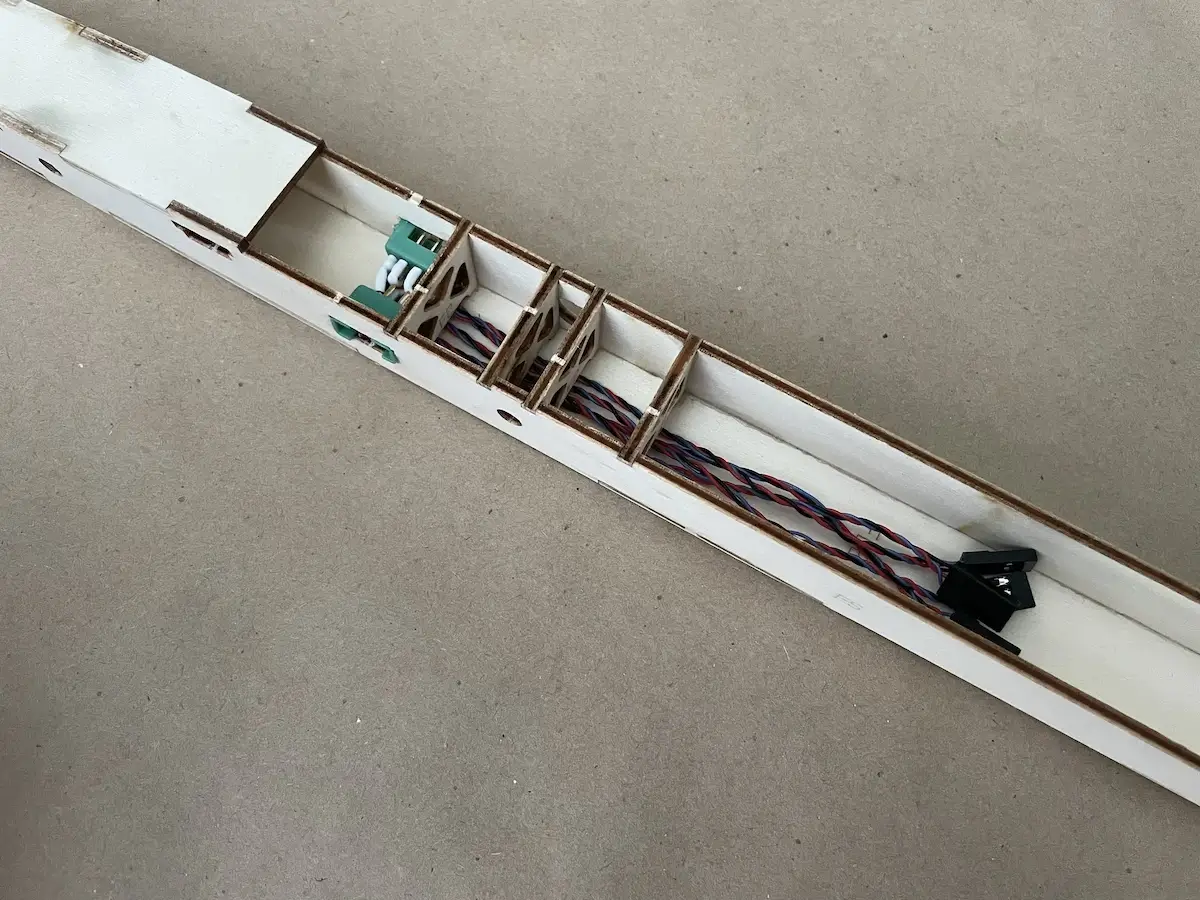
To get started, assemble the fuselage.
The best strategy here is to get the bottom, sidewalls, top sheet, firewall, and the walls that form the ballast enclaves together.
In the case of using long-setting glue, secure all the parts with masking tape or pins and position the assembly on a flat surface under load.
Let the glue sit this way, ensuring the fuselage is straight.
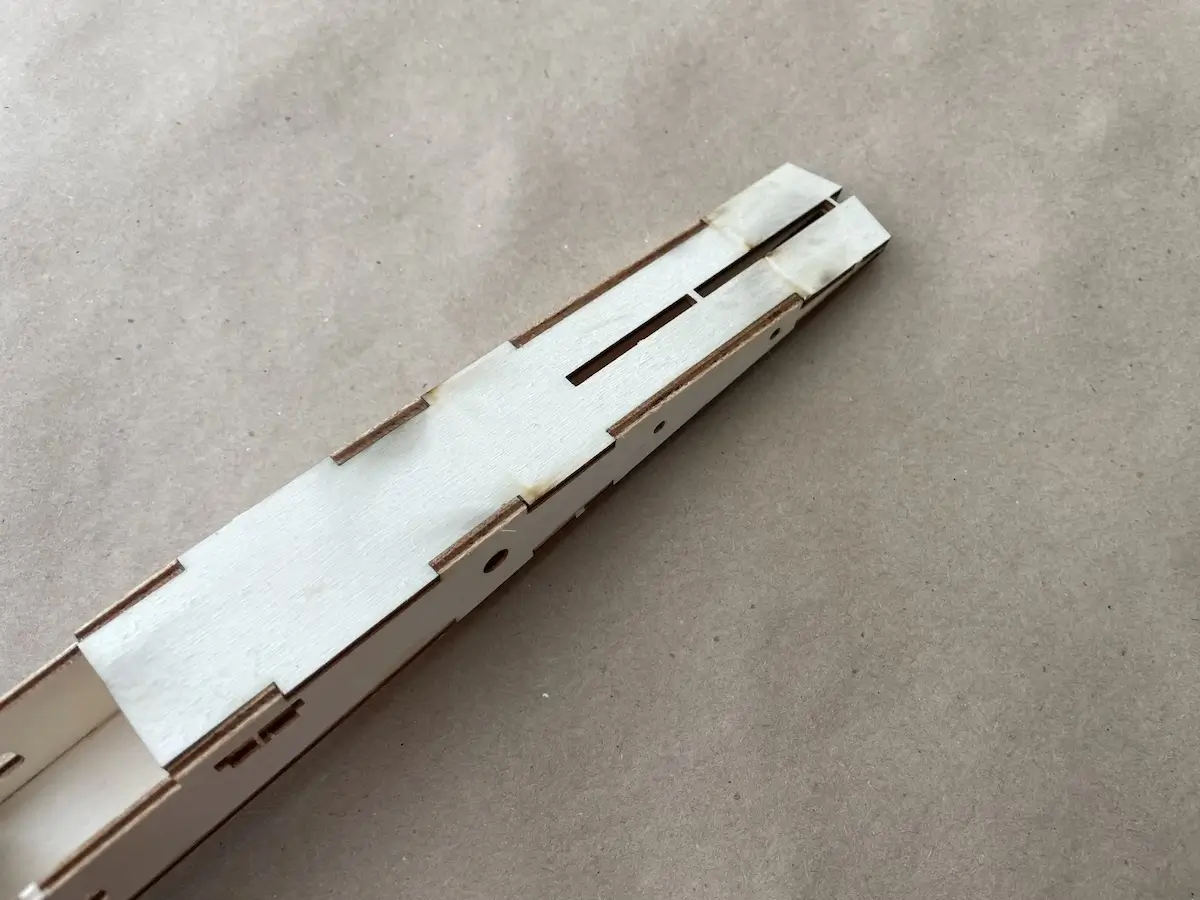
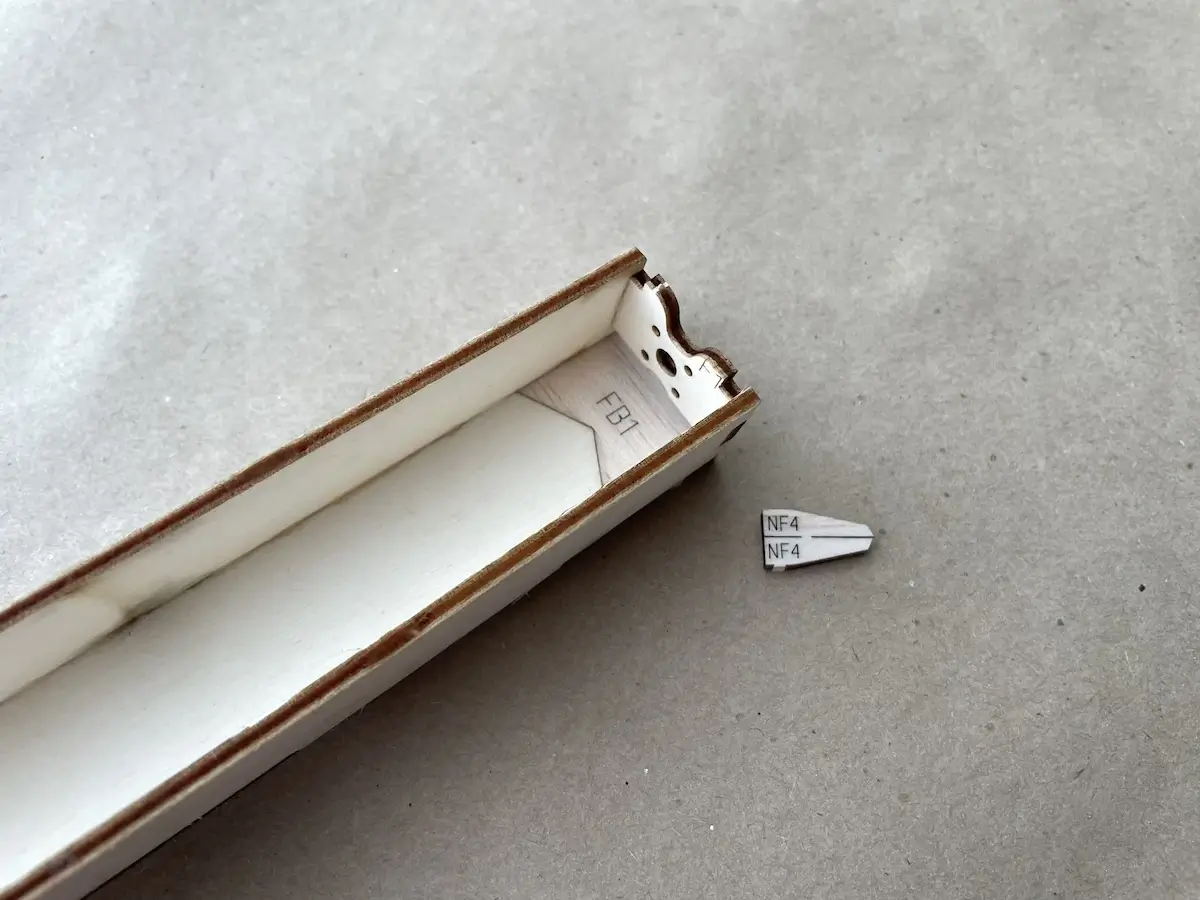

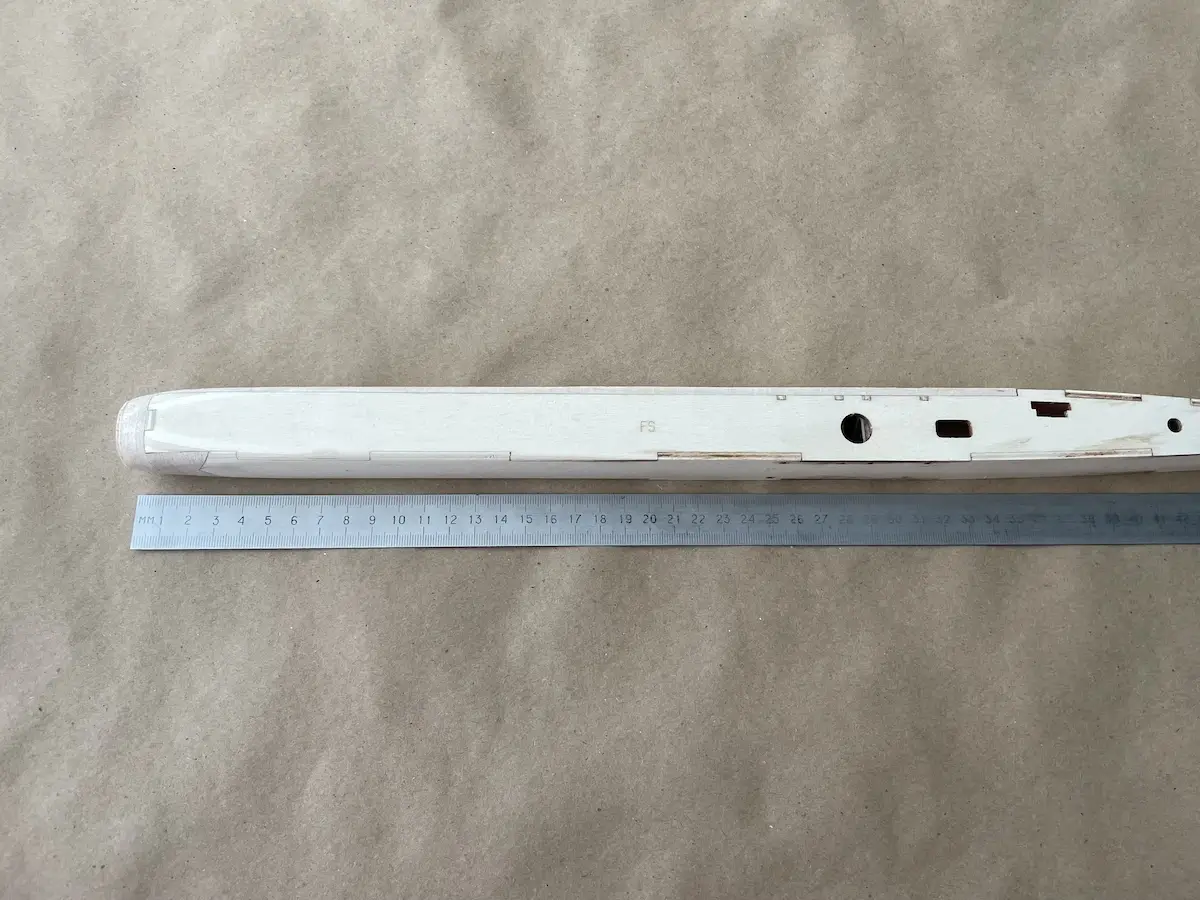
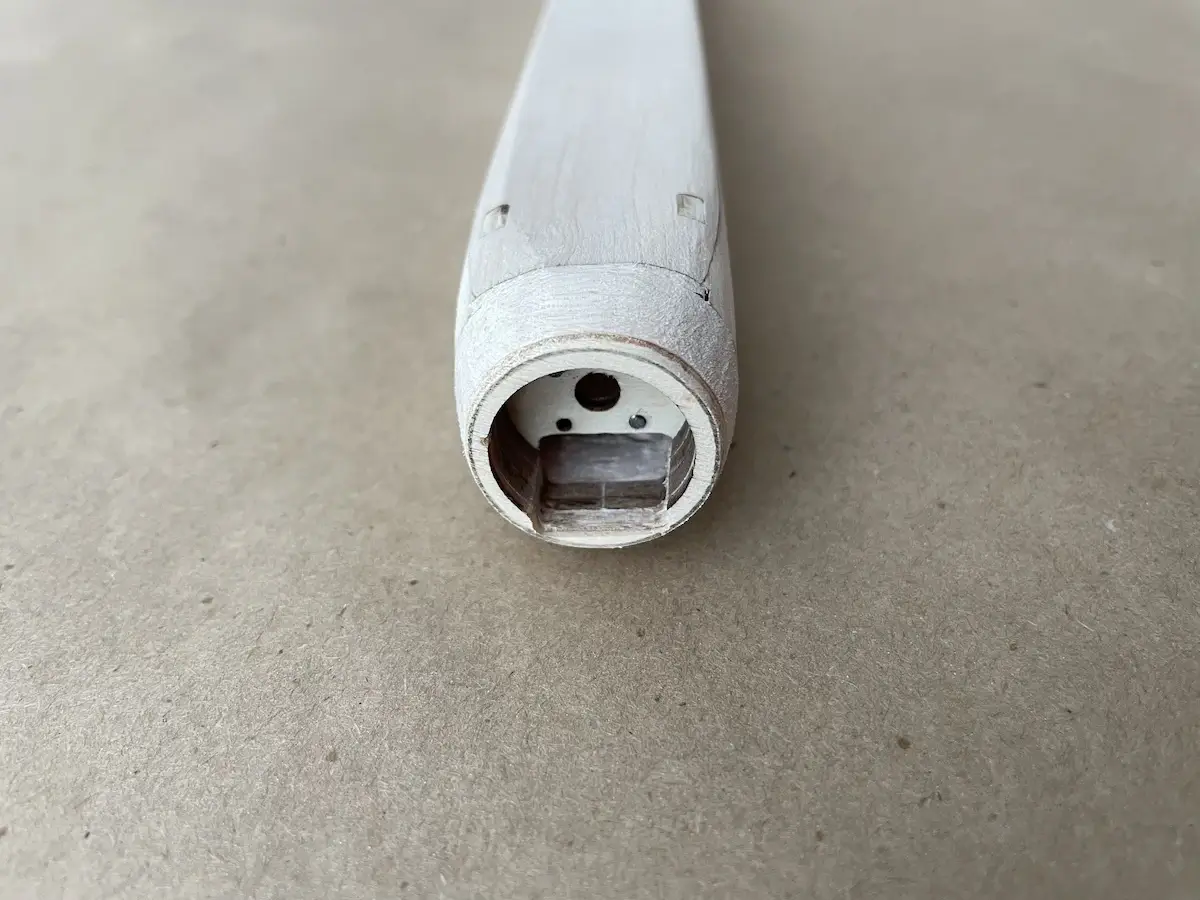
Part 1.1: Pure Glider?
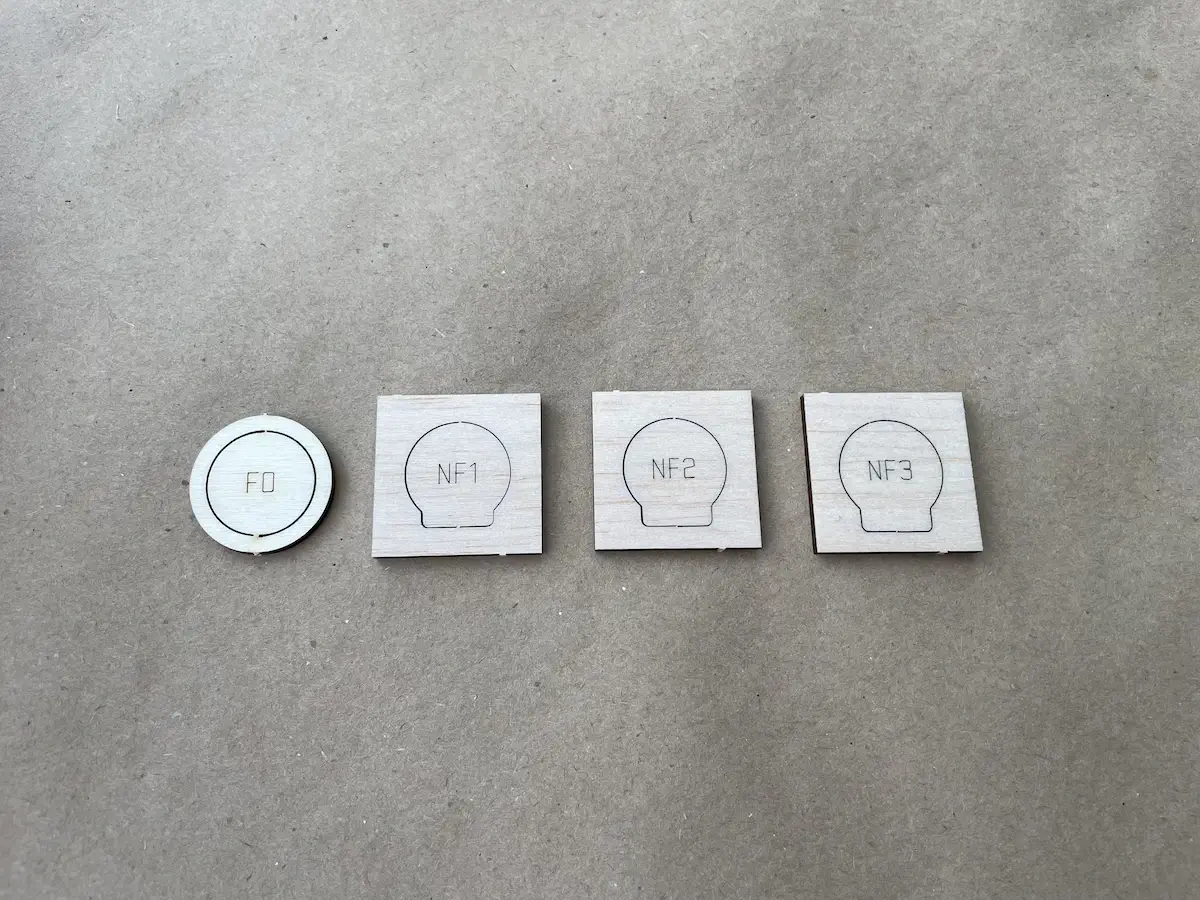
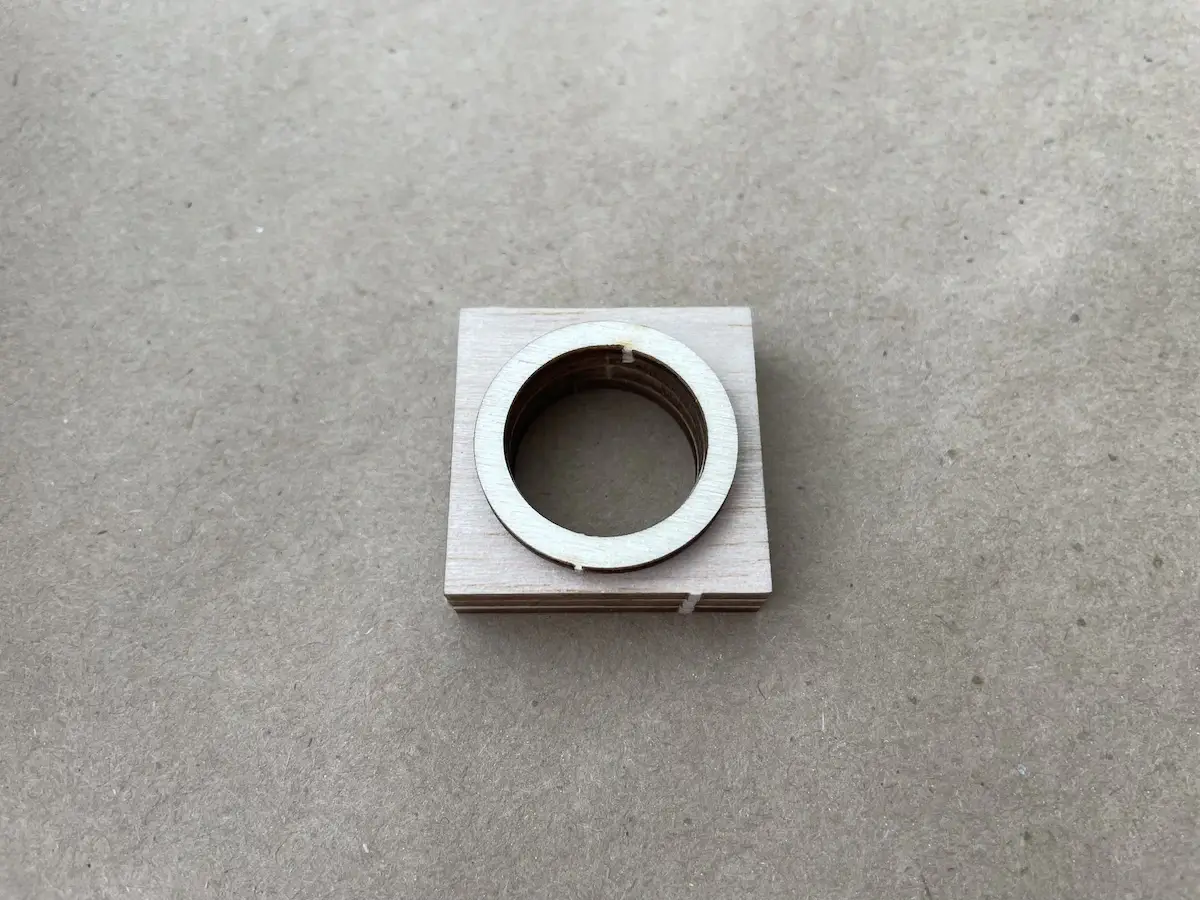
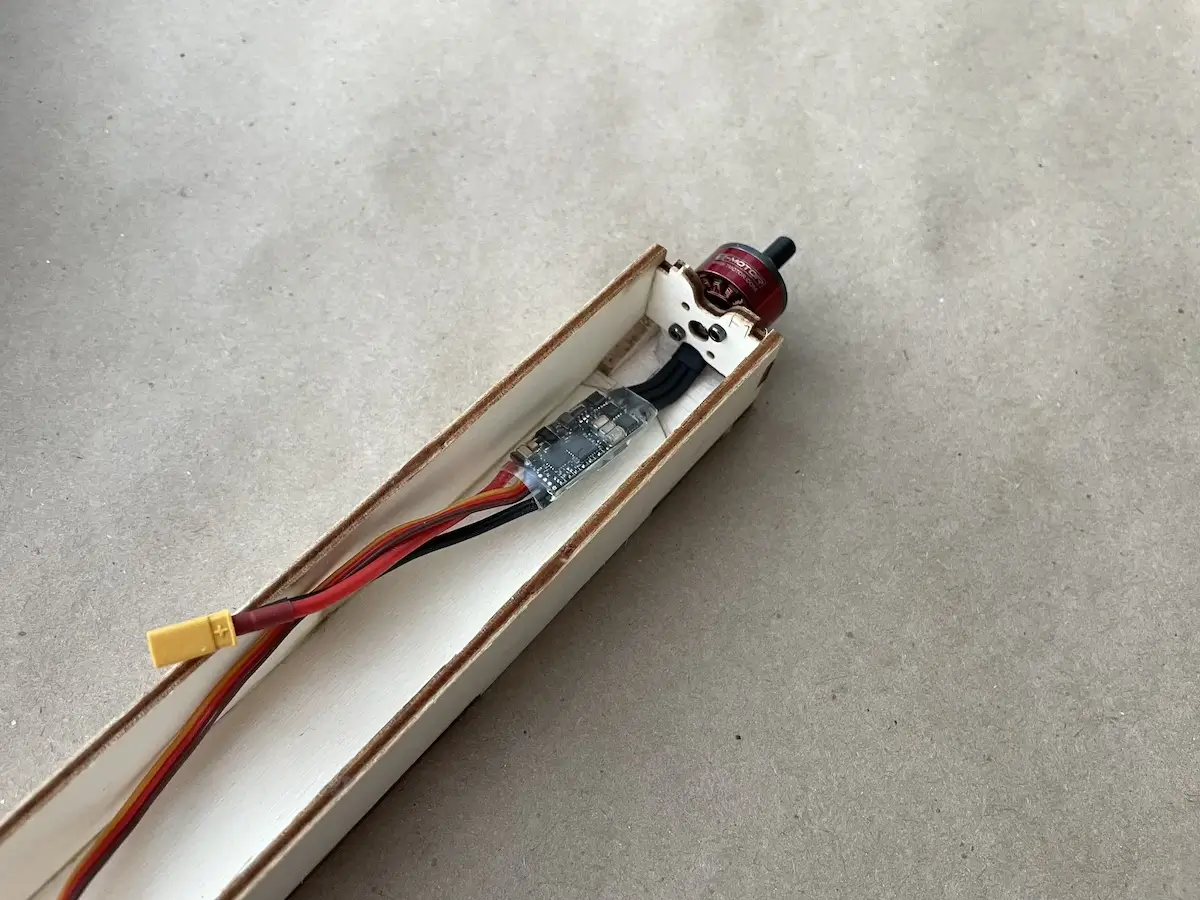
Similar to a predecessor, the Brah allows you to build the same fuse in a powered, non-powered, or universal.
It’s up to you!
The powered version pictured above uses the F5K powerset with a 6×4 prop.
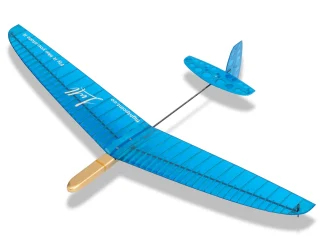
For the unpowered version, pictured below, skip the FO part to make your sanding easier.
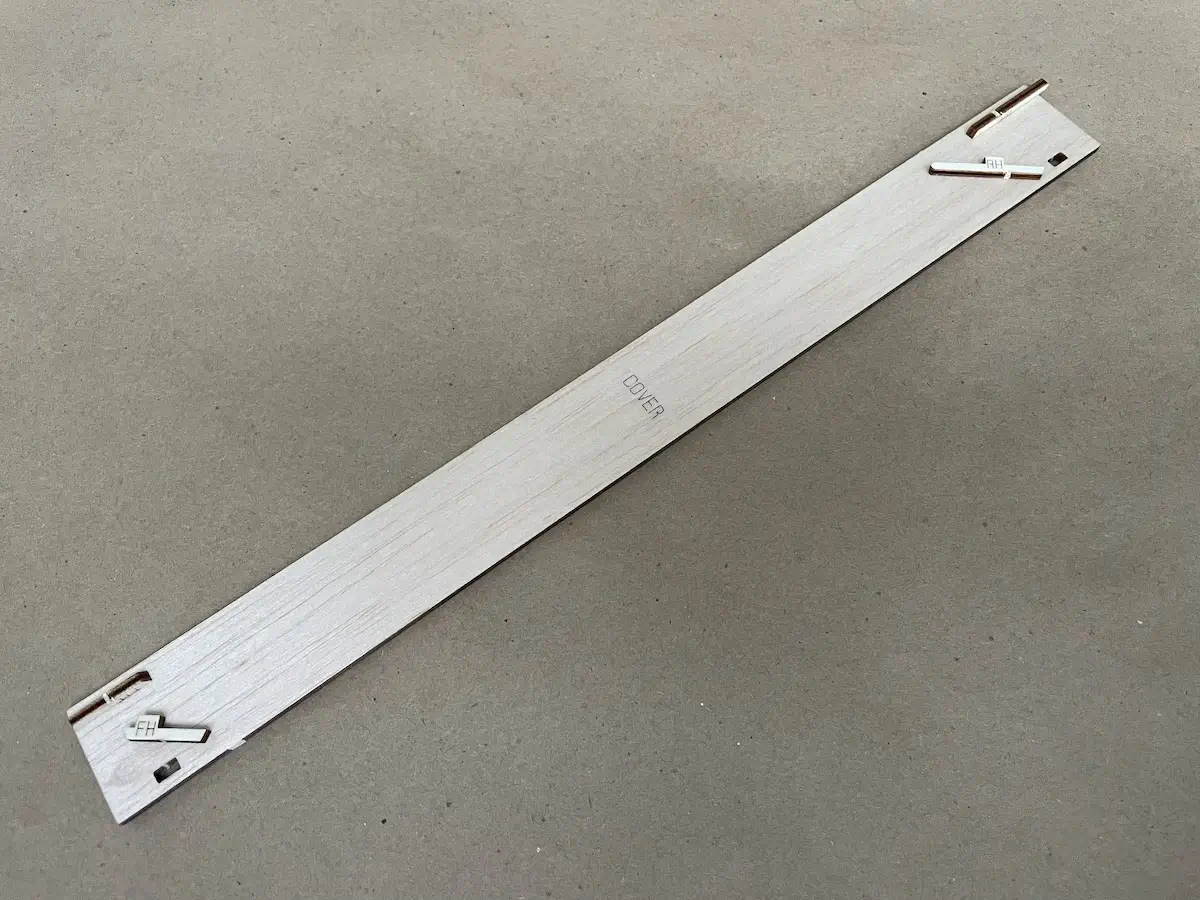
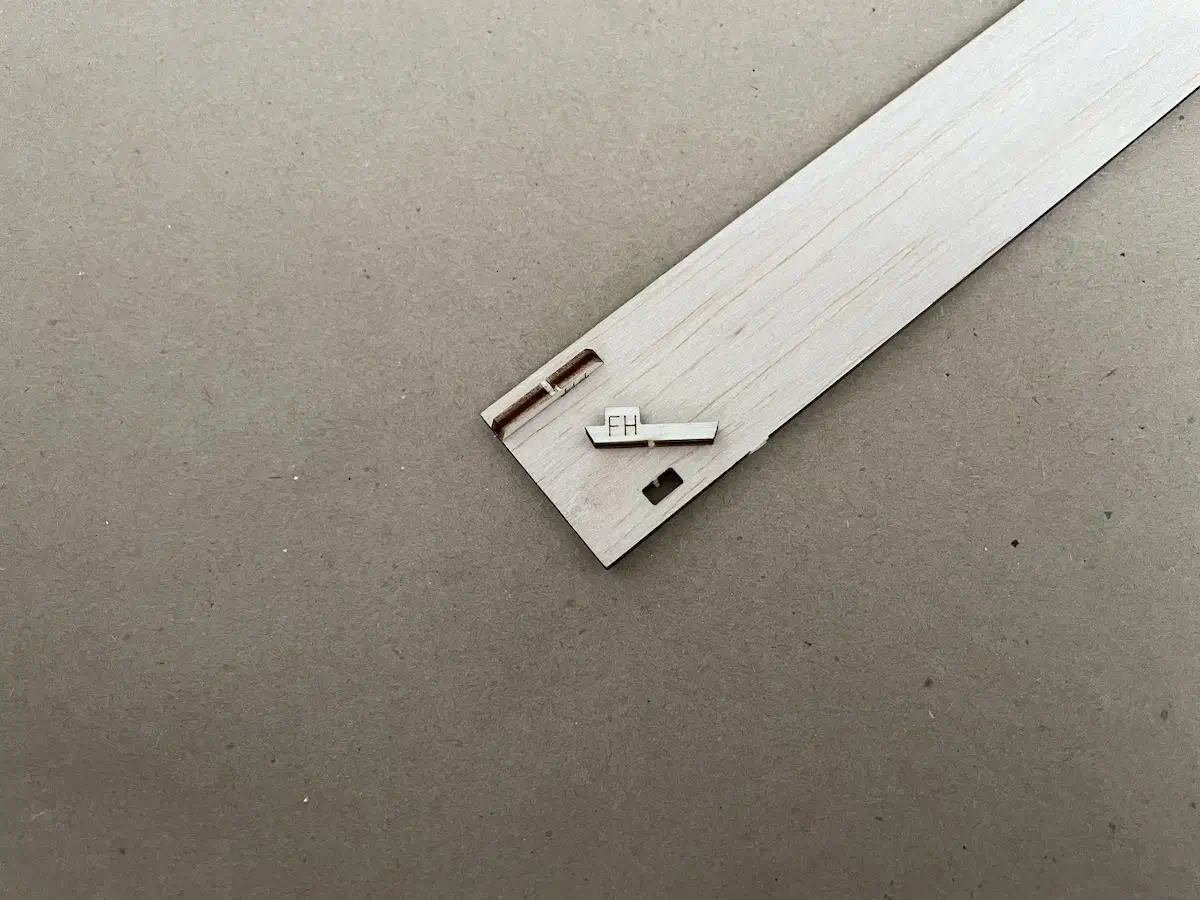
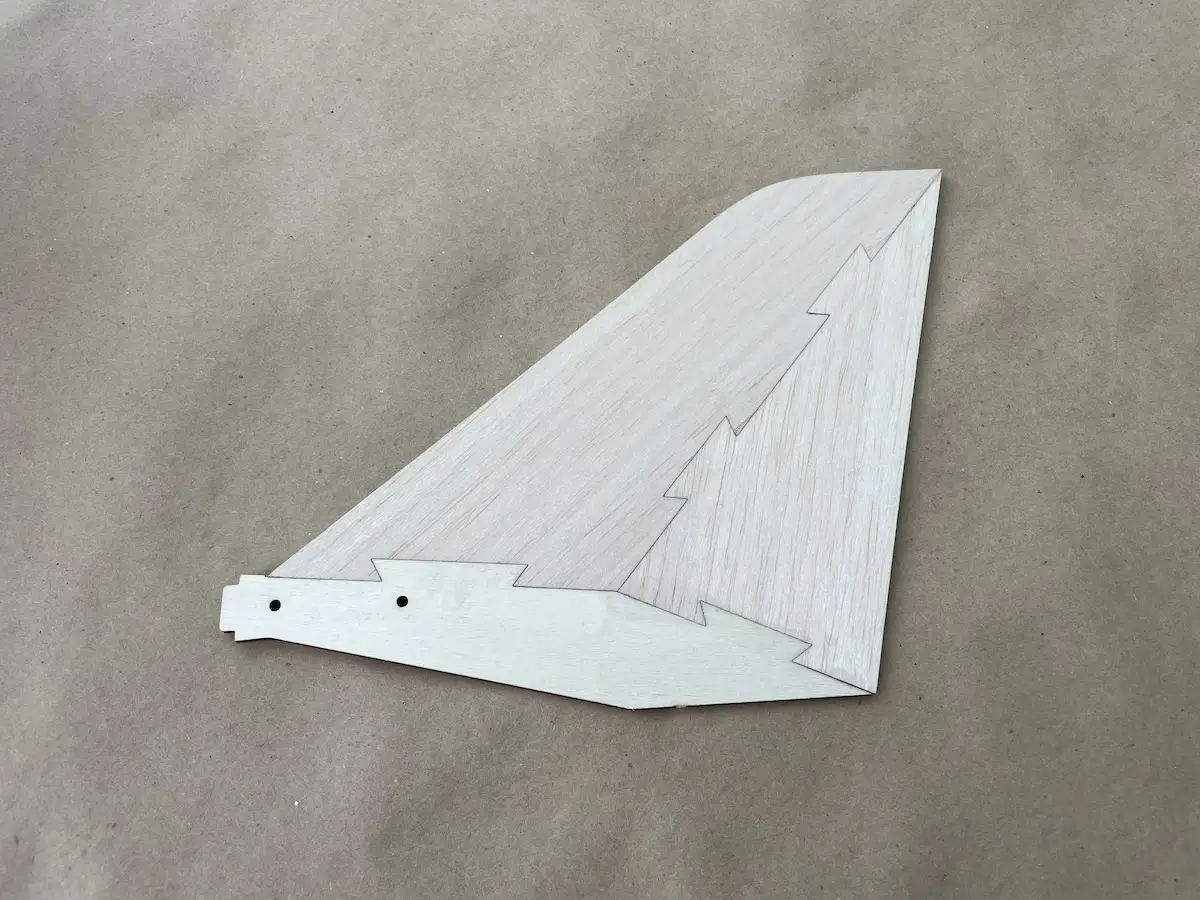
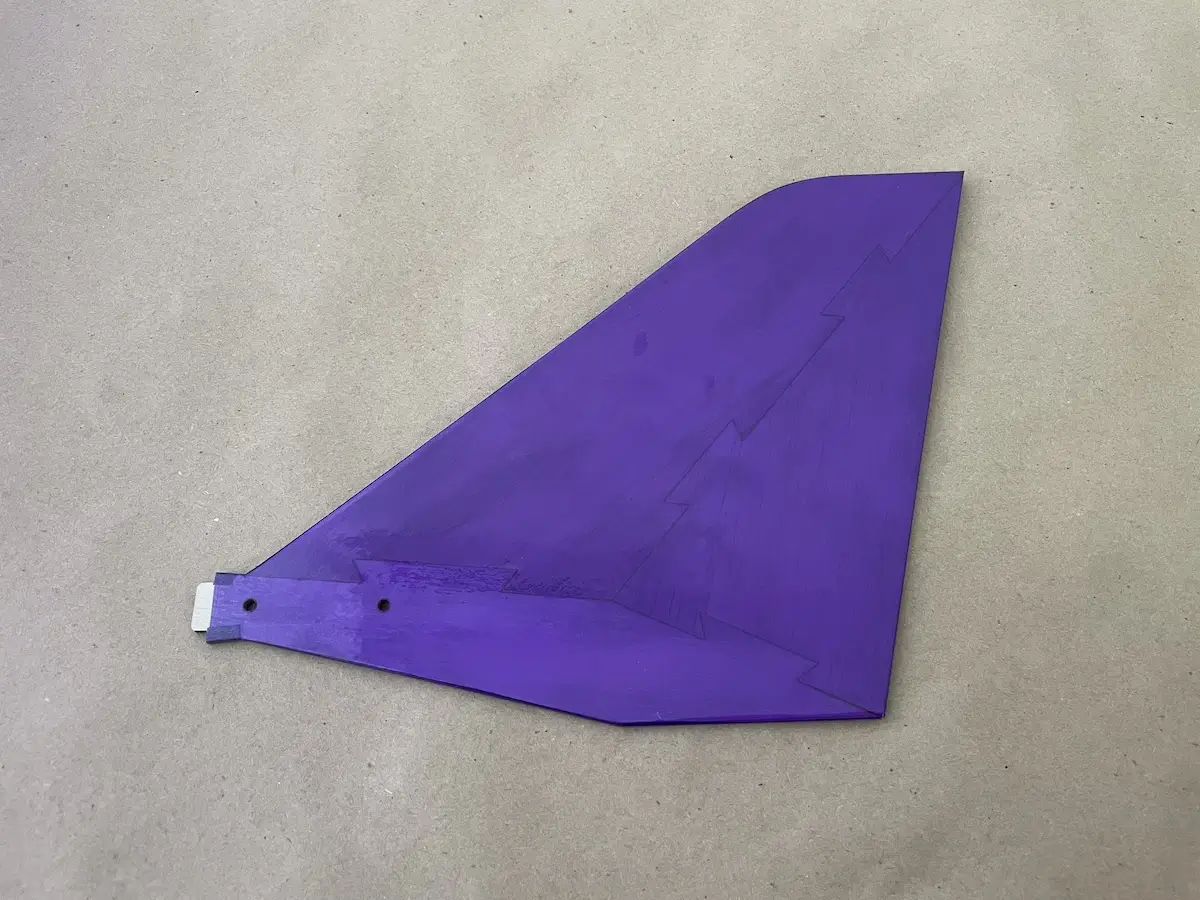
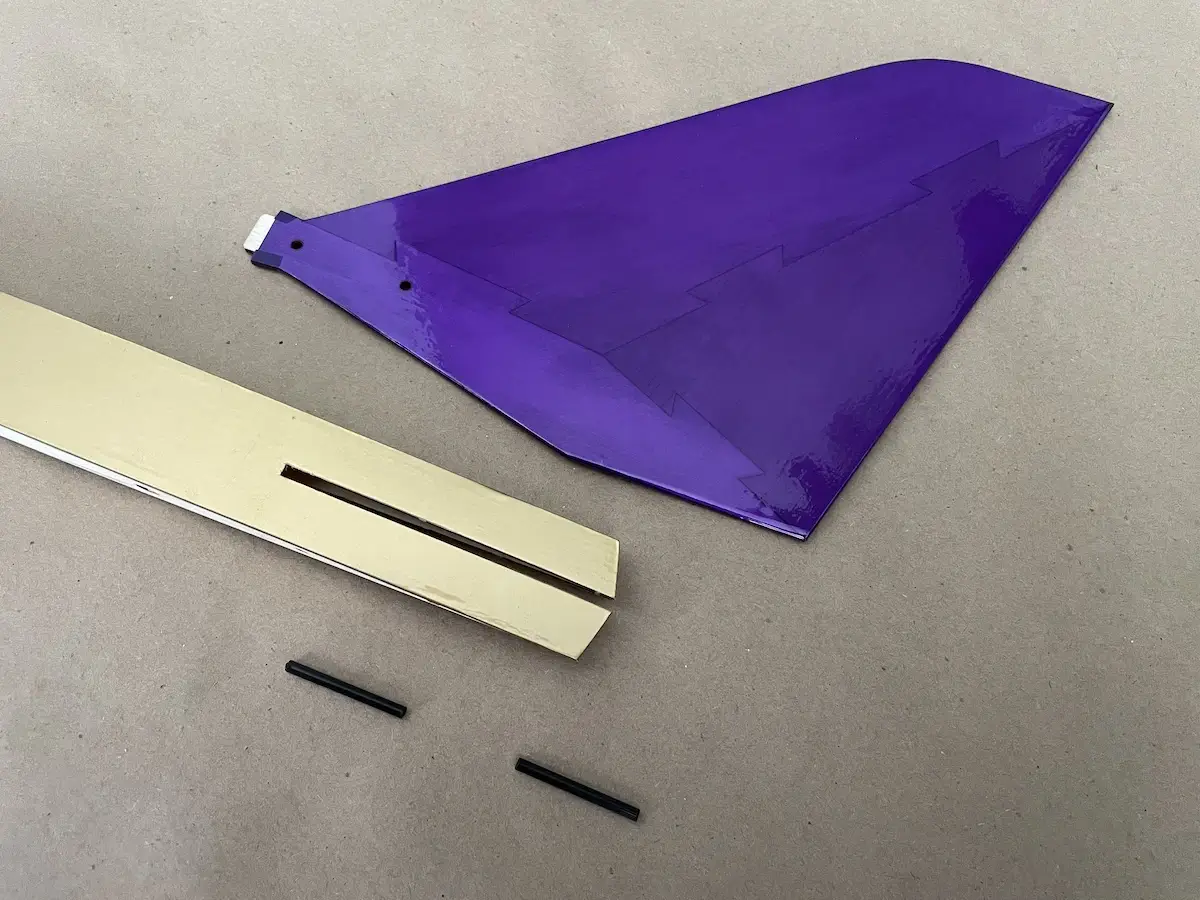
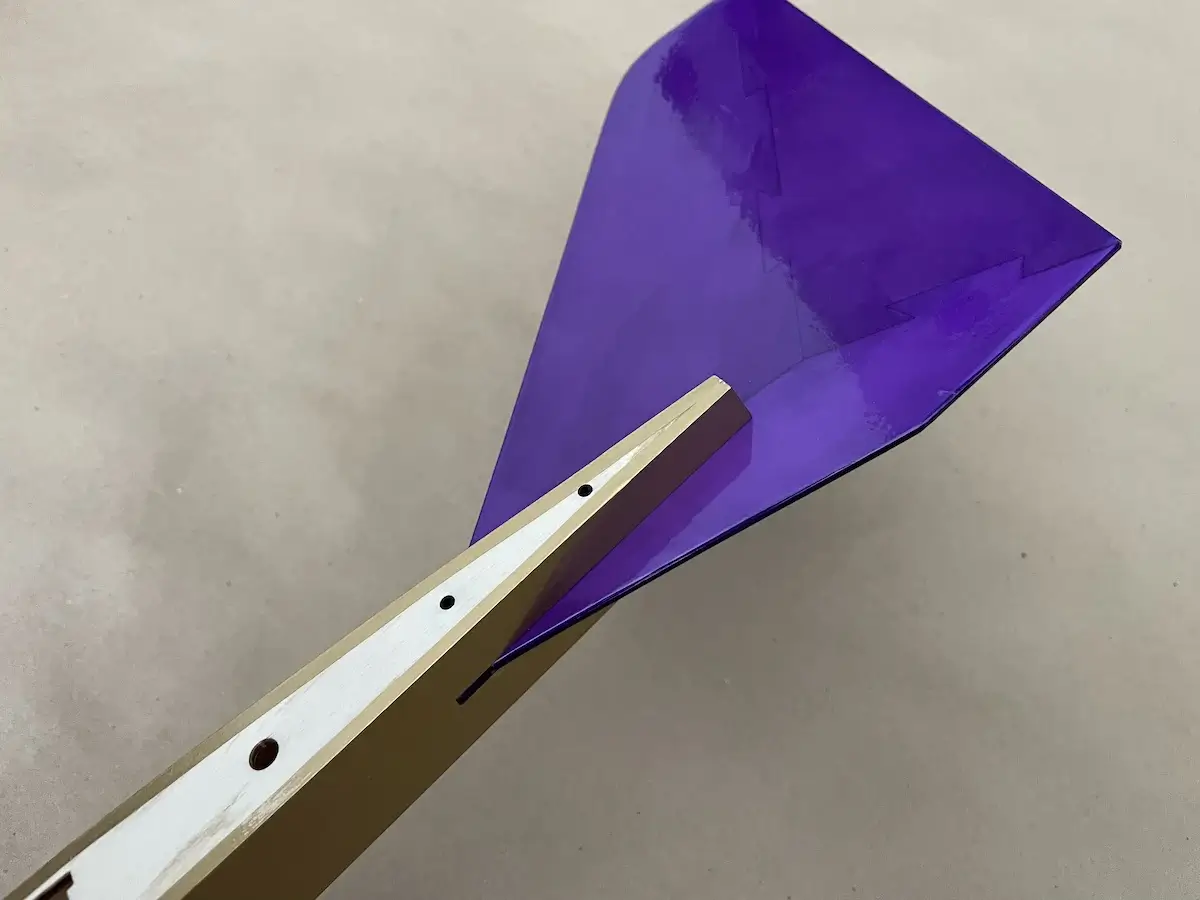
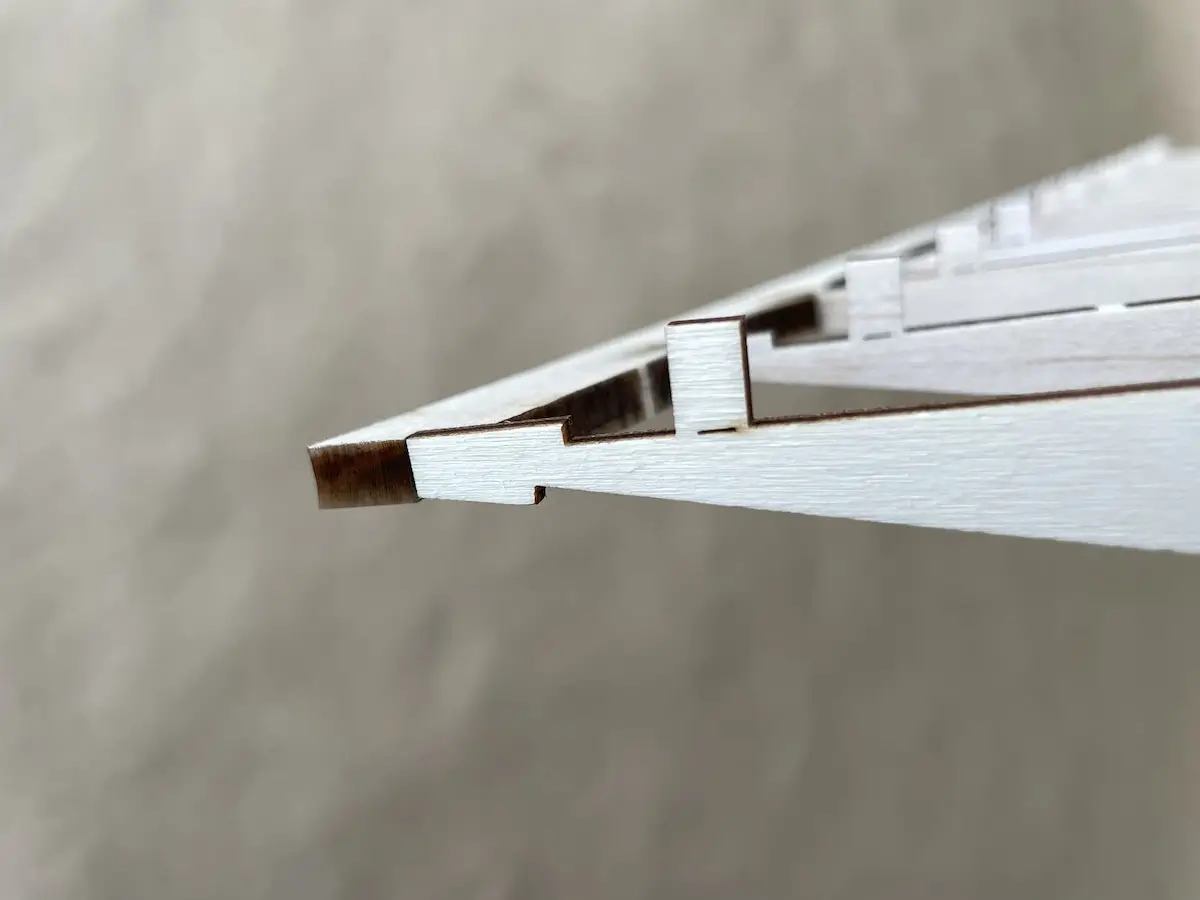
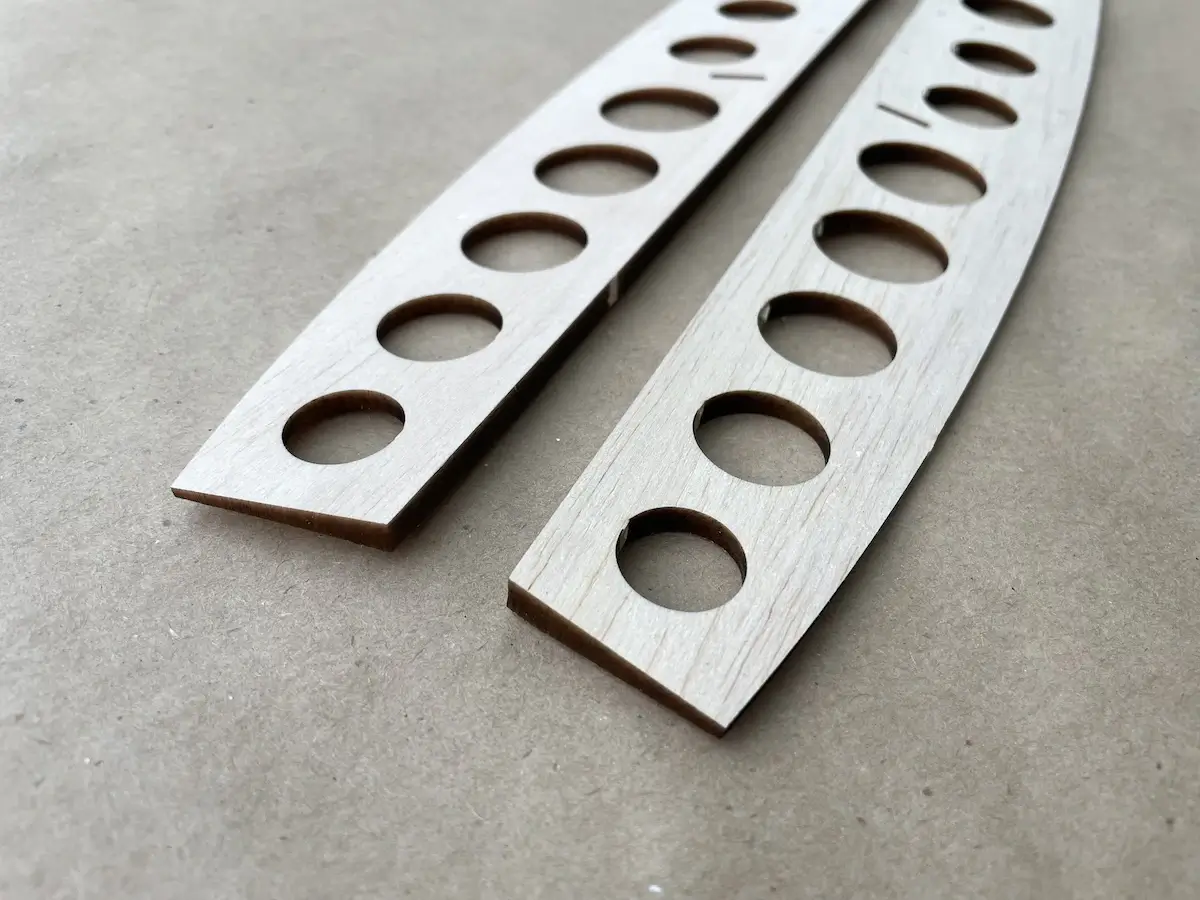
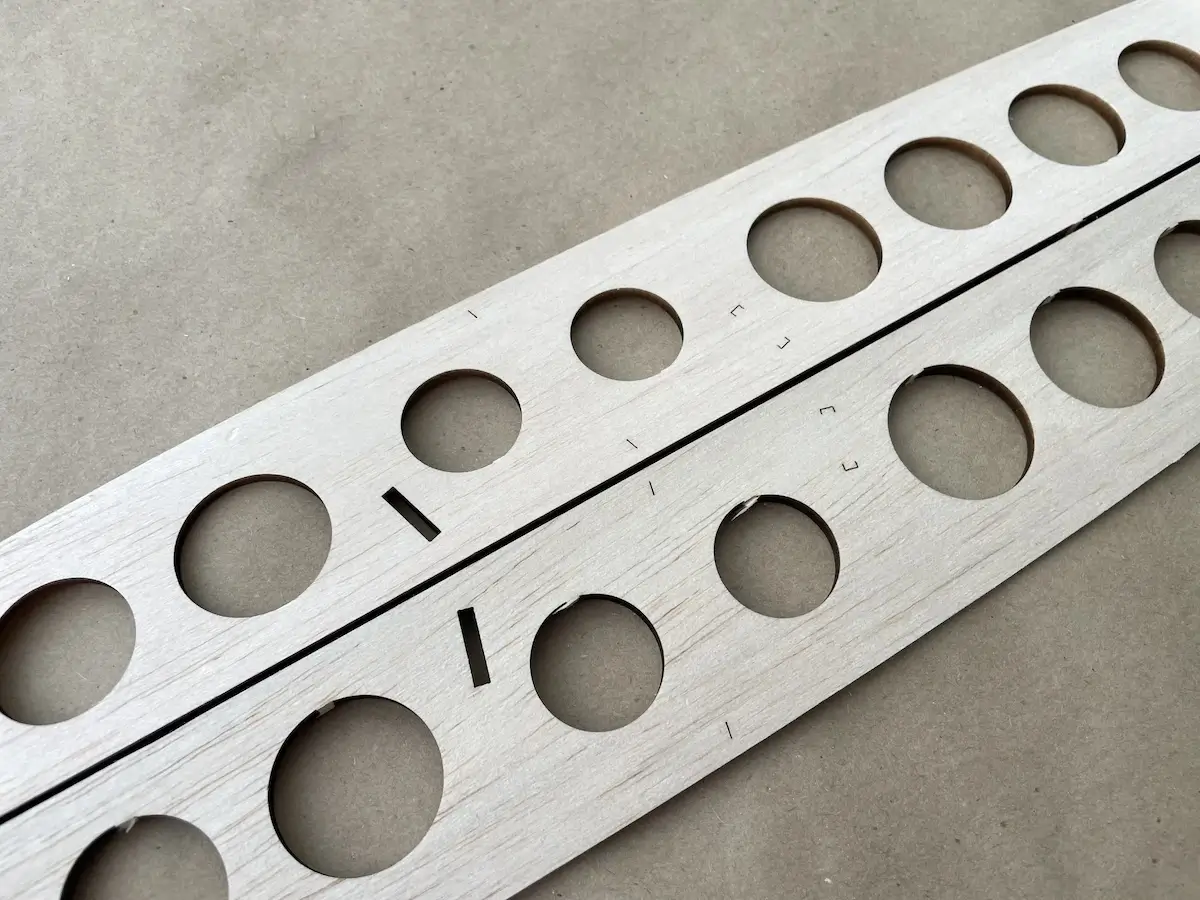
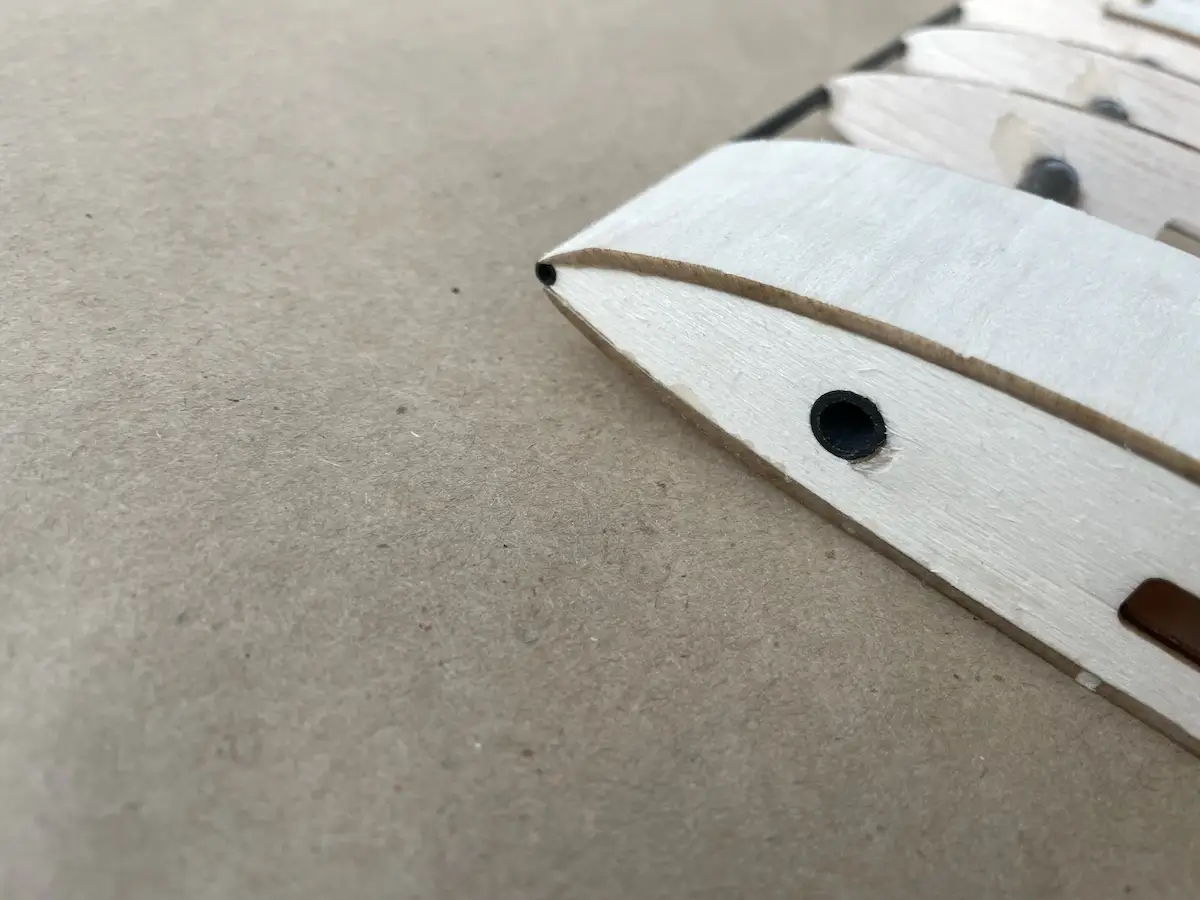
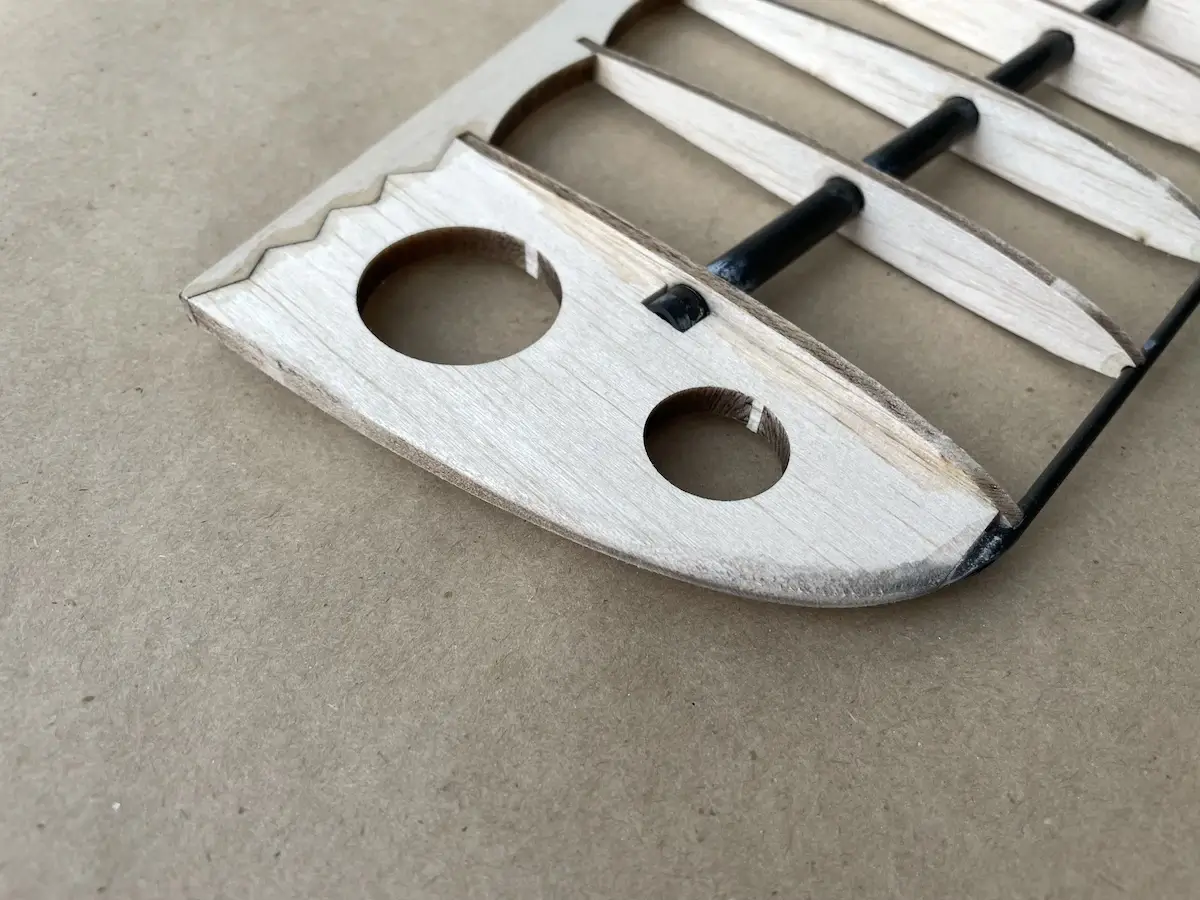
Part 2: The Vertical Fin
This part assembly is very straightforward – just position the parts correctly.
After the glue dries up, taper the rear (right on the picture below) part and round the edges before covering.
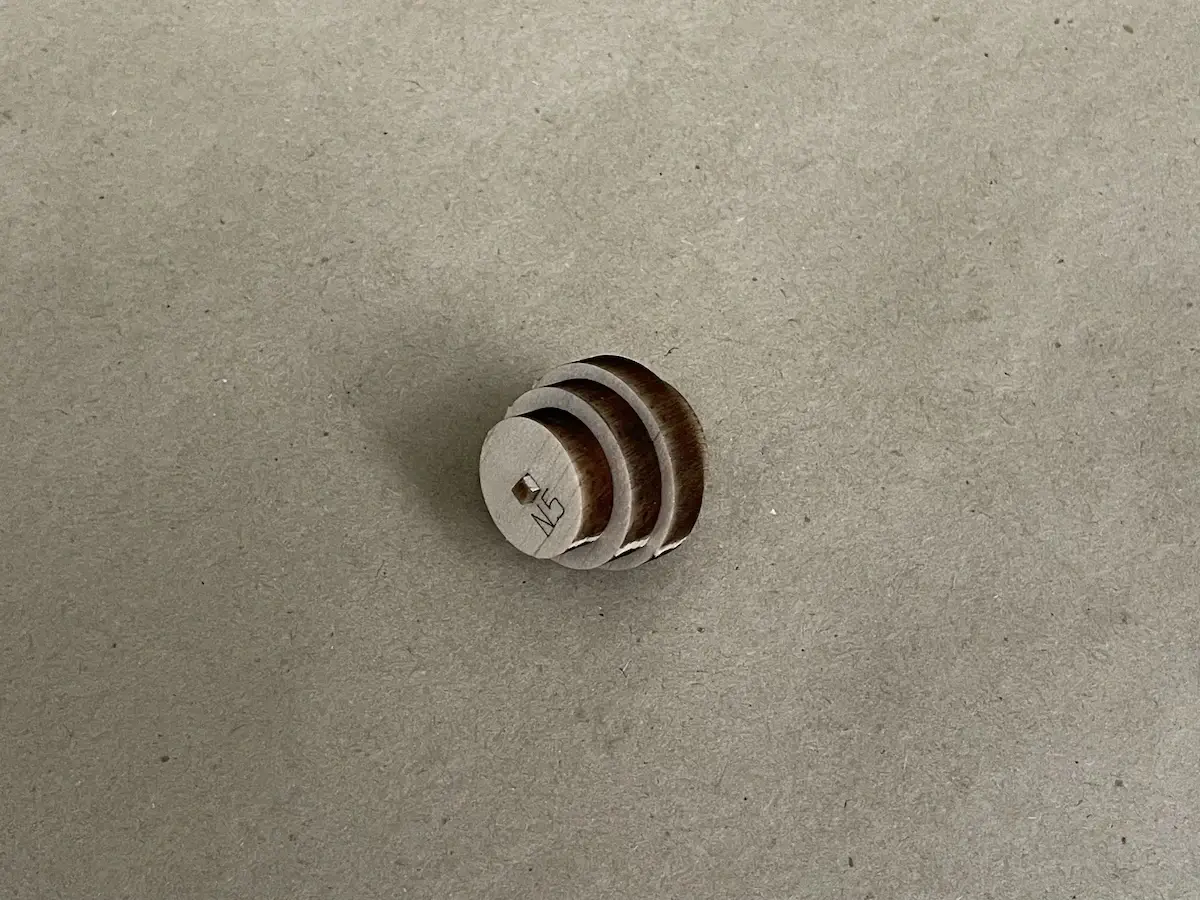
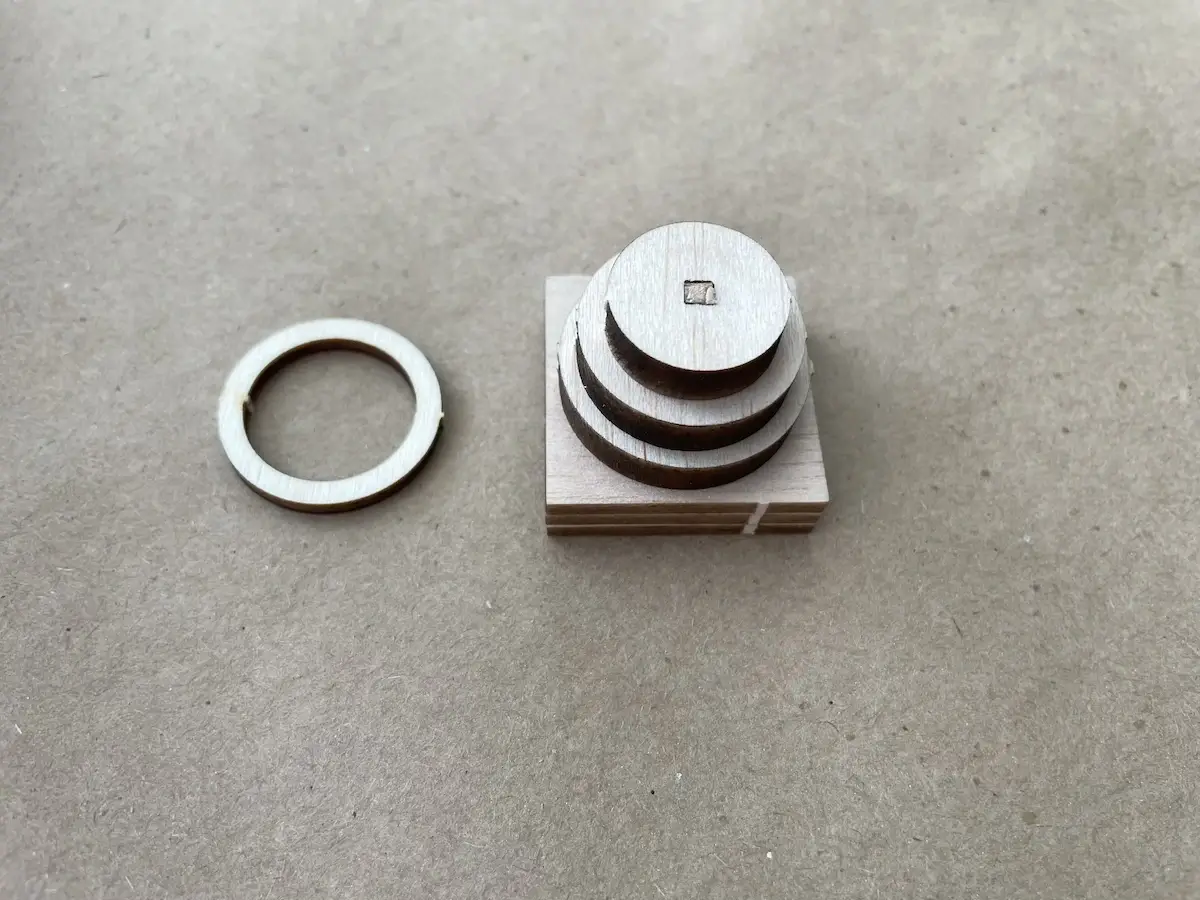
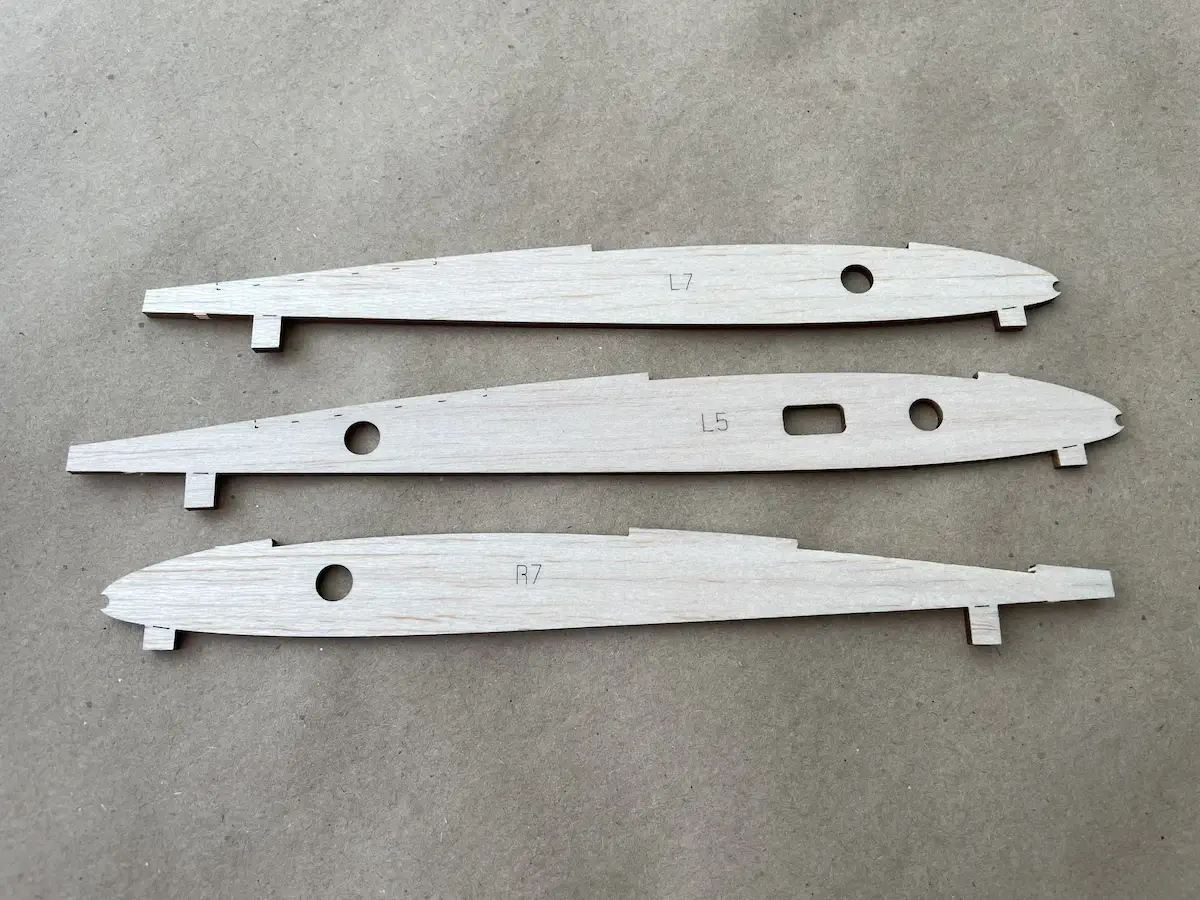
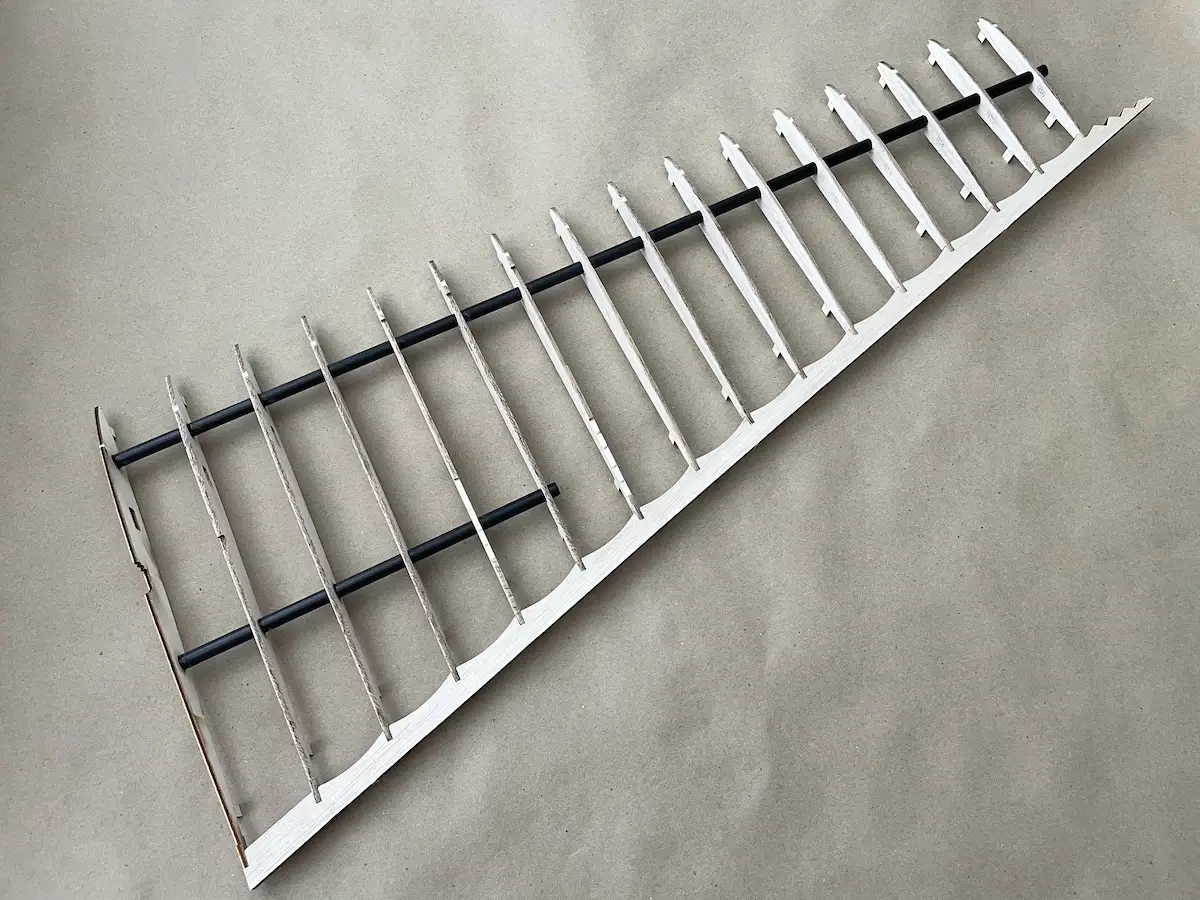
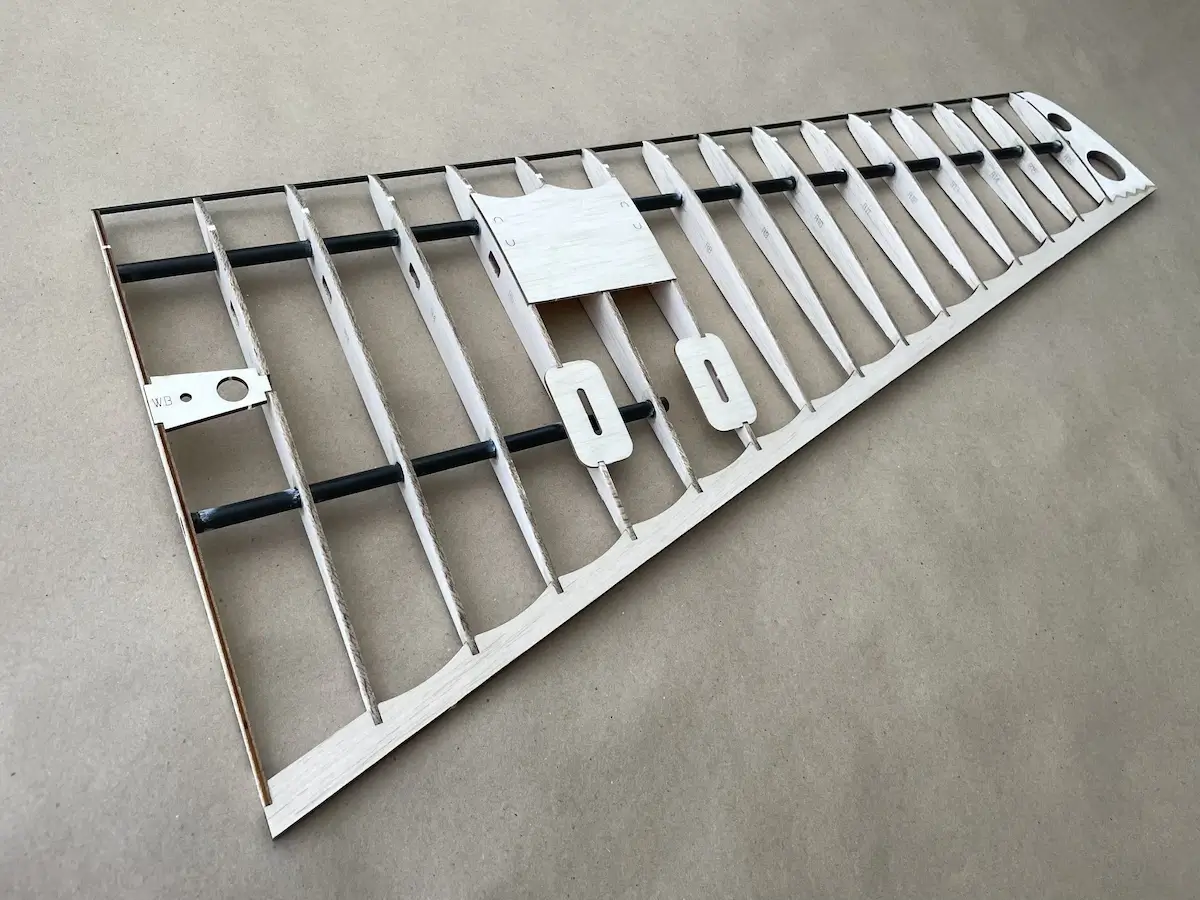
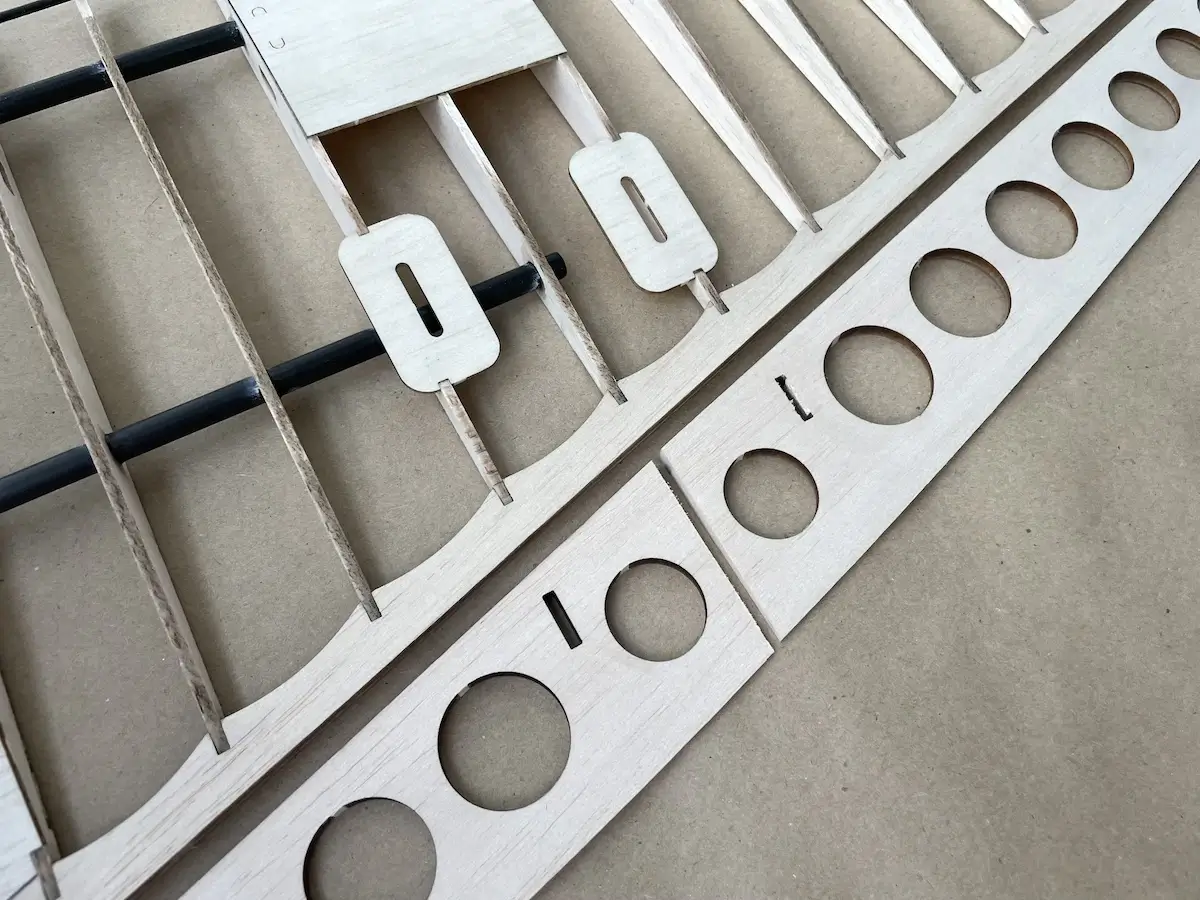
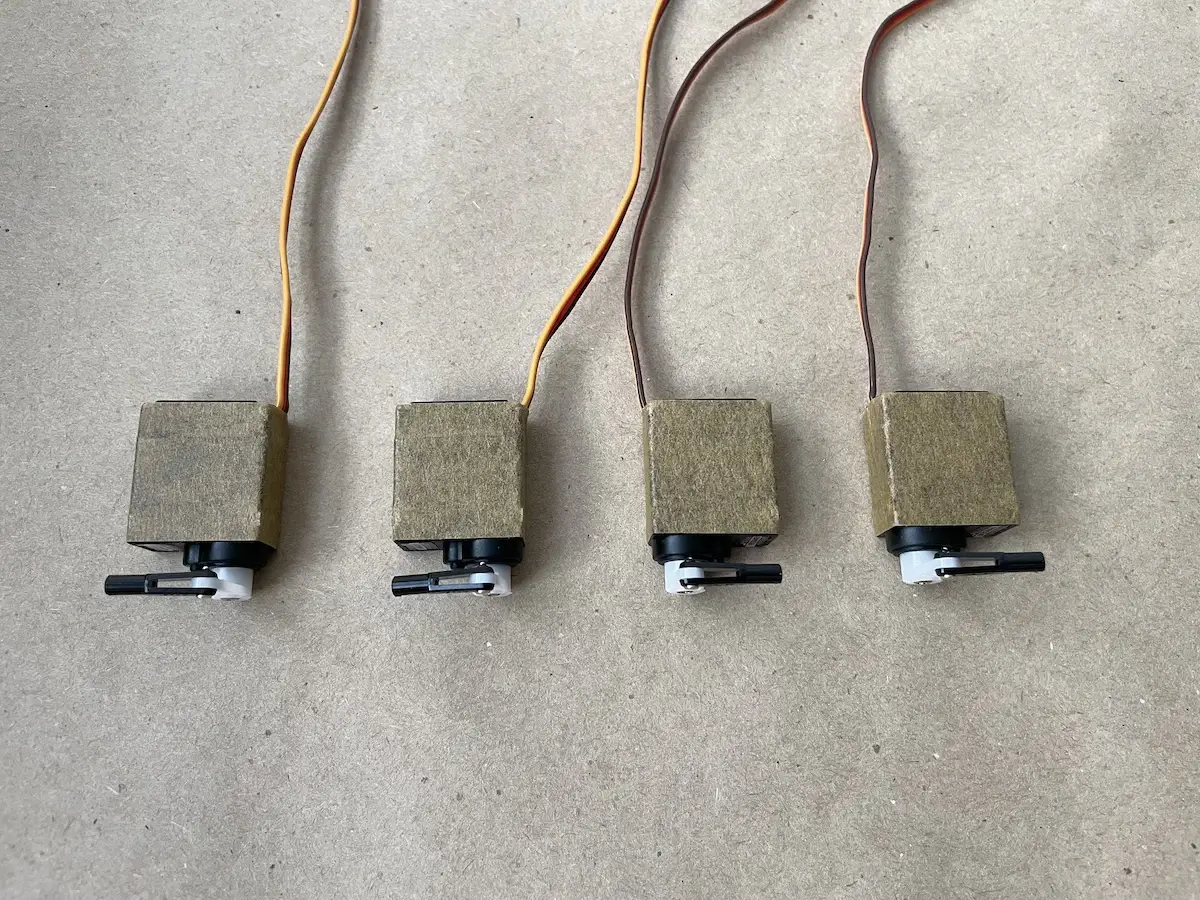
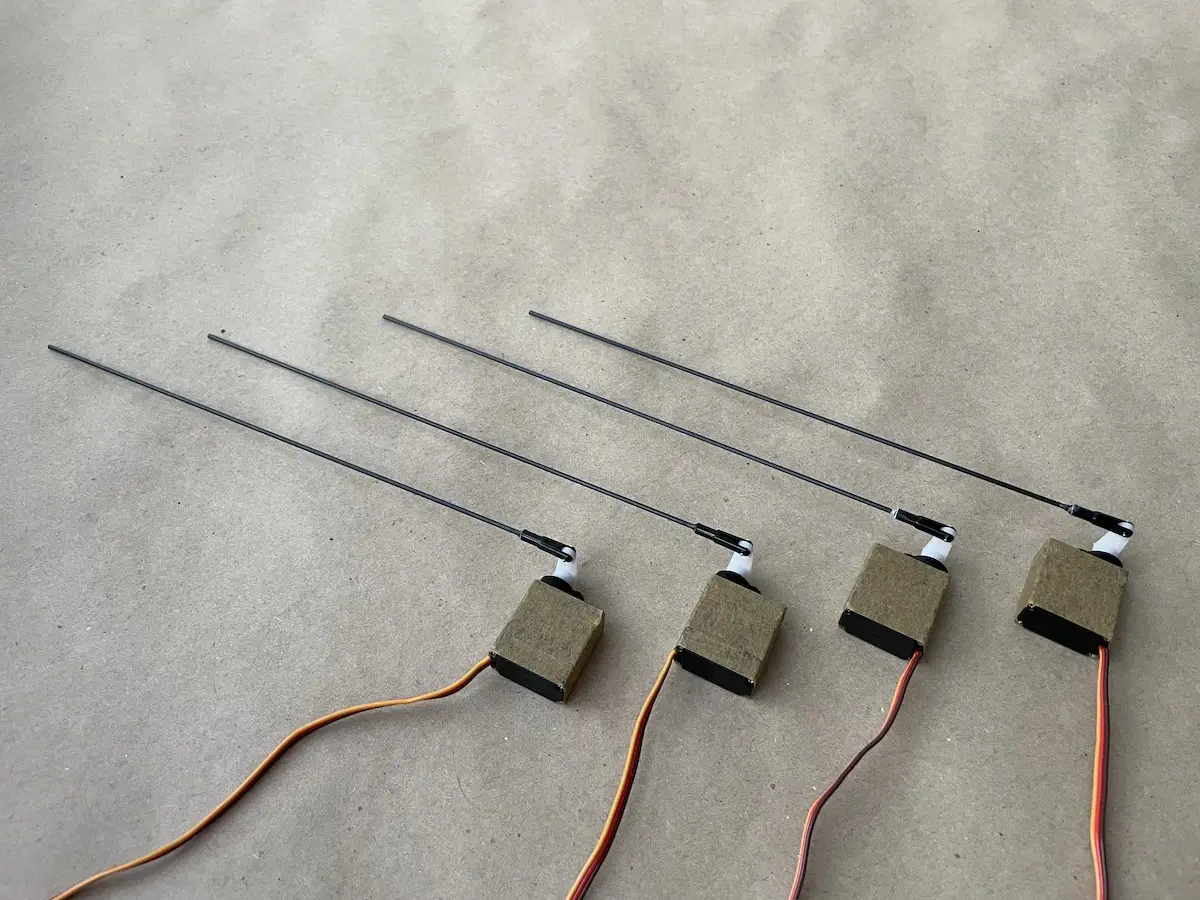
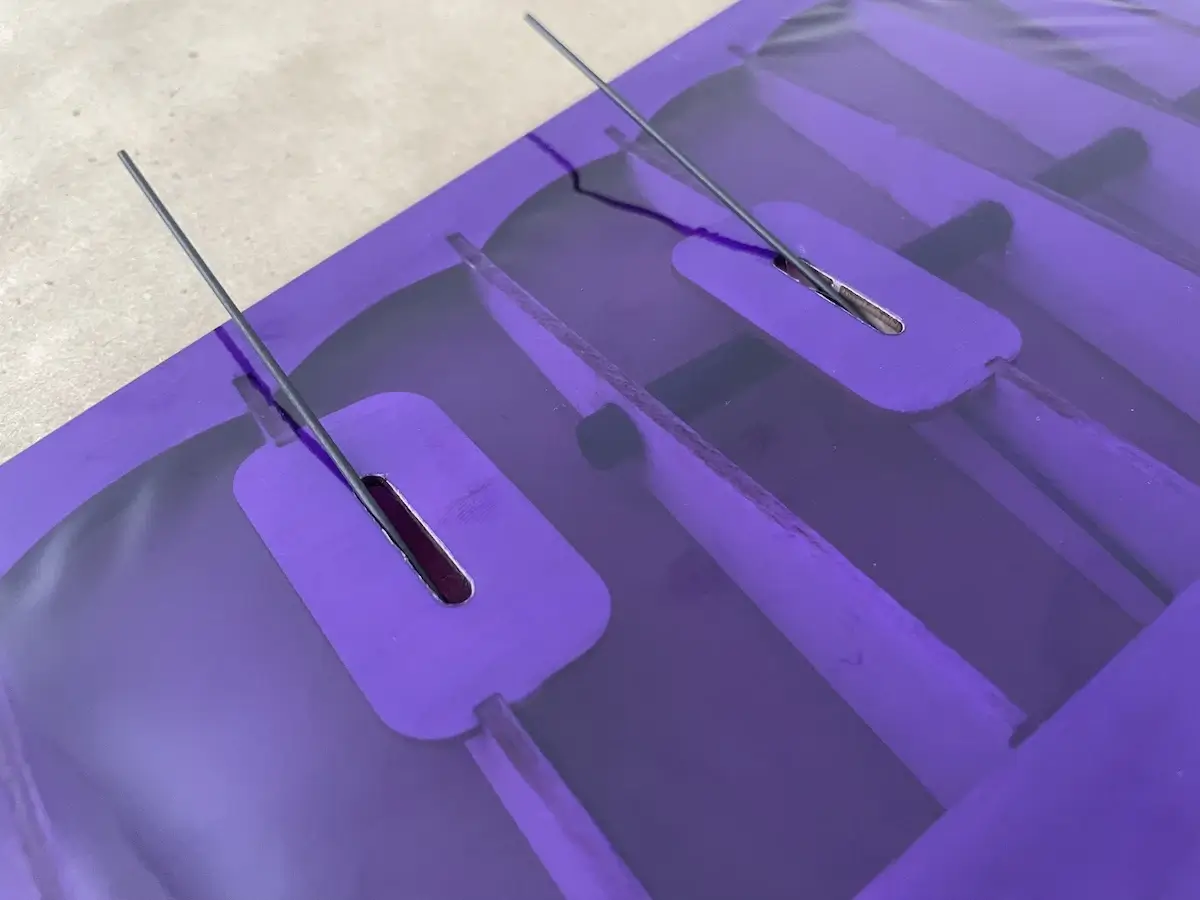
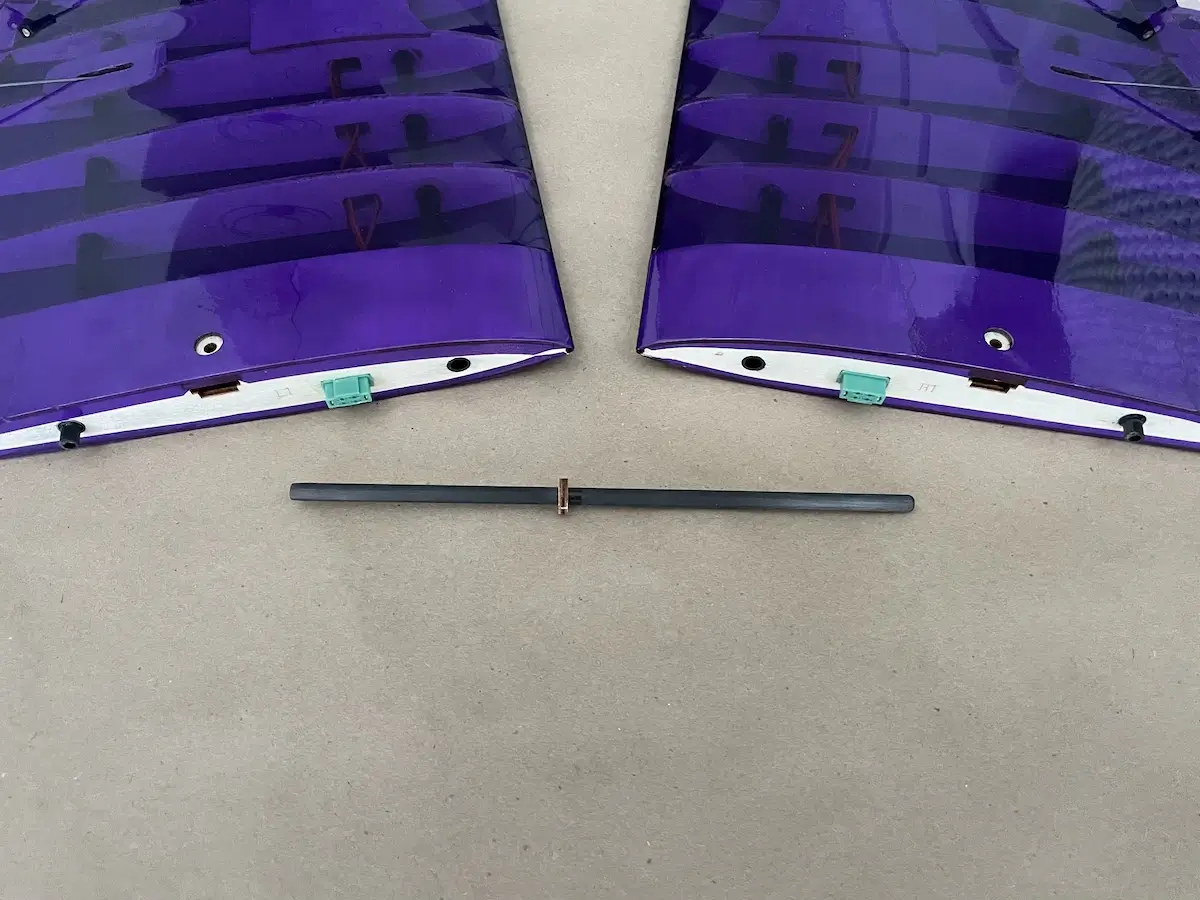
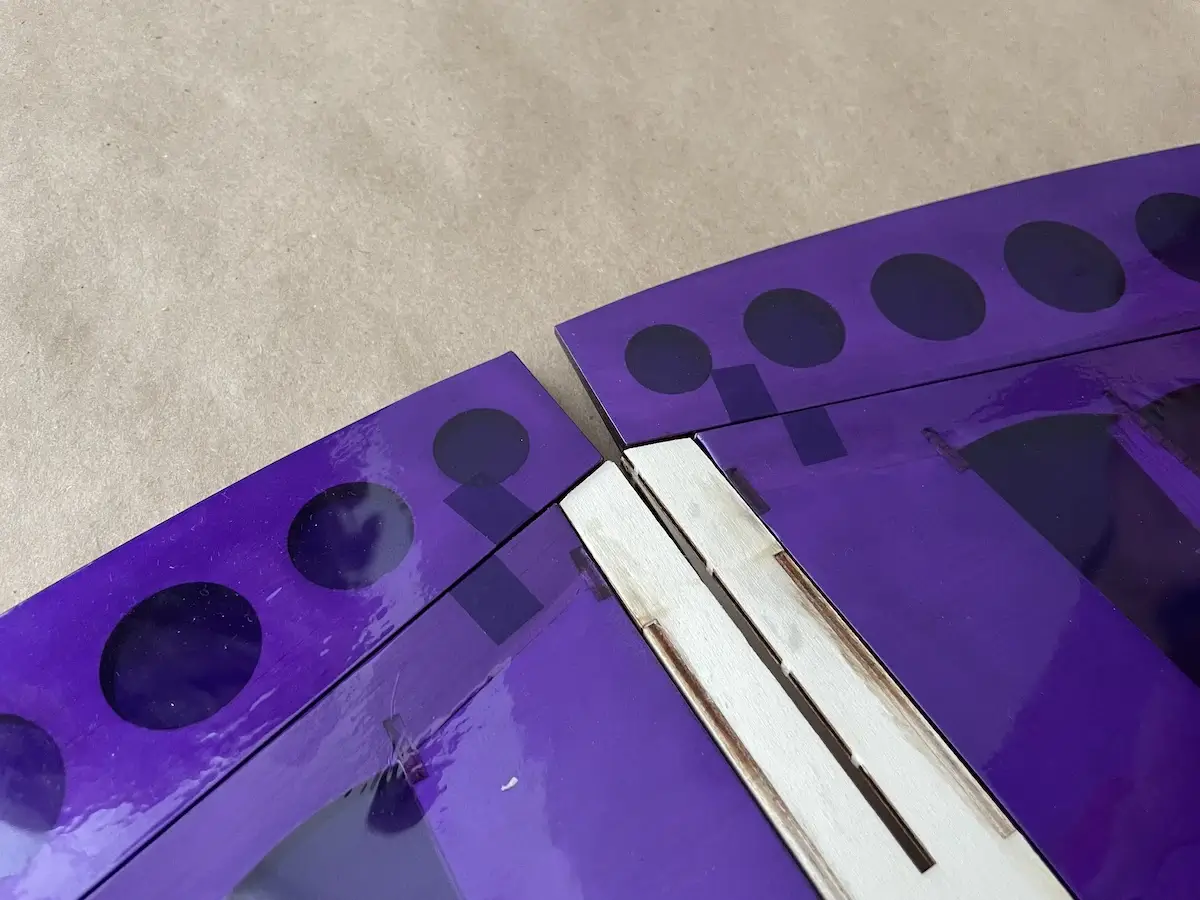
Part 3: The Wing & Final Assembly
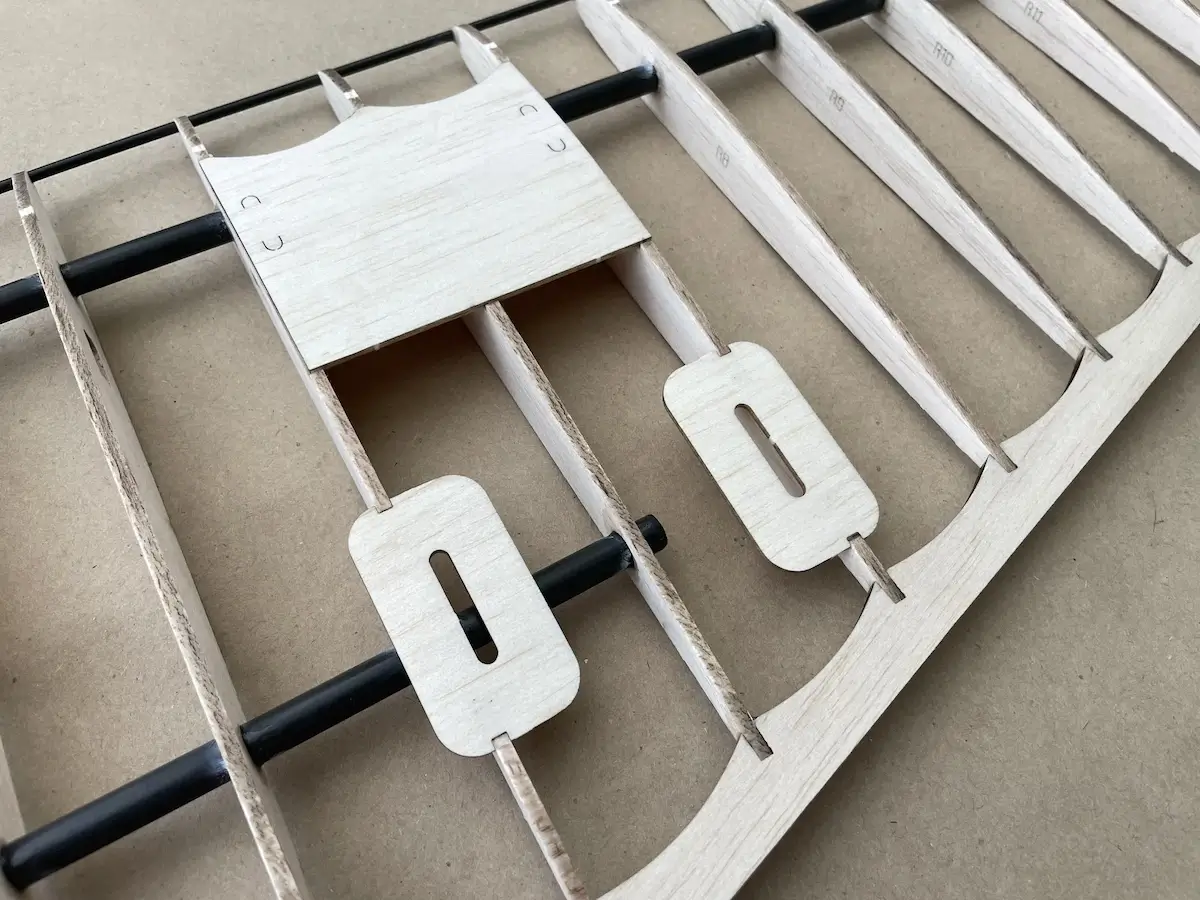
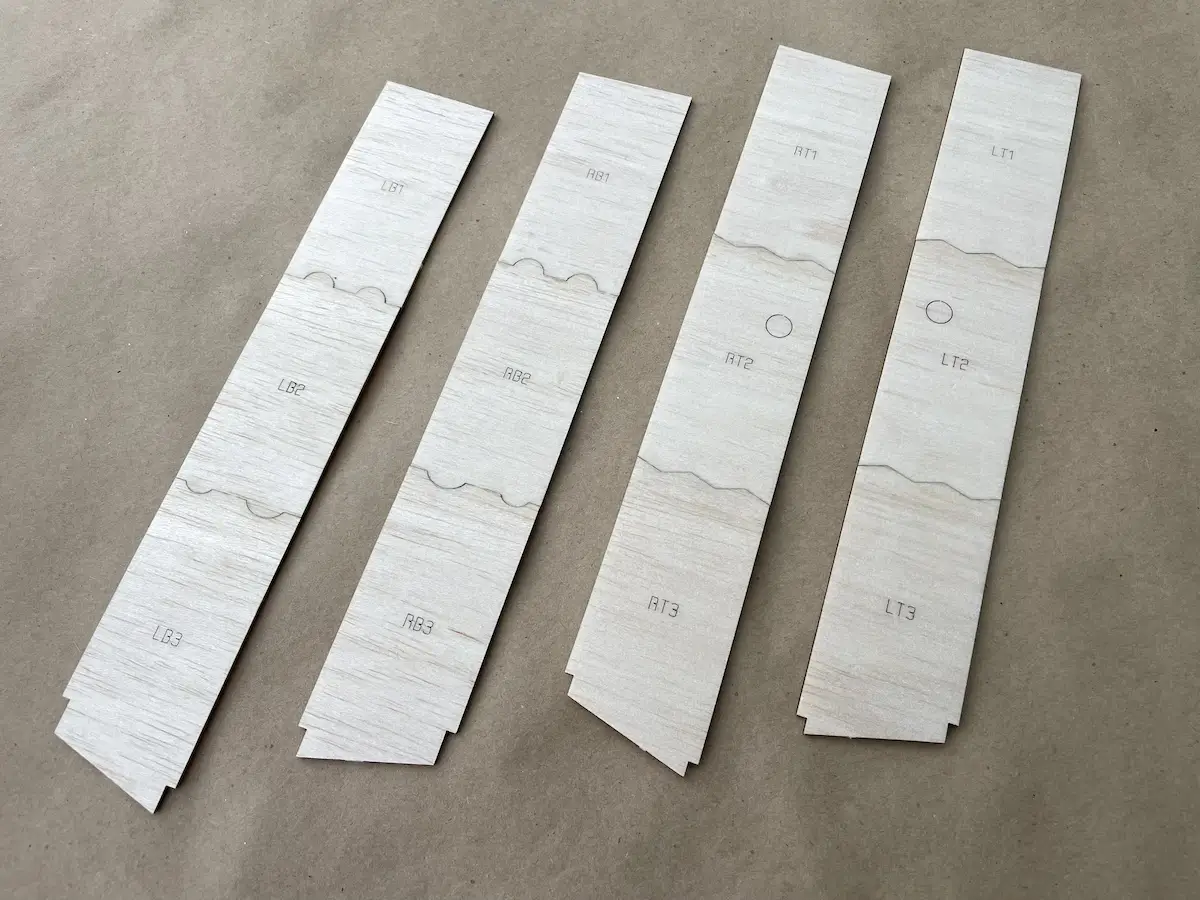
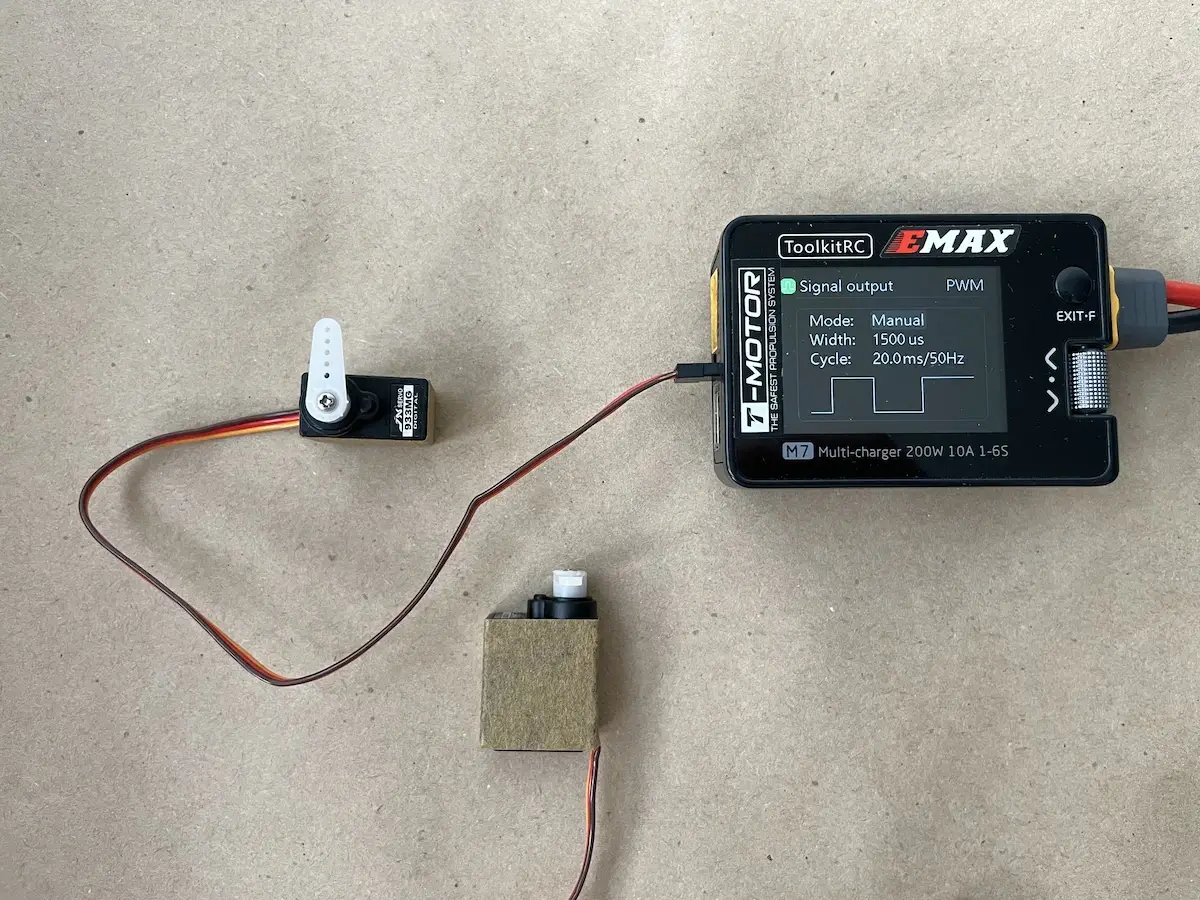
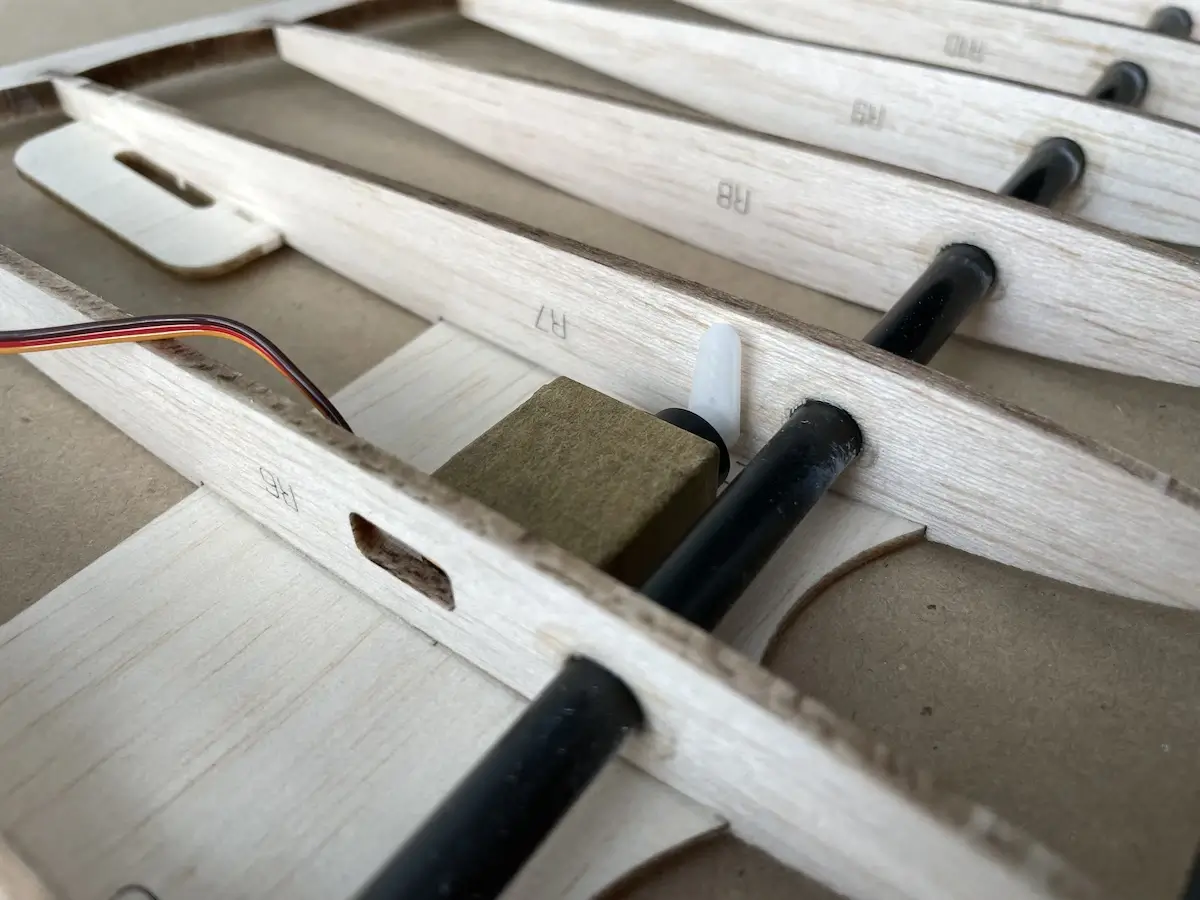
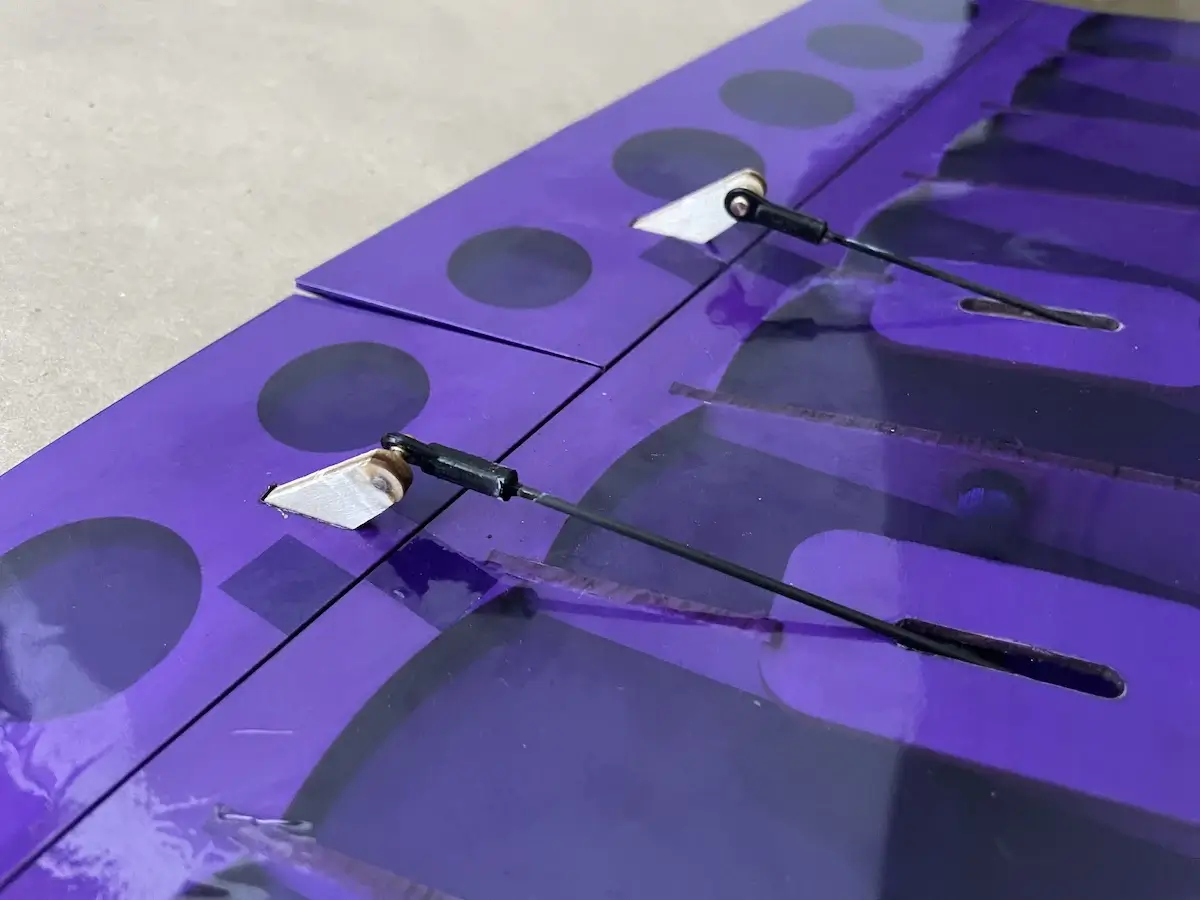
Before assembling the wing, decide on servo installation options.
Please, check the original Shaka Assembly Guide to see what the standard and low-drag options are.
Also, choose if you would prefer four servos, or just two, w/o flaps.
Choosing the above will influence the parts you need to modify further in the build.
For representation purposes, we will describe the four-servo build option in the low-drag configuration as the one requiring the most modifications.


Radio Settings for OpenTX/EdgeTX
Below, you will find the Brah model setup walkthrough for OpenTX and EdgeTX radios.
This is just one of the options that allow for quick adjustments at the field, especially while flying the Brah with flaps.
Also, feel free to explore the Wingy 4S template by RC-Soar.
The process below will help configure the following on your own:
- Motor disabling switch
- Using the throttle stick for both motor control and brakes on landing
- Dedicated endpoints and sub-trims for each servo
- Combined values of Pitch, Roll, and Brakes for each “pair” of flying surfaces
Start by checking that your stick inputs in the INPUTS screen.
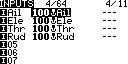
Usually, these are configured as soon as you create a new model, but worth checking.
Next, move to the Curves Screen, and make a 2-point curve for your brakes.
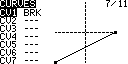
We’ll use it later.
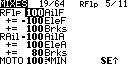
Now, go to the MIXES screen where all the magic will happen.
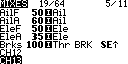
We recommend setting up the “global” mixes first, starting from CH7 and below.
Later, you will use the values of these channels to import signals to your “servo” channels, where the physical actuators are connected.
Make sure to add a switch to your RBAKE channel to use CROW mode later on.
We will also use the same switch for the motor Arm/Disarm.
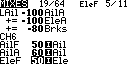
As your next step, add full 100% values of the global channels (CH7-CH11) to your servo and thrust channels (CH1-CH5).
Adjust the 100 / -100 values to make all your servos move in the proper directions.
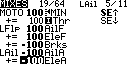
Assign a 2-pos switch to the Throttle channel.
In, UP position, the channel will take the input from the Throttle stick and apply it to the MOTO channel.
The Brake input to all the control surfaces will be disabled in this position.
On the contrary, the DOWN position of that switch will make the motor inactive (MIN value in the MOTO CH) and activate brakes on all flying surfaces.
After the mixing is done, go to the OUTPUTS screen and adjust the neutral and endpoints of your servos.
After this, all your servos should move in the right directions, and the throws on the pairing flying surfaces should have equal endpoints and neutrals.
Disregard the max throws at this point.
Next, go to the global channels (CH7-CH11) and modify the values there to set the final rates for all flying surfaces.
Follow the basics below.
Optionally, add some audio announcements or haptic feedback on the low battery, link quality, RSSI, etc.
And feel free to use this as a starting point to create a configuration you like.
Basic Full-House Slope Wing Settings
Since the Brah is the flying wing, there aren’t a lot of settings to take care of.
Just make sure to set the neutrals and get the CG correct.
It likes tiny movement on the Pitch, just like the smaller Shaka
On the Roll, you can go “crazy” for the stunning performance.
And for the brakes, equal the throws on flaps and ailerons to get started. Considering the size of a flap and an aileron, this will put your model in a controlled stall, which will help to slow down for landings.
| Brah Flying Wing Control Throws & CG Settings | |||
|---|---|---|---|
| CG | 38~45mm from wing leading edge (at the root rib) | ||
| Pitch on Flaps | +/- 6mm | ||
| Pitch in Elevons | +/- 12mm | ||
| Roll on Flaps | +/- 10mm | ||
| Roll on Elevons | +/- 16mm | ||
| Crow Brakes | Flaps 10mm down, Elevons 10mm up | ||
Use the above values for your maiden flight, considering these as the most conservative setup.
Adjust as you gain confidence with your Brah.
And Have Fun 😉
Thanks Gene
Hi Gene. Can you give some percentages or mm measurements for the falls and ailerons please. I’m gonna build this as a slope only model. Have to say I adore my little Shaka and it comes with me everywhere. A scaled up version is very exciting.
Happy New Year.
Rory
Hi Rory,
Happy New Year and I appreciate you stepping in with your question.
We planned to add it later in a more readable way to both the product listing and this article, so apologies for the look of it down below 😉
Similar to the original Shaka, the throws on the pitch are minimal, and you can go all in for the roll, as long as you can handle it. Expo and aileron differential will help with not loosing too much height in turns, but will make rolls a little more squashy in case you prefer some agressive aerobatics.
The measuring was done at the root, literally “on the fin”. If you will have flaps, set these up first, and then do the ailerons.
– Pitch on Flaps: +/- 5-6mm
– Pitch in Elevons: +/- 10-12mm
– Roll on Flaps: +/- 8-10mm
– Roll on Elevons: +/- 14-16mm
– Brakes: Flaps down 10mm, Elevons up 10mm.
While braking, you would like to have her pitch up, and start sinking. The reflexed elevons will help you mainain a contol on landing.
Hope this helps 😉
– Gene