In general, setting up an RC Glider should be quite a simple task, right?
If you have experience with other types of airplanes – great!
But, if you are a complete newbie, some obvious things become not so…
So, in this article, let’s get an initial RC Glider setup sorted from start to finish.
But first, let’s find out what type of glider you have, since the setup will differ depending on a few factors.
TLDR
- RC Glider Types
- Center Of Gravity
- Flying Wing Setup
- Classic Airframe Glider Setup
- RC Glider Flight Modes
- Common Software Mixes for RC Gliders
- Ready-To-Use Software Templates
RC Glider Types
There are just two main criteria that differentiate the models you might get:
- The existence of a motor to help it launch and gain altitude.
- And the type of your airframe.
The models with the motor in front are called powered RC gliders.
If there is no motor, these are powerless, or just pure gliders.
RC Gliders By Airframe Type
There are two main airframe styles used to design an RC Glider.
It’s either a classic scheme or a flying wing.
There will be a variety of options to the above two, so don’t get confused 😉
The core always remains untouched.
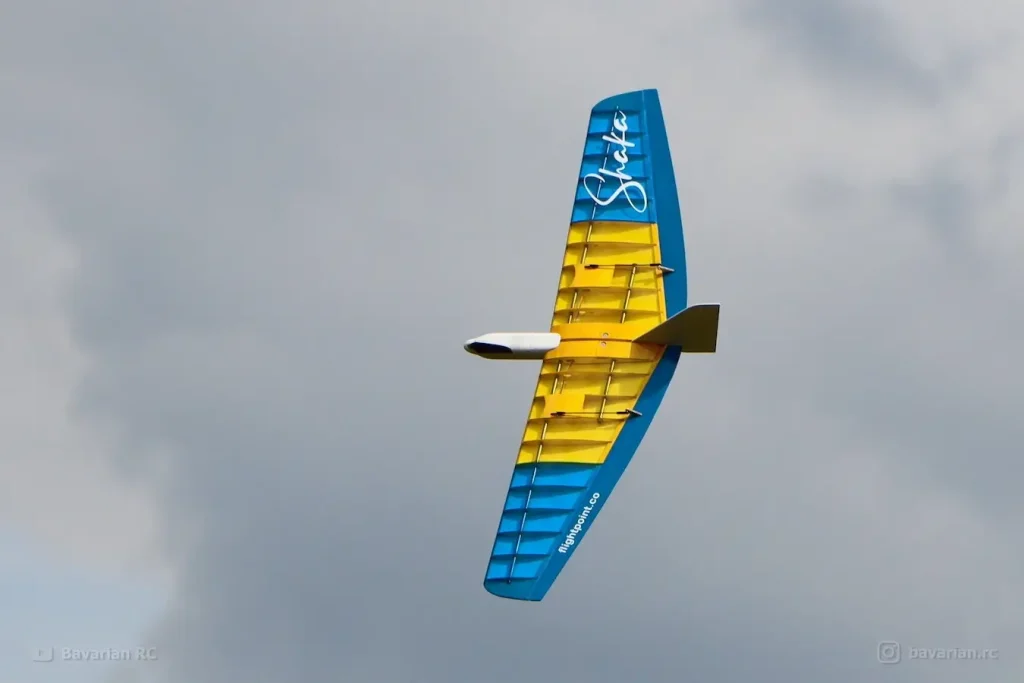
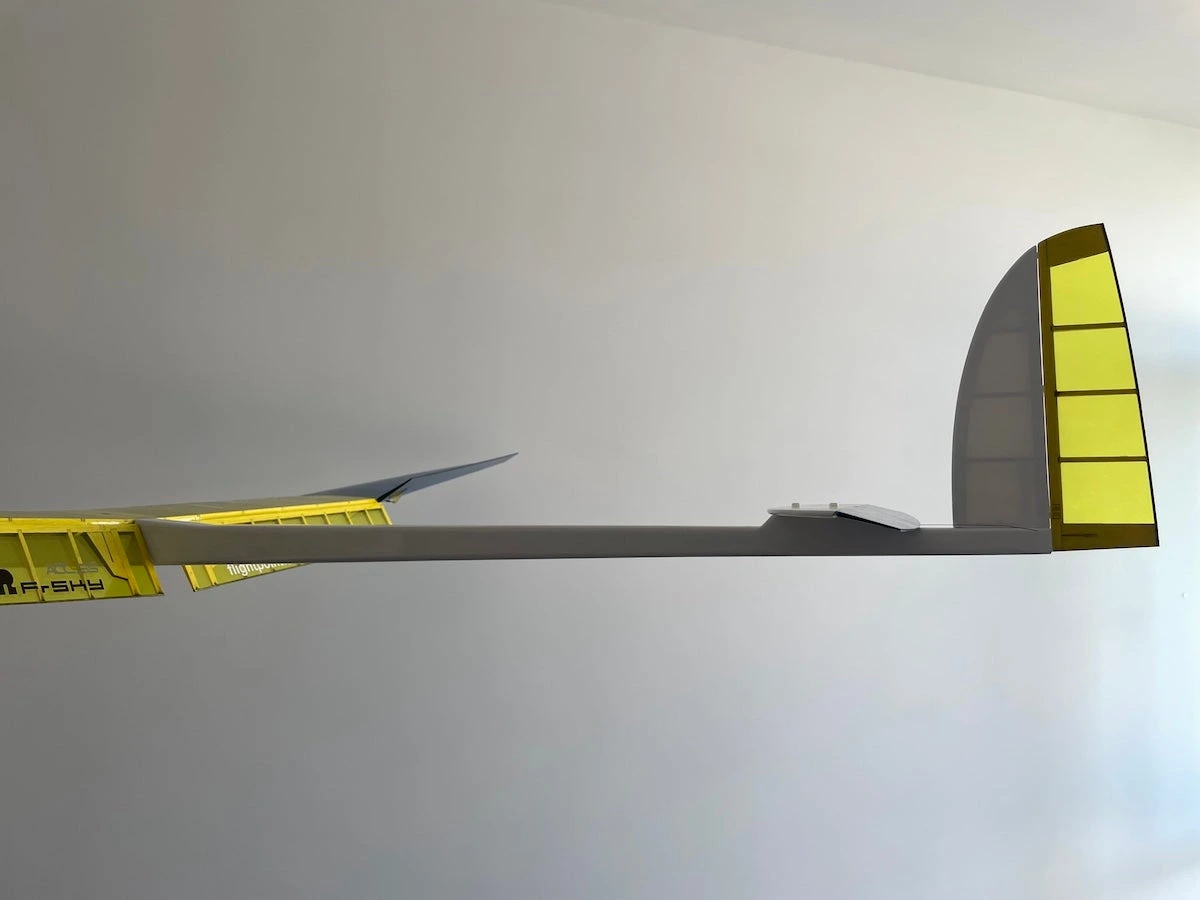
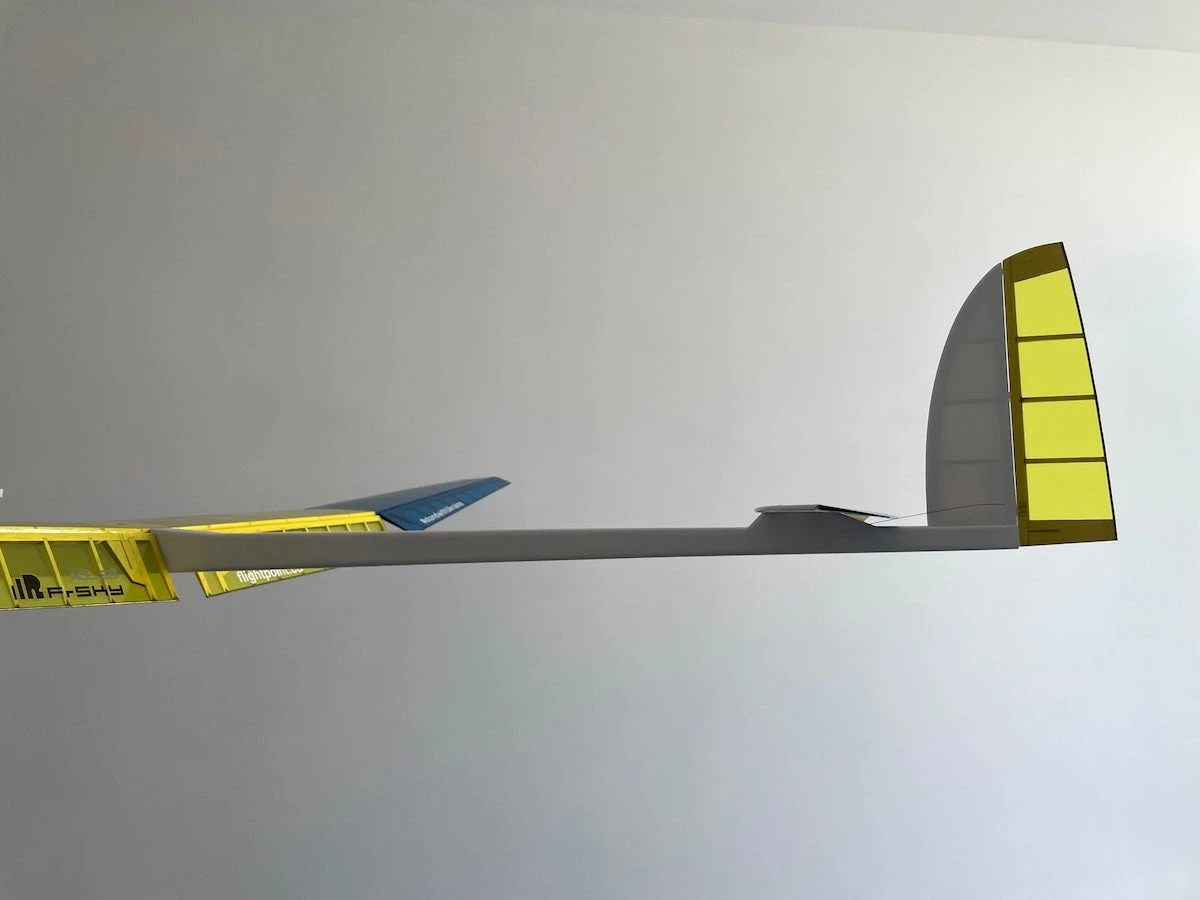
The flying wing will usually look like a wing that was taken off the complete classic airframe and somehow flies…
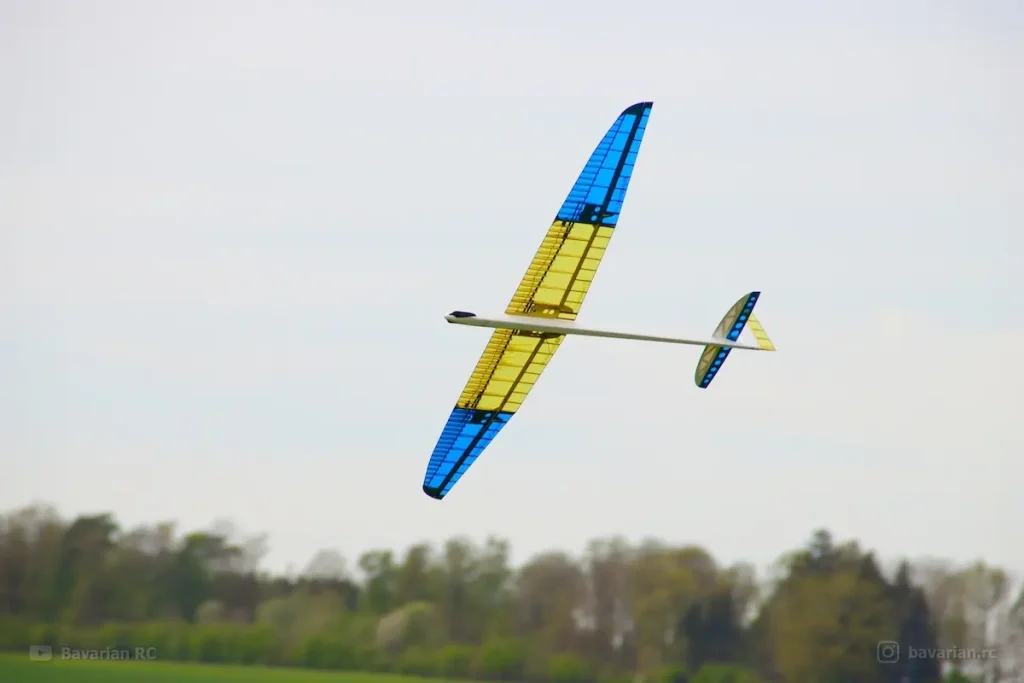
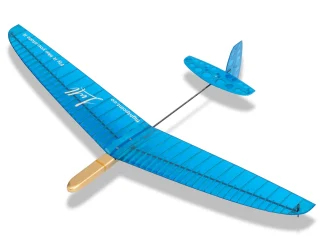
The classic airframe should have a main wing in front attached to the fuselage, and tail surfaces at the rear.
The tail surfaces also may have different configurations: i.e., a V-tail, a T-tail, a Crosstail (aka an X-tail), etc.
Canard design with the “tails in front” of the wing is rarely used for RC gliders, so we’ll skip it for now.
Powered RC Glider Setup
So, what are the RC glider settings, specific to the motor?
As mentioned above, the motor is usually used to launch a glider and gain altitude.
This fact dictates how the motor is configured, both hardware- and software-wise.
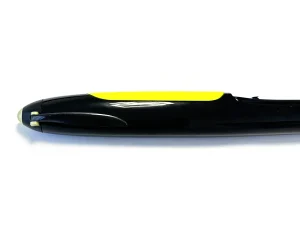
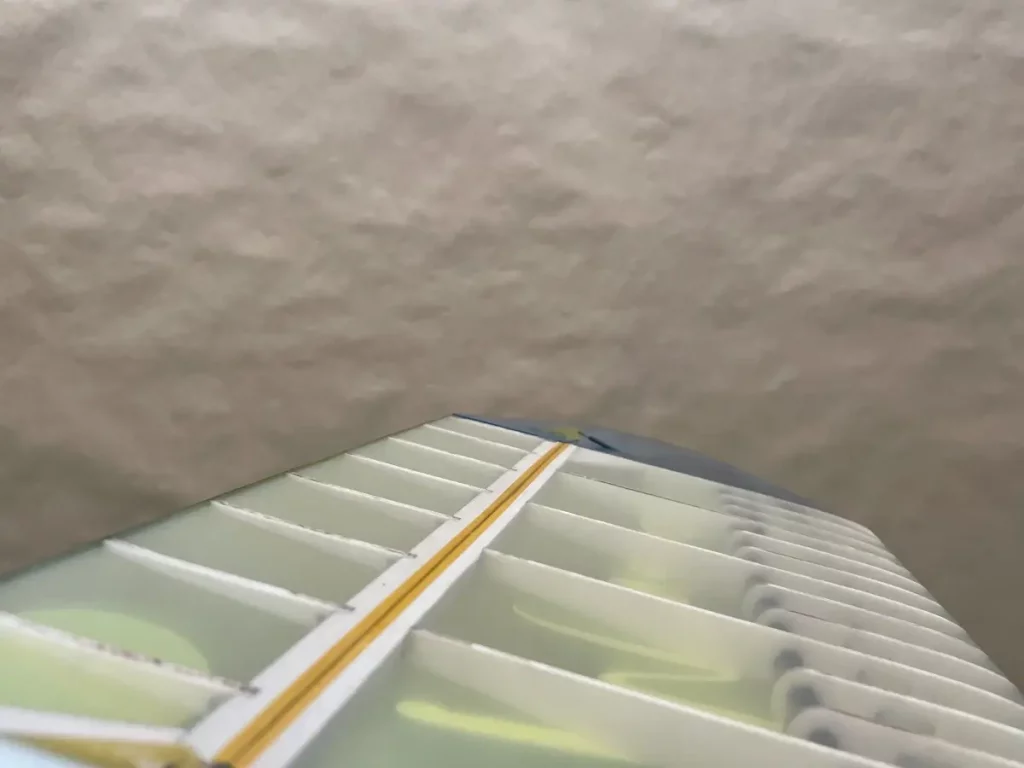
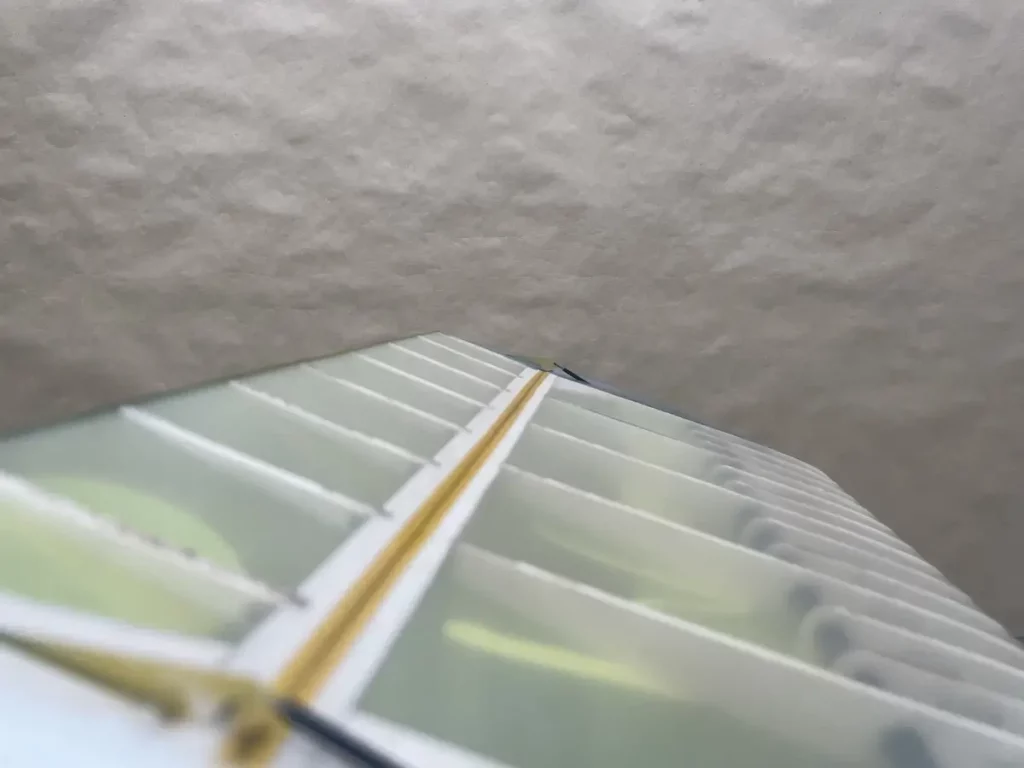
RC gliders often use so-called folding props, like the one in the image below.
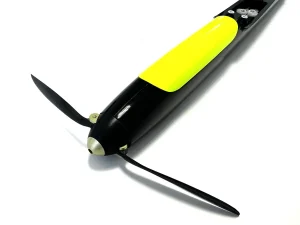
These props unfold when the motor is spinning, as pictured above, and fold down, aligning with the fuselage when motor stops.
This effectively reduces the drag of the propeller when not in use, especially when combined with an aerodynamic nose cone, also known as a spinner.
No rocket science here, and there are plenty of folding props available on the market.
The primary consideration here is that the motor should have brakes enabled at 0% throttle.
When the prop is unfolded and spinning, and the pilot drops the throttle, the prop may continue spinning as your glider flies with 0% throttle.
This is called freewheeling and creates a significant amount of drag that slows your glider down.
Not a good thing, obviously.
Most ESCs used with RC gliders offer this feature.
Sometimes you just need to enable it via Tx Programming or by connecting it to a PC or a specific programming card.
The Throttle Control
Given the occasional nature of throttle control on the RC glider, there are a few options where you can put it on your radio transmitter.
The throttle stick is the most obvious, but usually, you would also like this input to control the proportional brake settings.
Not the one that stops the motor from spinning, but the combination of flying surfaces’ deflections that will help you slow the glider down on landings.
If your programming skills aren’t enough to combine both of these functions at a single throttle stick input, then a slider or just an on-off switch will work just great as well.
Most of the time, you will just need to gain some altitude using a motor, and then drop it and soar;)
Center Of Gravity
The first and most important thing to set up for your RC Glider.
It’s critical for all flying vehicles, allowing a little bit of play for powered models.
But for RC gliders, a 1mm shift may completely change your model’s behavior.
See that in this video, starting 6:38:
To know a proper CG position for a particular model, refer to the manufacturer’s notes for your model.
If it’s missing, you can also use the Online CG Calculator available or its Google Sheets version (copy and enjoy).
Then, install all your electronics, receiver, and battery in the correct spots and balance your model “on the tip of a pencil”.
Move your electronics around, or add some lead (tungsten putty) to the nose or tail to move the balance point to the recommended position.
This will be your starting point for the maiden.
Once flying at a safe altitude, you can also use an RC Glider Dive Test to see the true CG position for your specific aircraft.
Adjust based on the result of it and see how you prefer your glider to fly, with neutral, forward, or backward CG.
Flying Wing Glider Setup
Next, let’s have a look at the flying wing configuration.
Aka the delta wing.
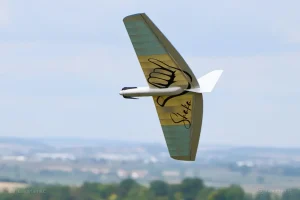
The main feature of this type of RC gliders is that the flying surfaces of this aircraft perform the pitch and roll control simultaneously.
Yaw control is rarely used, and it’s not that efficient for delta wings.
For this RC glider type, you must have a radio that is capable of delta wing mixing.
Most of the modern programmable radios should handle this task.
So if you are using a radio by either FrSky, Flysky Radiomaster, Spectrum, Jetti, JR, or Jumper, etc., you should be good to go.
The pro tip here – Flying Wings are the most fun to fly with minimal pitch and maximum roll throws.
And they are extremely sensitive to the CG position.
So keep that in mind.
Classic Airframe RC GLider Setup
With RC gliders, the classic airframe combines a few options, briefly divided by the number of channels needed to control the flight, regardless of the motor.
All of them look similar, with a main wing, fuselage, tail boom, and tail feathers.
But the core of their setup differs.
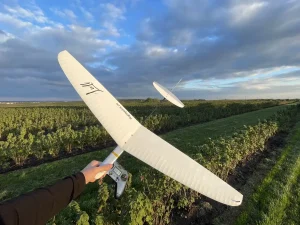
2-Channel RC Gliders
One of the simplest configurations is a 2-channel RC glider – only pitch and yaw controls are intact.
The tail feathers can have various configurations, though.
The most common is cross tail, aka X-tail.
V-tail and T-tail are the other possible options that perform the same features.
The one feature that stands out on all 2-channel gliders is that all of them feature either high dihedral or polyhedral wings that increase the yaw control.
Check the Lull as an example.
The setup for this type of RC glider is quite straightforward.
- Make sure the CG is correct
- Make sure the servos are mapped to the corresponding sticks on the radio
- Make sure the Rudder and Elevator are moving in the correct directions according to the stick movements
- Set up the neutral and endpoints.
Advanced pilots also set up flight modes for Launch, Zoom, Powered Takeoff, Speed, etc.
See an example of flight models for a 2-channel RC glider at the bottom of the Lull DLG description.
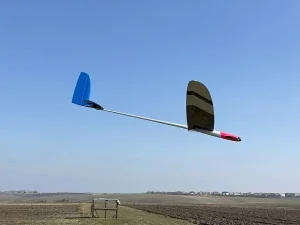
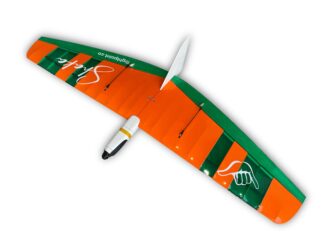
4-Channel RC Gliders
Arguably, one of the most common configurations for a lot of models out there.
Way more maneuverable than 2-channel, so not considered for complete newbies.
4-channel RC gliders introduce Ailerons, which open up a whole new world of setups.
Check the Falcon 2 F3K as an example.
Ailerons are originally designed to control the Roll of an airplane, but are often assigned some extra features, i.e.:
- Camber control that adjusts the airfoil characteristics to certain conditions.
- Airbrakes to slow the glider down before landings.
- Advanced mixing opportunities.
With the ailerons onboard, you will also need to center them and make sure they are working in the right directions and respond to your Roll stick on the radio.
Ailerons also open up more flight modes for your RC glider that we’ll cover later in this article.
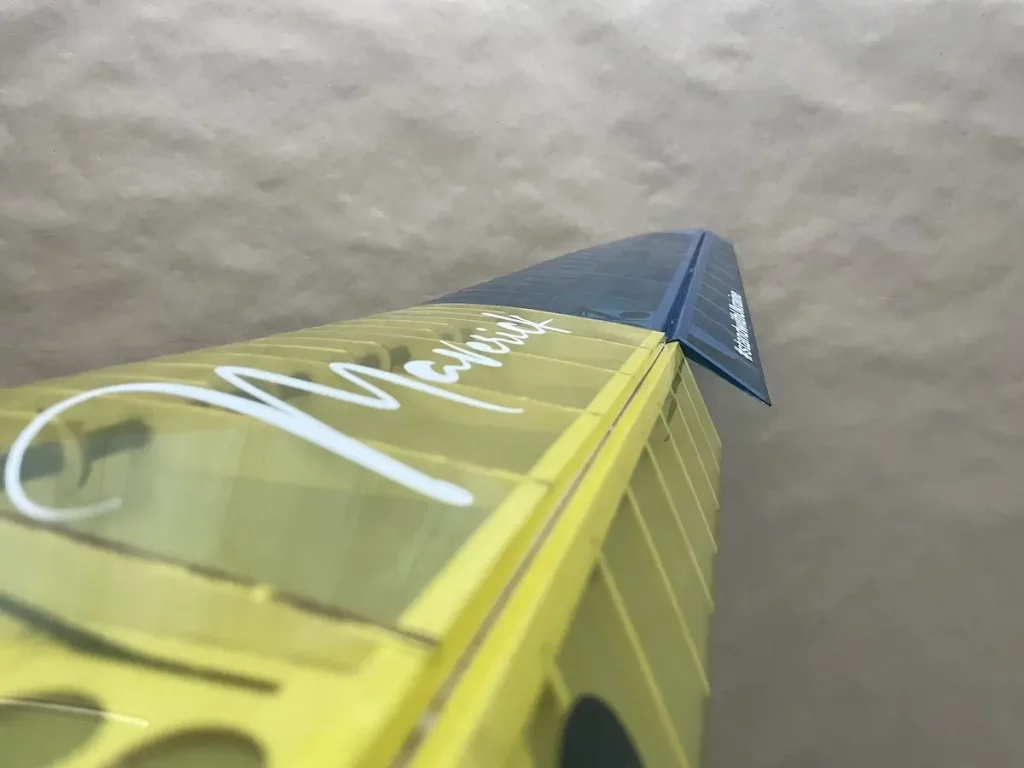
Full-House Or 6-Channel RC Gliders
The full-house wing of an RC glider refers to at least four control surfaces being present.
These are two ailerons and two flaps.
One of the great examples of this glider type are Maverick F5K and Berkut F5J.

The benefit of carrying flaps comes down to a more precise Roll control, Camber settings, and Airbrakes.
In addition, some new advanced mixes come into play to help you fly in challenging conditions.
The full-house wing requires a precise setup that might be challenging for some pilots.
But the benefits overcome the complexity by 100%.
And the list can go on by going through all the variations and possible wing mechanics options…
So we’ll stop here for now.
And move on to the more advanced stuff – the flight modes and mixes that you can benefit from while setting up your RC glider for the best performance.
RC Glider Flight Modes Explained
As you figured out the basic configuration, so your servos are moving (!), control surfaces are centered and deflecting in the right directions, you can get started with the fancy stuff.
The flight modes.
These are “presets” of your control inputs that change RC glider flight characteristics and make it easier to fly under certain conditions.
Say, in the thermal, when you need a sailplane that can gain altitude fast and stay in the lift for long.
Or in the upwind returns, when you are coming back towards yourself and need the slippiest airframe possible, not to perform a walk of shame to the nearby bushes.
All these flight cases can be improved in a certain way with a dedicated flight mode.

So, let’s cover these one by one.
A Launch Mode
Depending on the glider you are flying, the Launch Mode can be very different because it covers a very short period of the launch phase.
Let’s take a few examples…
For a DLG model, the Launch Mode will be active for fractions of a second after the pilot releases the launch peg.
Its main purpose here is to rotate the model upwards and level the wings to let the model climb up in Zoom Mode.
A slope glider might not need it altogether, due to the specifics of the flying site.
The powered gliders will prefer to have a motor that activates for the climb up with proper control via the Throttle Stick or a slider/rotary knob/switch, etc.
For a bungee launch or a high-start, you would benefit from a takeoff flap position, and some up elevator to maximise the tension on the line, and less aileron throws, etc.
Your specific setup strongly depends on the model you are flying and often sits in the manufacturer’s recommendations.
As you gain expertise, you can also adjust these settings to suit your preferences.
Zoom Mode
A Zoom Mode is a specific set of your RC glider control surface settings, which usually refers to the most aerodynamic set of controls that allows an RC Glider to fly the farthest distance, usually upward.
With DLGs, it engages after the model rotates upward upon release, and straightens the trajectory of the launch upward.
With the High-Start launch, it’s used after the pilot slingshots the model in the final seconds on the line with the same purpose as with the DLG – to gain max altitude by trading speed gained during the launch phase.
Ideally, the RC glider in a zoom mode will move up in a straight-line trajectory, hands-off.
As soon as the maximum launch height is reached, usually, pilots switch to one of the Cruise, Speed, or Thermal modes.
Speed Flight Mode
Speed mode is very similar to the Zoom Mode and is often used for upwind returns or aerobatic maneuvers.
If your glider allows for camber settings on the wing with either flaps or ailerons, you would use this to maximise the speed component of the airfoil.
That, combined with the certain elevator trim, should offer you a speedy model.
Zoom mode would use a very similar configuration.
How to configure
It’s easy enough.
Perform a Dive Test, mentioned above in the CG settings part.
See how the glider performs.
For the Speed and Zoom modes, you wish your glider to go dead straight and not pitch up or dive down.
That’s your sweet spot.
Cruise Flight Mode
Cruise is a flight mode that balances the speed and lift components of your glider, so it can fly horizontally, maintaining altitude and constant speed.
It is often used to fly around the field searching for lift, cutting across the field when there are no obvious sink areas.
How to configure
First, with a Dive Test as well.
Trim your glider to pitch up slightly as the airspeed builds up.
Then, choose a calm evening, and fly your glider straight and level to the ground at a moderate speed.
Then, let go of the sticks completely and check how it flies.
You wish it to continue going straight at a constant speed and altitude.
If that’s not true, give it a few trim clicks and repeat the same until it does fly that way.
Save these settings and put them on a switch.
Thermal Mode
As the name says, you will use this flight mode in a lift.
For the settings, you would maximise the lift of the wing and reduce the speed of the glider.
Depending on the controls you have available, you would do this through adjusting either camber and elevator, or elevator alone.
Most pilots have two or more Thermal settings on the glider, or have it on the slider, to adjust depending on the conditions.
The stronger the lift and calmer the weather, the more insane you can go with your thermal mode.
Unlike in the windy, turbulent air, when it’s better to maintain more speed to stay close to the core of the lift (thermal), and use less extreme thermal settings, or just a cruise mode 😉
How To Configure
For this one, it’s more on the testing side.
Check the manufacturer’s manual for your glider and set the recommended settings as your first bet.
Fly your glider, and see how it performs.
Ideally, you would like it to be raised in a lift with minor inputs from your side.
If you add a lot of up elevator, trim it this way, or increase the camber.
If it stalls all the time, and you fall off the cliff, reduce the elevator and increase camber.
It will reduce the airspeed and increase the wing efficiency.
Move the CG a millimeter here or there.
And so on.
Feel free to experiment and find your best settings.
Airbrakes
Airbrakes are a setting that pilots use to slow the glider down before landing.
May apply to the gliders with more than 2-channel controls.
Can either use a combination of the flight control surfaces, or a dedicated Flap or Spoiler on certain models.

Flaps usually go down to increase drag and slow the glider down.
Spoilers go up for the same reason.
Both will affect the straight-line flight of the glider and require compensation for this effect with an Elevator input.
Usually down, but it will strongly depend on the model.
Ailerons, if they exist on the model, can either go up or down.
Ailerons up, flaps down combo is known as Crow Brake, or a Butterfly.
Ailerons alone can also act as Flaps.
In this case, they will name Flaperons that stand for combined Aileron and Flap functions on the same control surface.
That’s a common configuration for 4-channel gliders.
How To Configure
With Airbrakes, it’s a complete trial & error.
First, check the manufacturer’s guides for your specific model to find out what’s recommended.
Set this up, fly a few times.
At first, apply Airbrakes at a high altitude to give yourself room for error and recover the model if something does not go as planned.
In most cases, pilots tend to put the airbrakes on the throttle stick.
Usually, with 0% brakes when the stick is up and 100% when the stick is down.
There are some people who like to do it the opposite as well.
Some put it on the switch, but we here at FligthPoint find it more handy to have proportional control over the airbrakes on landing.
And once again, test it out until you are happy with the handling of your RC glider.
And have a good time on the field with all your flight modes dialed in.
Failsafe Mode
Of course, your control link shouldn’t be failing.
You paid a fortune for it, and it’s rock solid.
Or is it?
Bad things happen to the best of us, so it’s better to come prepared.
Most of the modern programmable radios allow you to set up certain values for your control channels in the case of a failsafe.
At least, Spectrum, Multiplex, Graupner, JR, Jetti, FlySky, FrSky, Crossfire, and ELRS do.
So yours may offer this as well.
Just check the manual 😉
The nature of the failsafes of the RC gliders is that they can happen anywhere and at any time…
The best thing you can do in this case is to make your RC glider go back to the ground in one piece.
Usually, for the Failsafe, you would apply the brakes to slow the glider down.
Add some down elevator – not too much to make it dive straight down, but to give it a chance to leave the thermal it might be stuck in.
And add some rudder, to make it circle and stay near you.
With 2-channel models, you can opt for a “controlled flat spin” setting for failsafe.
Since there are no airbrakes to apply, if your control link crashes, you will need a way to take your model out of a potential thermal it may be in.
And believe it, as soon as you lose control of your glider, it will finally find a thermal to go beyond the line of sight.
So, “stalling” it with up Elevator and some Rudder input might be a great option to take it down.
How to configure
Start with your airbrake setting, and set around 50% of the full airbrake values for your Failsafe mode.
Add some rudder as discussed.
Put it on a switch and try to toggle it on at a safe altitude.
See how your glider reacts.
The goal here is to have a solid and stable descent immediately.
If you are happy with the settings – “write” these to your Rx and fly with a backup next time 😉
For the exact instructions on how to set Failsafe for your radio system, check the user manual.
Common RC Gldier Software Mixes
Flight modes are just the top of the iceberg…
The advanced settings of the RC Glider require the use of some of the programming features of your radio system.
The implementations depend on the system, but the actual functions stay unchanged.
And it’s your choice to use these or not, if you don’t see a benefit… just yet 😉
Most of the time, it’s all about making a control input more effective for the maneuver you are pulling.
All, to generate the maximum competitive advantage against your rivals and the gravity force.
Let’s dig in.
Stick Expo
Adding exponential curves to your control inputs is popular not only with RC gliders but with many other radio-controlled vehicles.
So, if you are familiar with that already, it’s just the same for RC Gliders. 😉
It helps with applying just enough control input to make a desired maneuver and not produce excessive drag with too much throws on the controls.
How much expo to use?
Competition RC glider pilots tend to set this up anywhere between 20 – 60%.
Daily foamies might not benefit from it at all.
Our personal preference is ~50% on the ailerons and a rudder, 20% – 30% on the elevator.
Try it, and adjust to your preference.
Aileron to Rudder
It does as it says.
The reason you would add the Rudder input as soon as you apply the ailerons and continue steering into the turn hides the secret of the coordinated turns for an airplane.
In short, it prevents side slipping, makes the airfoil work more efficiently, and gives you better control over your machine in the turn overall.
The pilots around the world argue whether the Aileron-to-Rudder mix is beneficial in the long term, compared to the skill of using a rudder correctly.
But at the very least, this option may help beginner pilots to stay in the air for longer, if done properly.
Snap Flap
The purpose of the Snap-Flap mix is to make the elevator input of your RC glider a touch sharper.
The mechanics of it go as follows:
- When the Elevator is moving up, both Flaps are moving slightly down.
- Optionally, when the Elevator is moving down, both Flaps raise.
This additional input on the flaps alters the rotation center of the airframe back from the wing.
As a result, your sailplane responds to the Elevator input much faster while reducing the drag coefficient, compared to using the elevator alone.
A very useful mix when properly set up.
Give it a try!
Aileron Differential
Aileron differential mix makes these control surfaces travel more upward than downward.
The reason behind this setting is that equal aileron throws may occasionally create a counterforce that will yaw the plane out of the turn direction by creating an extra drag on the bottom surface of the wing.
Since the air has a higher density below the wing than above it, this makes equal Aileron travel cause this parasite effect.
In case your model suffers from something like the above when the ailerons are applied, try reducing the downward travel.
This often happens on some RTF foamy gliders or big-scale sailplanes with a higher wing load.
On the high-end competition RC gliders, like F3K models, it’s quite the opposite.
Pilots tend to go for a negative differential, and make their Ailerons travel more down than up.
The reasoning behind this is a little different and mainly dictated by the exceptional performance of these competition machines.
So pilots are optimizing all the small bits and pieces that result in better handling overall.
Airbrakes to Elevator
Since air brakes may be quite a mix already, the Elevator input should already be under the radar.
But we decided to put that aside to make sure you, as a pilot, will pay a proper bit of attention to it.
Applying air brakes will always have a parasite pitch effect on your model.
To identify what you need to program to keep your glider flying straight under braking, try braking at a safe altitude.
See how your glider reacts and adjust the Elevator compensation until you are happy.
Pro Tip: Make sure to put your glider into a moderate dive before applying airbrakes so it can maintain some energy and not fall out of the sky.
Aileron to Flap or Full-Span Aileron
On the full-house gliders, you can go with a mix that will make your roll response a little better.
Since the Flaps are mainly sitting there and doing nothing most of the time, when not changing camber or braking.
You can program them to mimic the Aileron movements for like 30-50%.
Try it and see how you like it on your sailplane.
Ready To Use Templates
All the above may sound a little complicated, especially to a newbie RC glider pilot.
But luckily, you don’t have to set these up yourself from scratch.
In most cases.
Big Brands – Futaba, JR, Jeti, Spectrum, Graupner, Multiplex, etc.
Big radio manufacturers usually have these mixes built in.
As a part of their RC glider programs.
So it’s a matter of:
- choosing a proper template inside your radio
- assigning the channels on the receiver to a dedicated control surface
- turning the mix on
- and adjusting the values and inputs
Looking back at the history of the brand and its dedication to the RC gliders, Futaba will provide you with the most user-friendly and feature-rich programming experience.
But you will need to pay attention to the model, as well as to the other manufacturers.
The features you get may be limited on the lower-tier radios.
Open Source Radios
If you are running an open-source radio and use OpenTX or EdgeTX, you will have more choices.
You can always build a template on your own to the way you like it.
If you know how to do so.
However, you can also use some pre-made templates for your disposal as well.
SoarOTX by Jesper
This is the only choice for us at FlightPoint.
The template is very feature-rich and offers flight graphing on OpenTX software, as well as a dozen cool features.
It simplifies the process of setting up your glider and makes the response of all your flying surfaces sharper and balanced at the same time.
Running best on the OpenTX radios.
Available for the following glider types:
- F3K (4 servo)
- F3K full house (6 servo)
- F5K (4 servo)
- F5J (full house)
- F3J
- F3RES
RC-Soar by Mike Shellim
This is the other option that will find a better use for the currently developing EdgeTX radio users.
There are a bunch of options for flying wings of different configurations, as well as classic scheme gliders.
You can easily choose what will suit your needs the best.
The templates may be missing some bells and whistles, but they 100% cover the basic configuration and mixes.
FrSky Ethos Template Gallery
FrSky atm has a very unique place in this list.
The Ethos system is a closed one that has some of the mixes in place, like Futaba, for instance.
And a new model setup wizard that can help in the beginning.
But they also feature a user-generated template gallery for you to choose from and use as needed.
So, to be fair, it’s all for you to choose.
And your best bet would be to go with whatever system the other pilots at the field use.
This way, you will get a hand as needed and advice if something is not working as you like it.
Bottom Line
Hope all the info above will give you an idea of your RC Glider setup.
But if some of your questions are left unanswered, please leave them in the comments below.
Happy Flying!
Thoroughly enjoyed and so much to digest