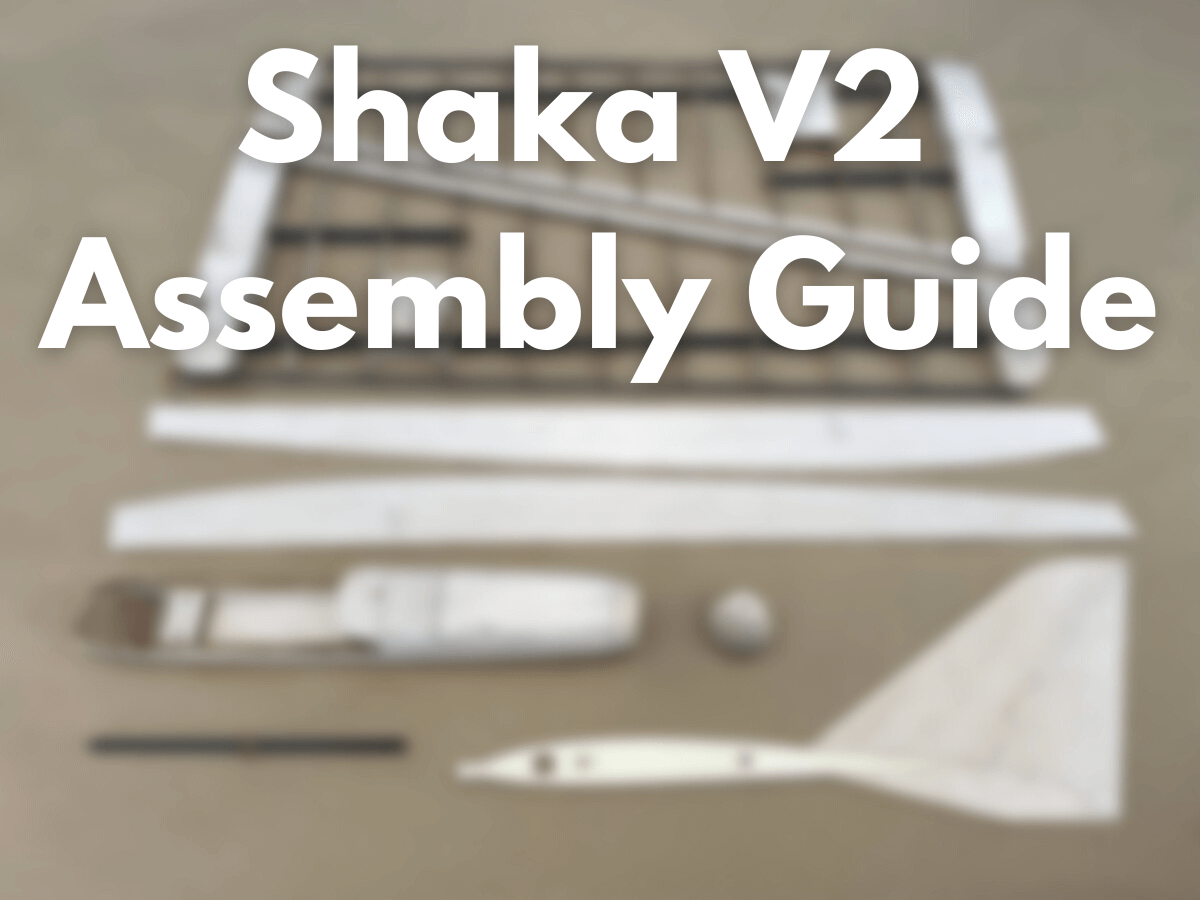
This guide is for Shaka Kits purchased after Nov 24th, 2021.
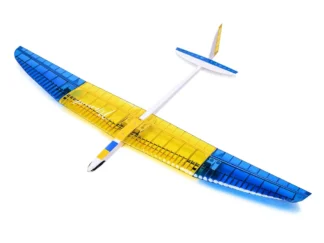
Shaka is a balsa wing glider designed for slope and thermal flying.
The original kit was released back in April 2021 and gained a lot of fans around the world since then.
8 months after the original release we updated the Shaka Kit and will continue offering this new revamped version moving forward.
So, let’s see what has changed.
What’s New
Here is a short recap of the changes made to the V2 kit compared to V1:
- We now offer accessories that will help your builds, such as spinners, propellers, and vinyl die-cut stickers.
- All kits will include high-quality MP JET ball links and servo clevises to ensure precise controls.
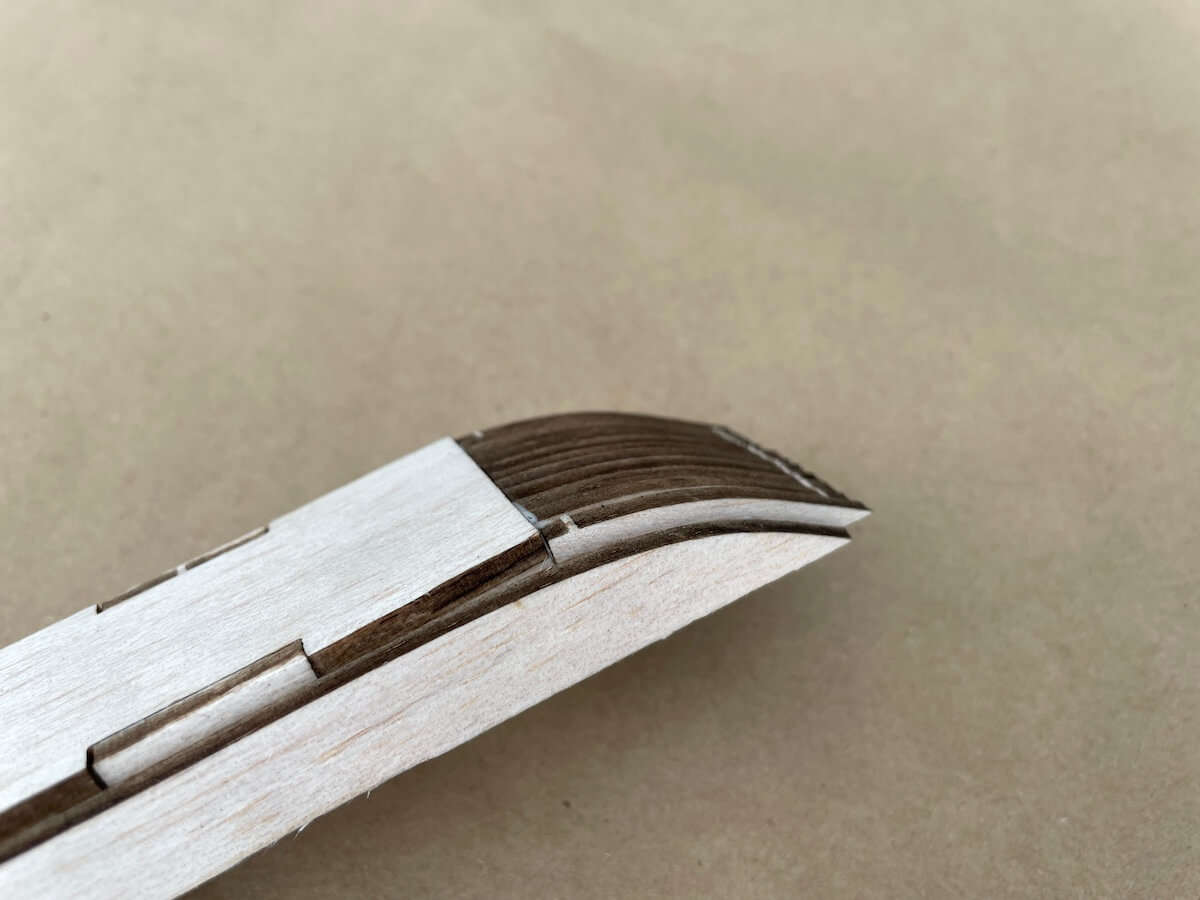
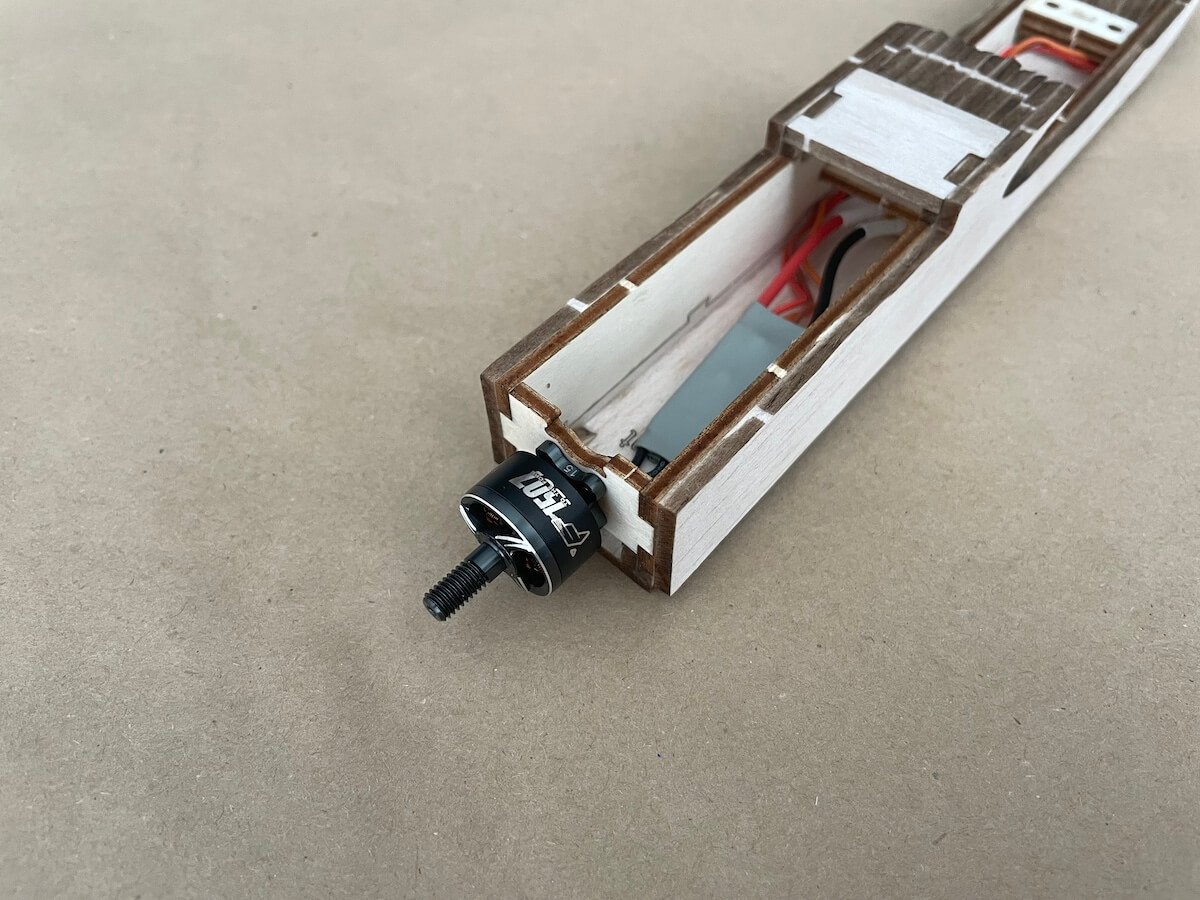
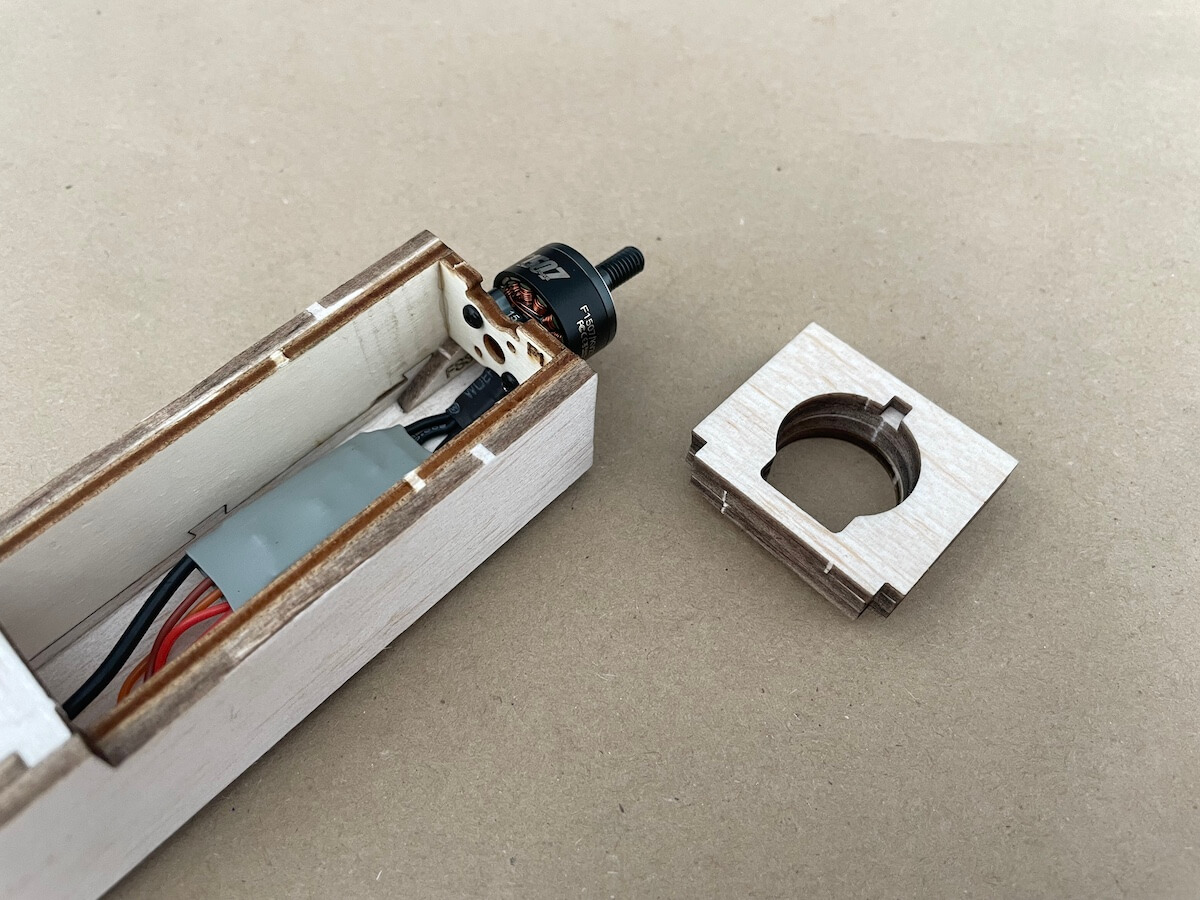
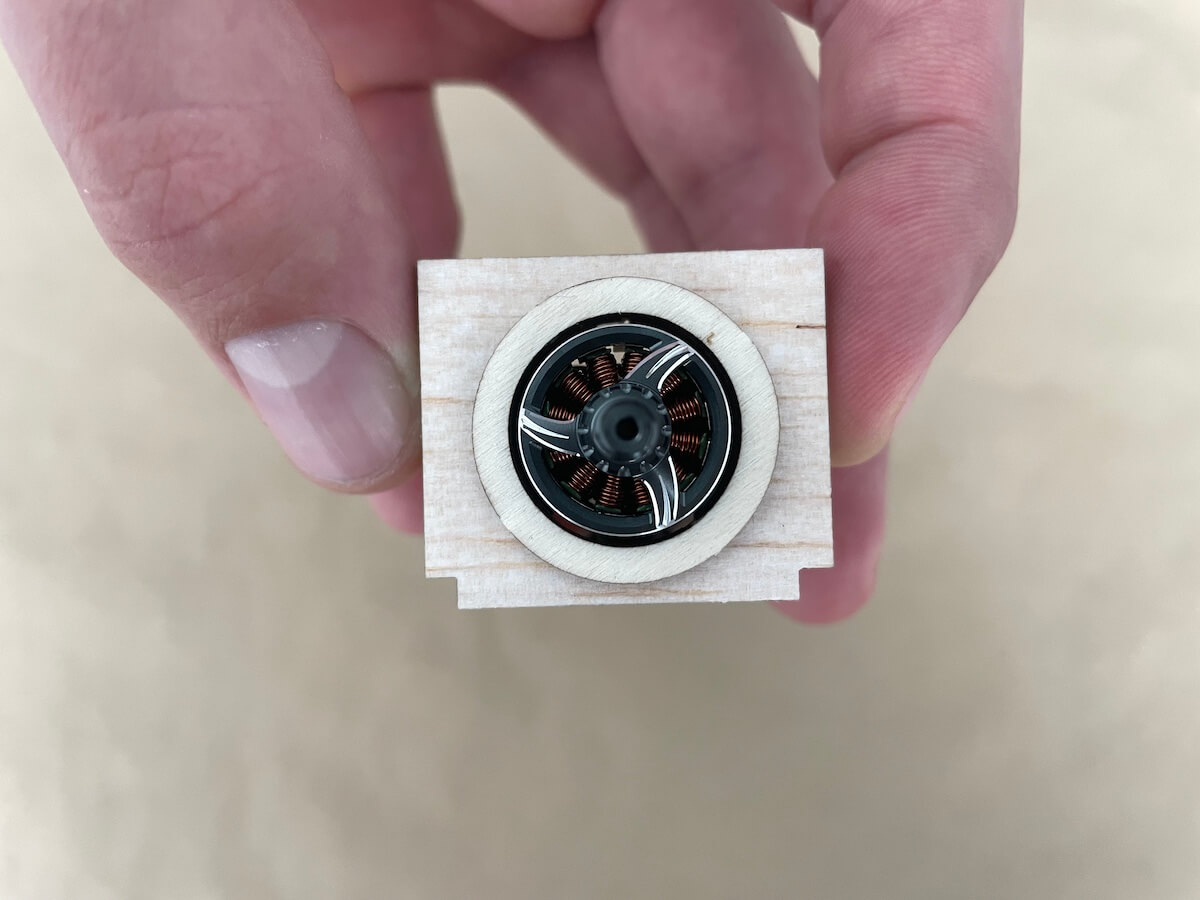
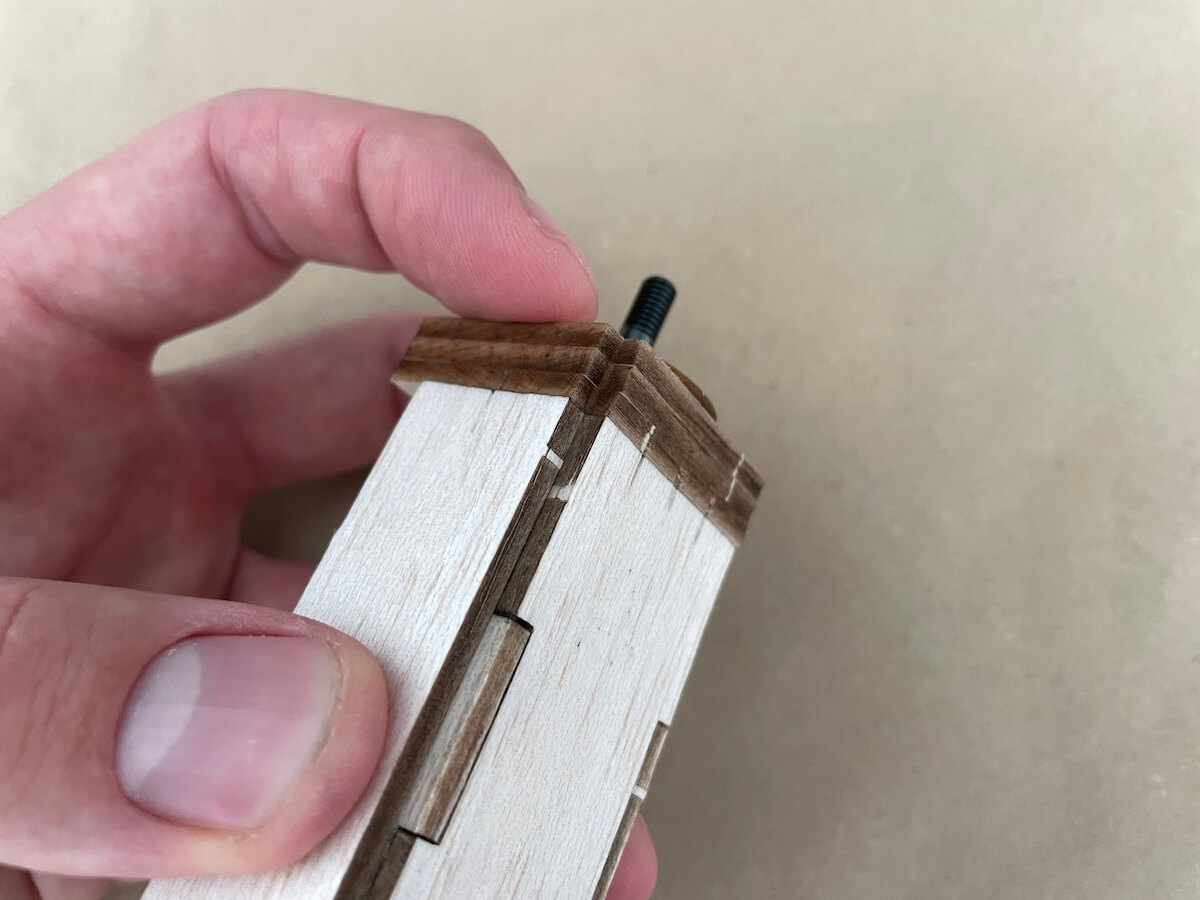
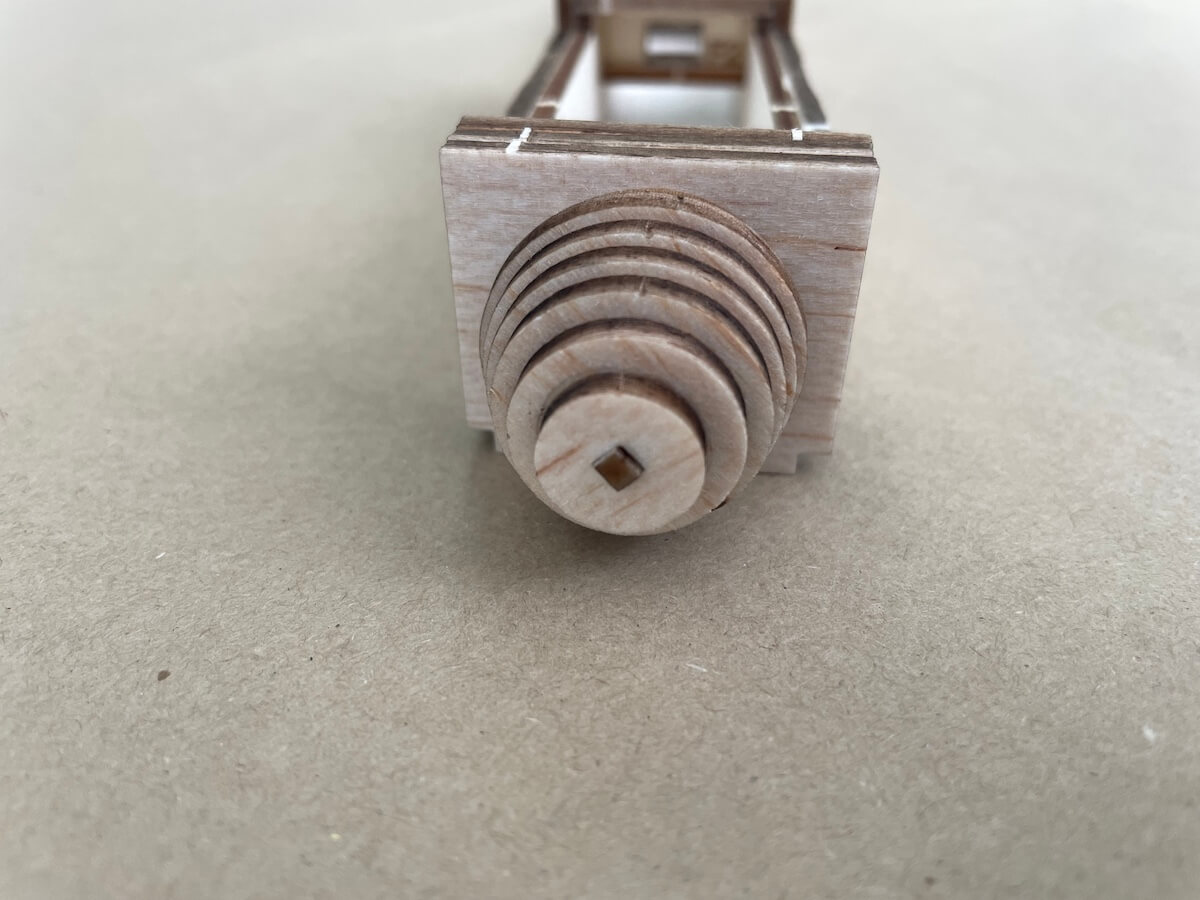
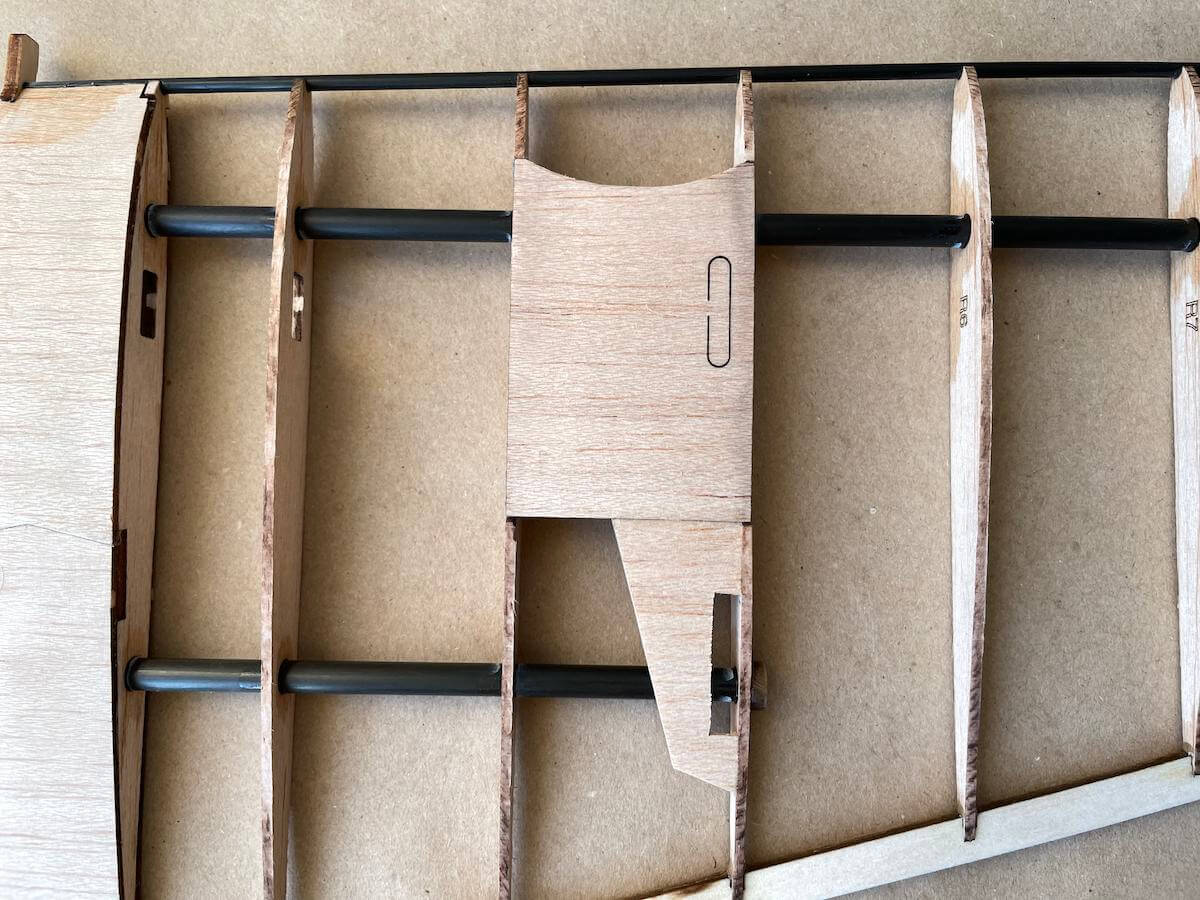
- The Fuse is now designed to be electric first with an optional balsa nose cone. Now you can choose, put the motor in front, or just install the “filler” and shape the nose to an accurate aerodynamic shape.
- The thrust is offset to 2° right and 3° down which contributes to the rail-straight launches under power.
- New pod hatch cover design with a hook in front for better positioning.
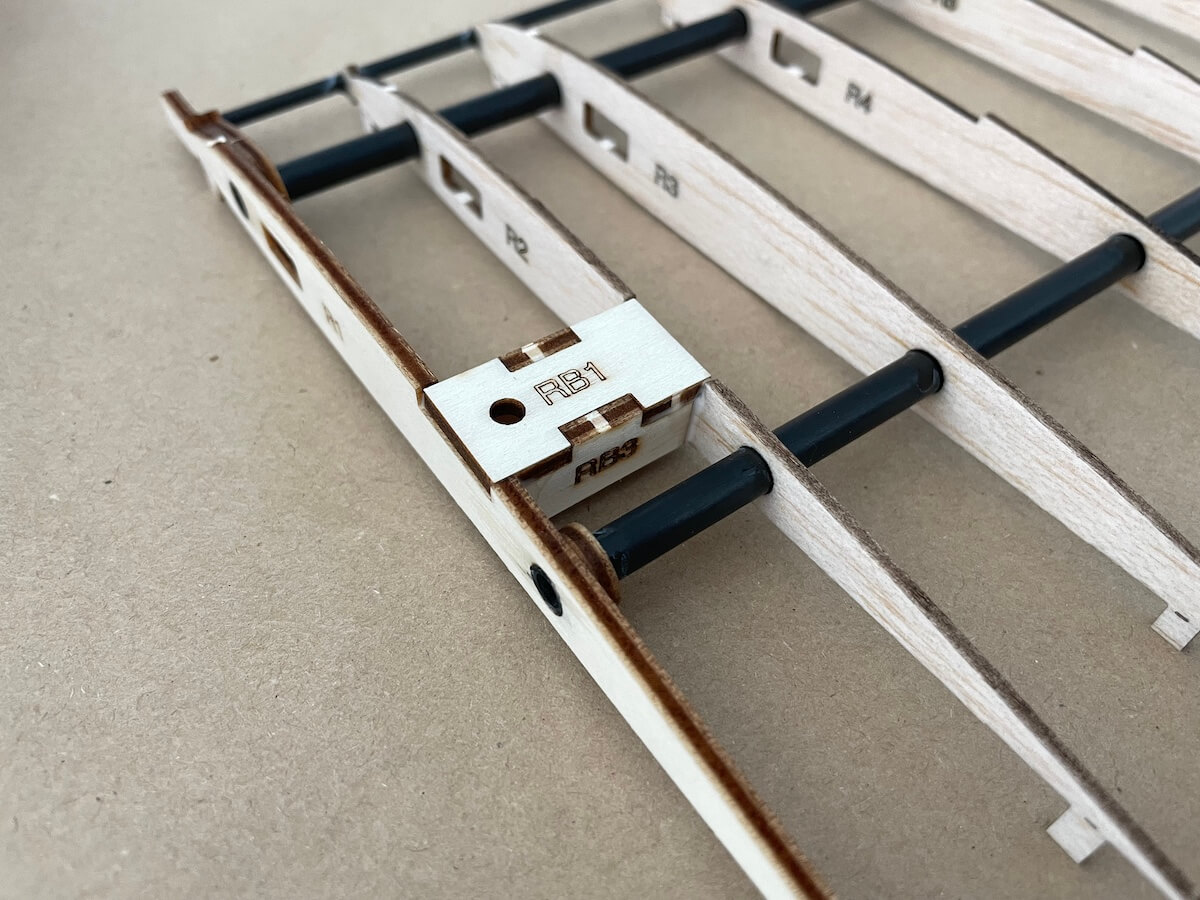
- Reinforced root rib in the leading edge area.
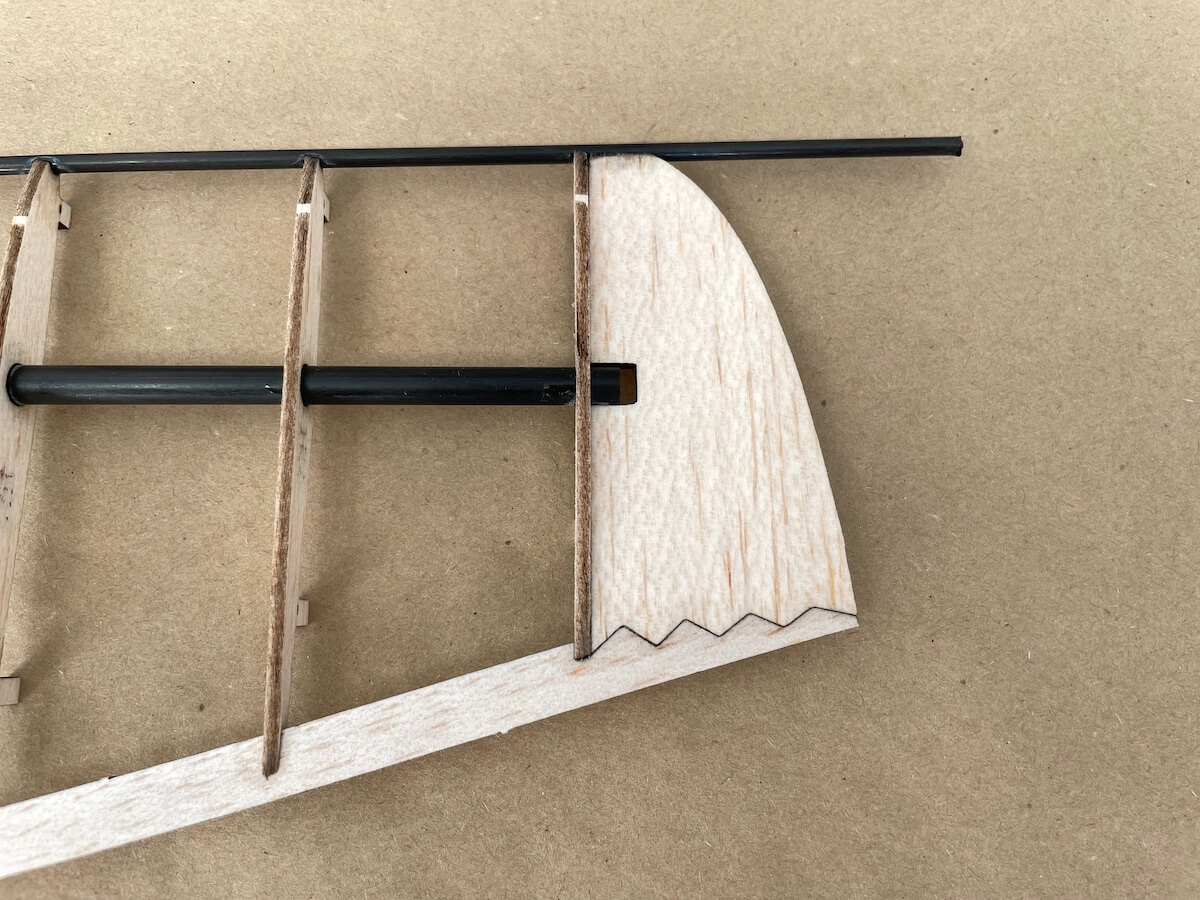
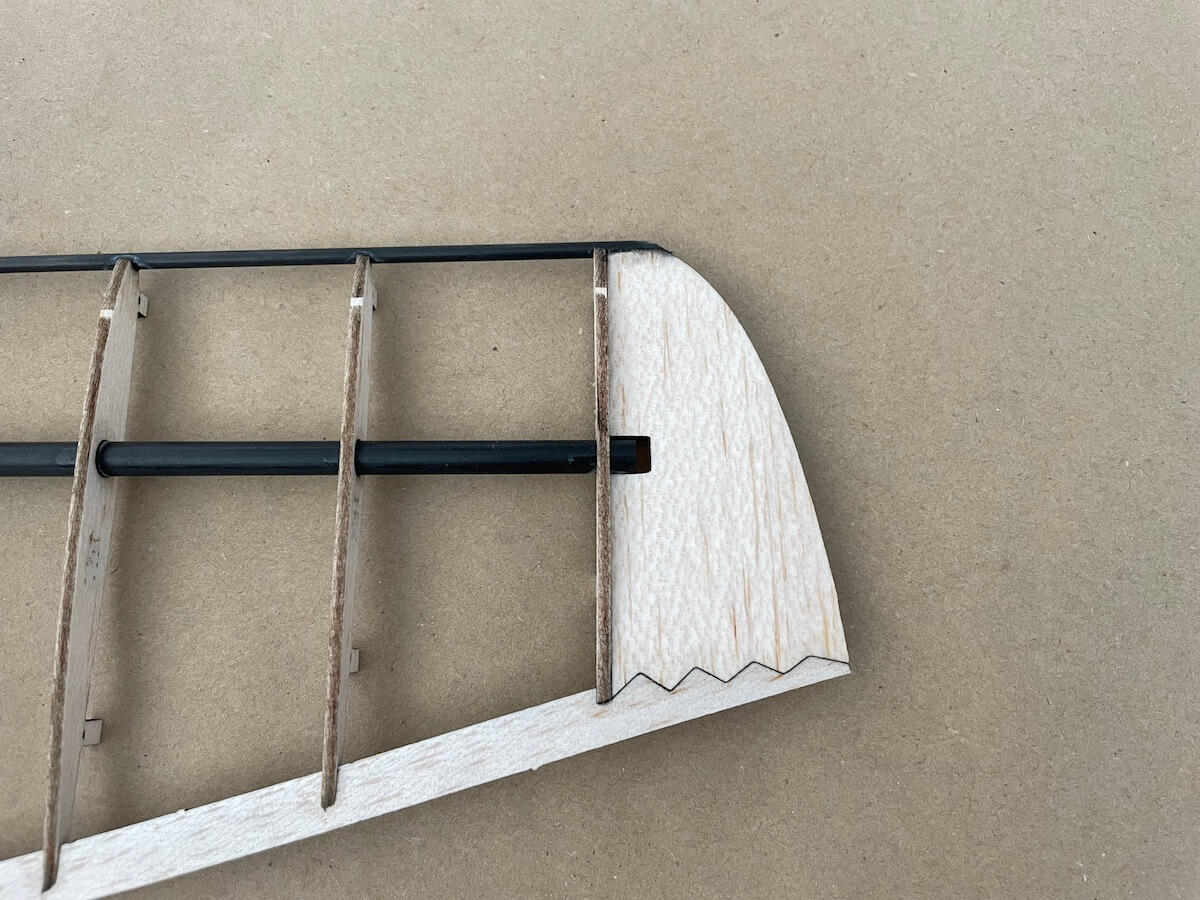
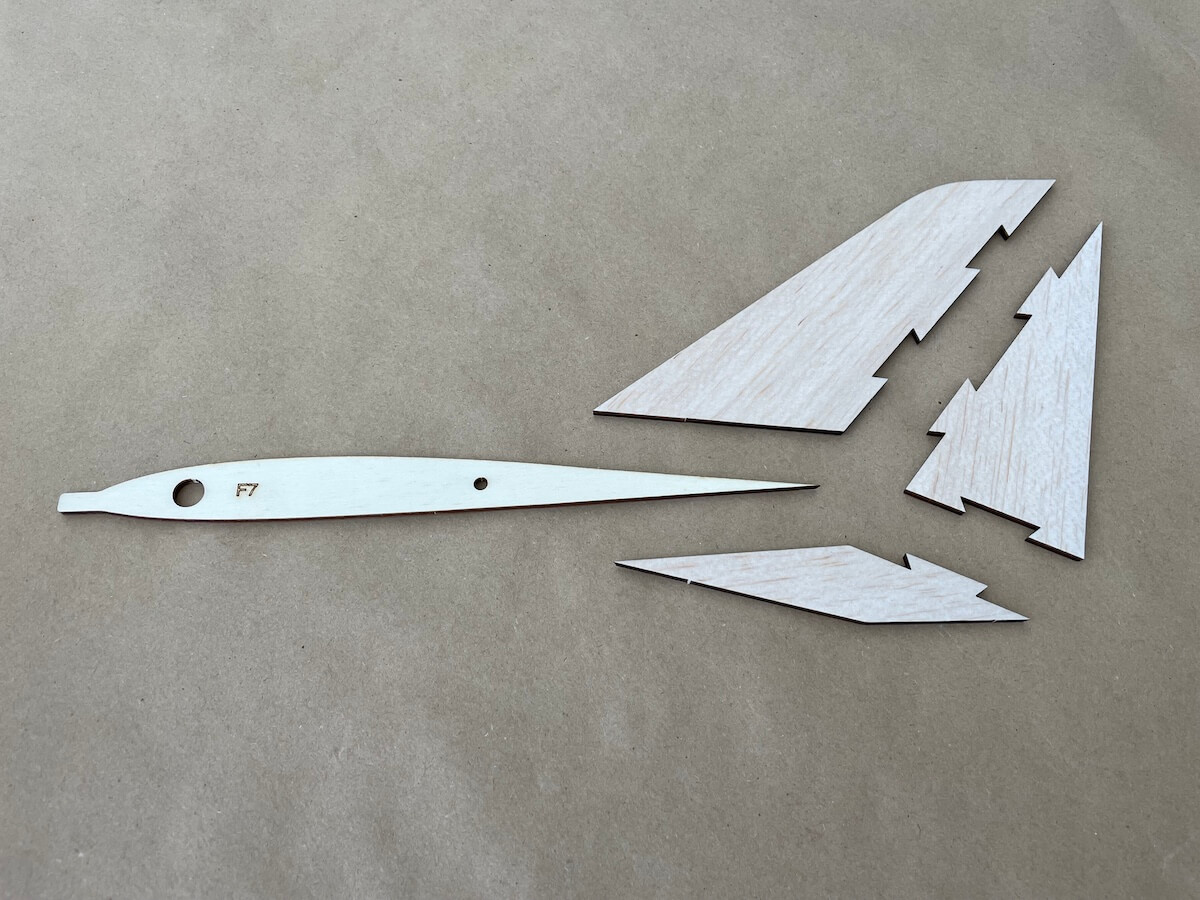
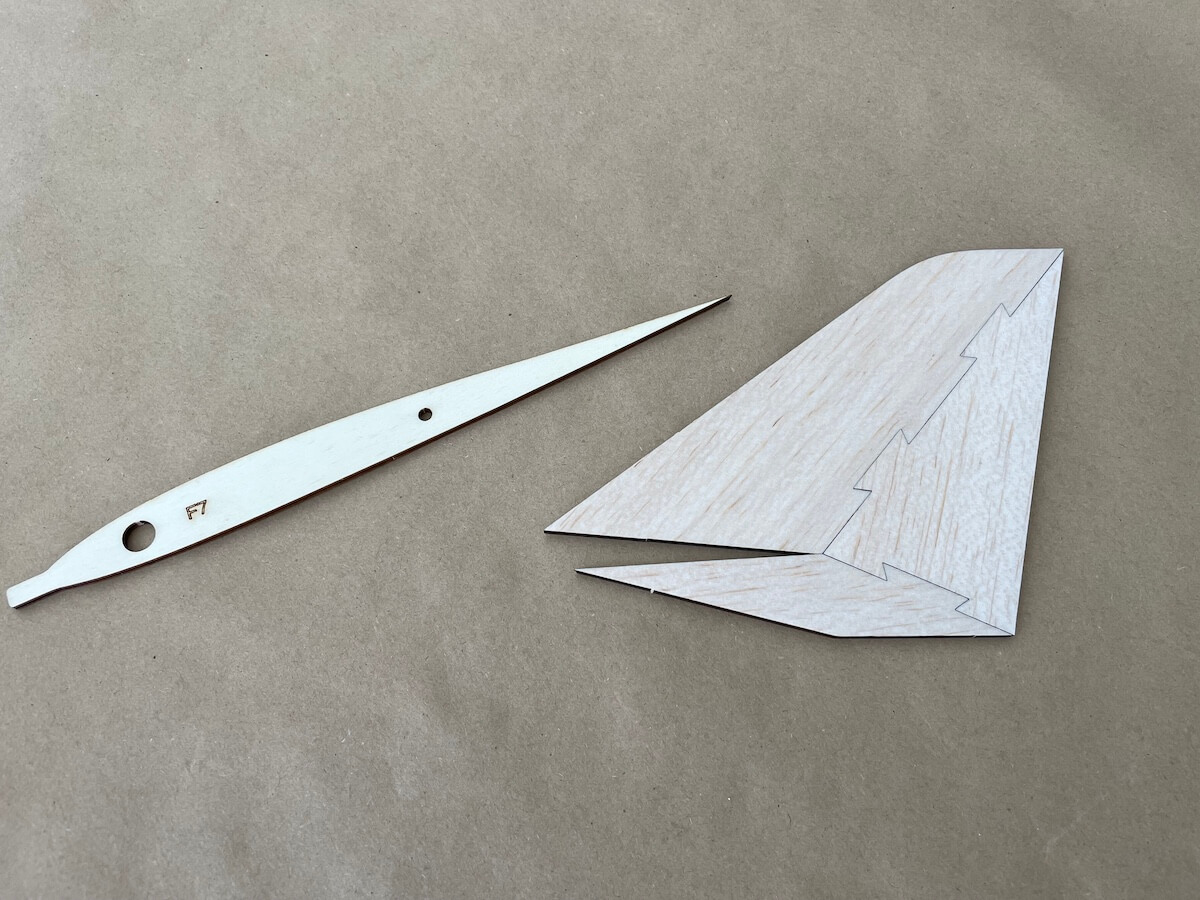
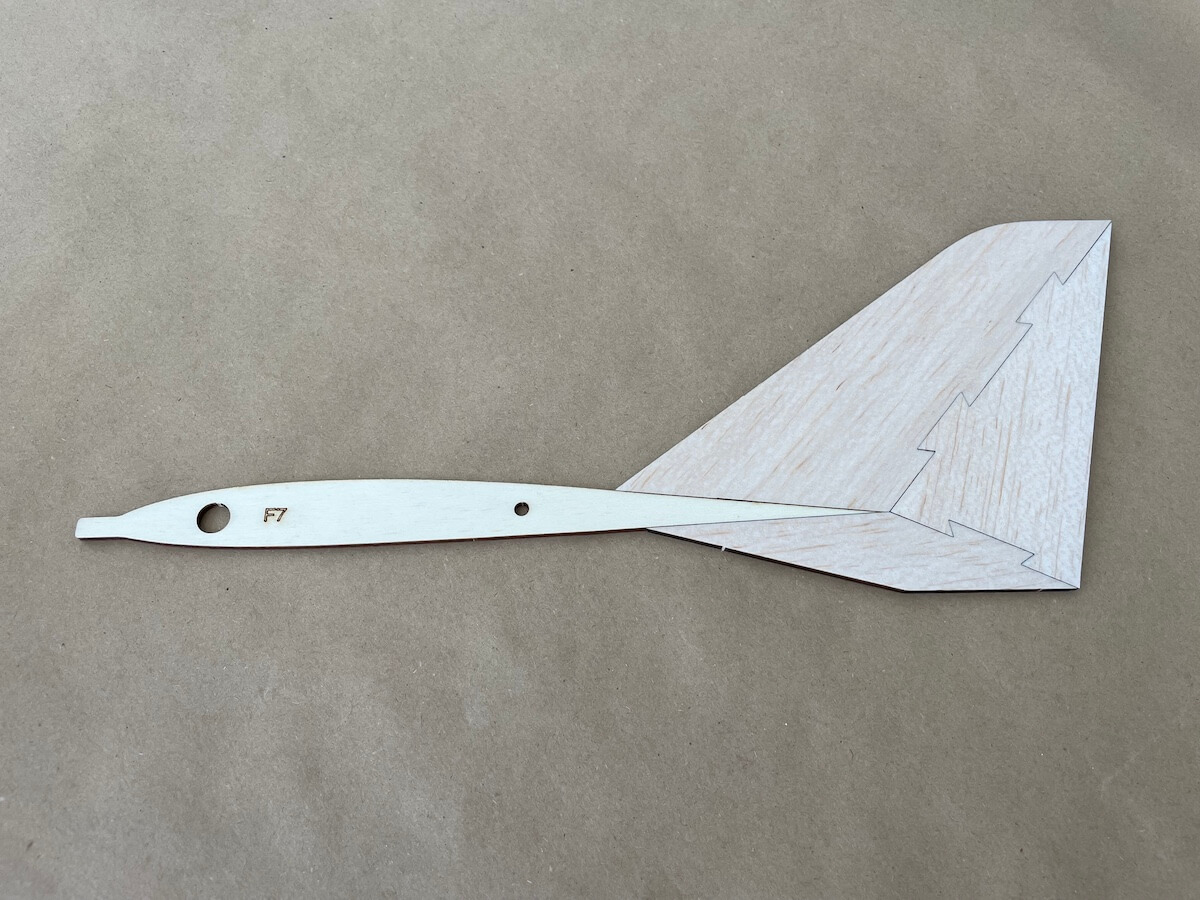
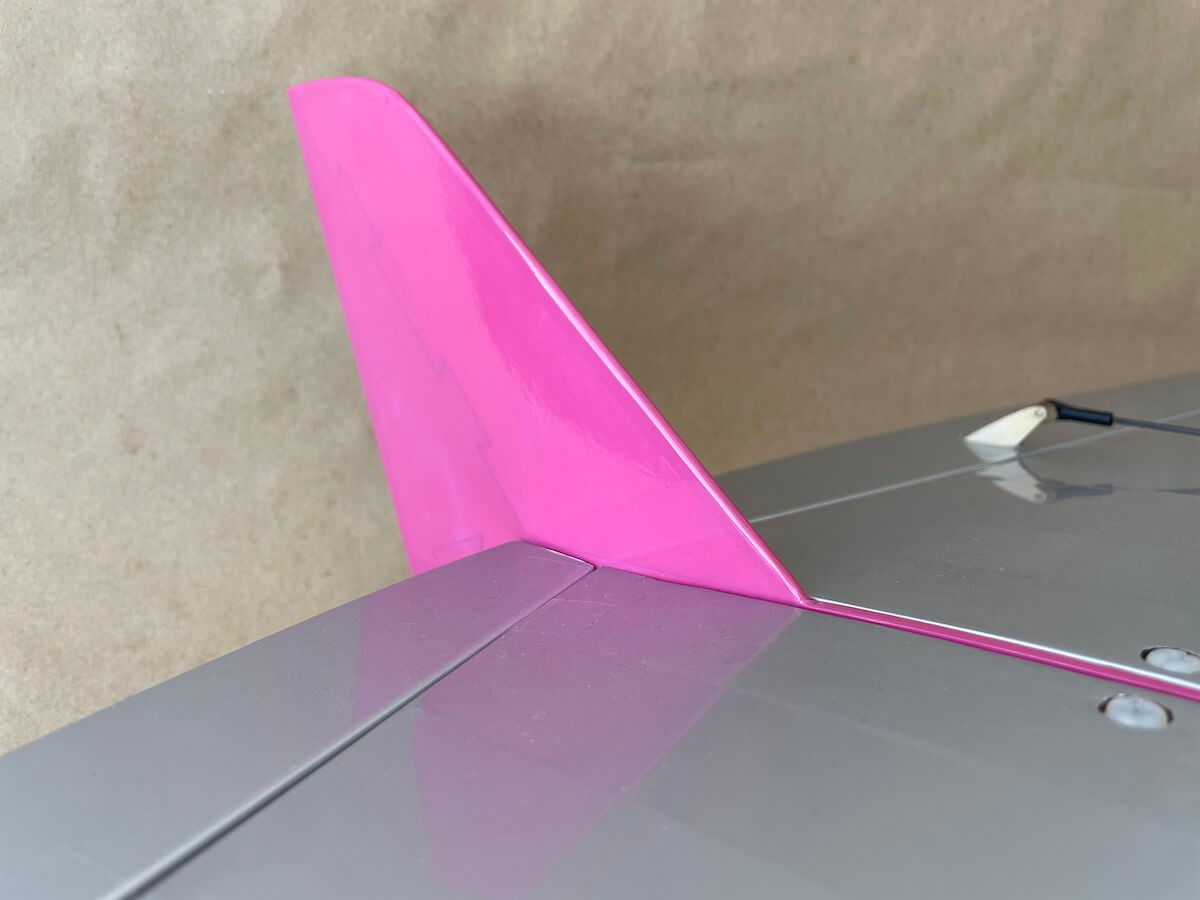
- The further extended top part of the Fin is forward to sustain more rough landings without damage.
- A servo tray now has a curved front side for smoother covering.
This guide will show you how to assemble a new Kit.
For more tips, check a dedicated RC Groups Tread and join the discussion with the other Shaka pilots.
Now, unpack your tool kit, and let’s get started.
Video Instruction
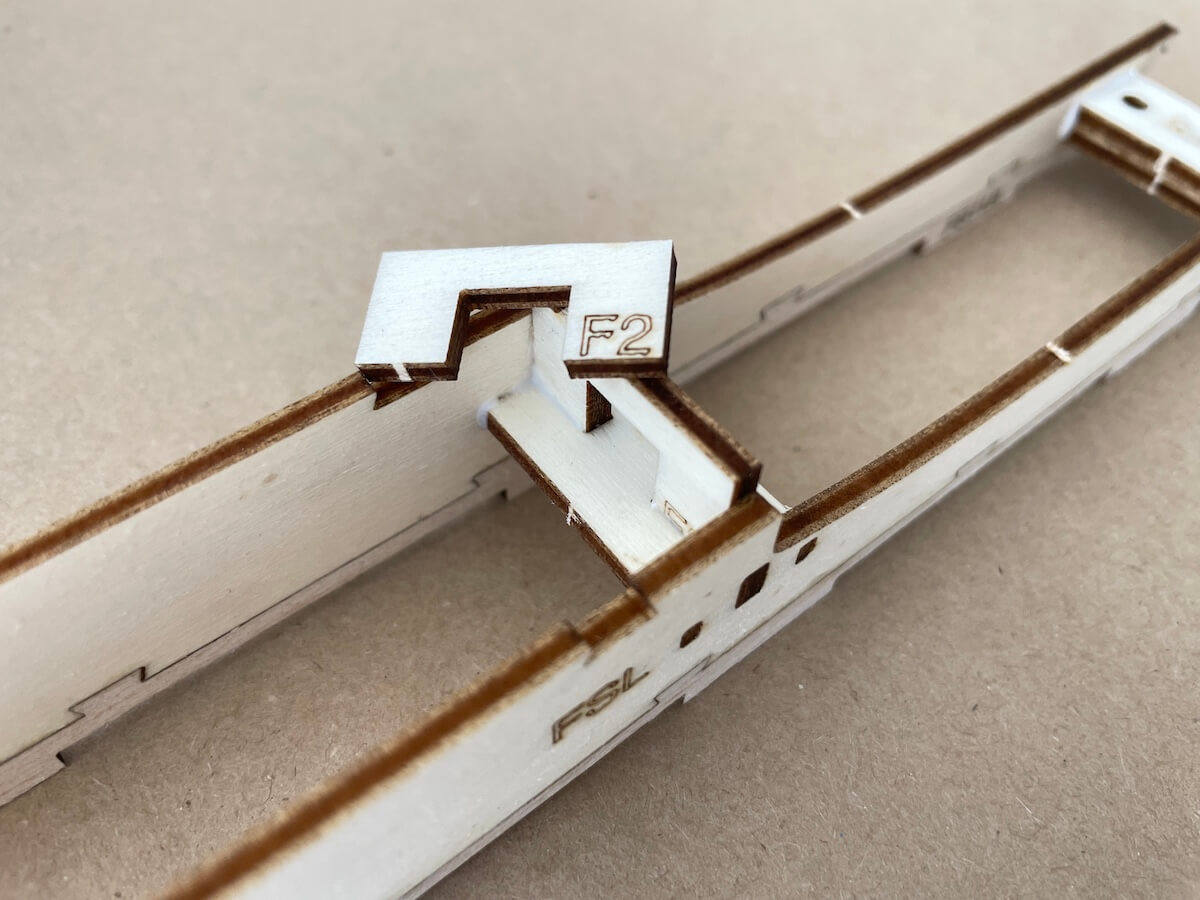
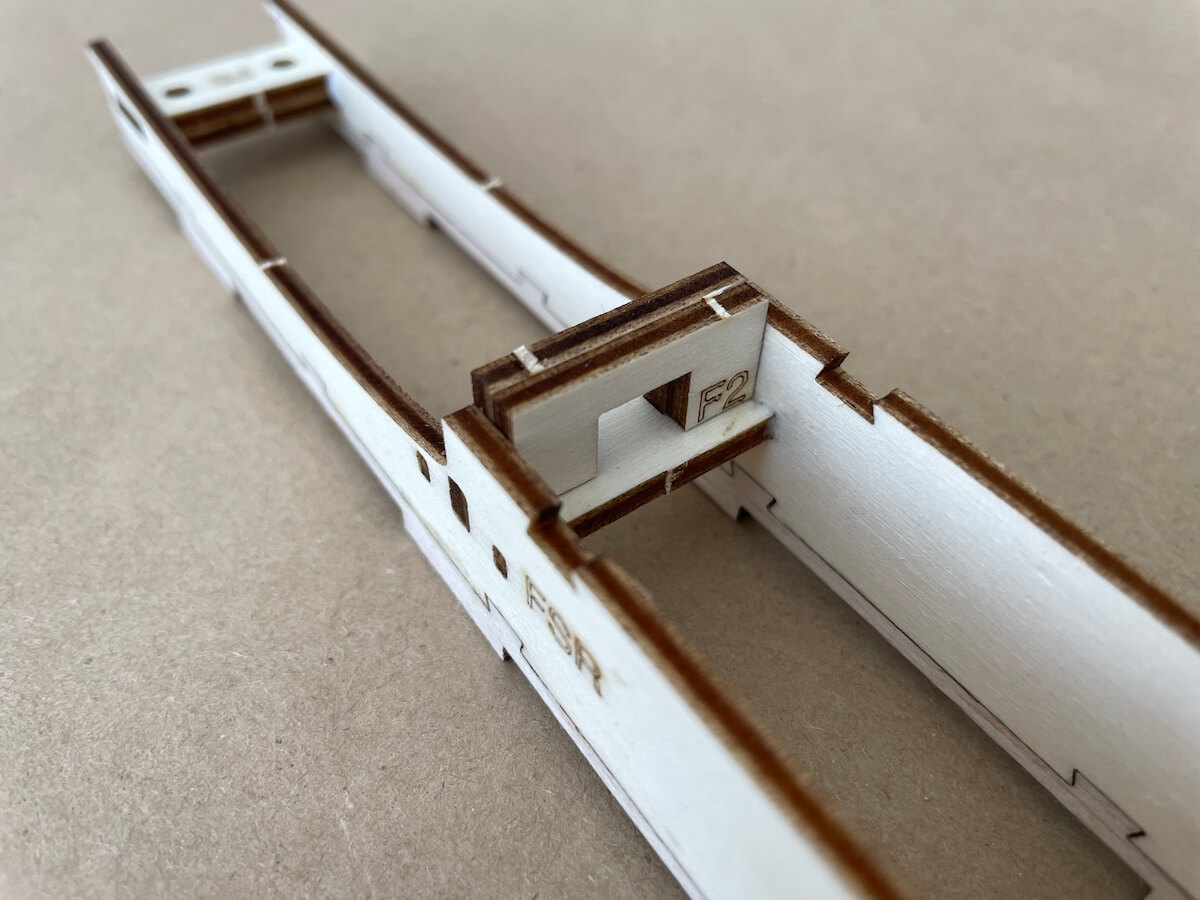
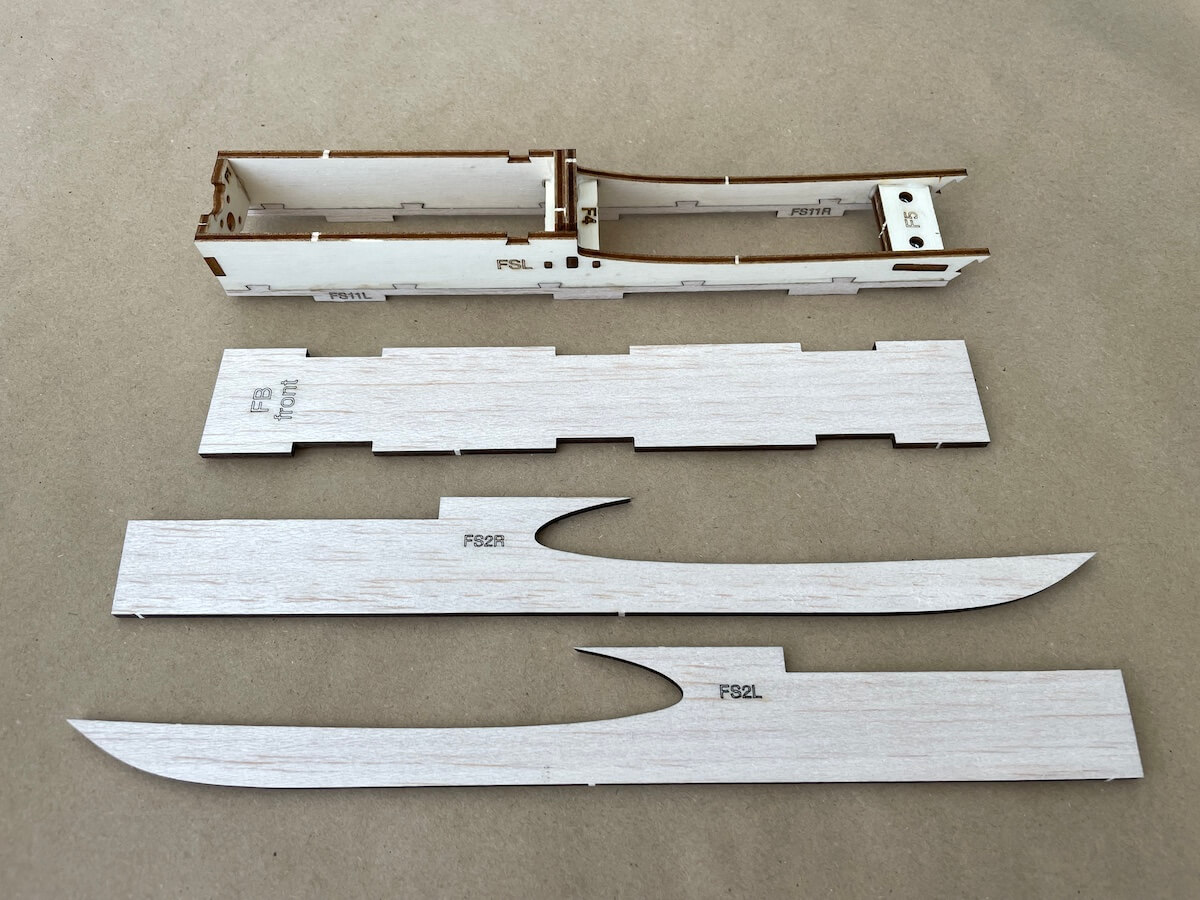
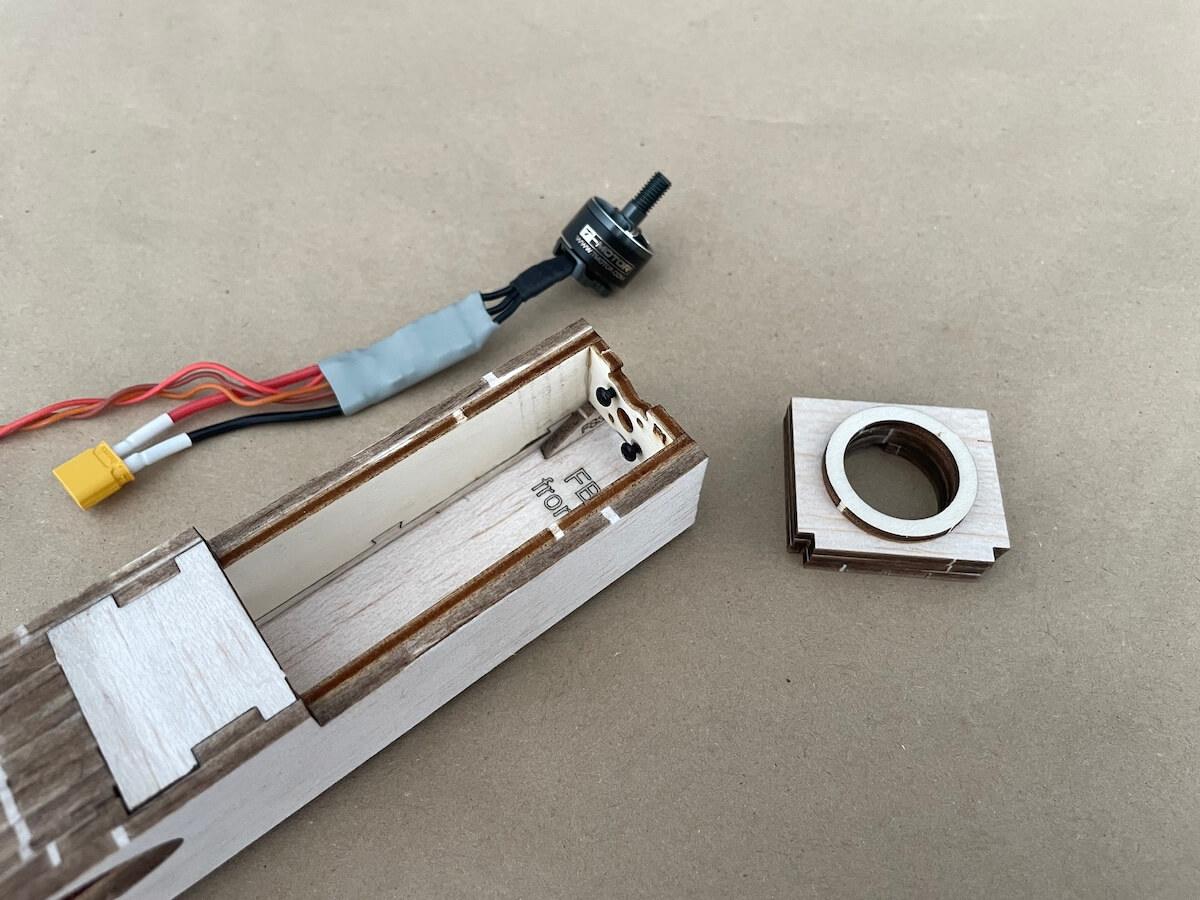
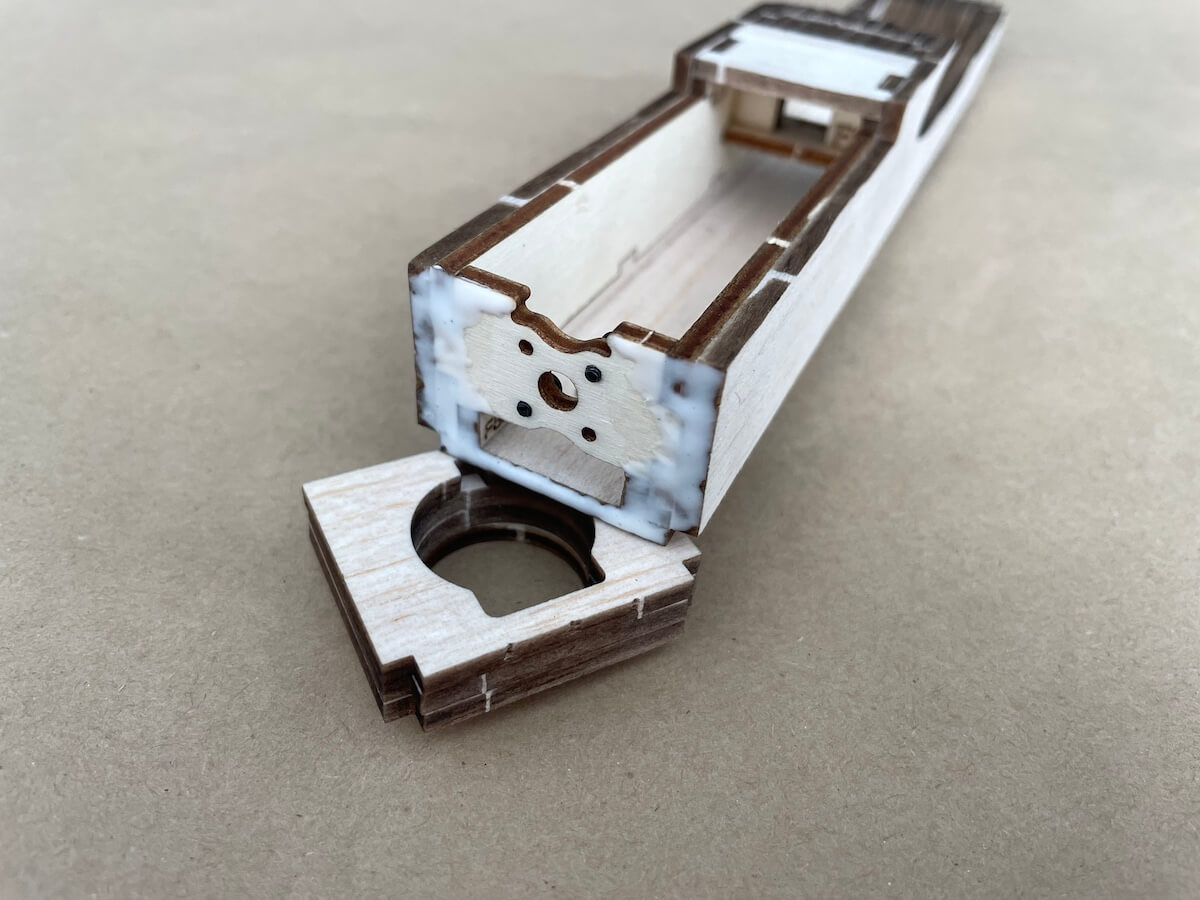
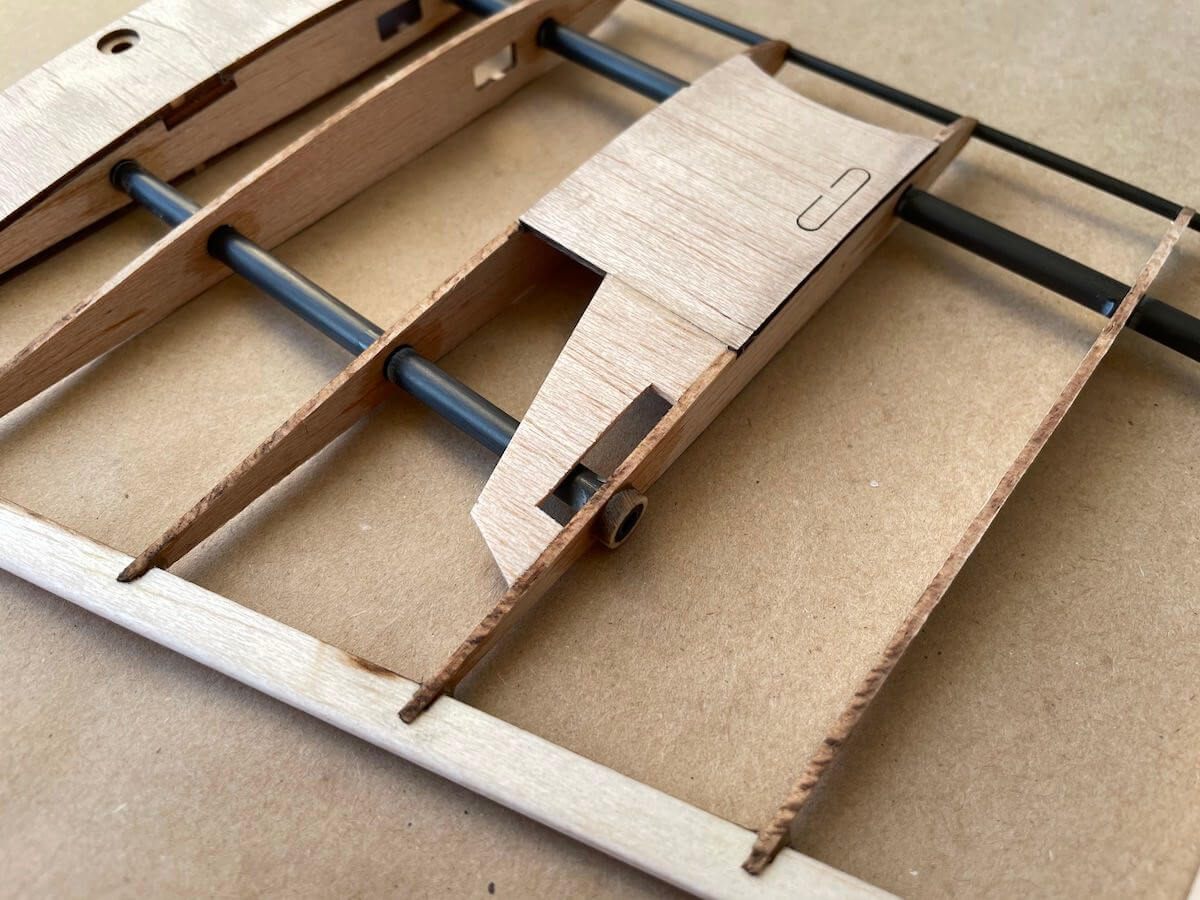
Part 1: eFuse


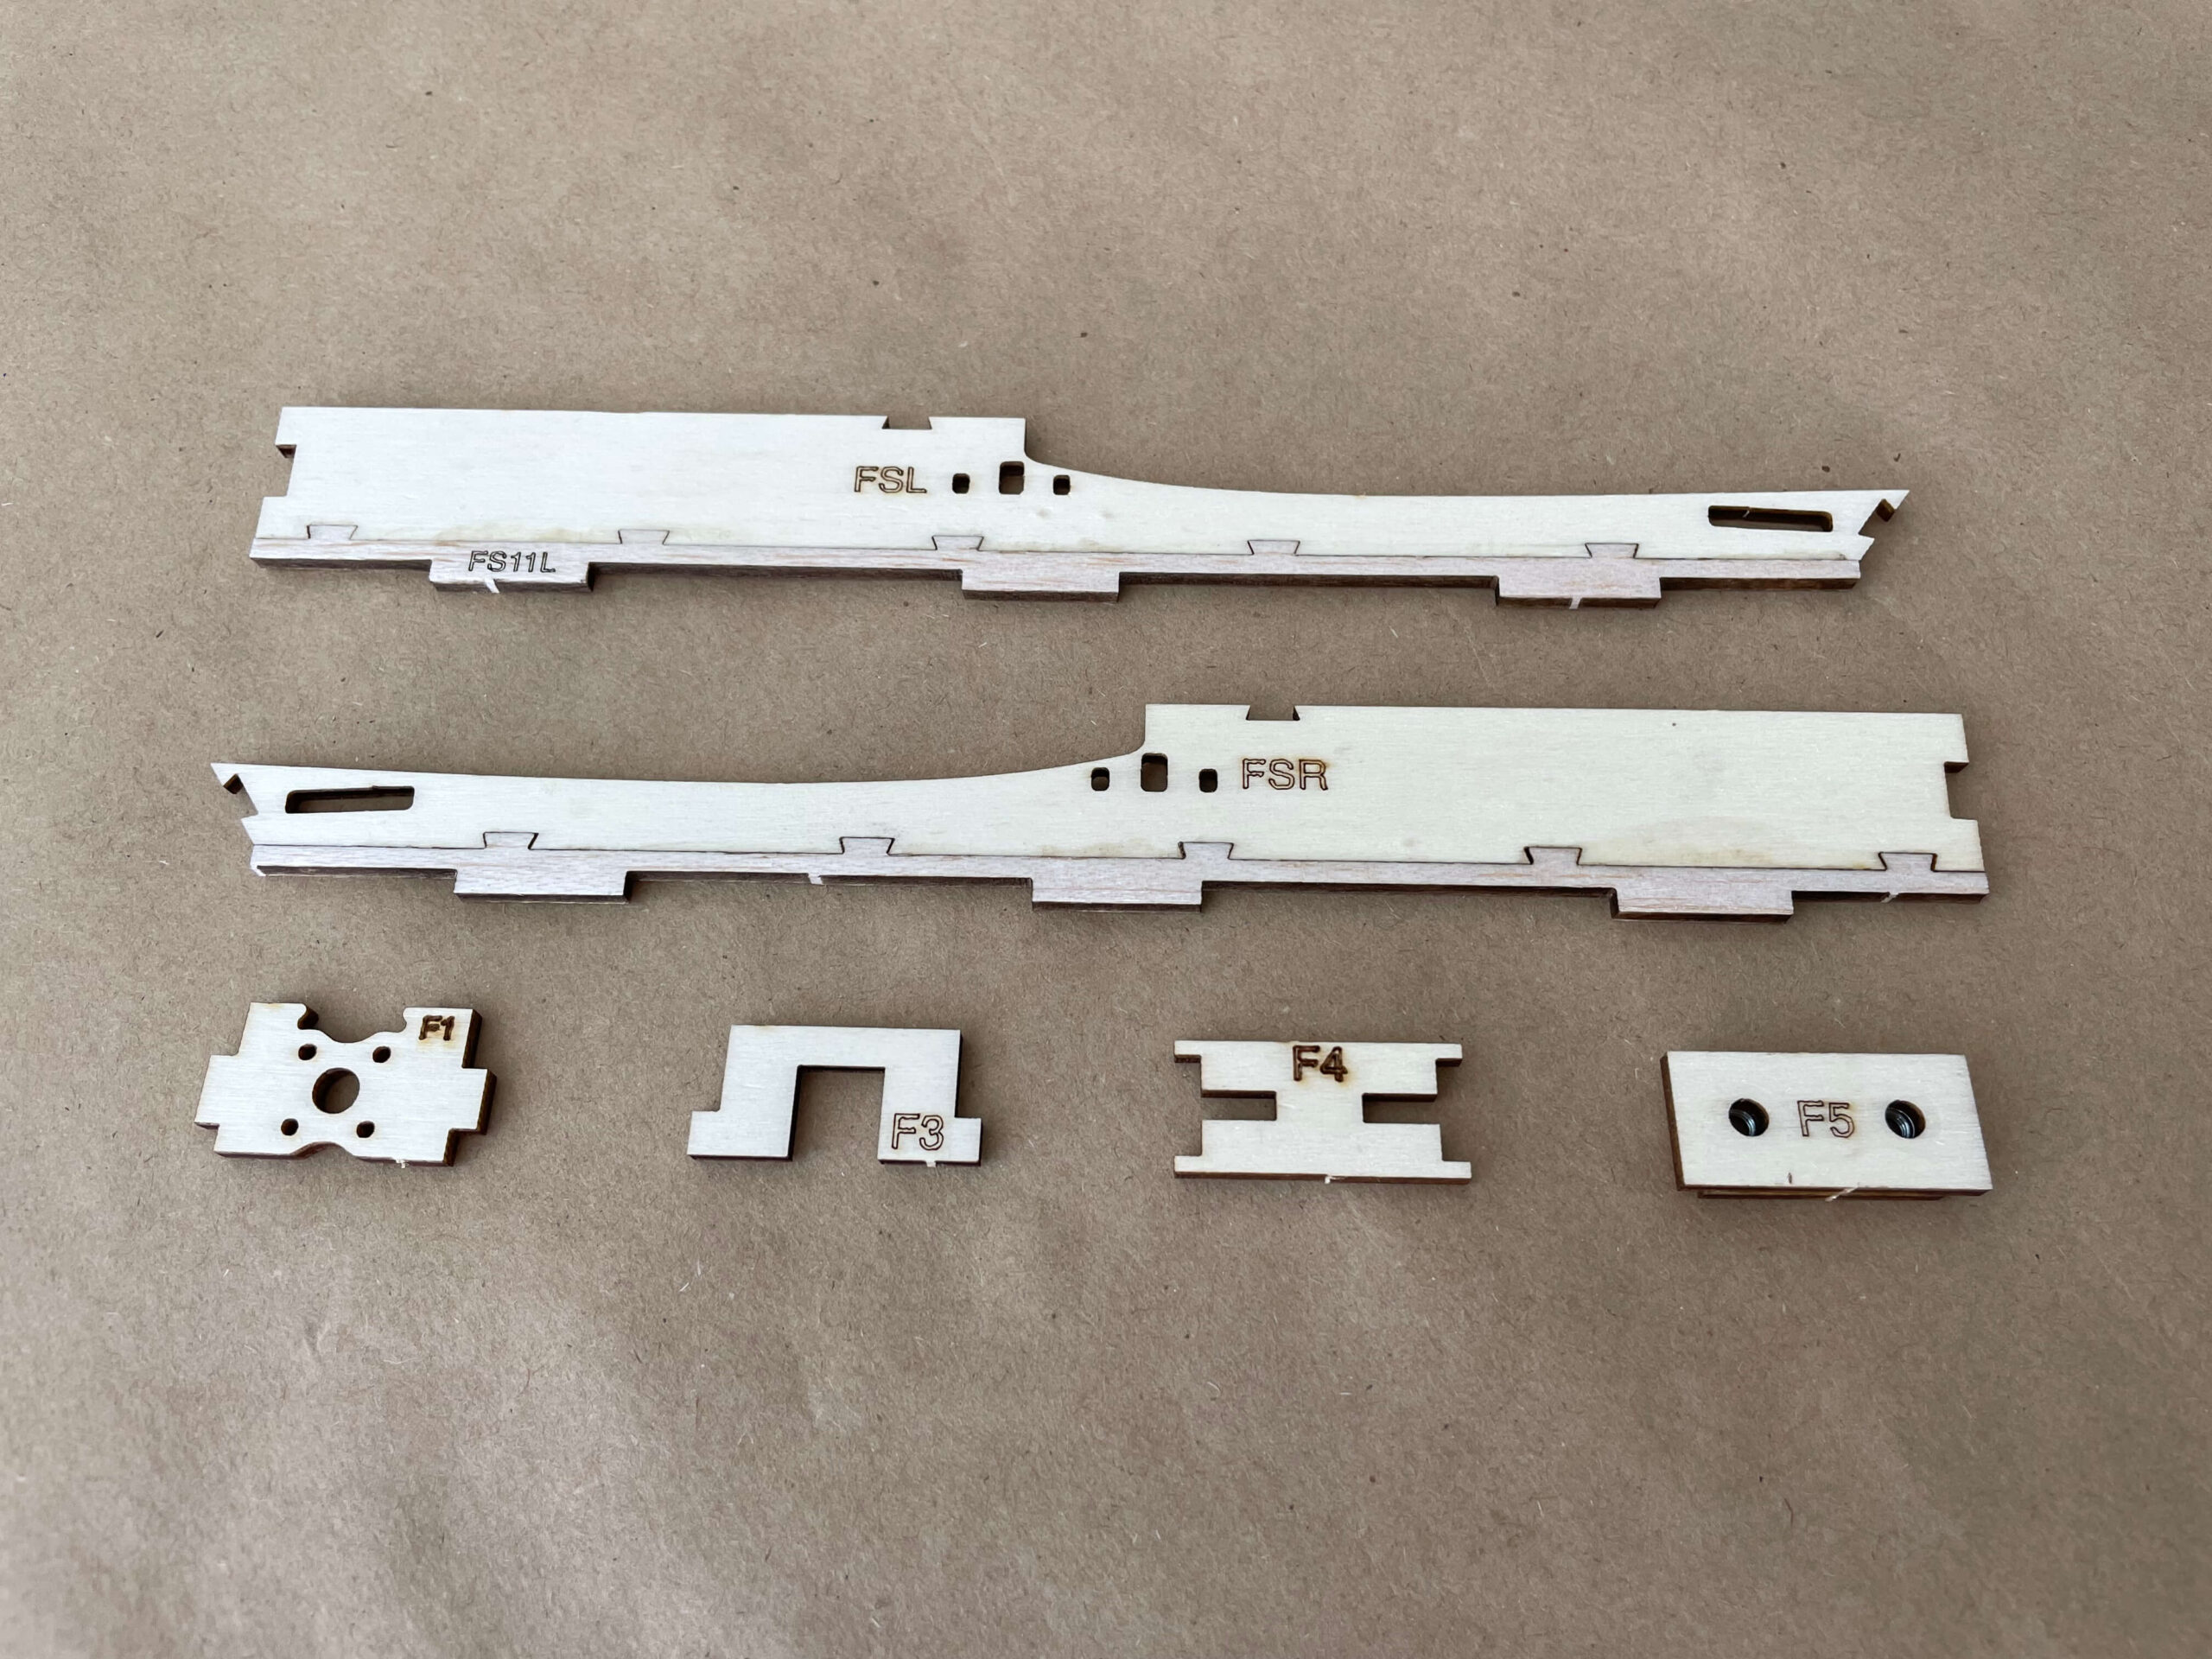
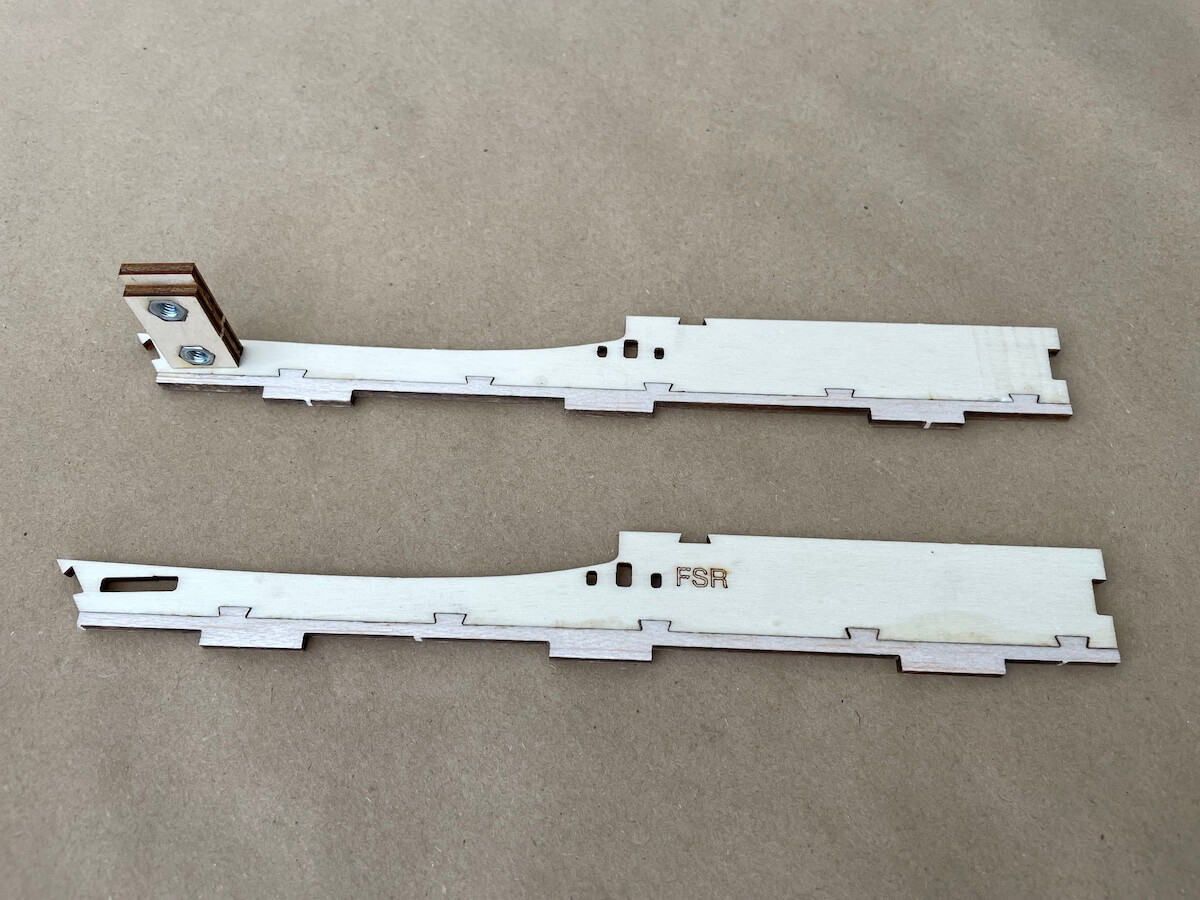
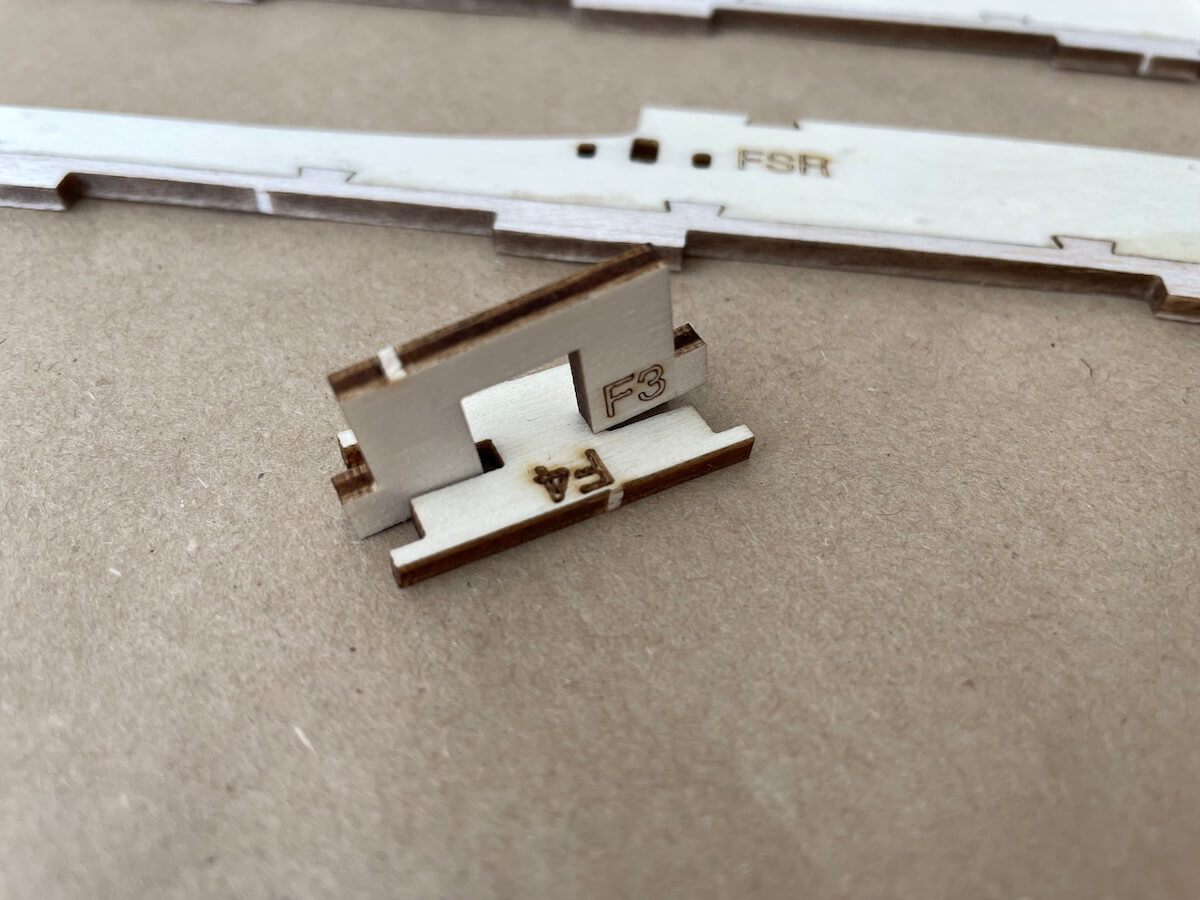

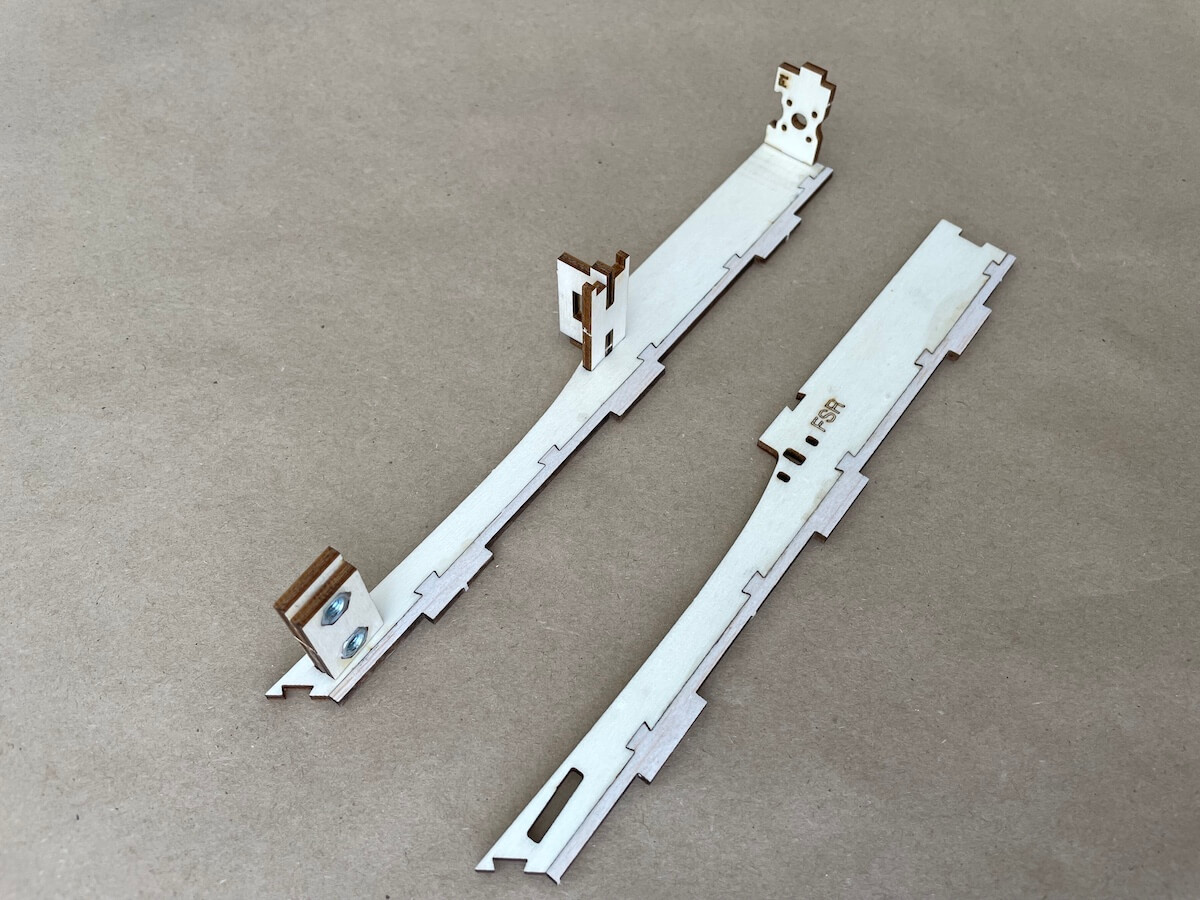
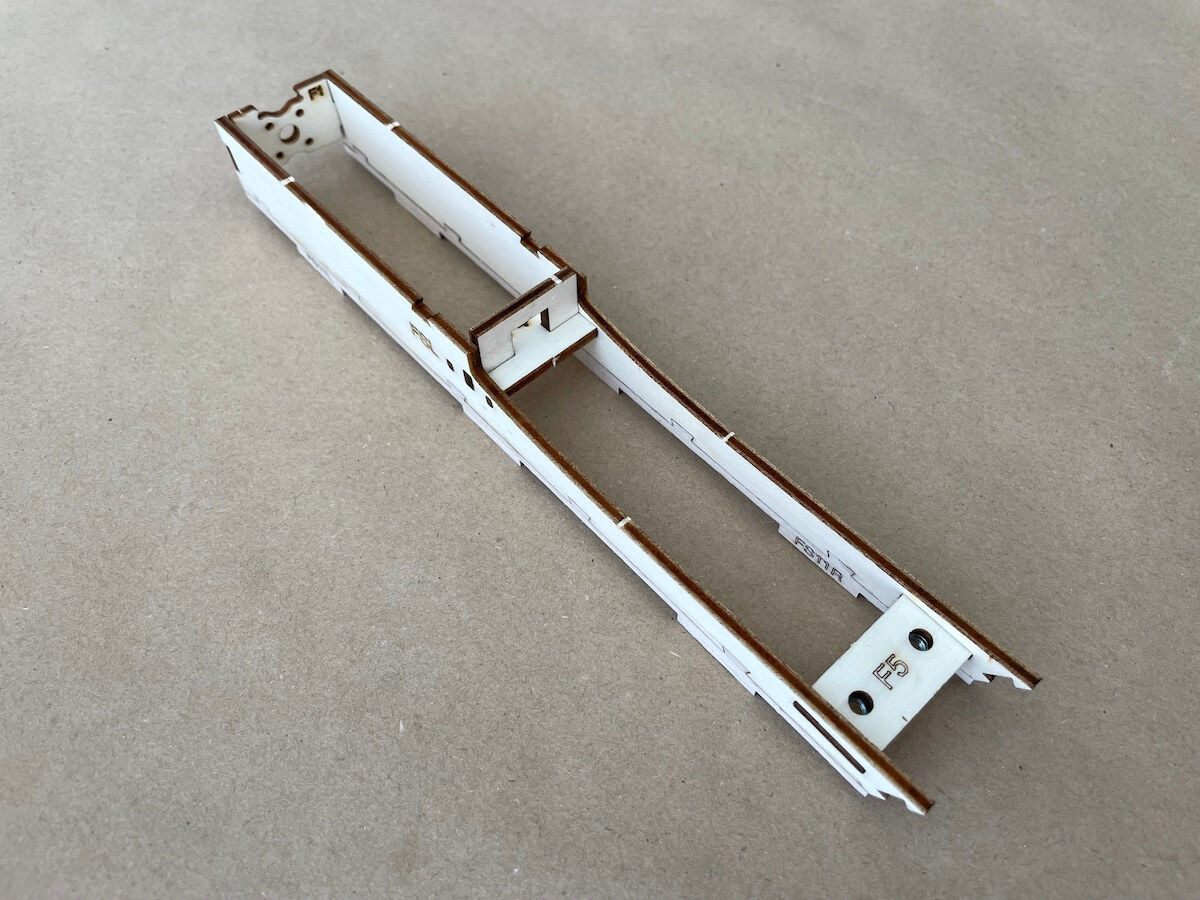


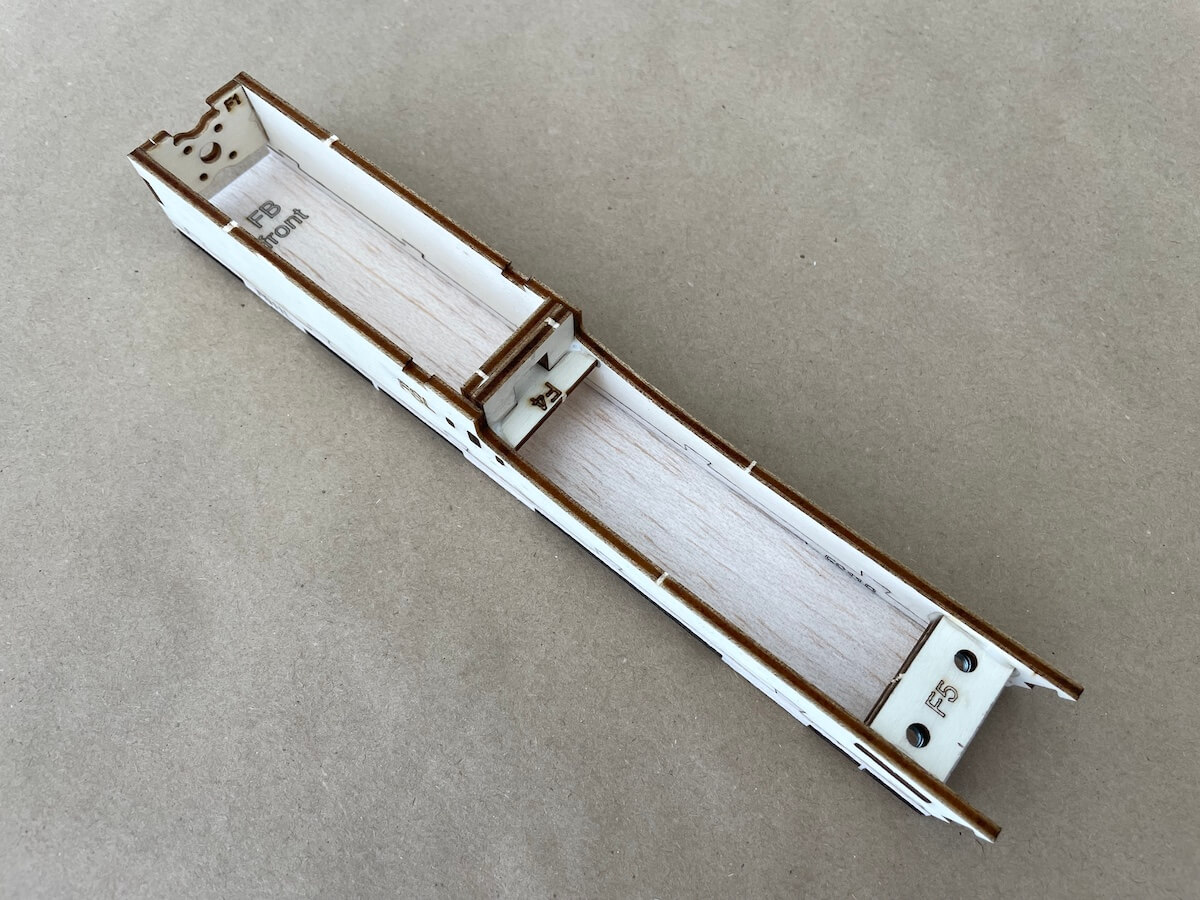
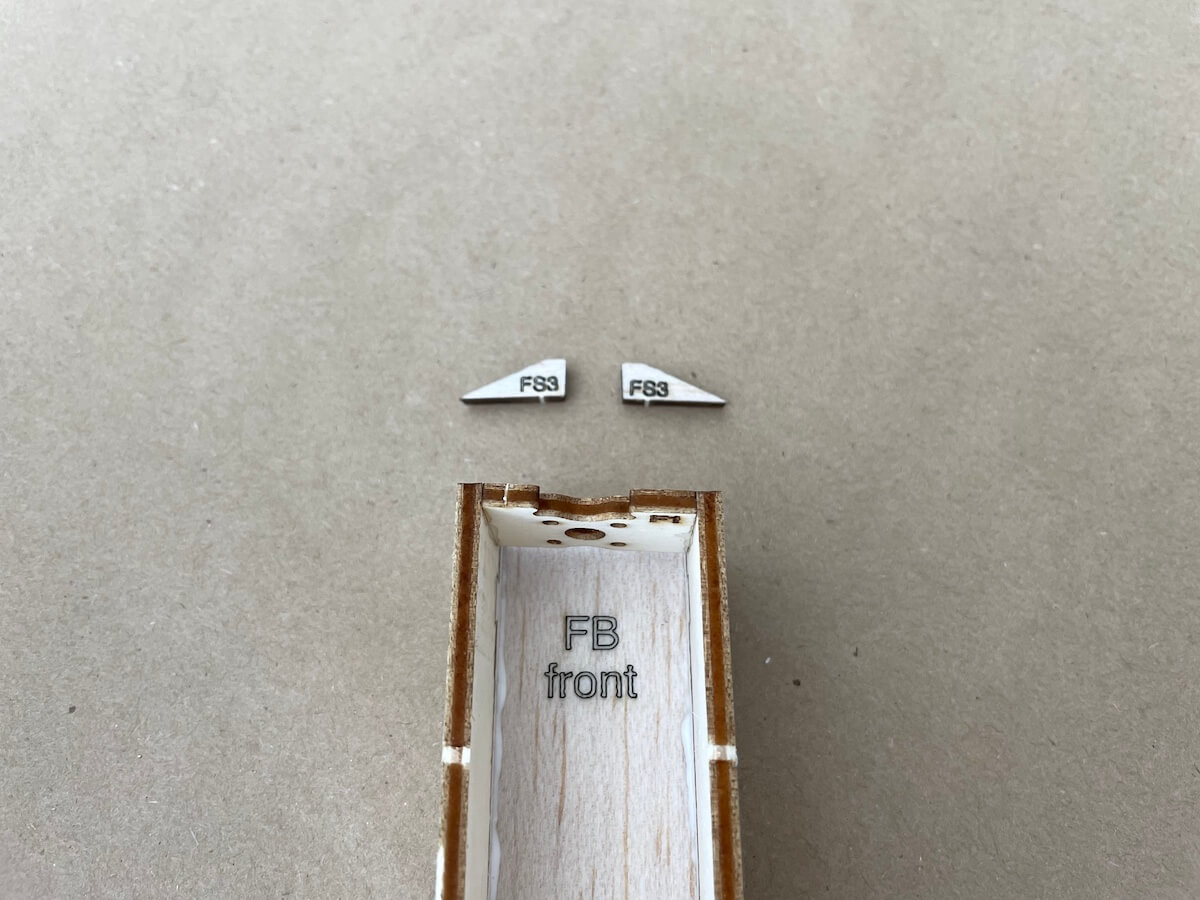
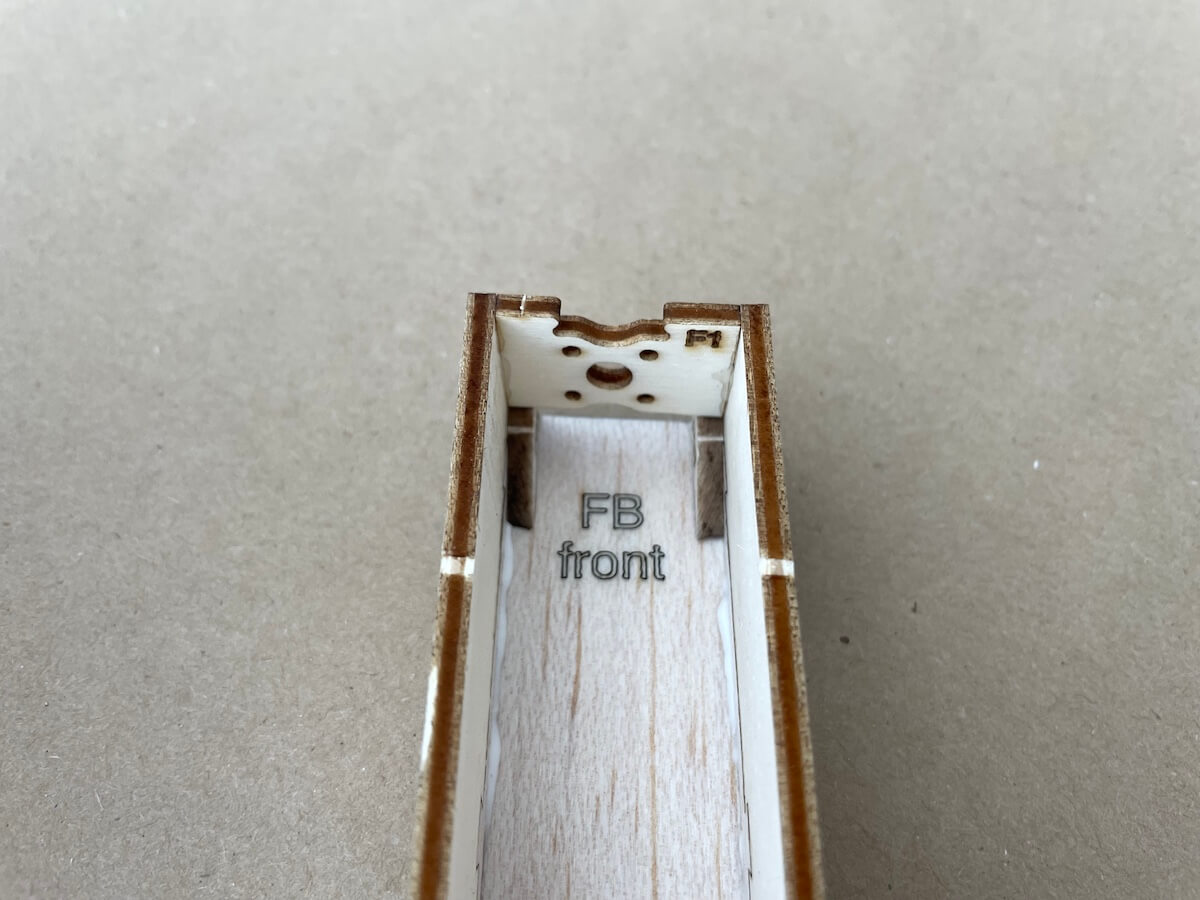
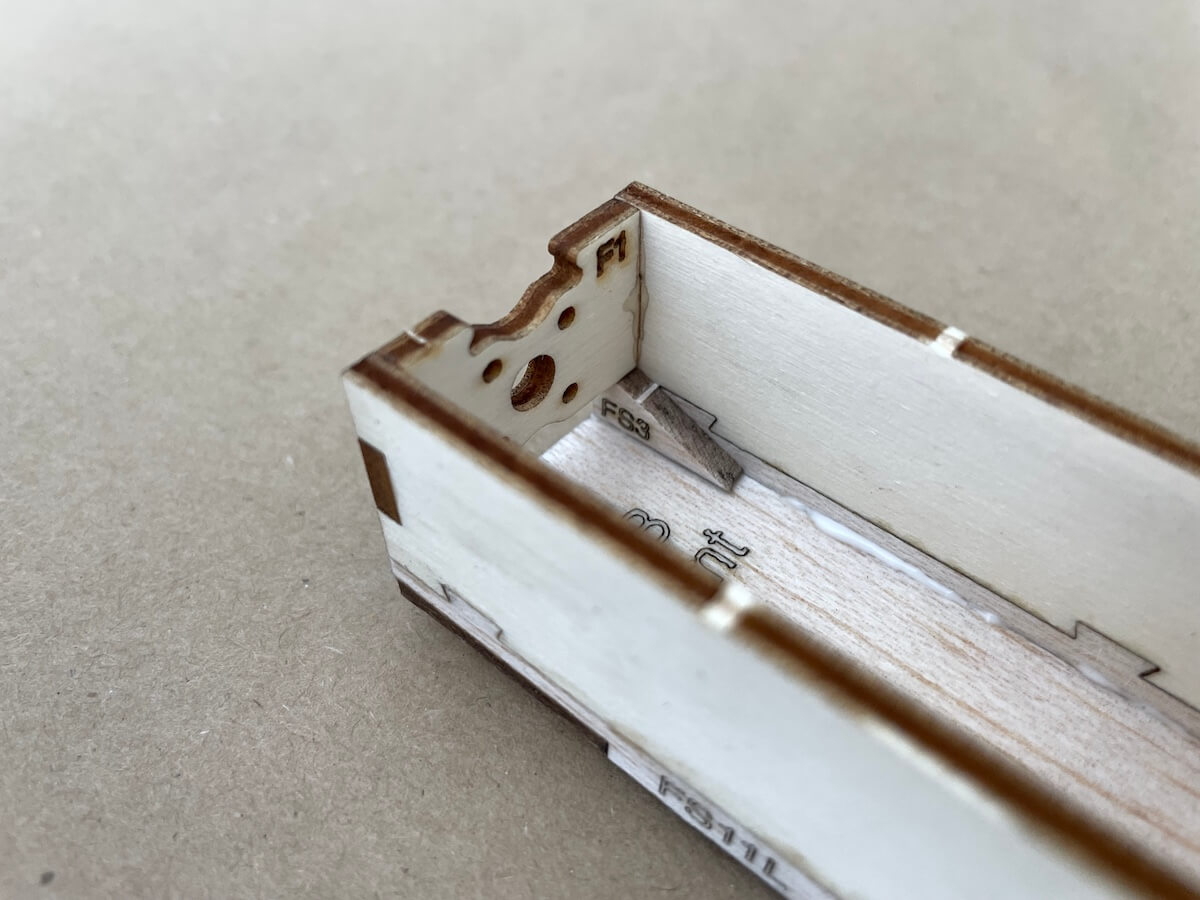


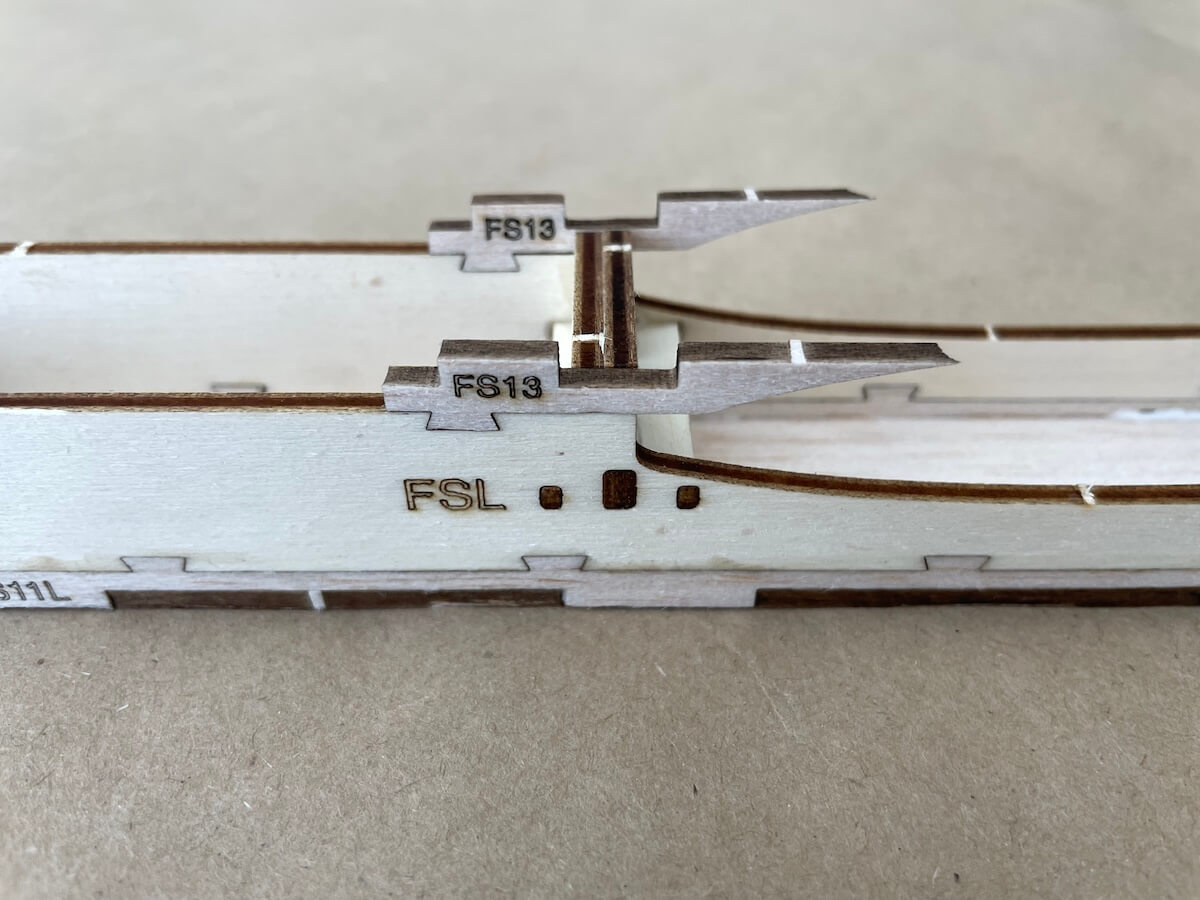
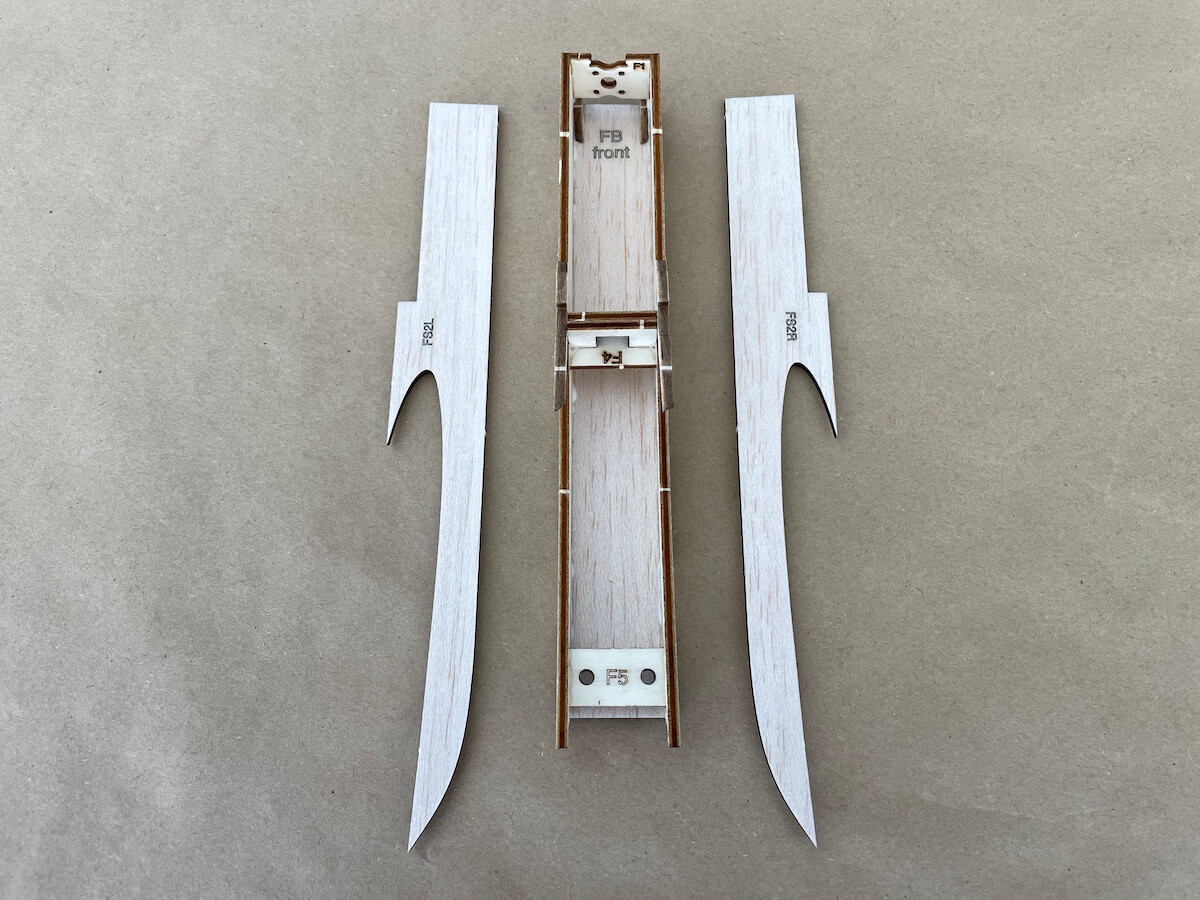
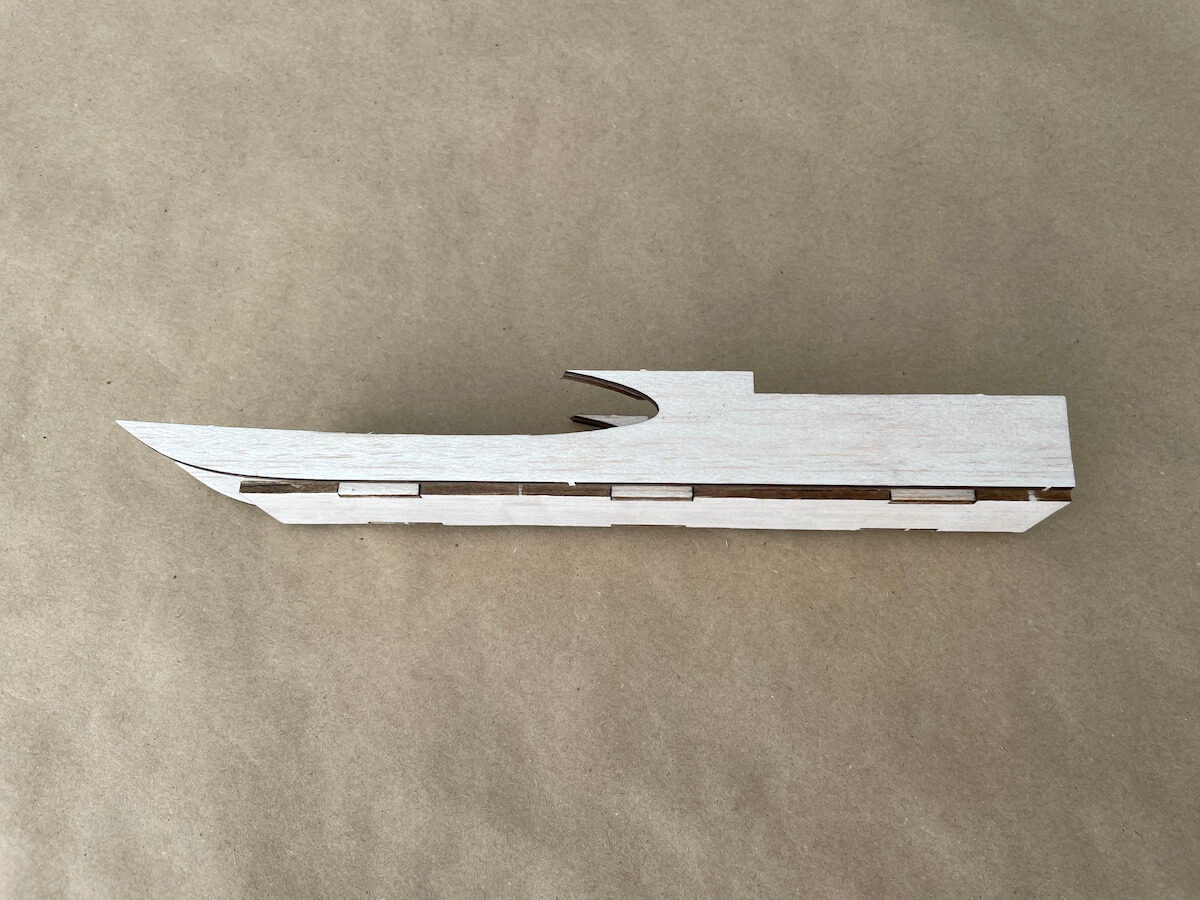
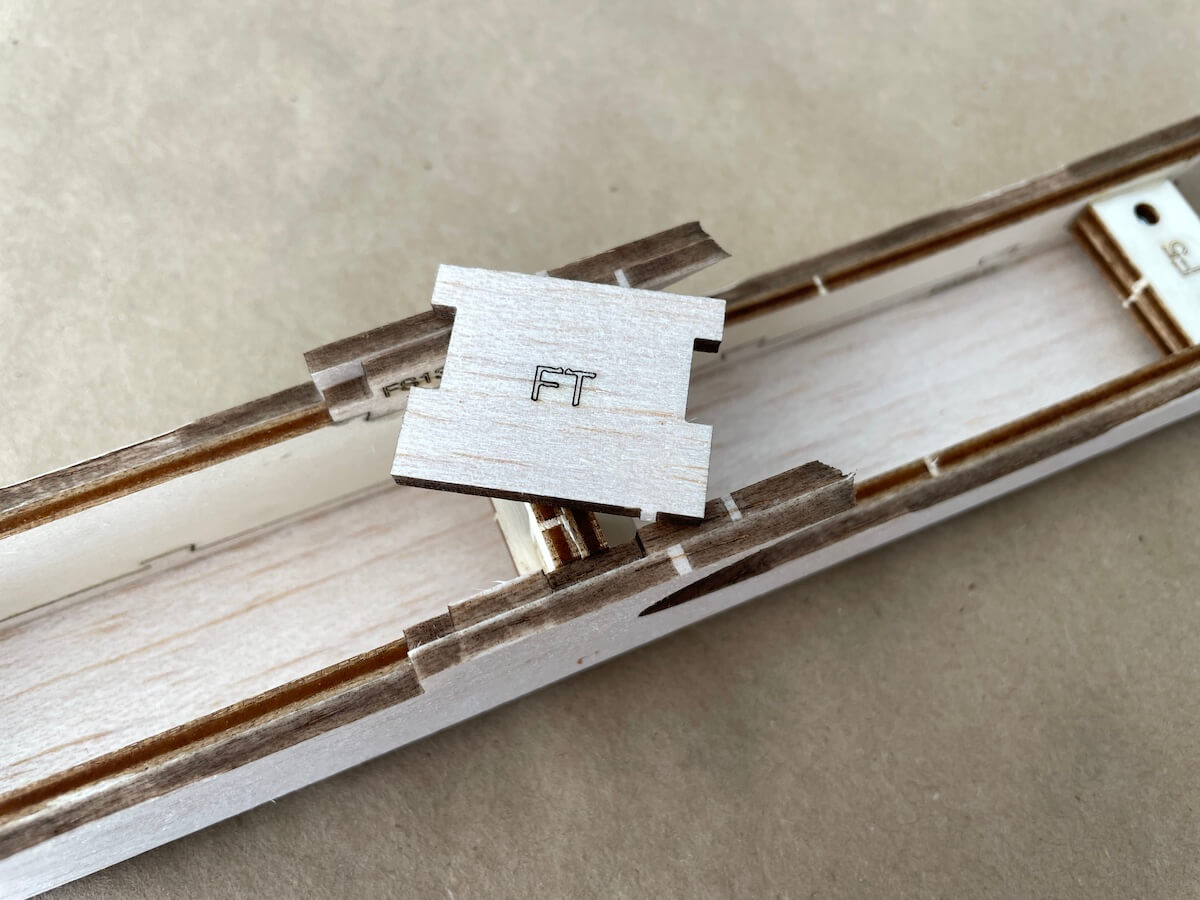
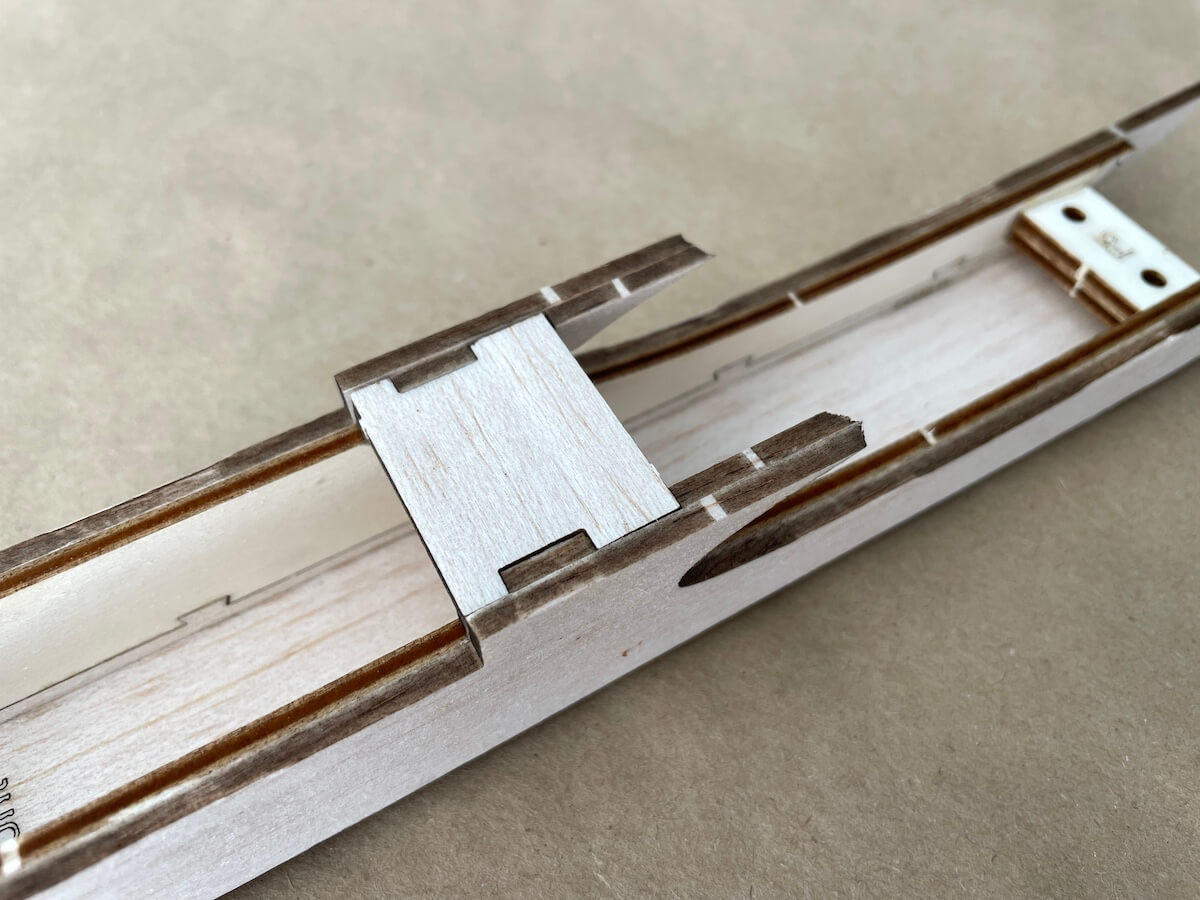
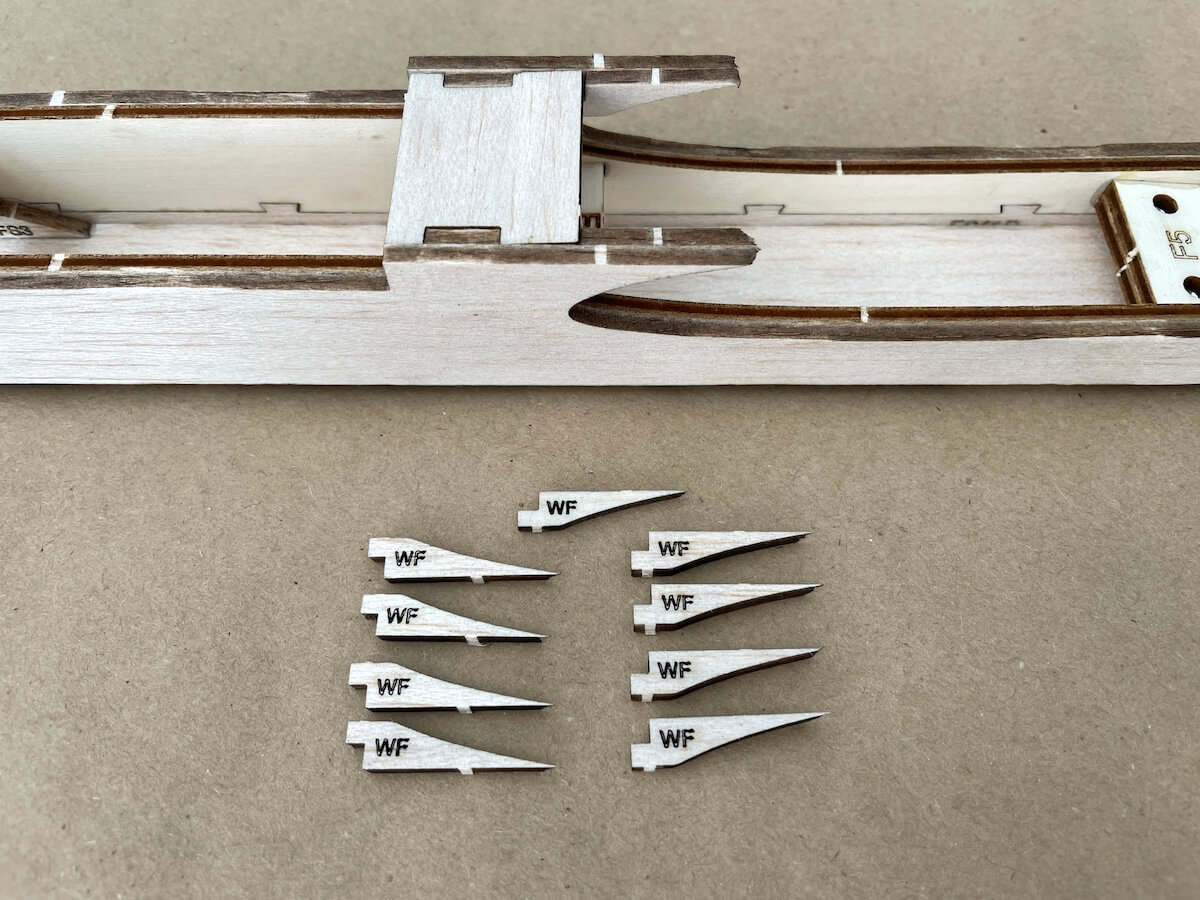
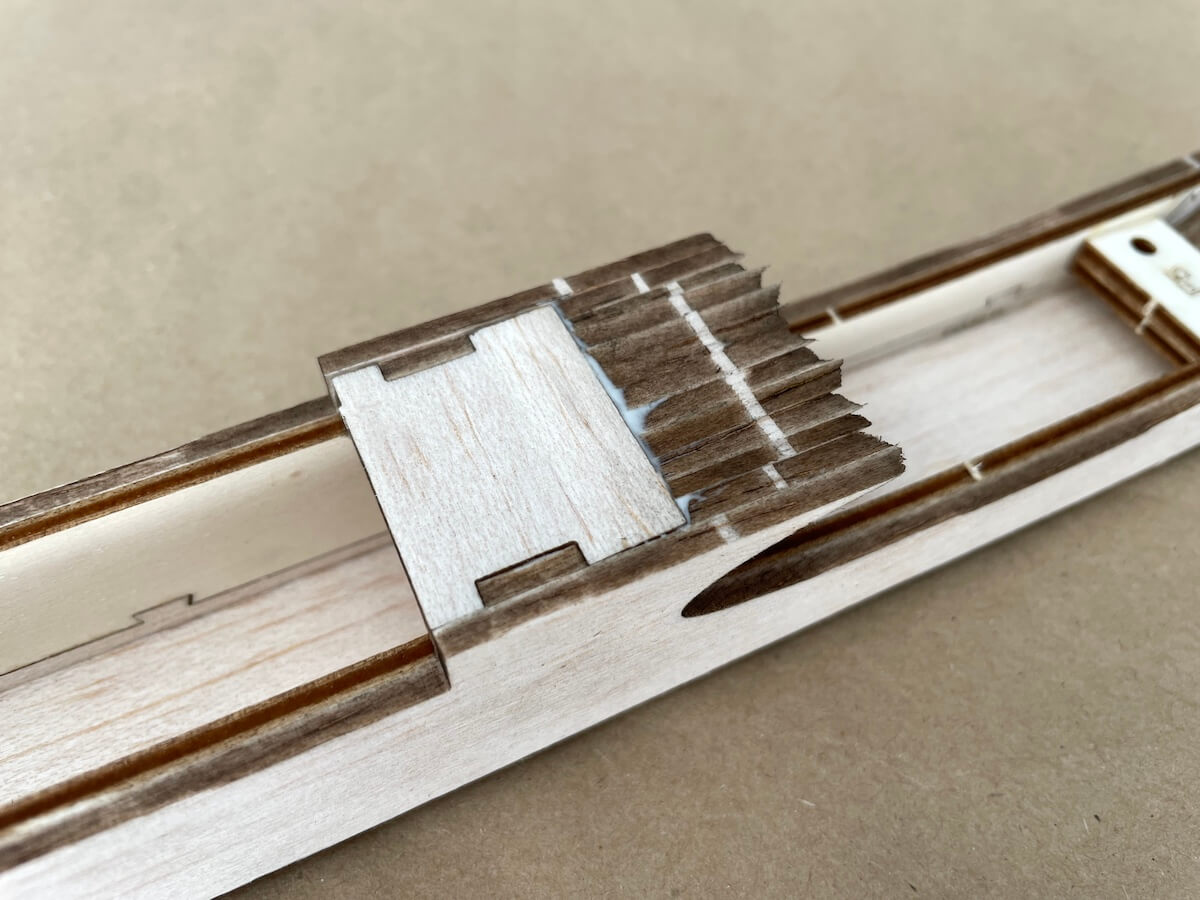

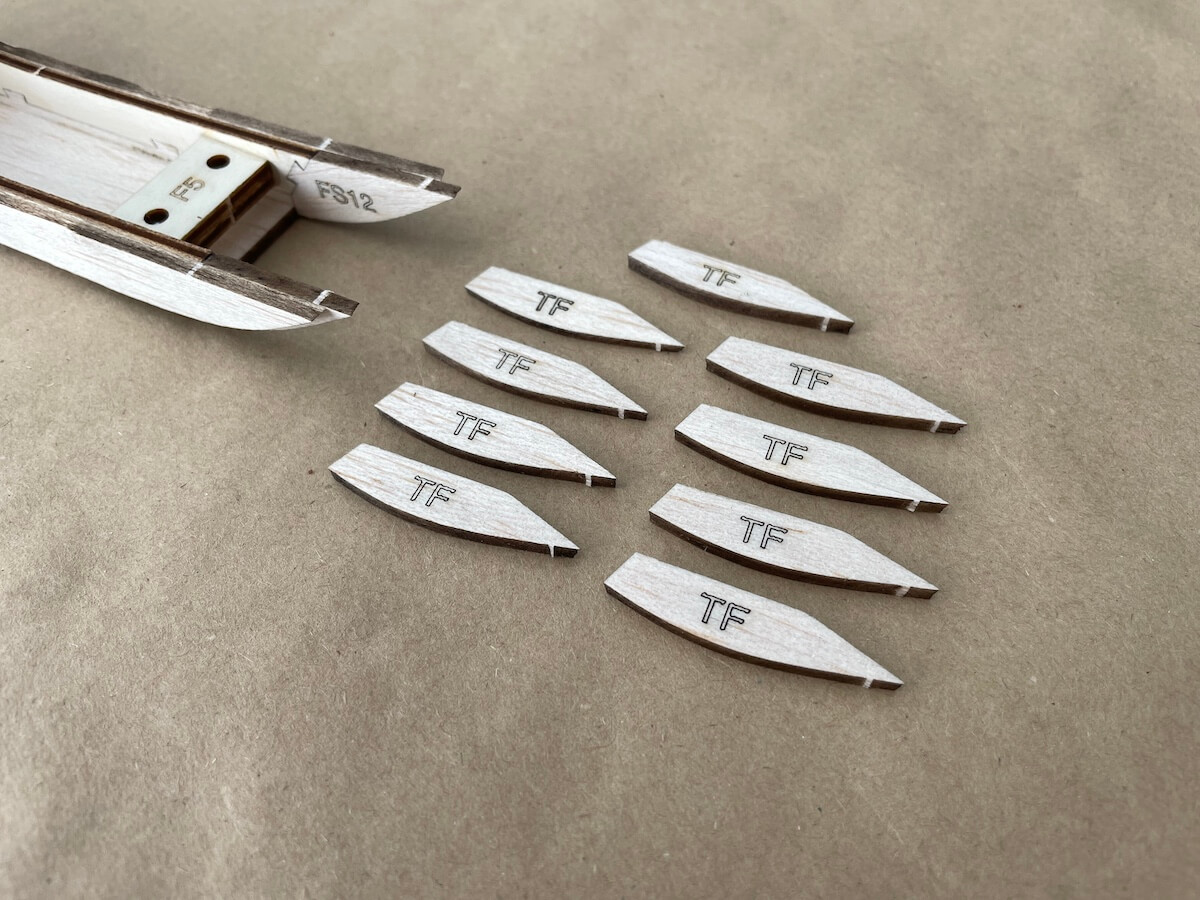
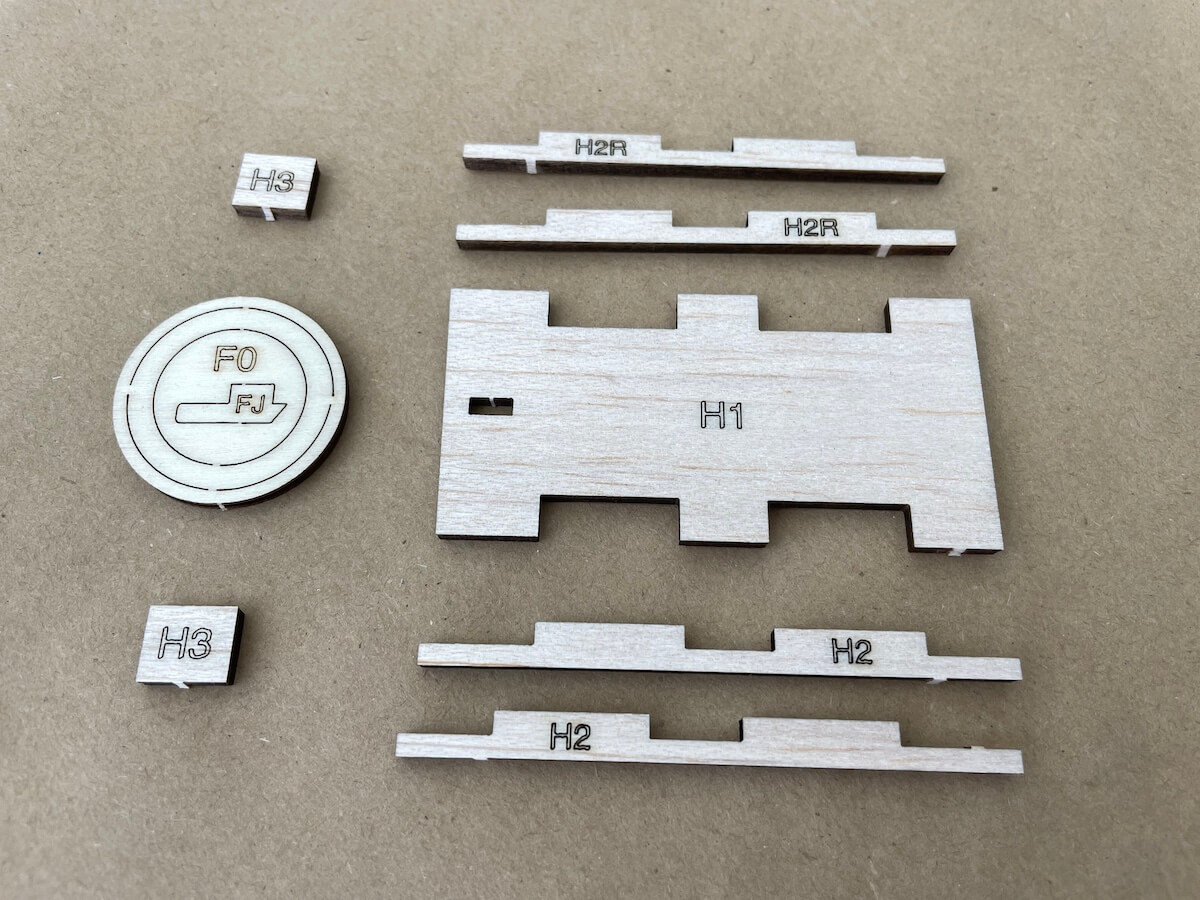
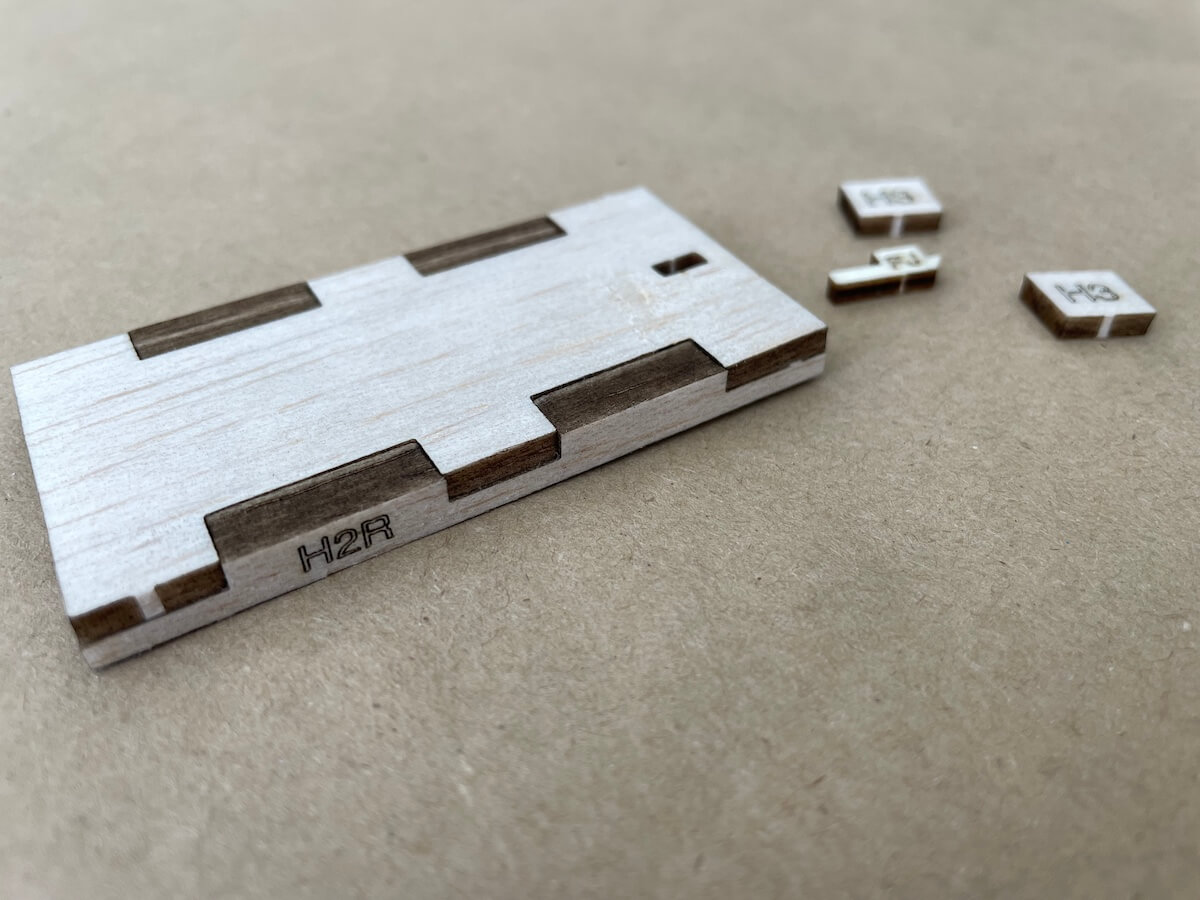
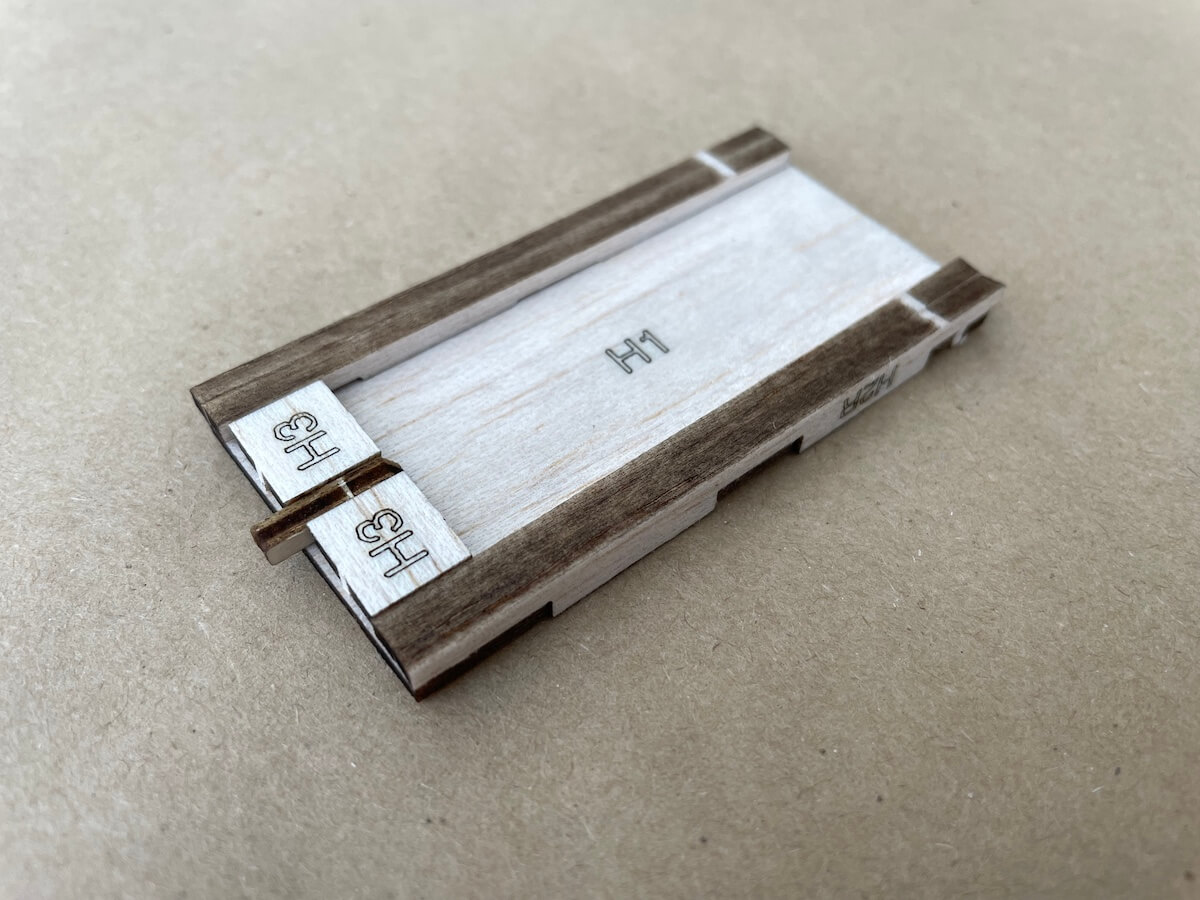
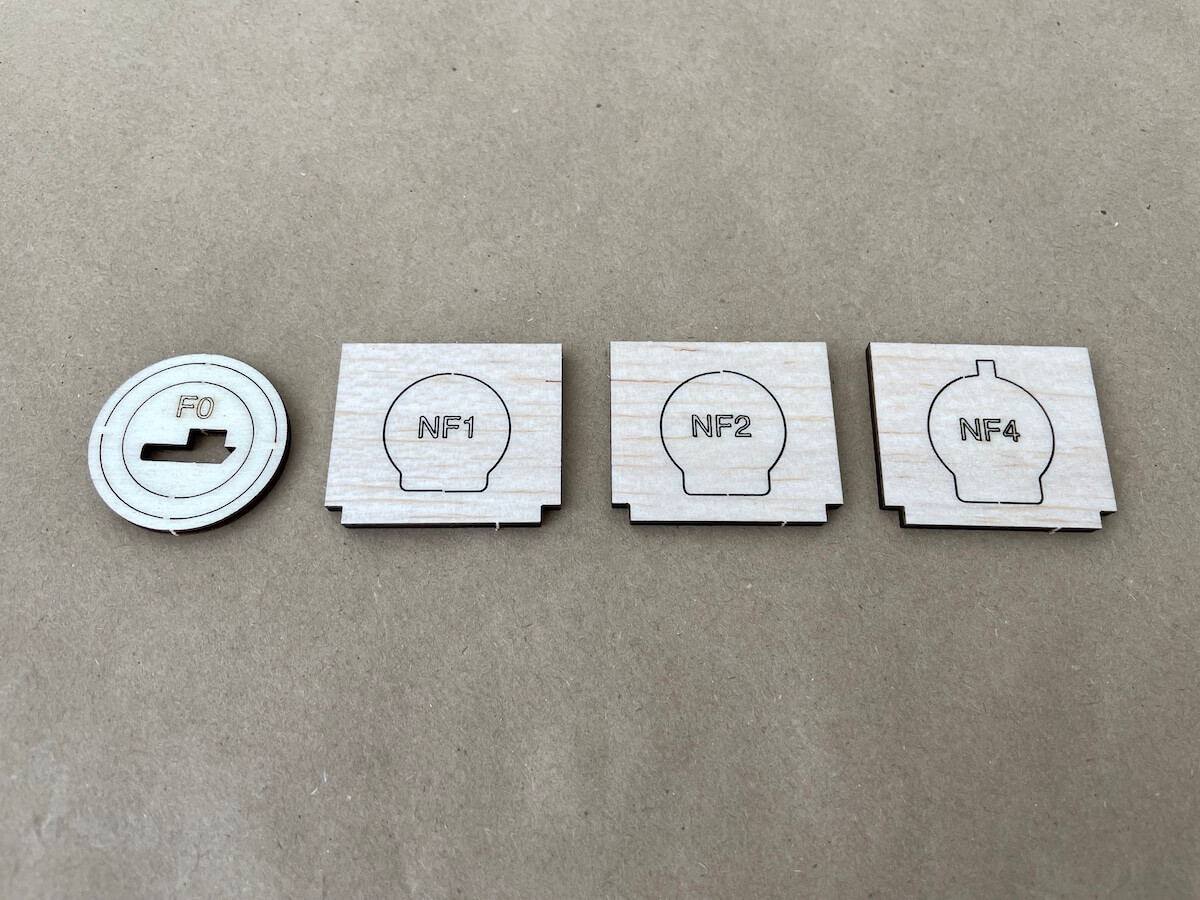
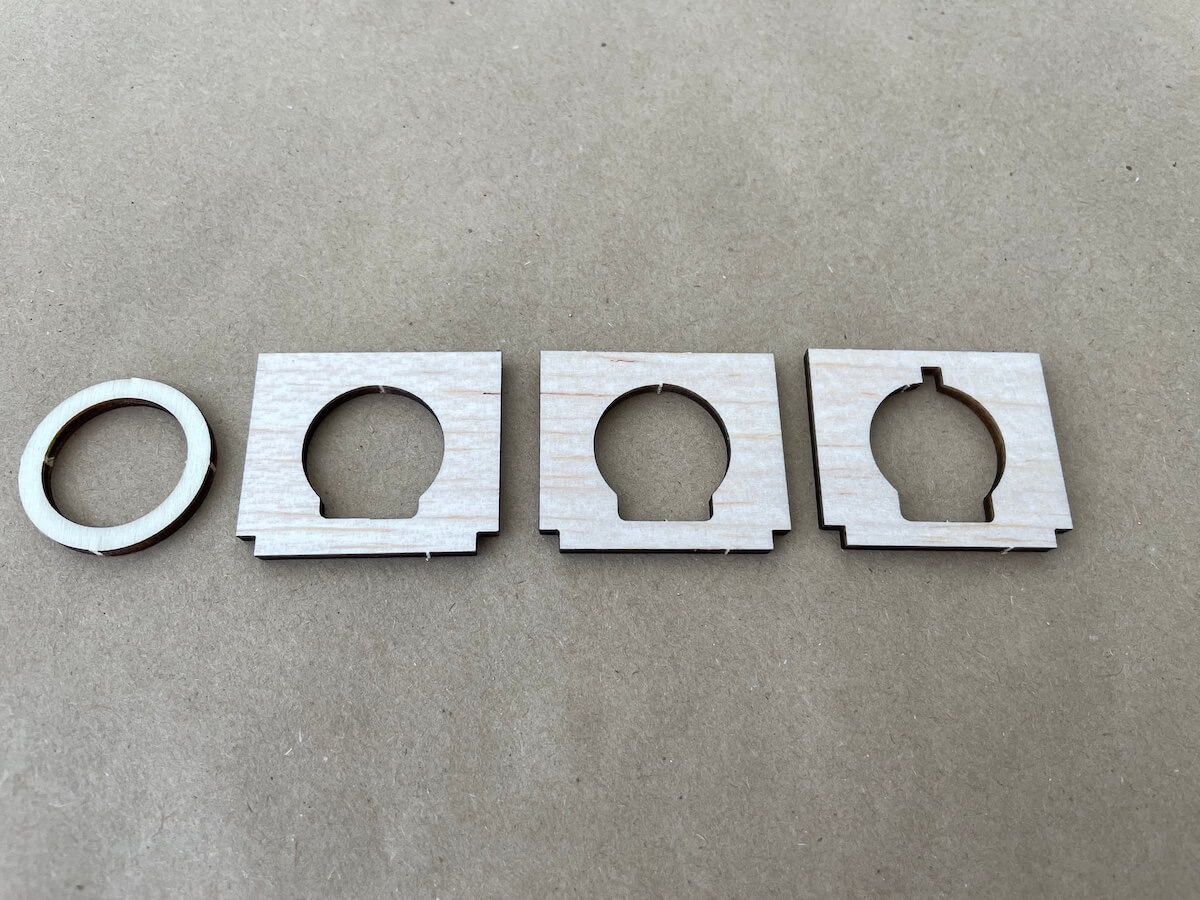


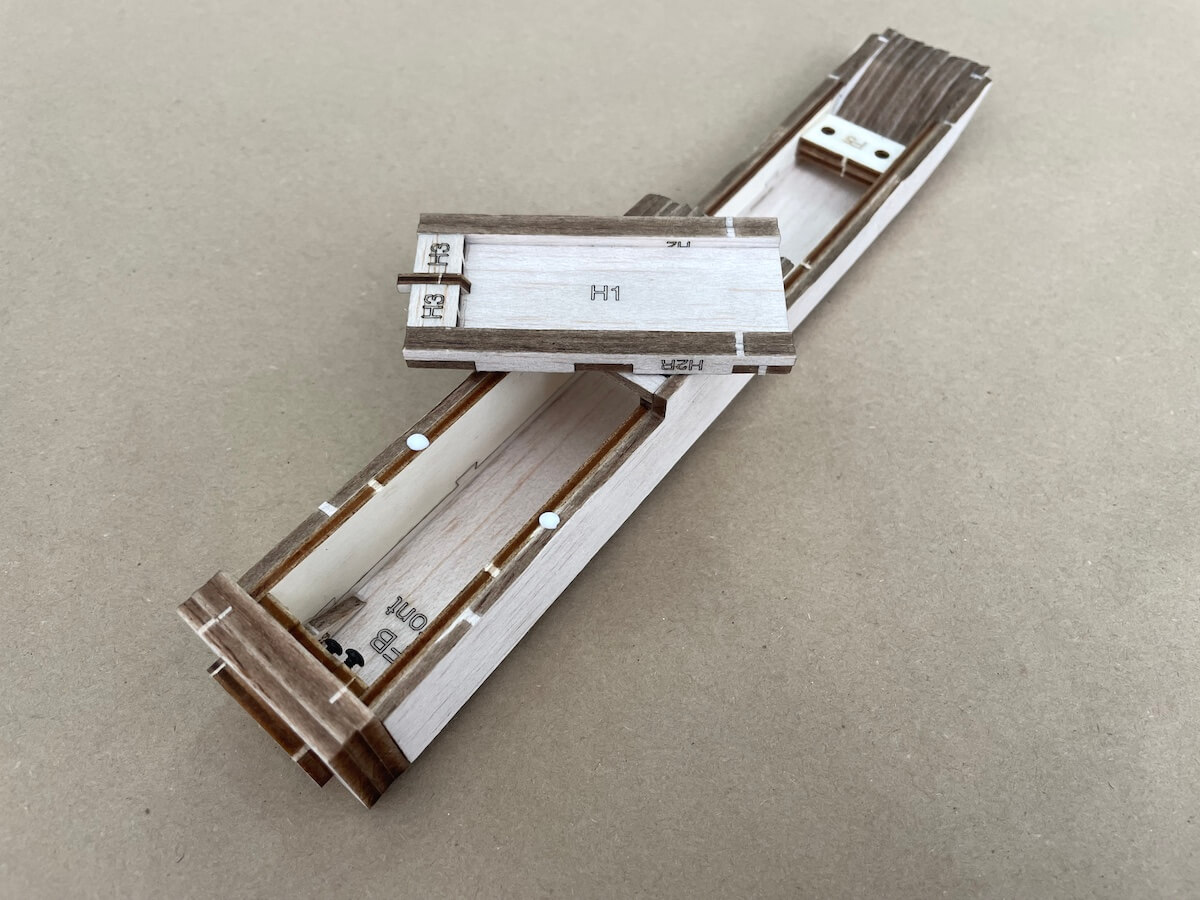
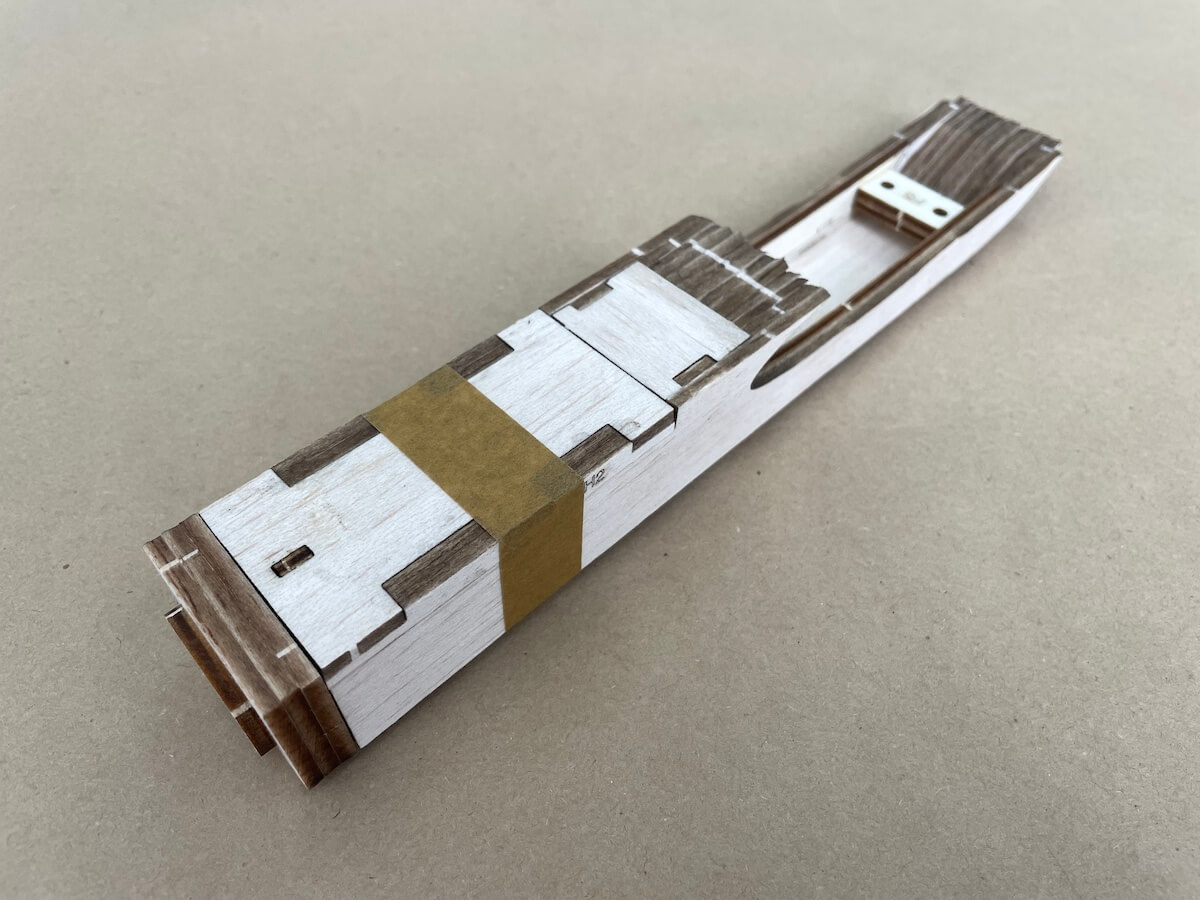
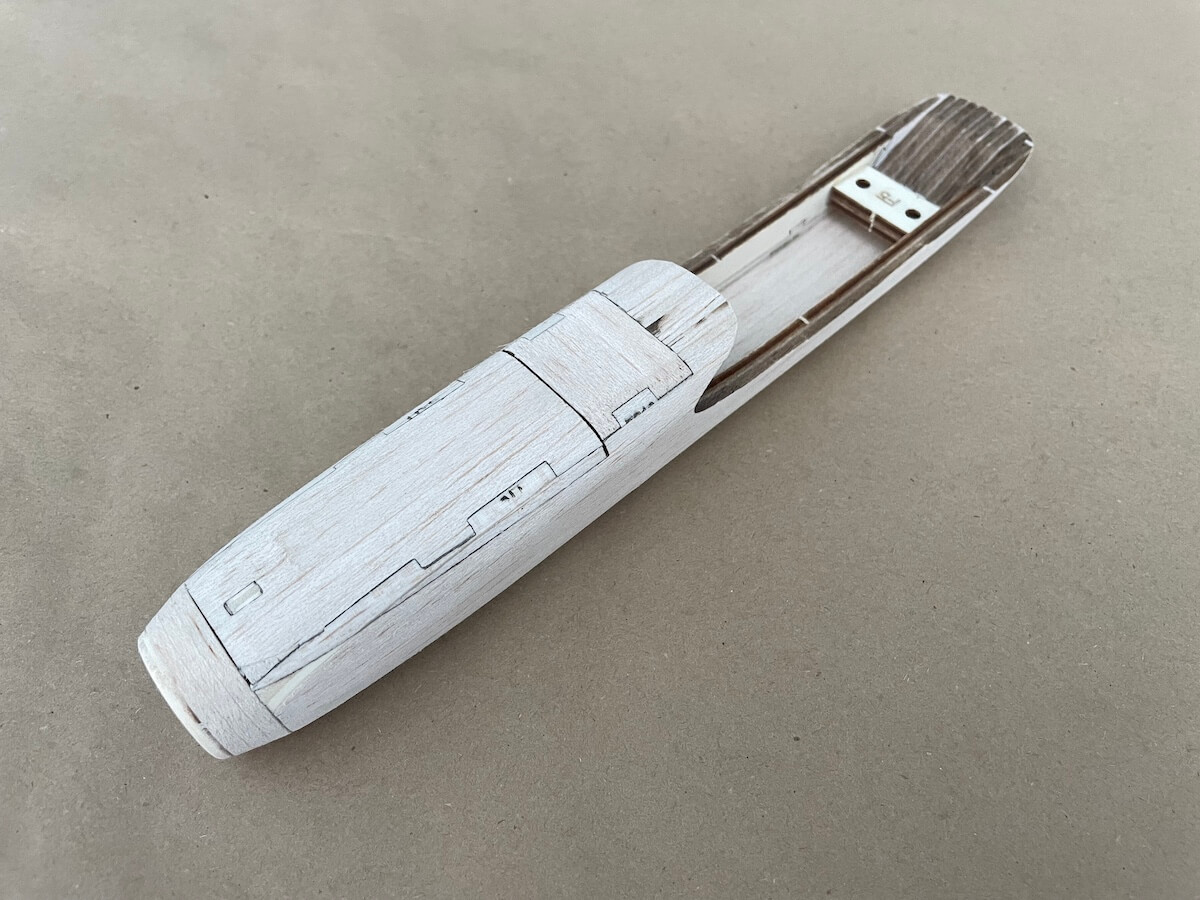
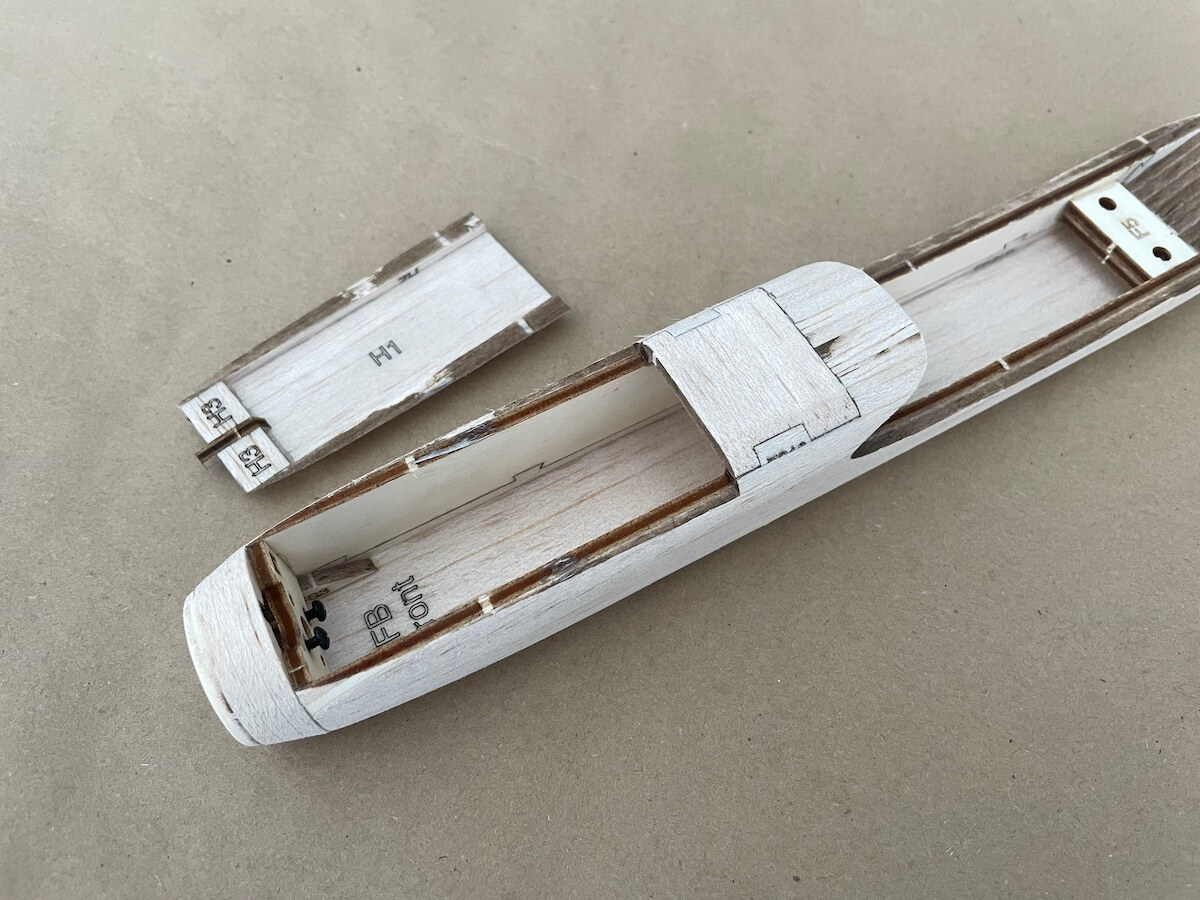

Part 1.1: Slope Nose Cone
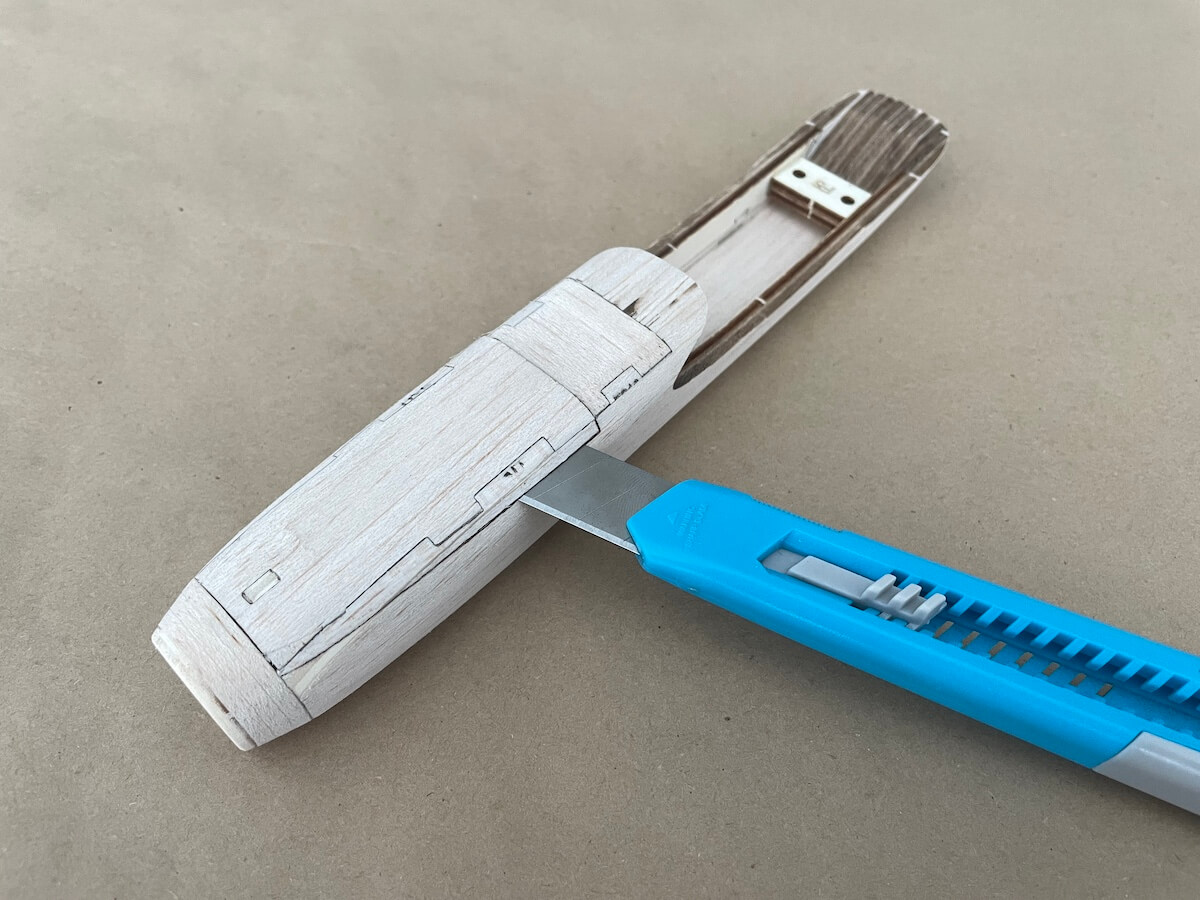
In case you plan to build a pure slope glider w/o a motor, you can build a balsa nose cone and install it in front of the fuselage.
In this case, skip the F0 plywood ring and use your best judgment on installing the extra NF3 fillers.
Once the glue dries up, shape the nose to your preference.
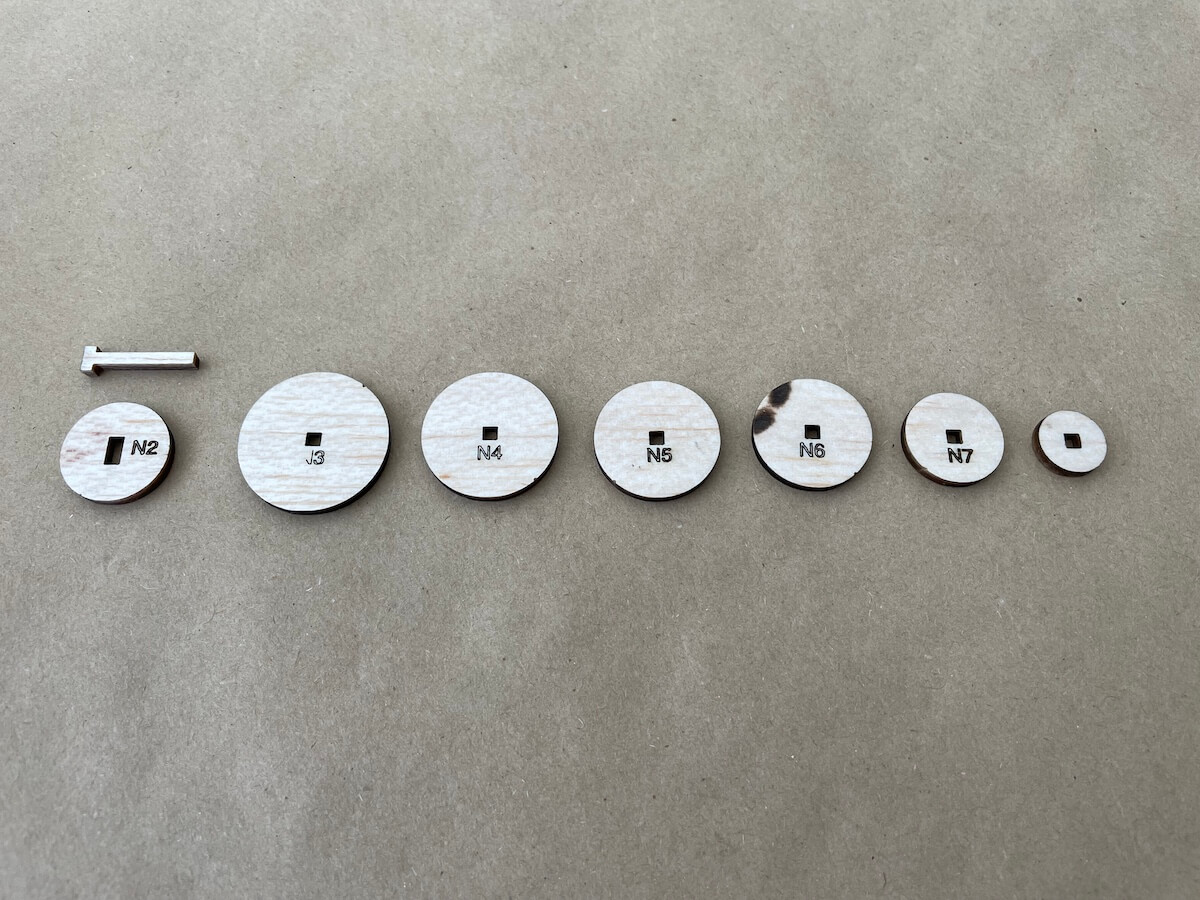
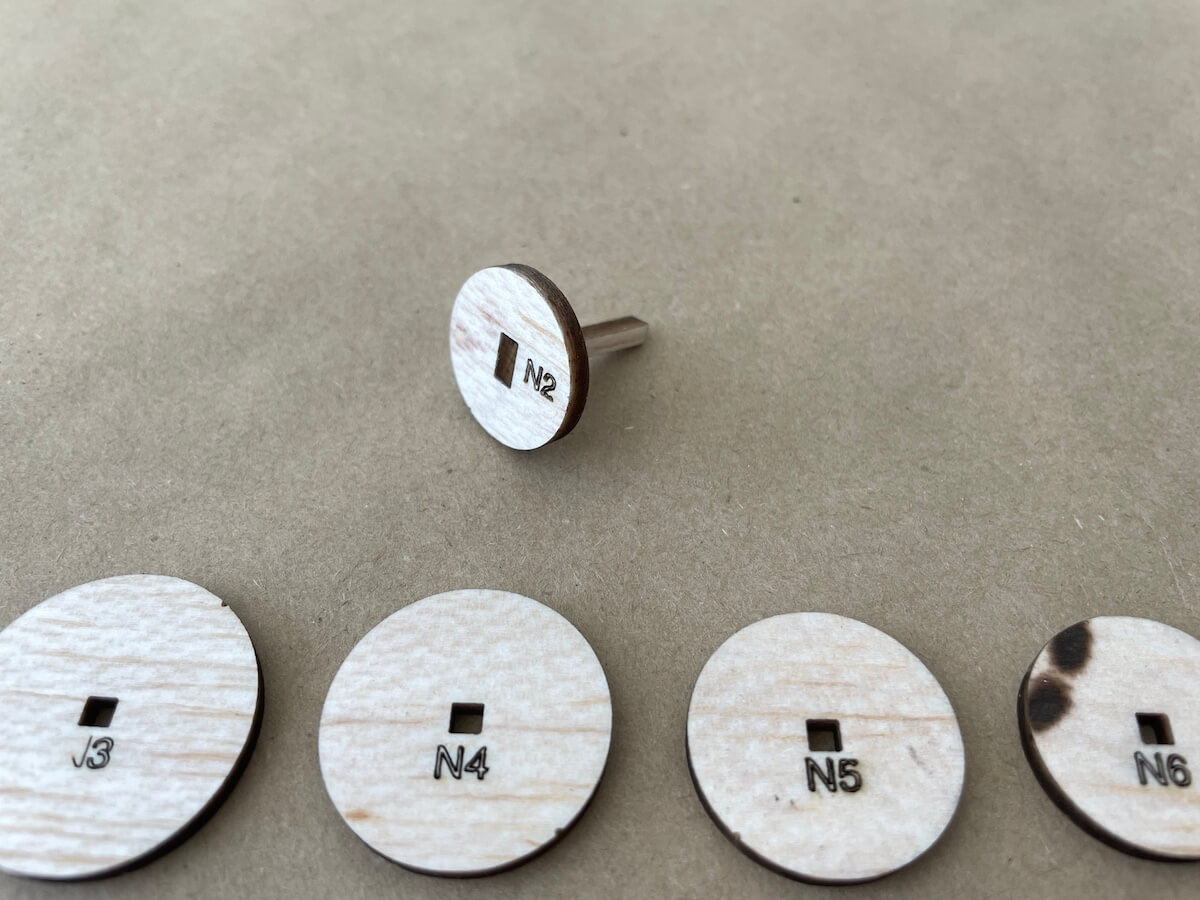

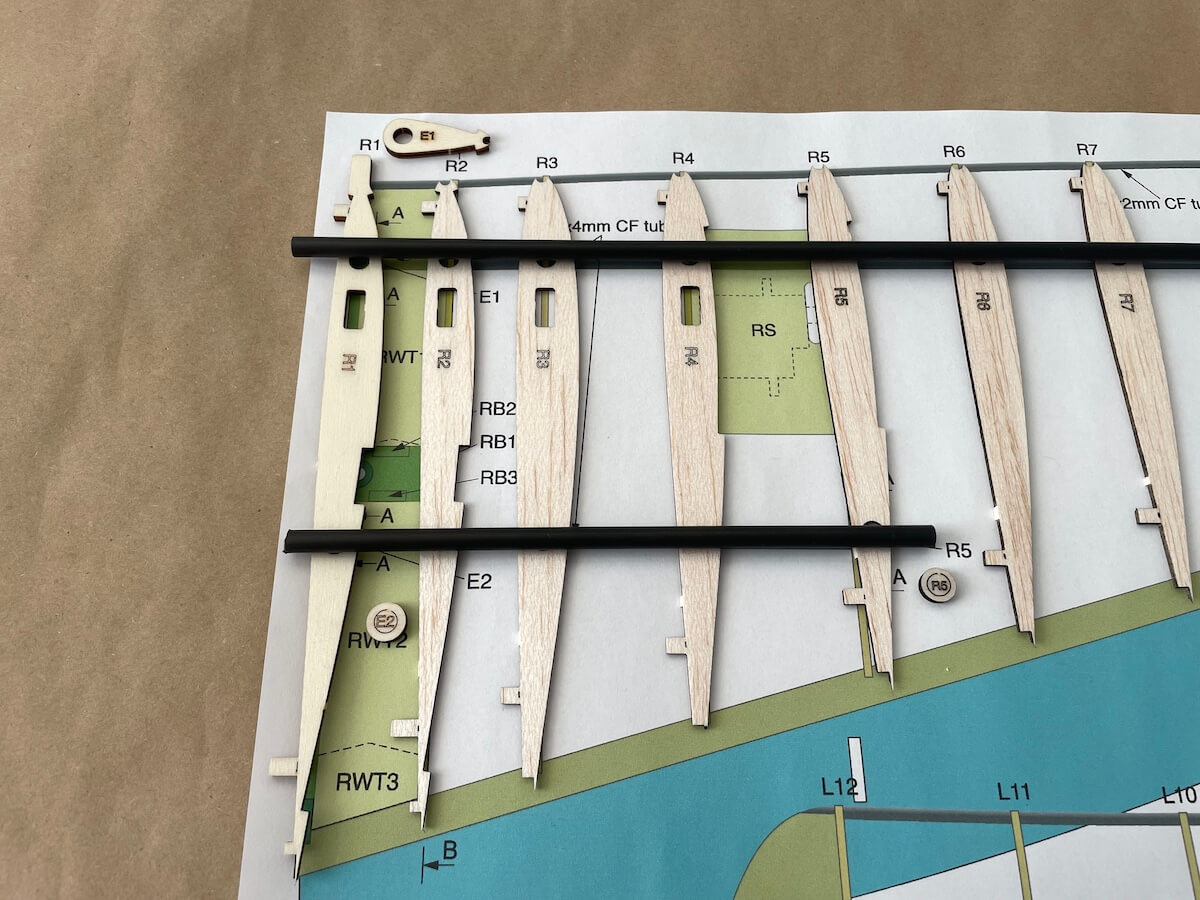
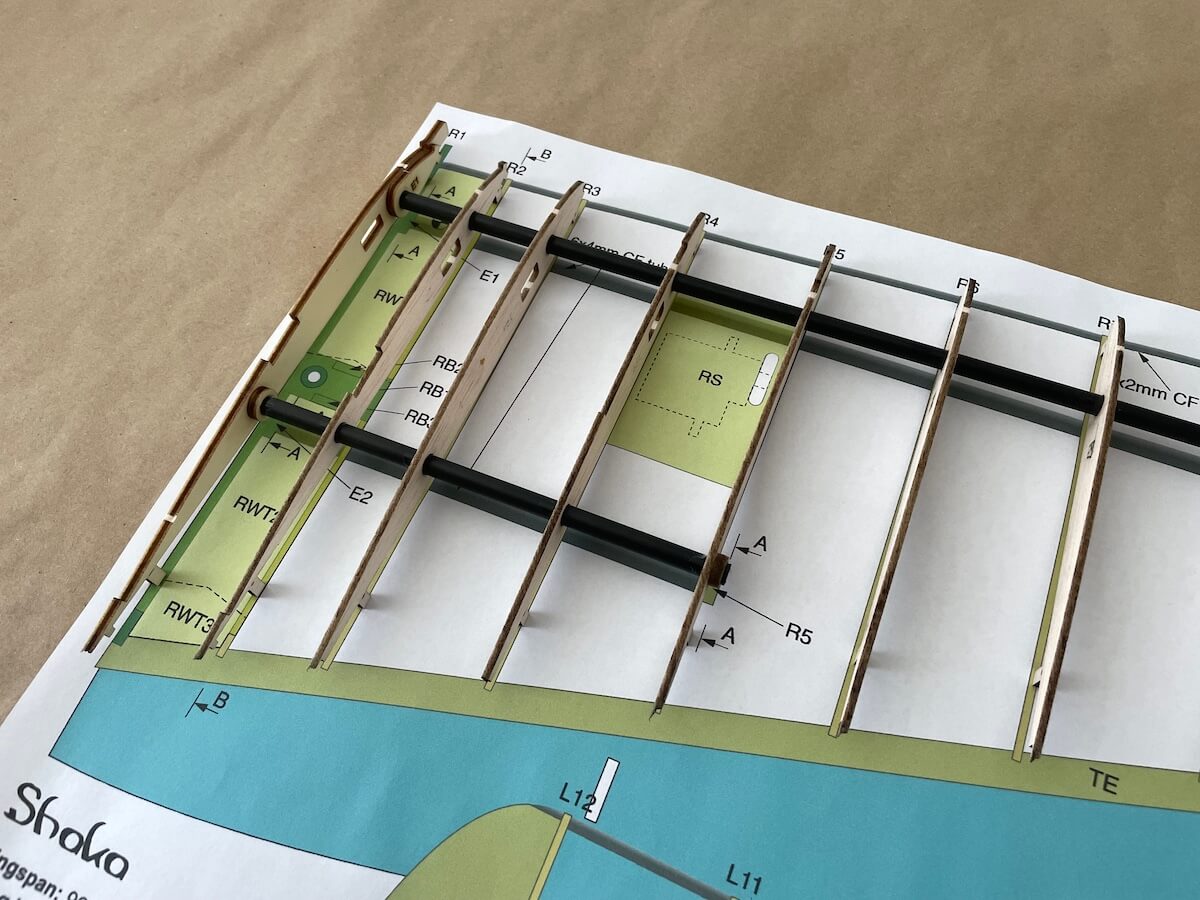
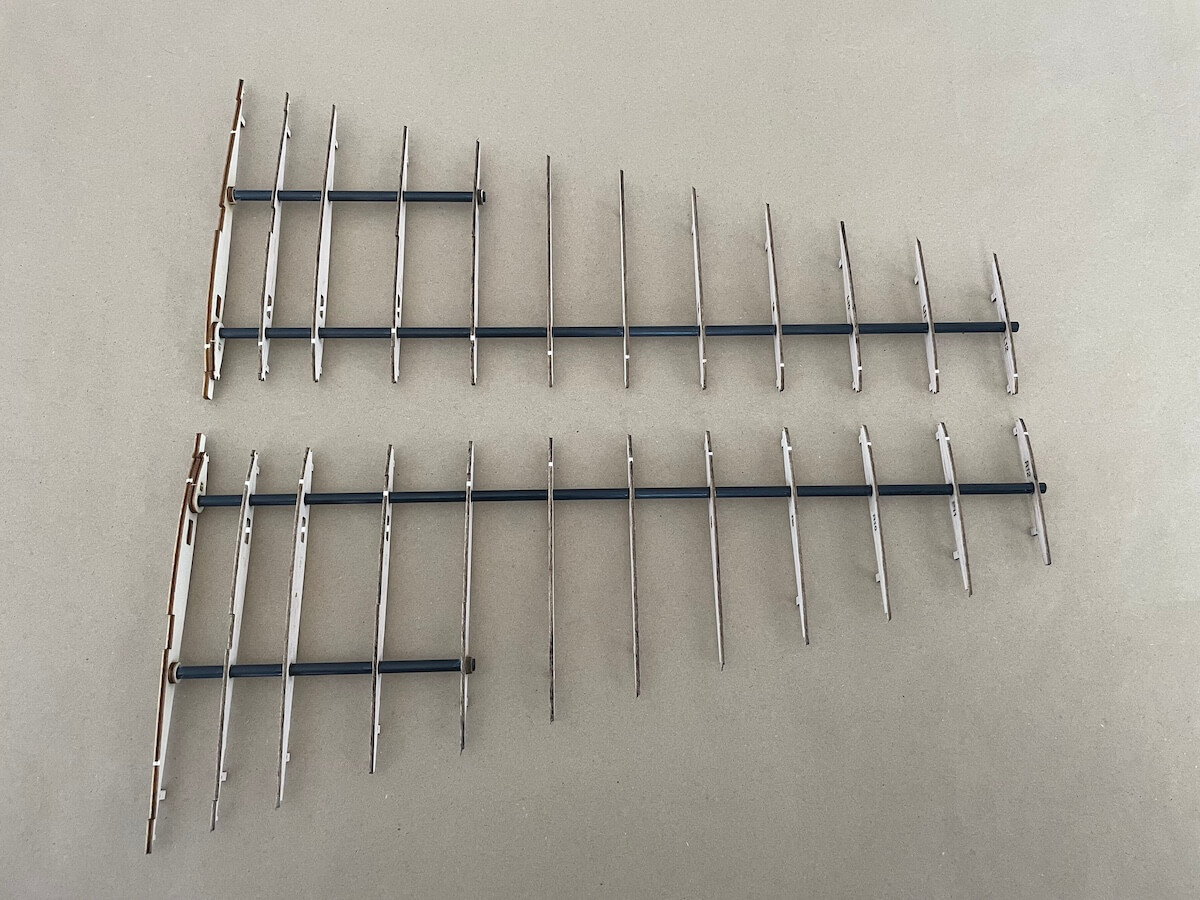
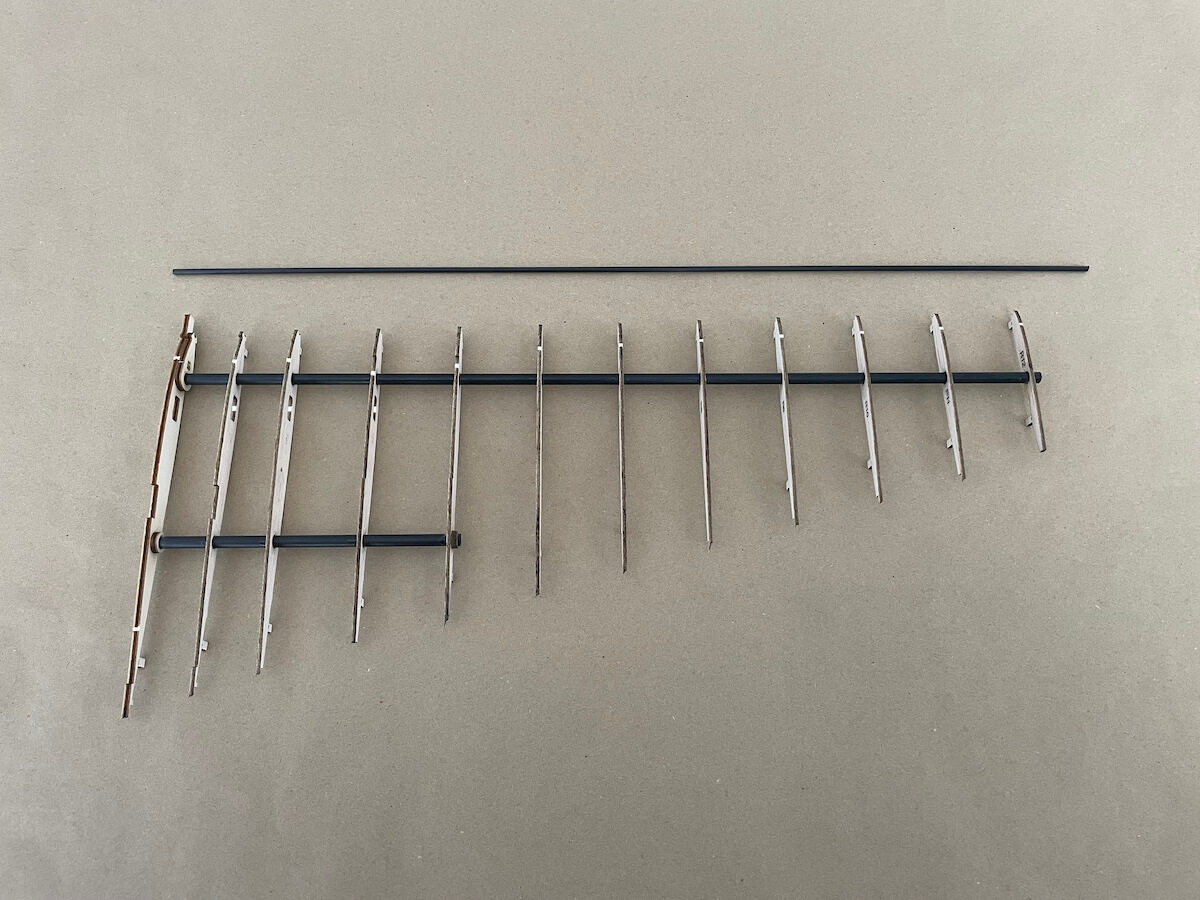
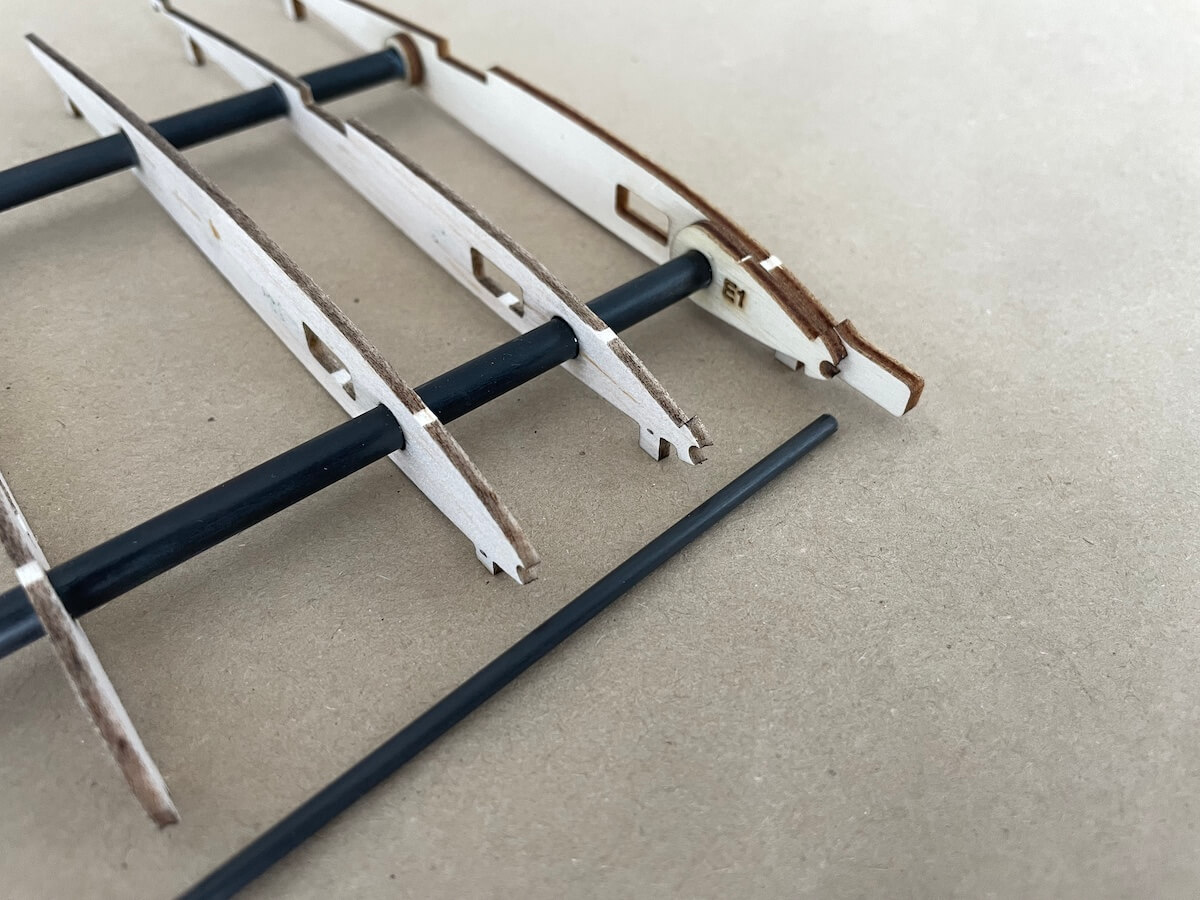
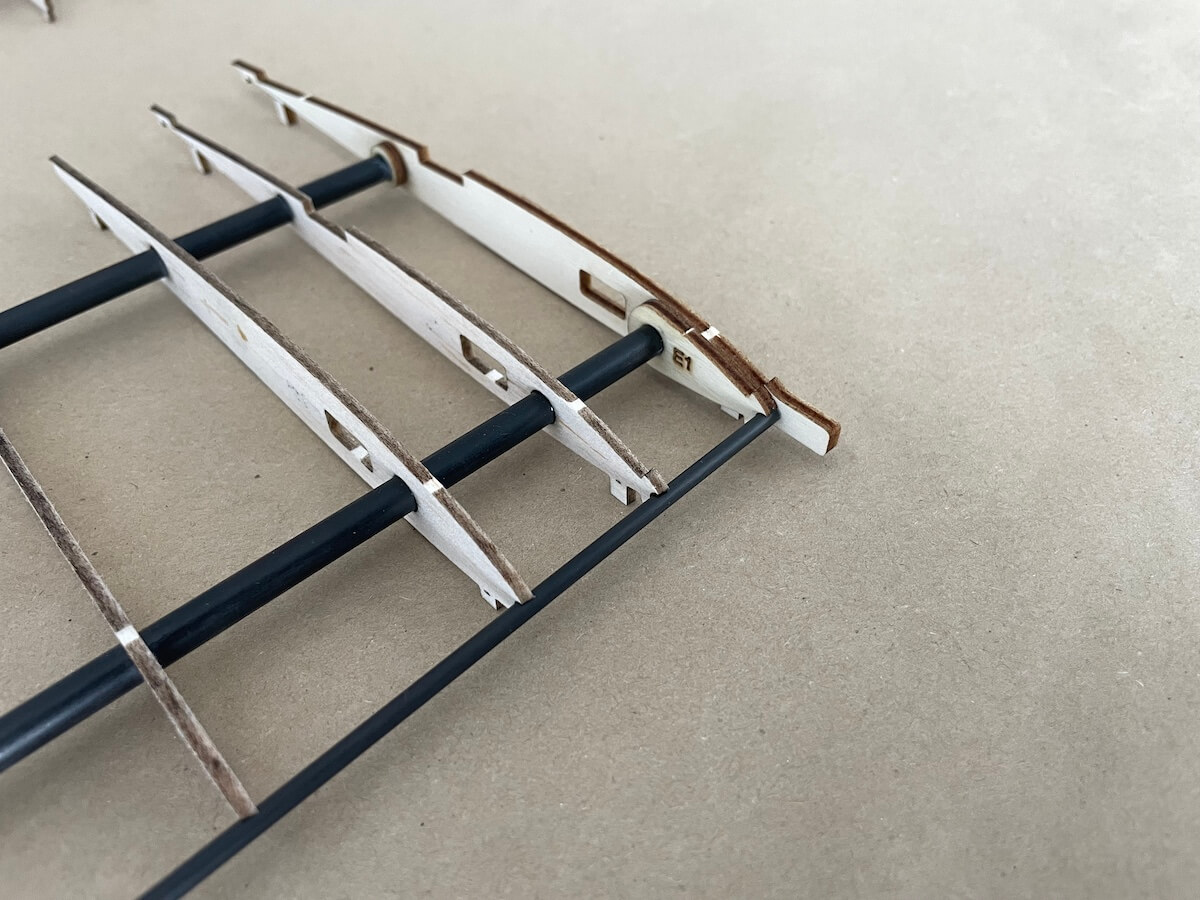
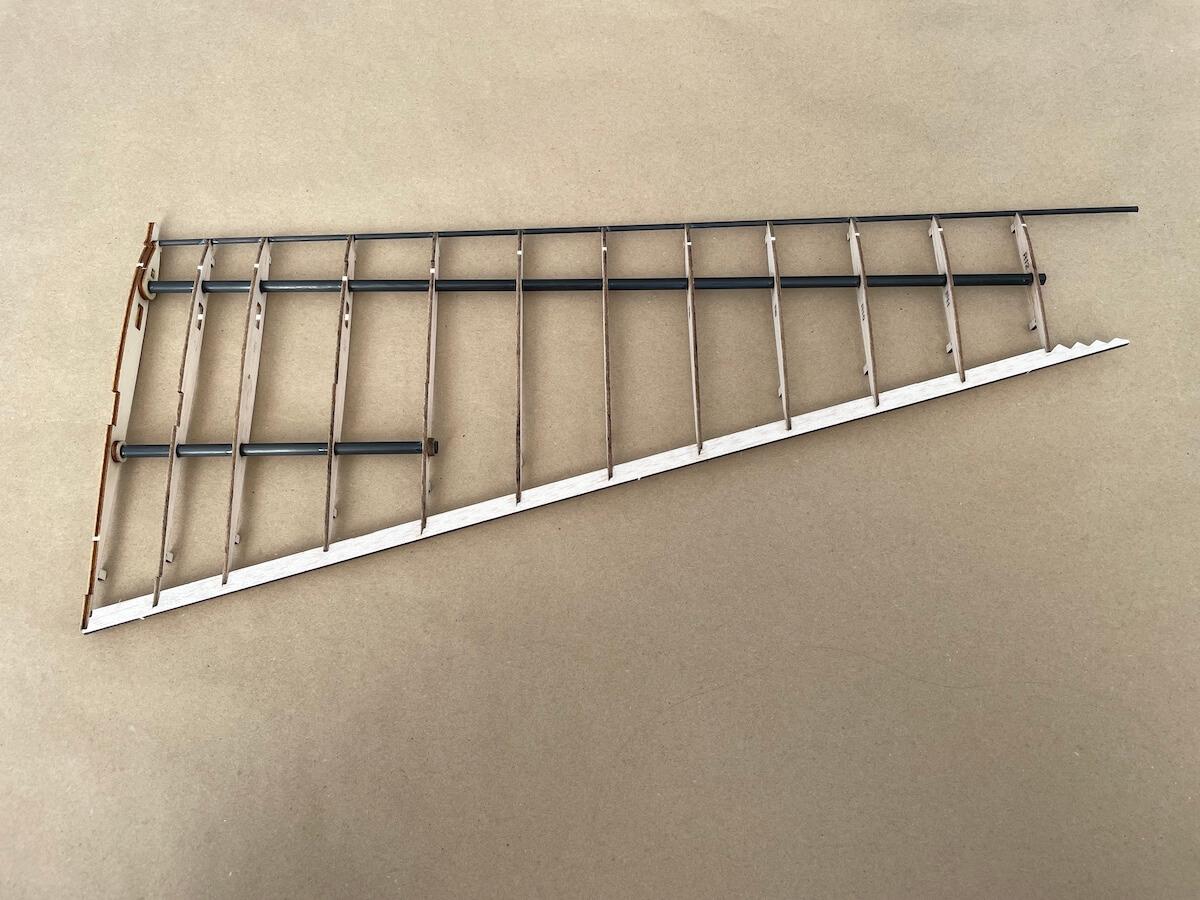
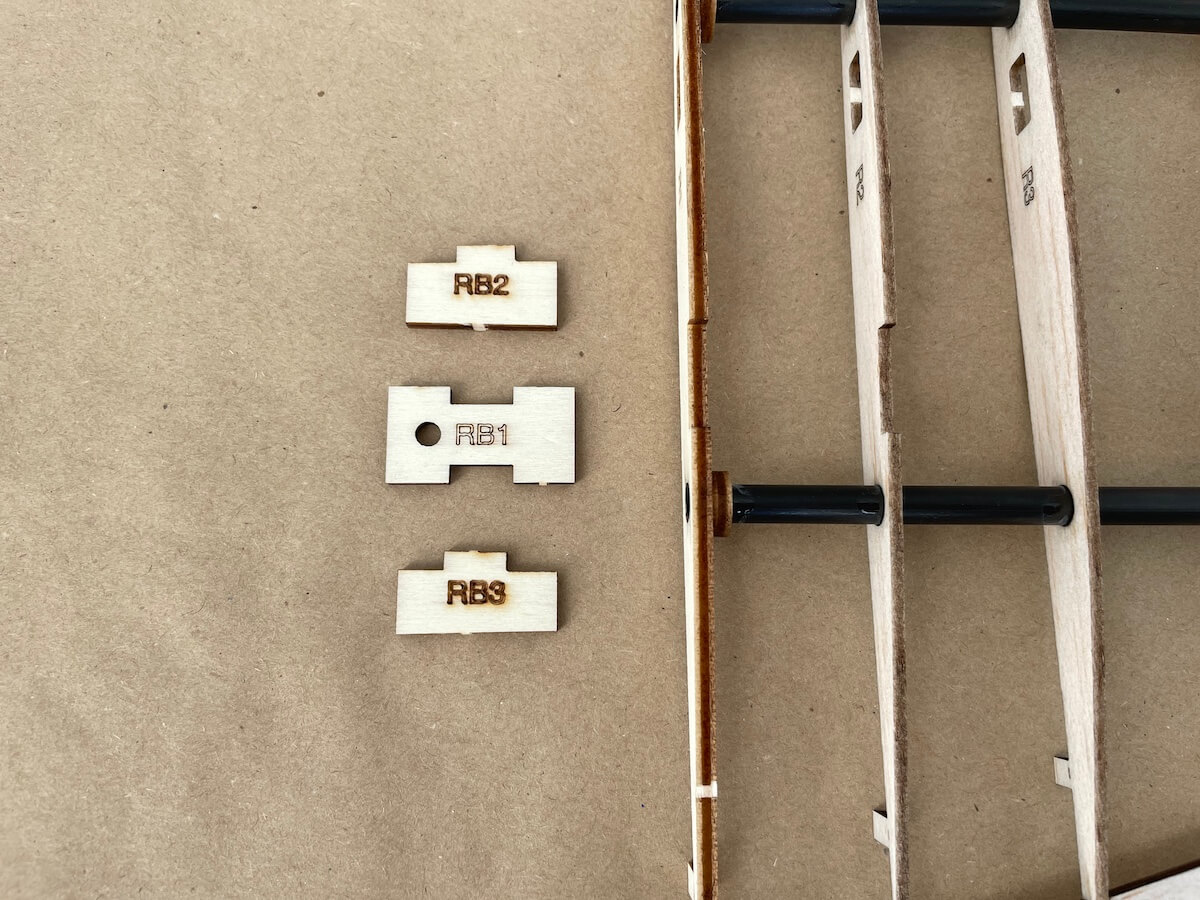
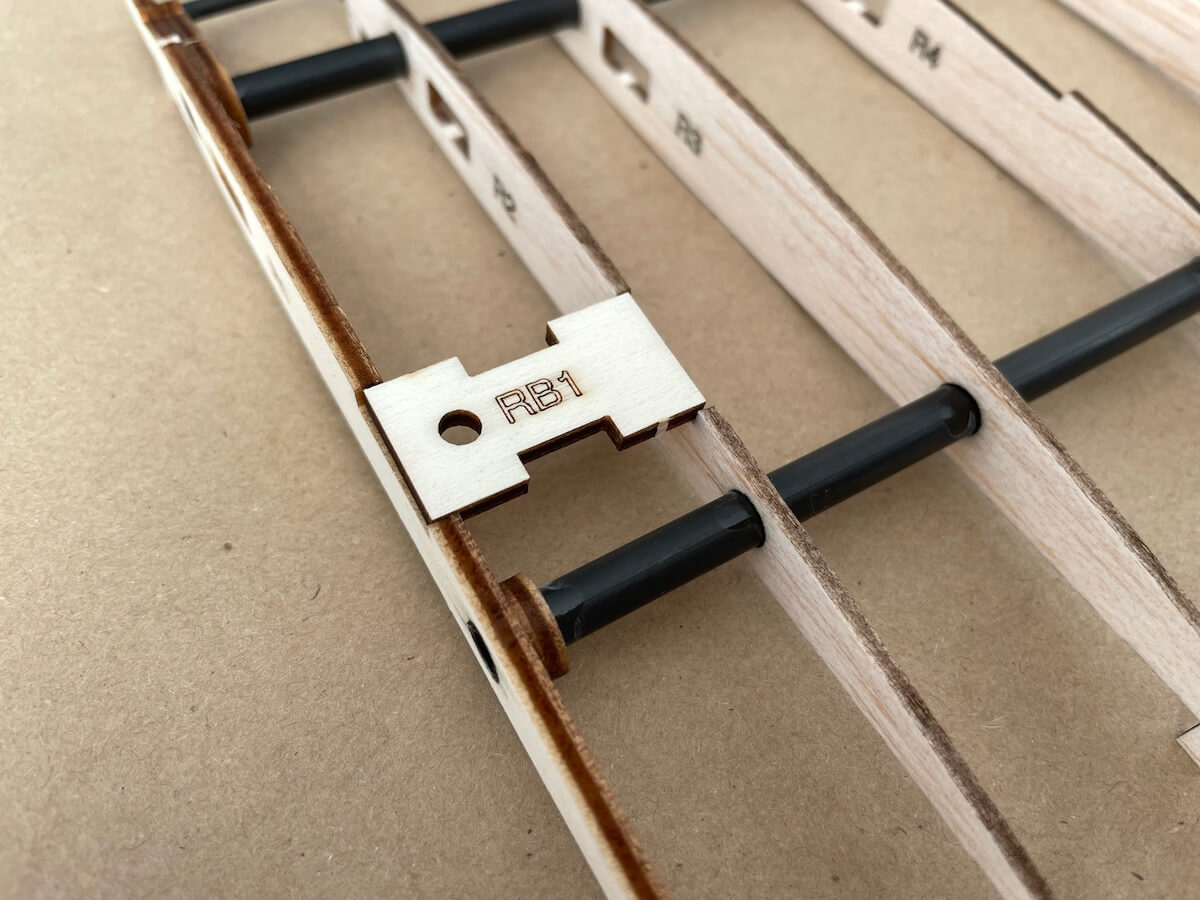
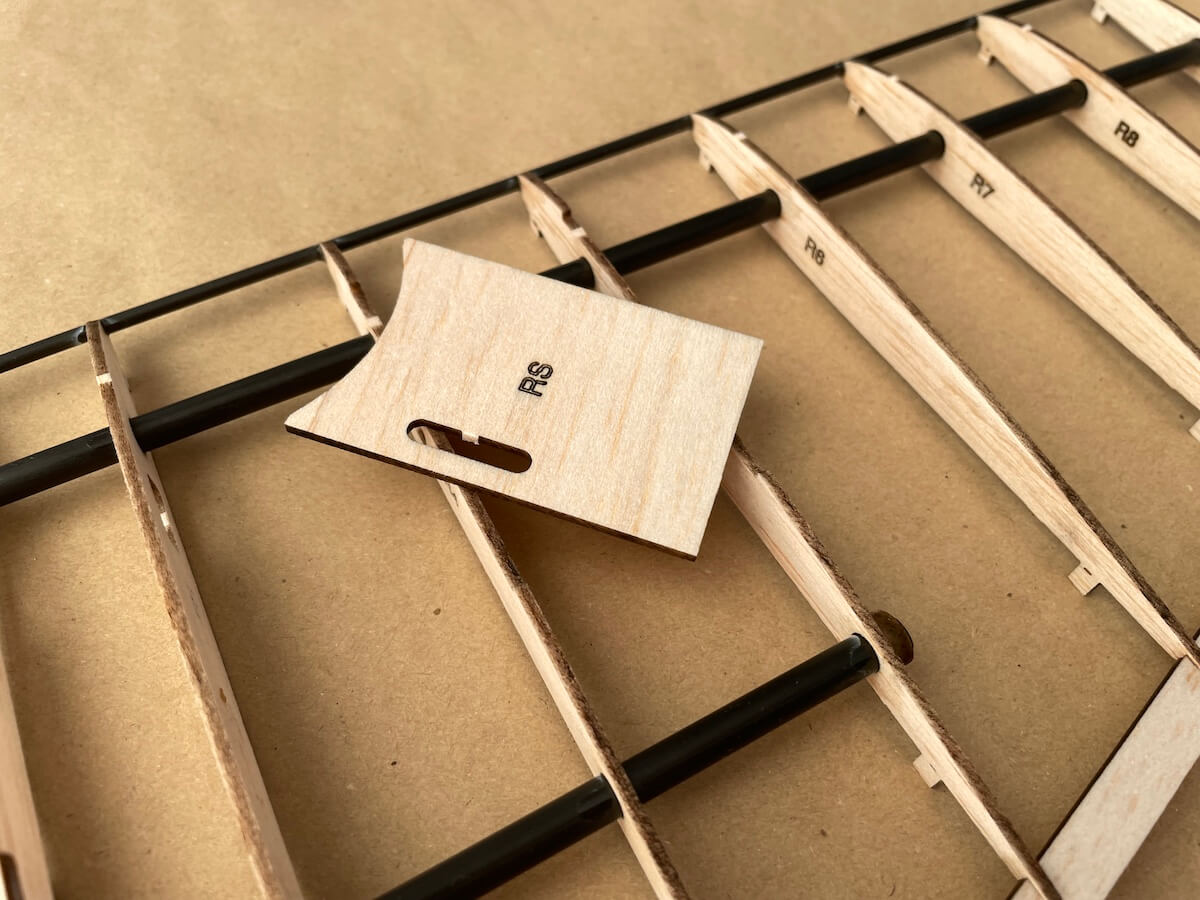
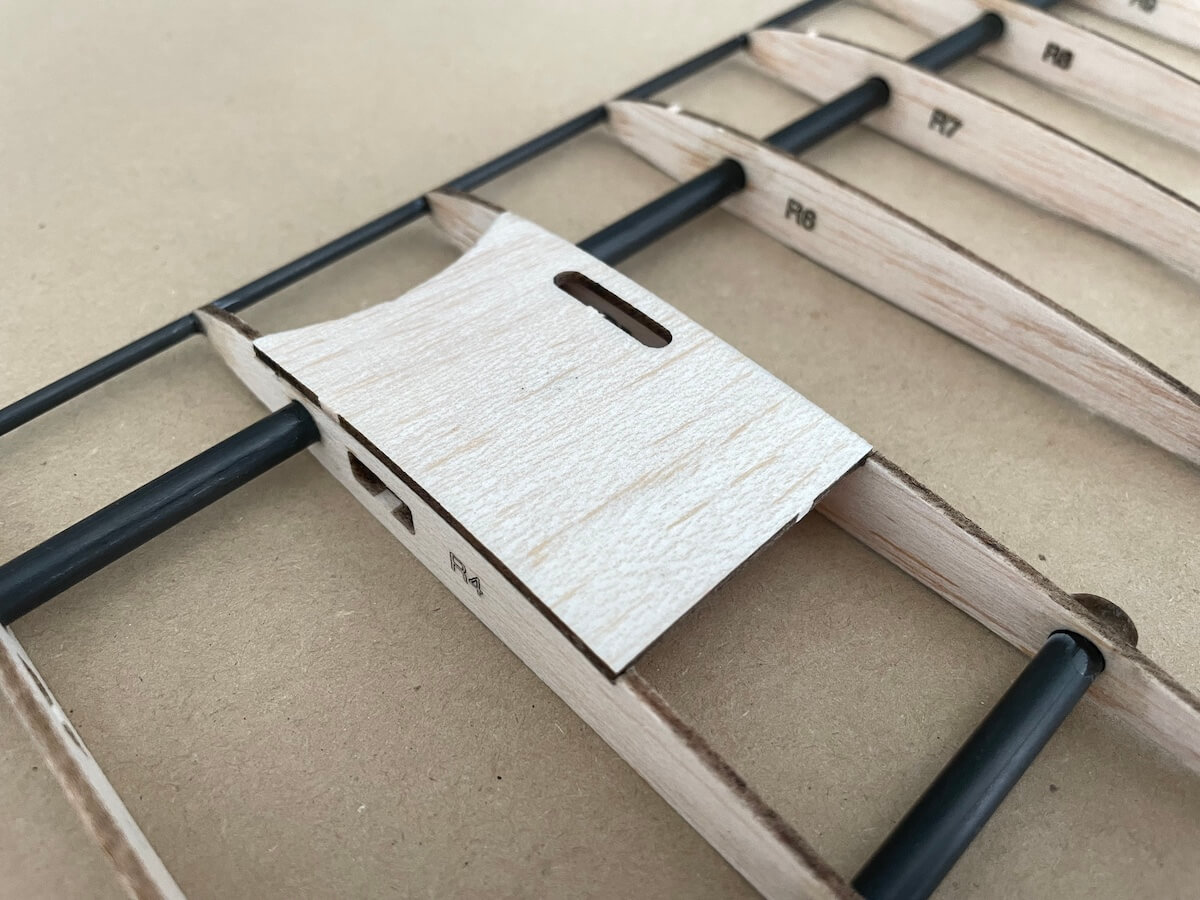
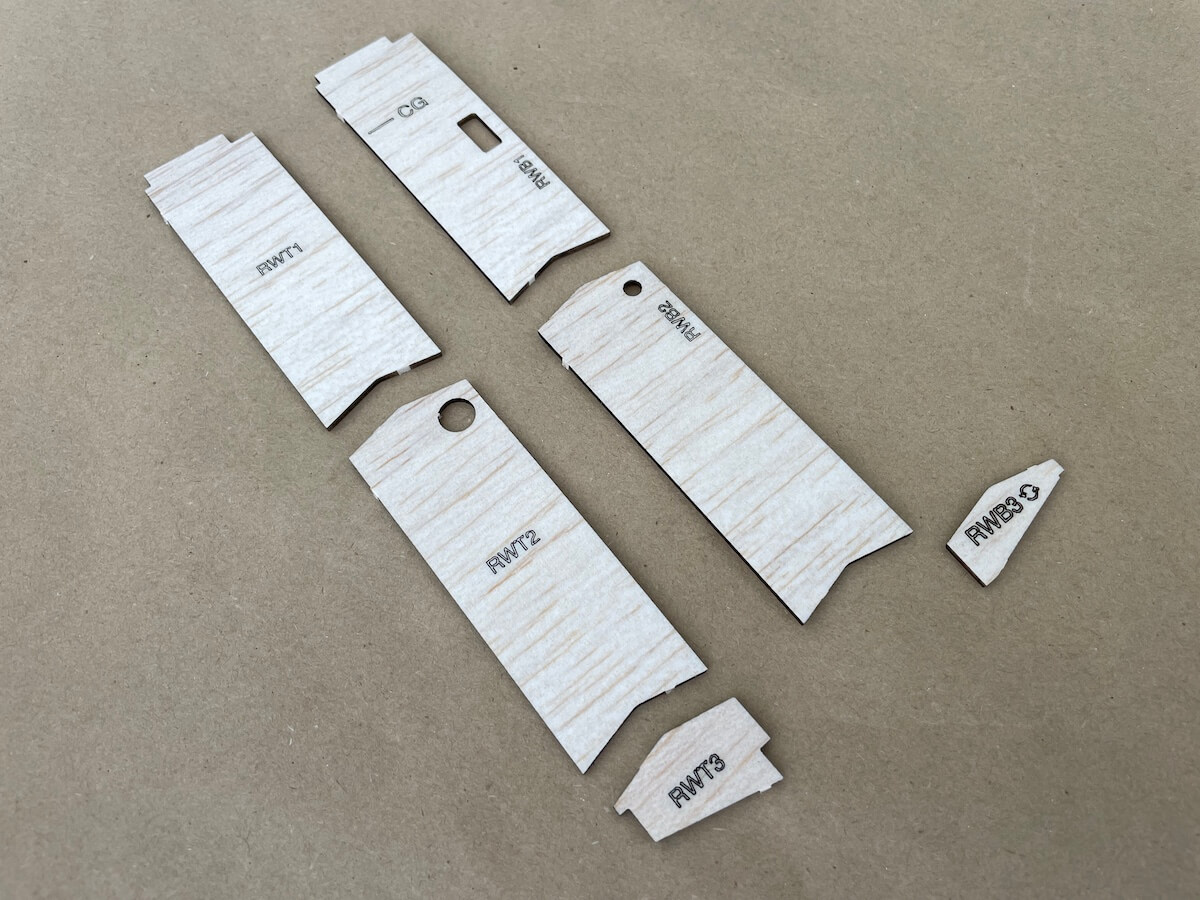
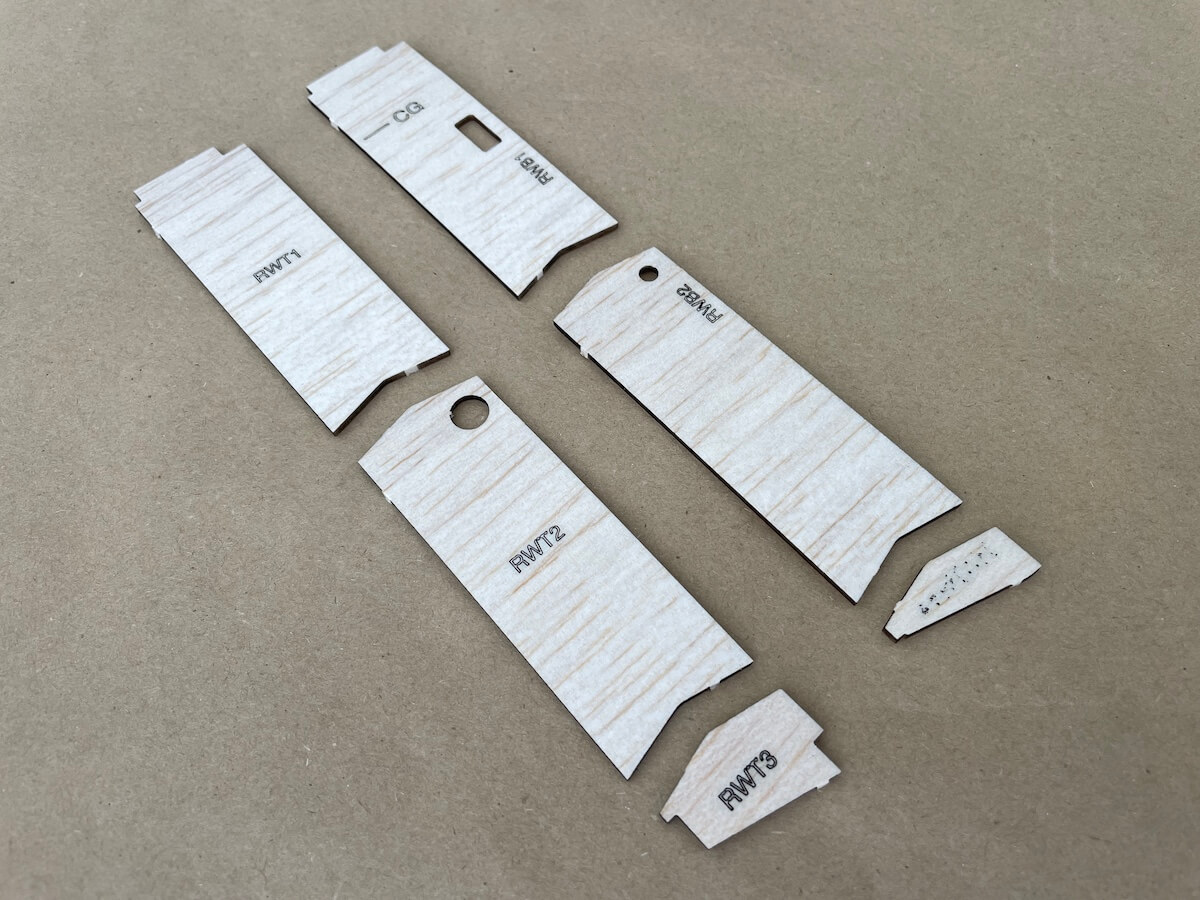
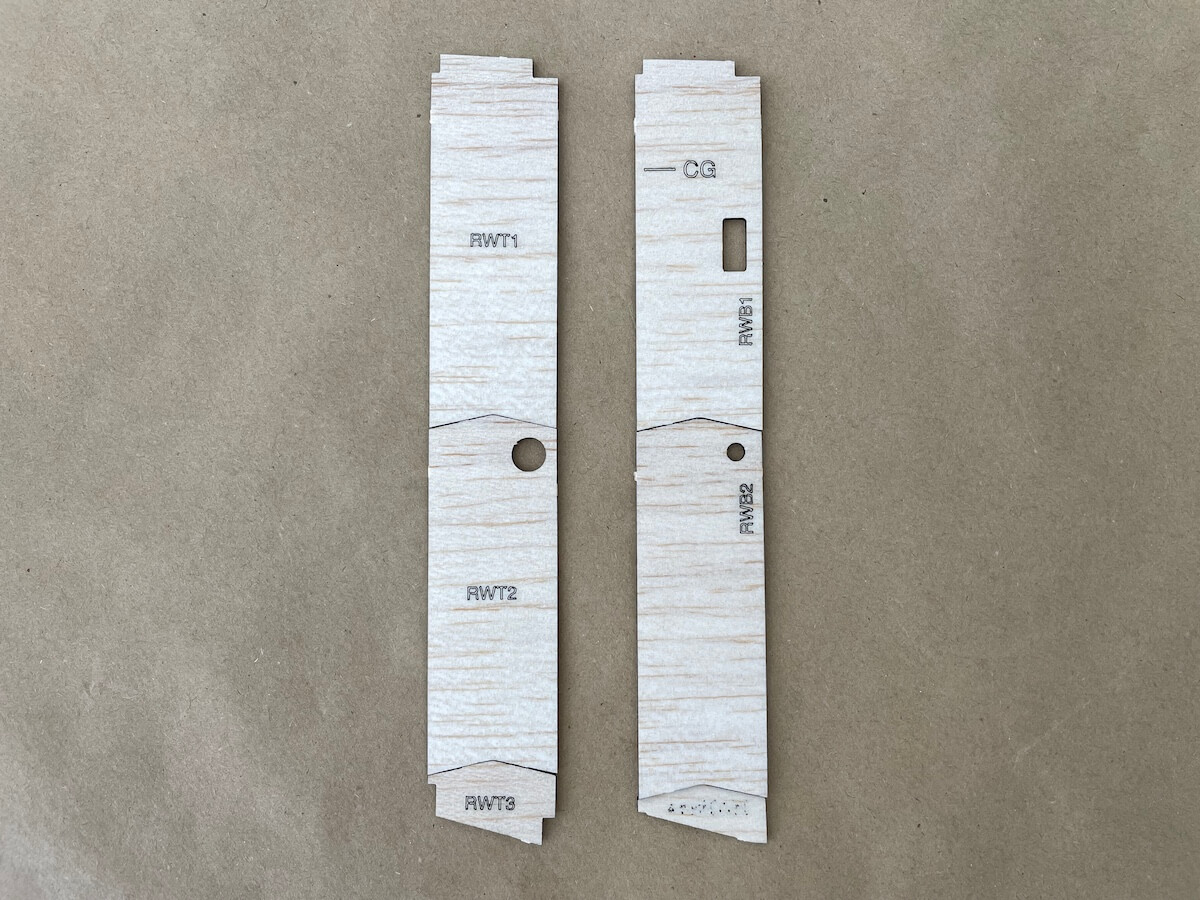
Part 2: Wings And A Fin


Part 3: Construction Mods & Tips
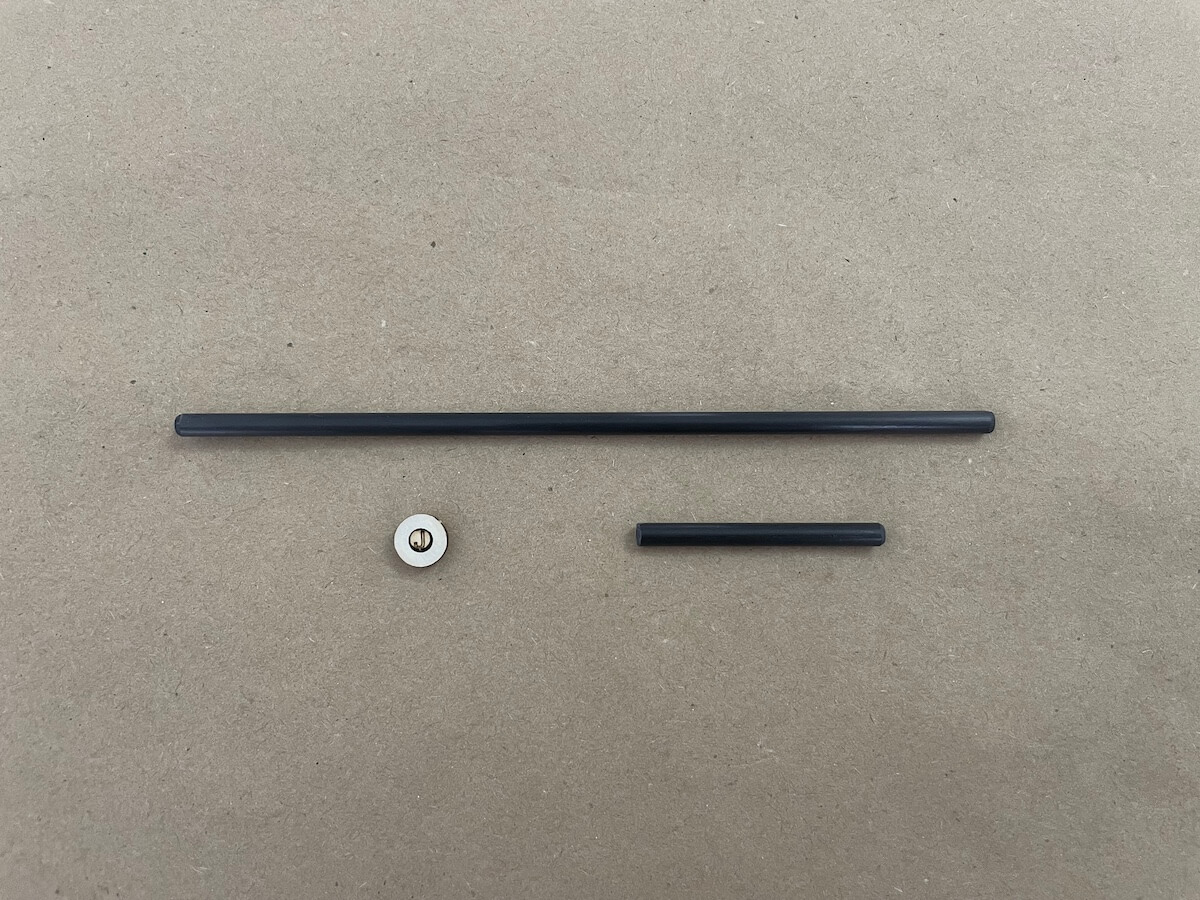
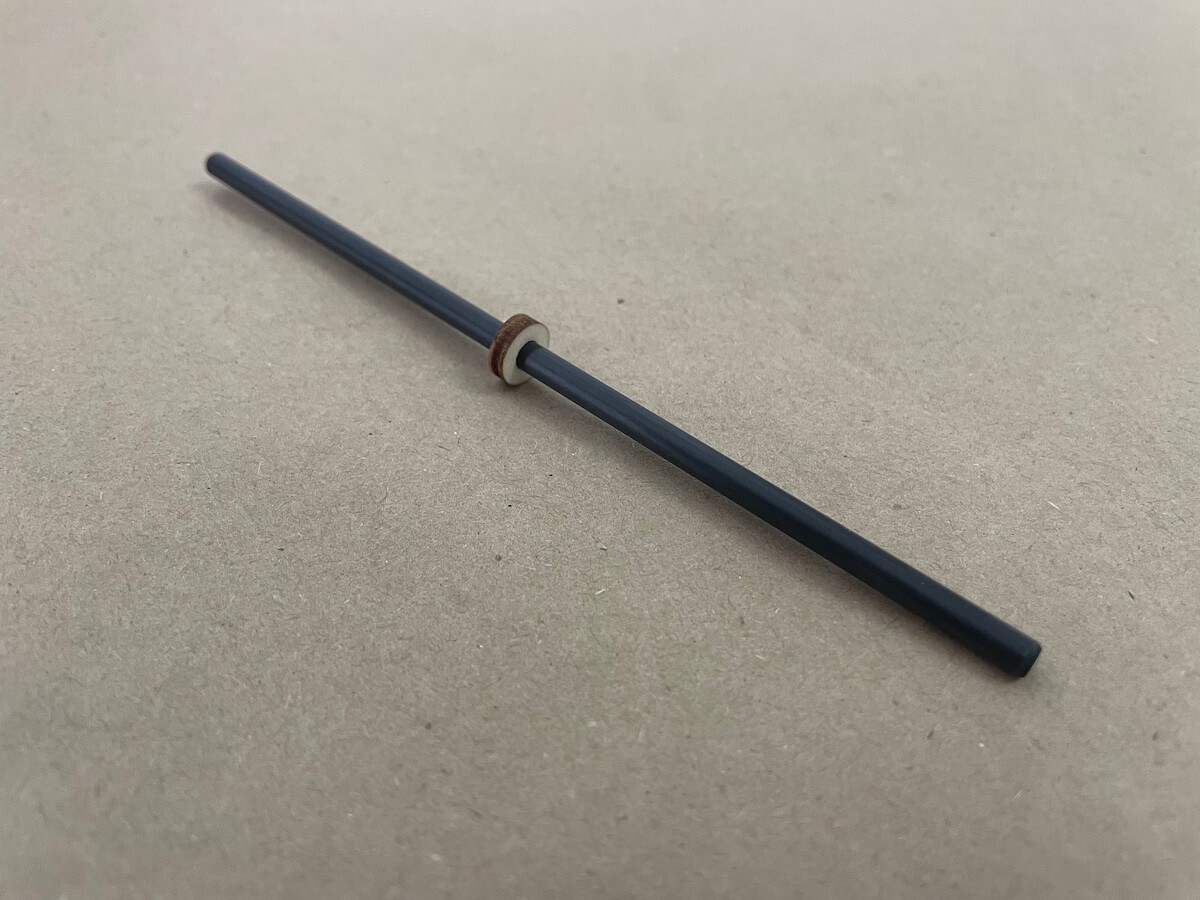
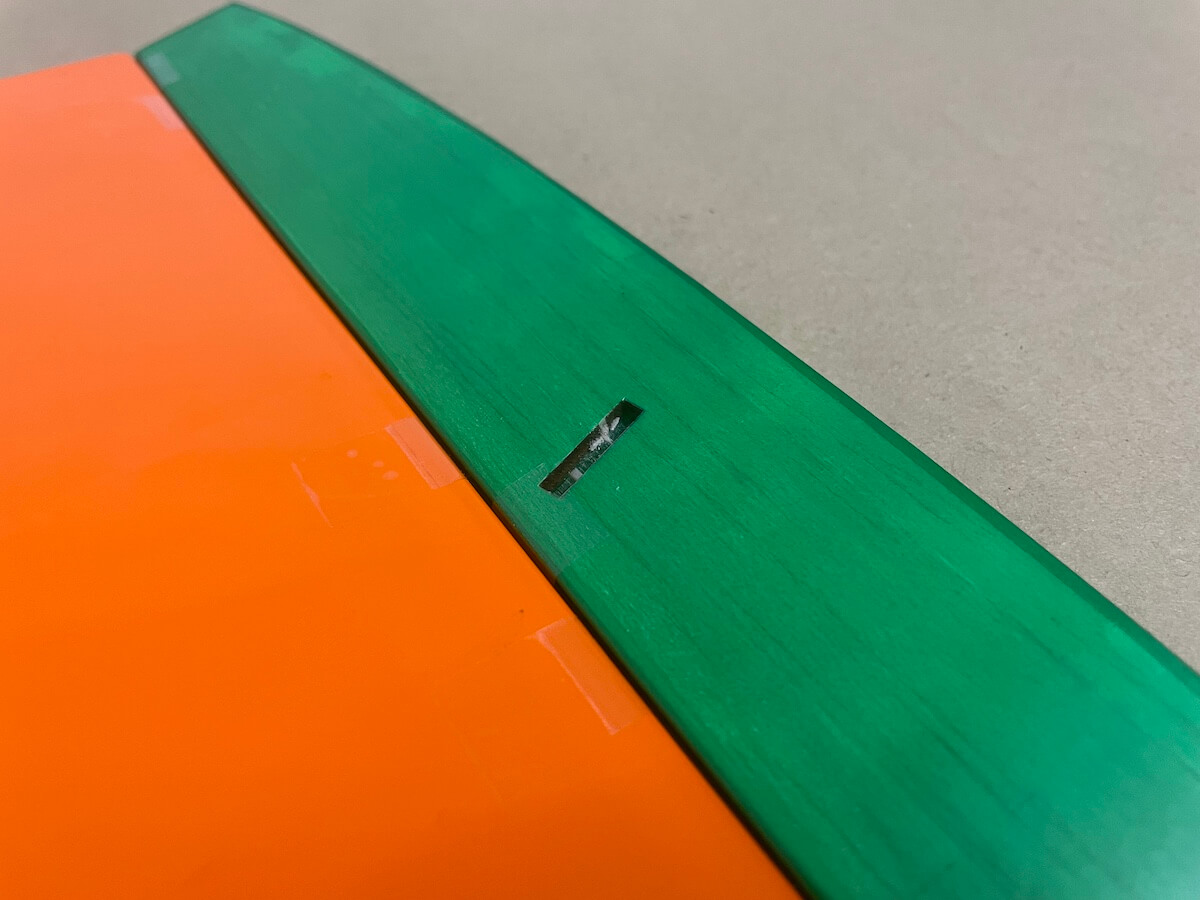
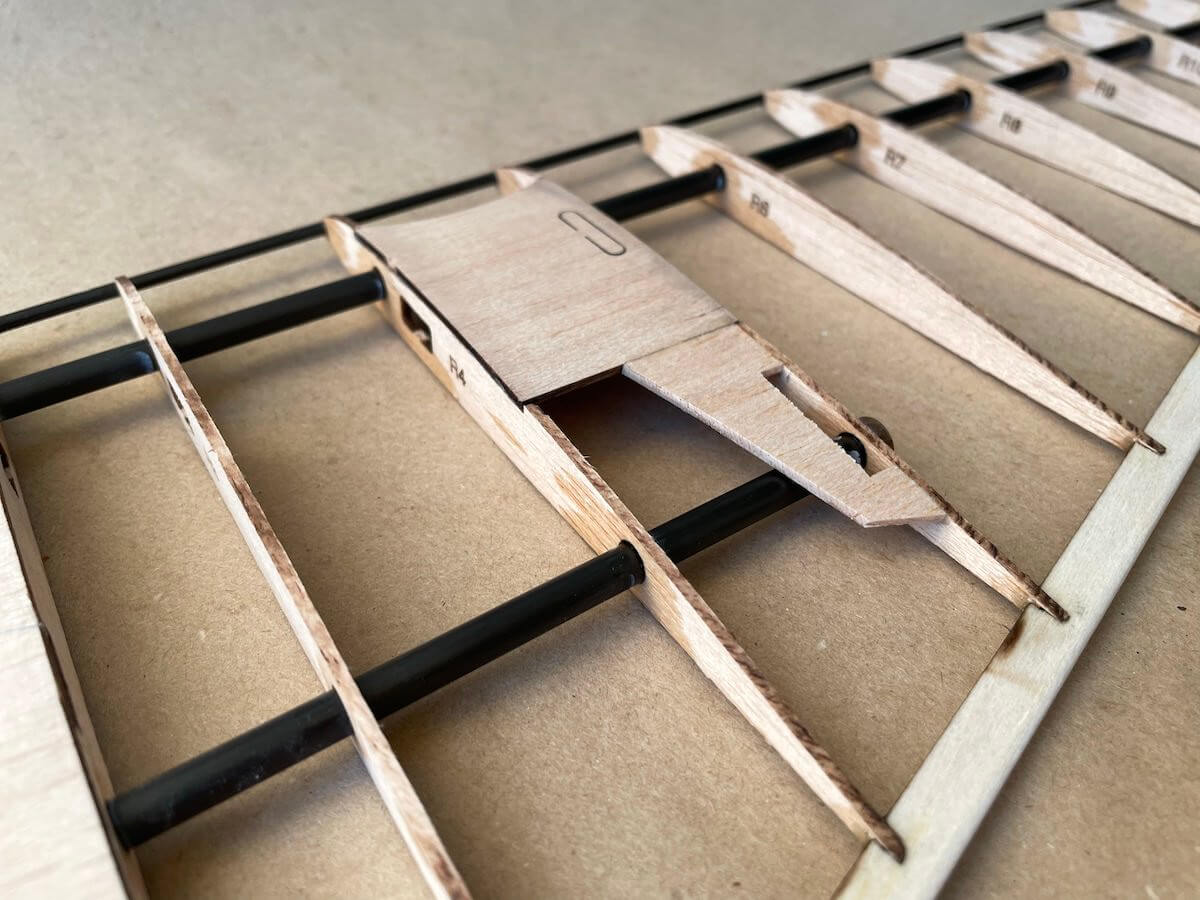
Wing Joiners
Some CF rods/tubes may have a very tight fit, which will make it difficult to assemble and disassemble your model.
So, consider wet sanding the 4mm rod/tube slightly to make a fit lose and avoid the wing joiner from stacking inside the spar tube.
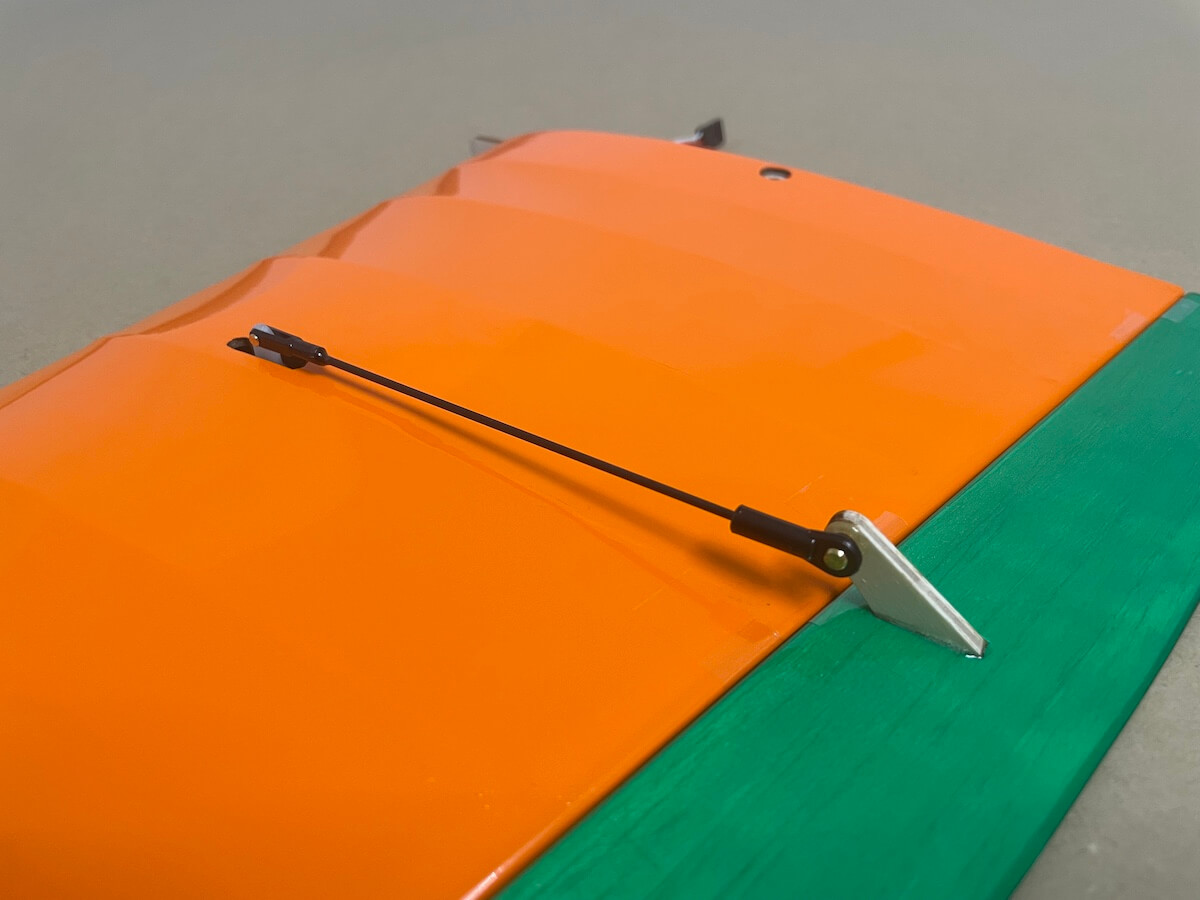
Elevon Hinges & Pushrods Setup
Shaka is designed to use Z-Stitch (or Crossover) hinges.
For an explanation on how to create these slop-free hinges, please, refer to this thread on RCGroups or watch the video below:
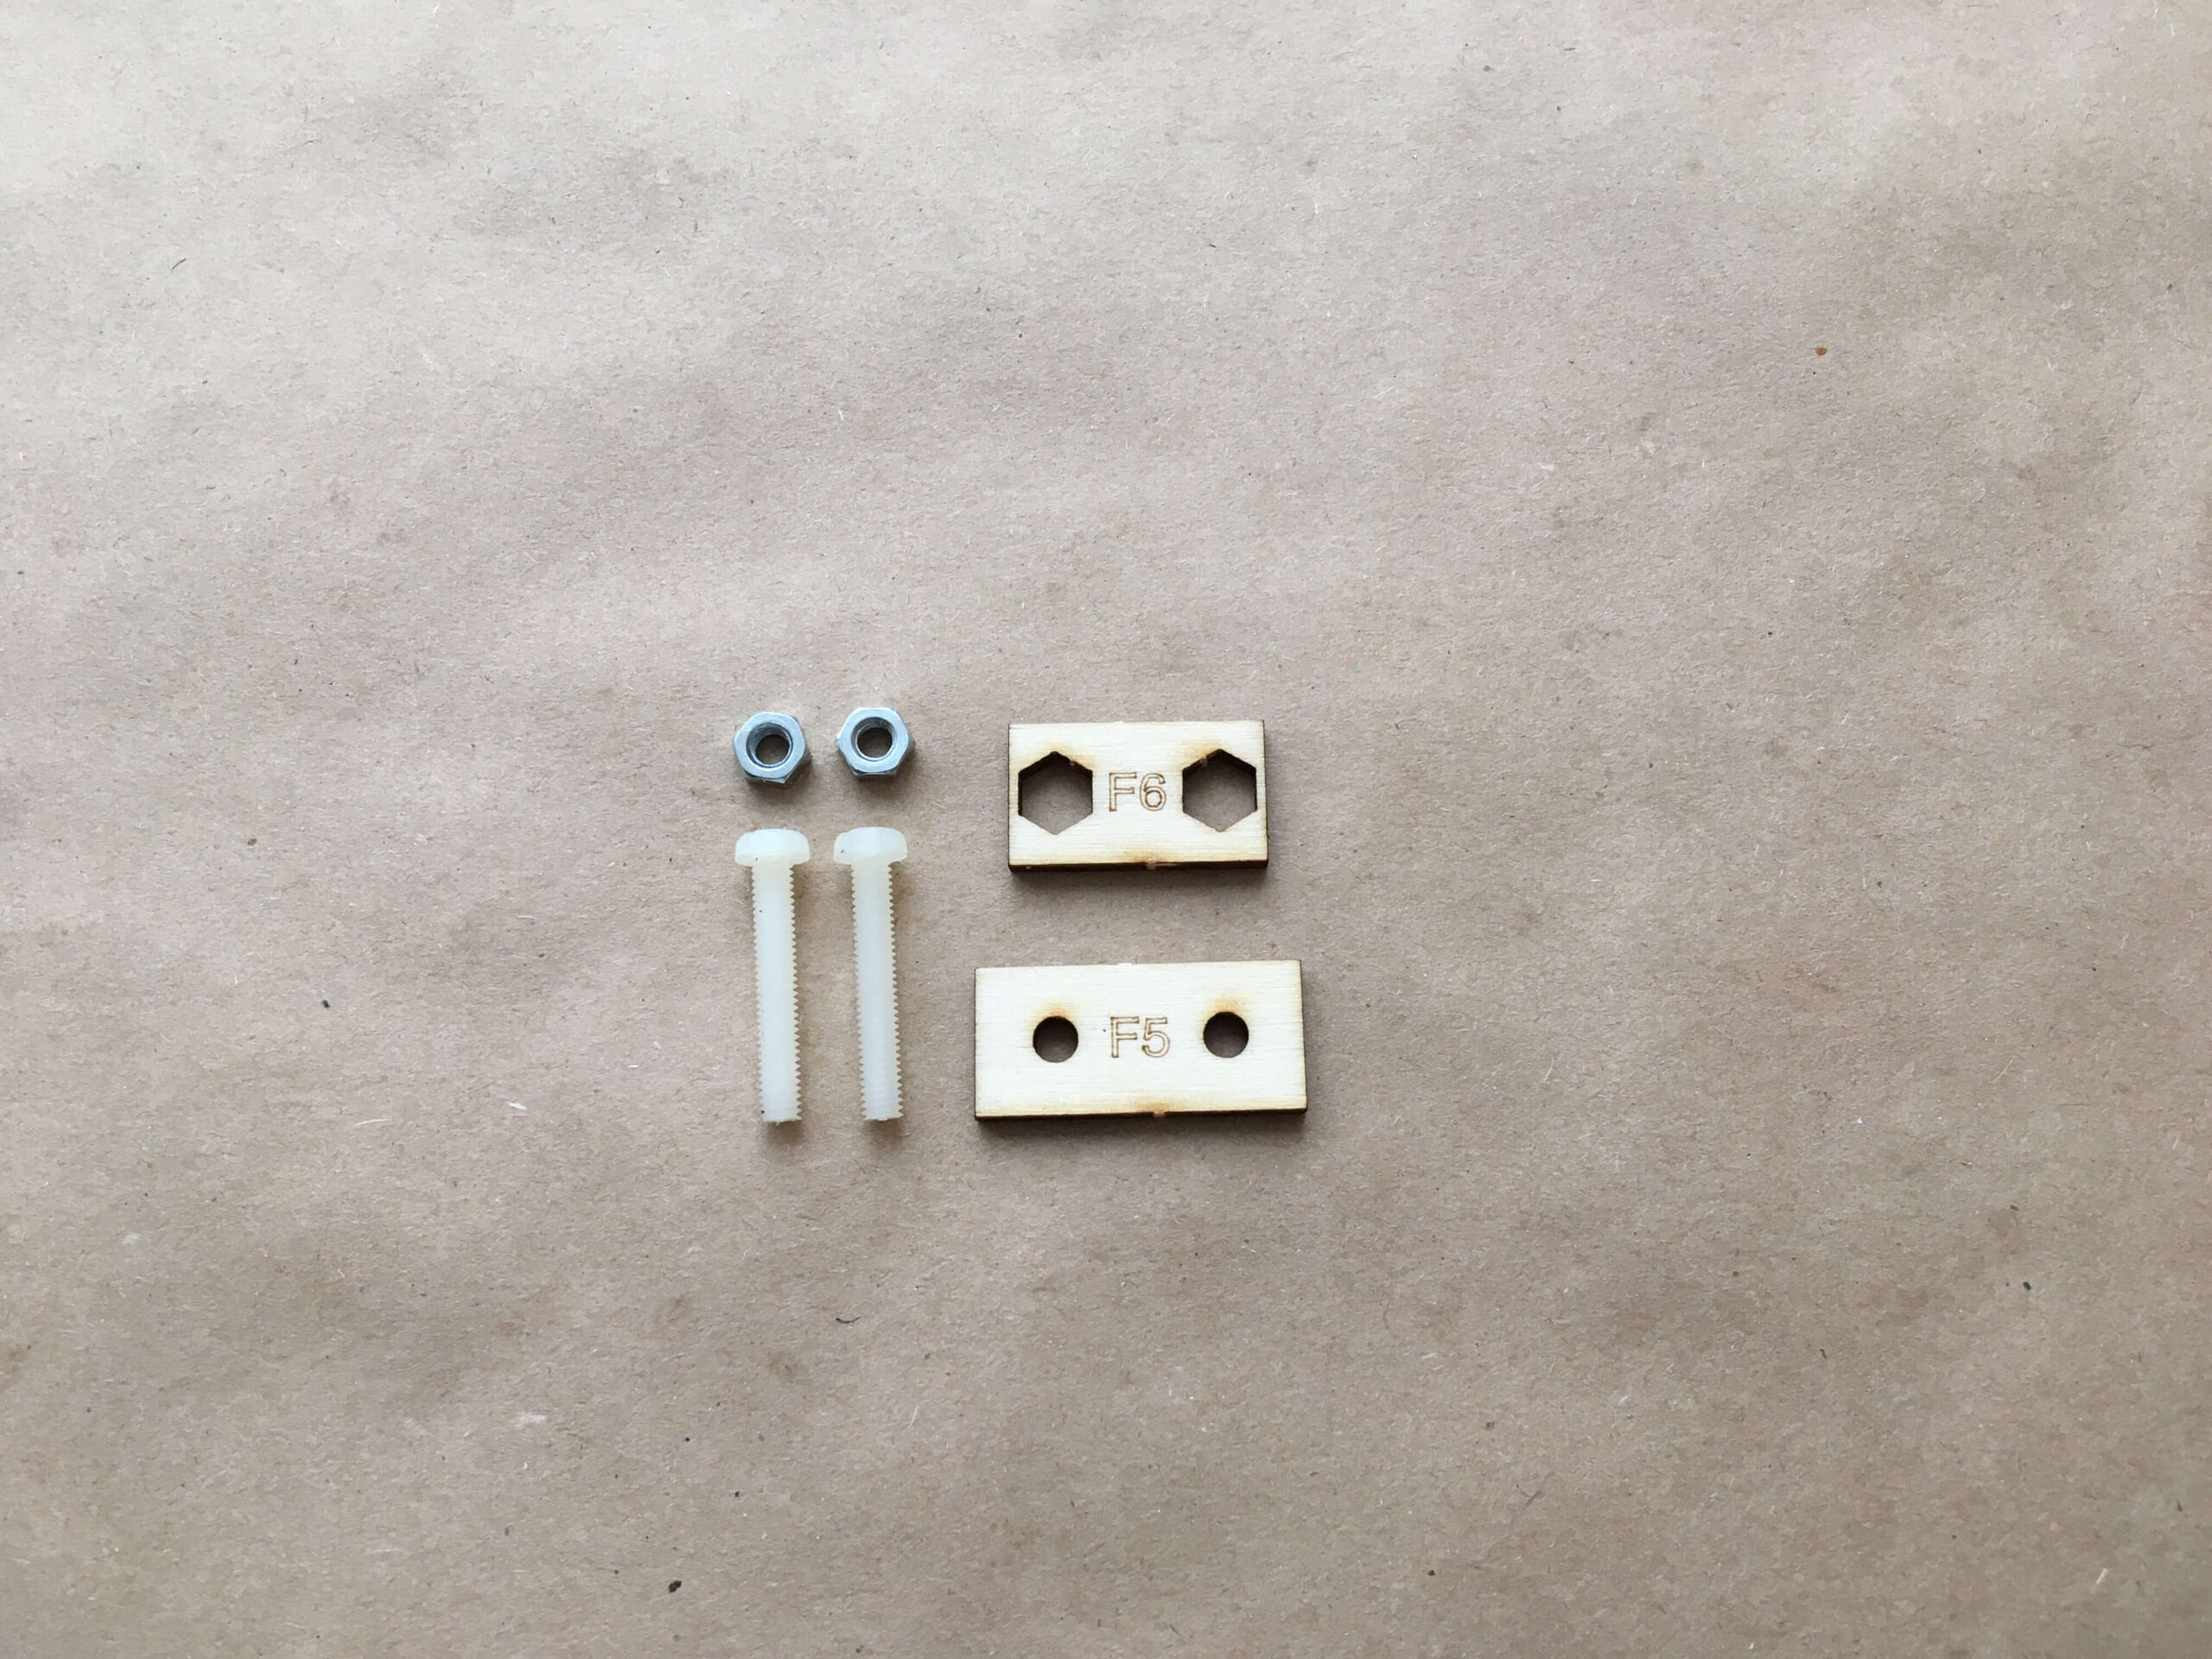
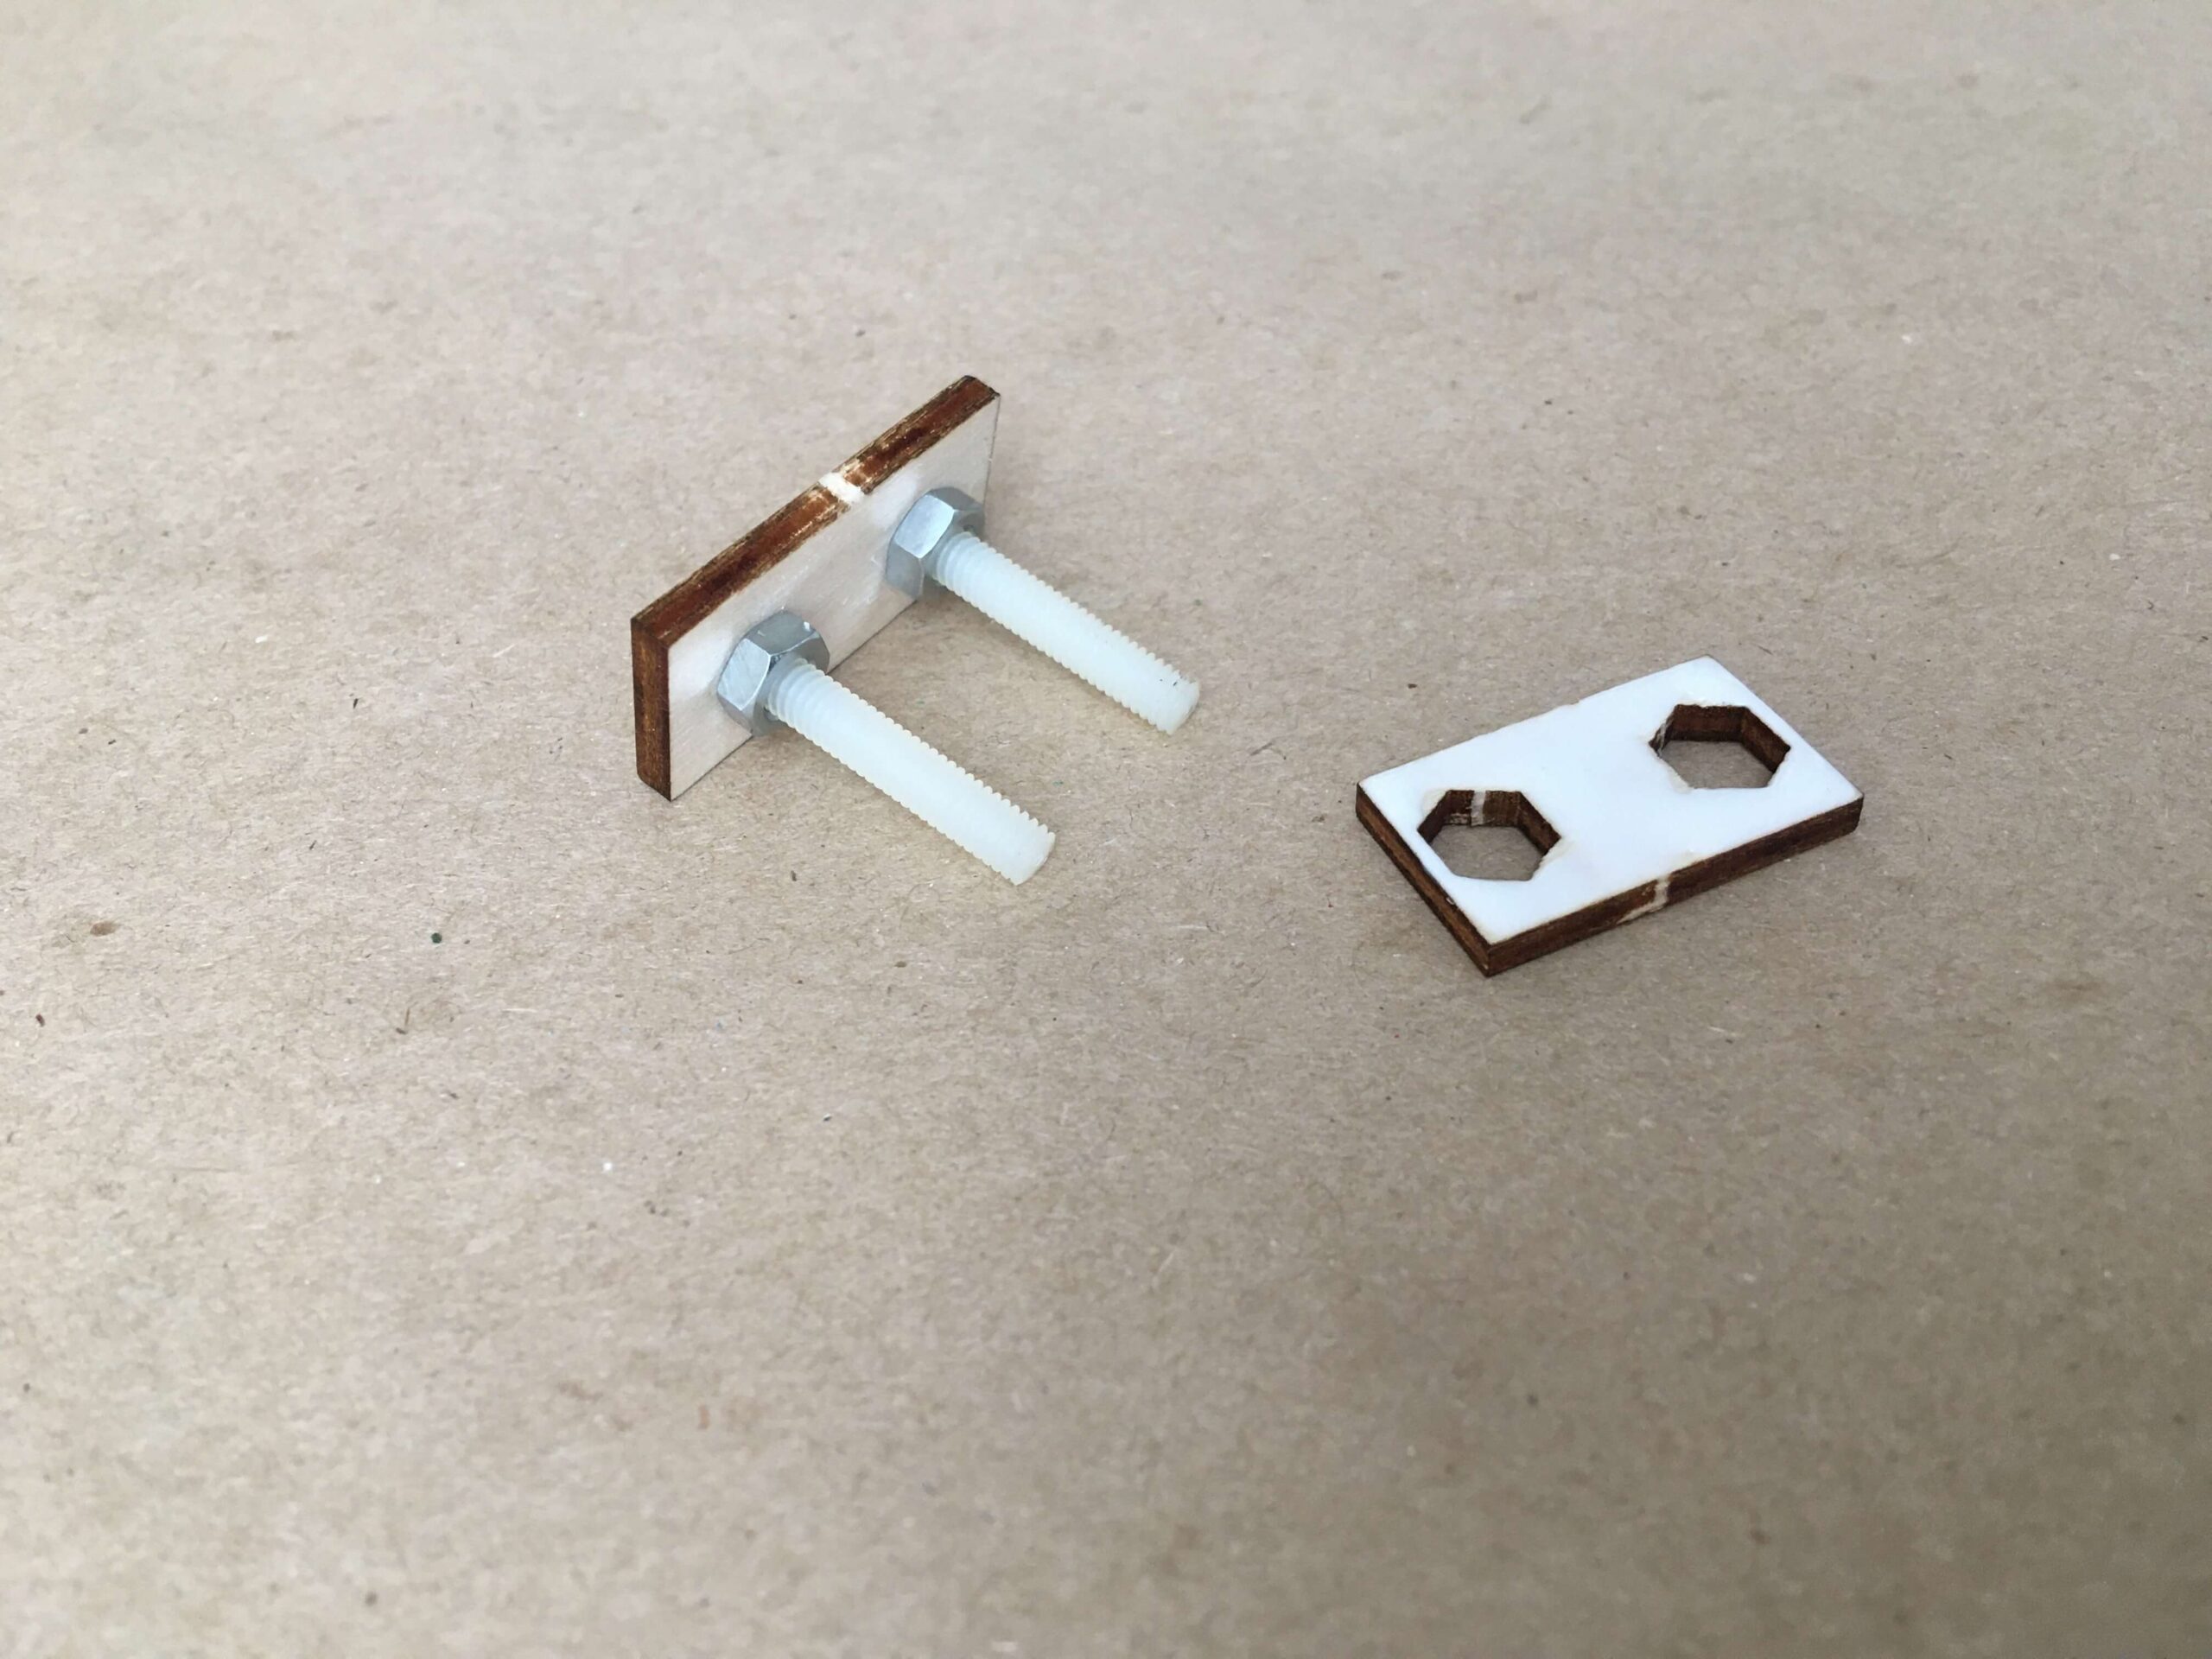
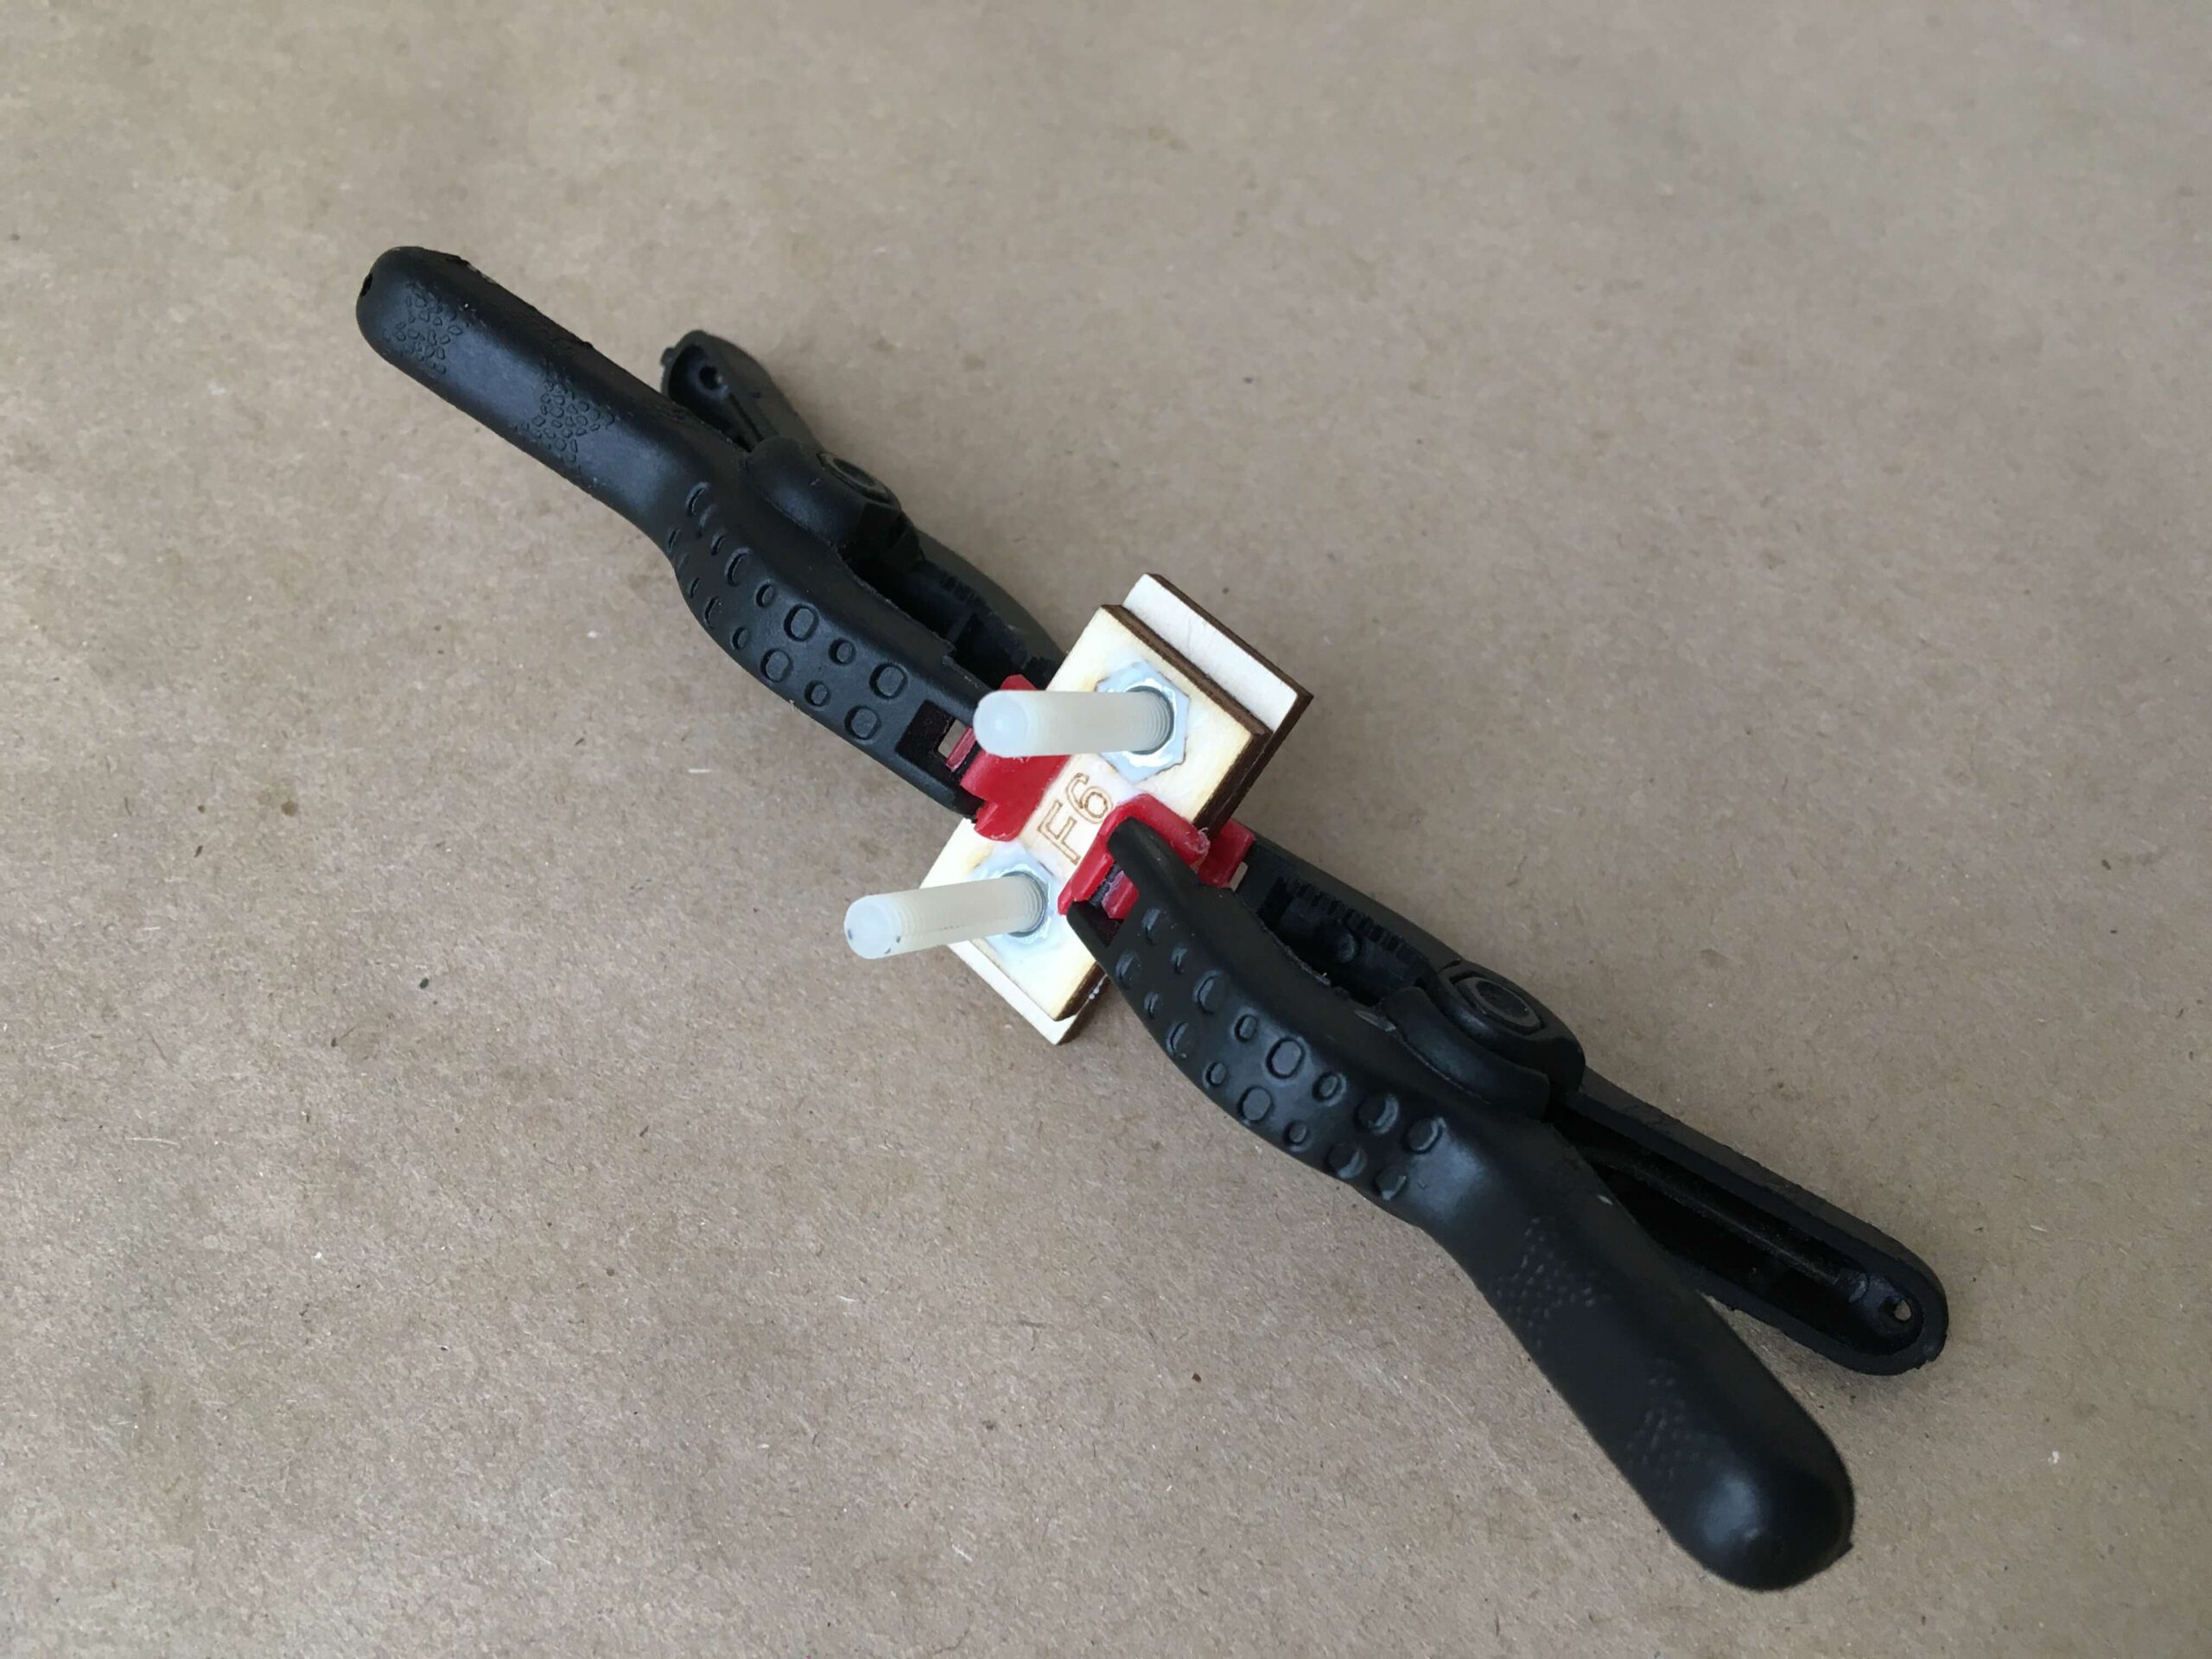
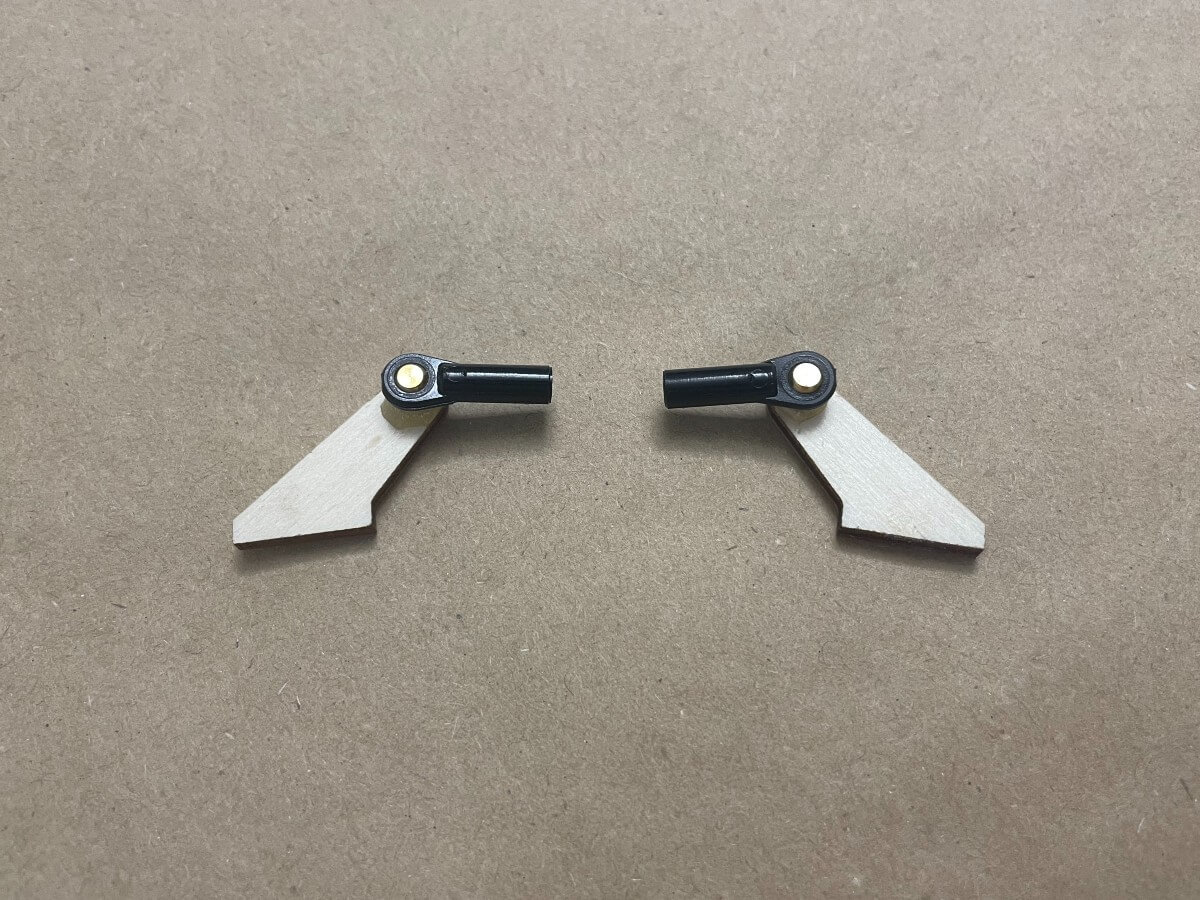
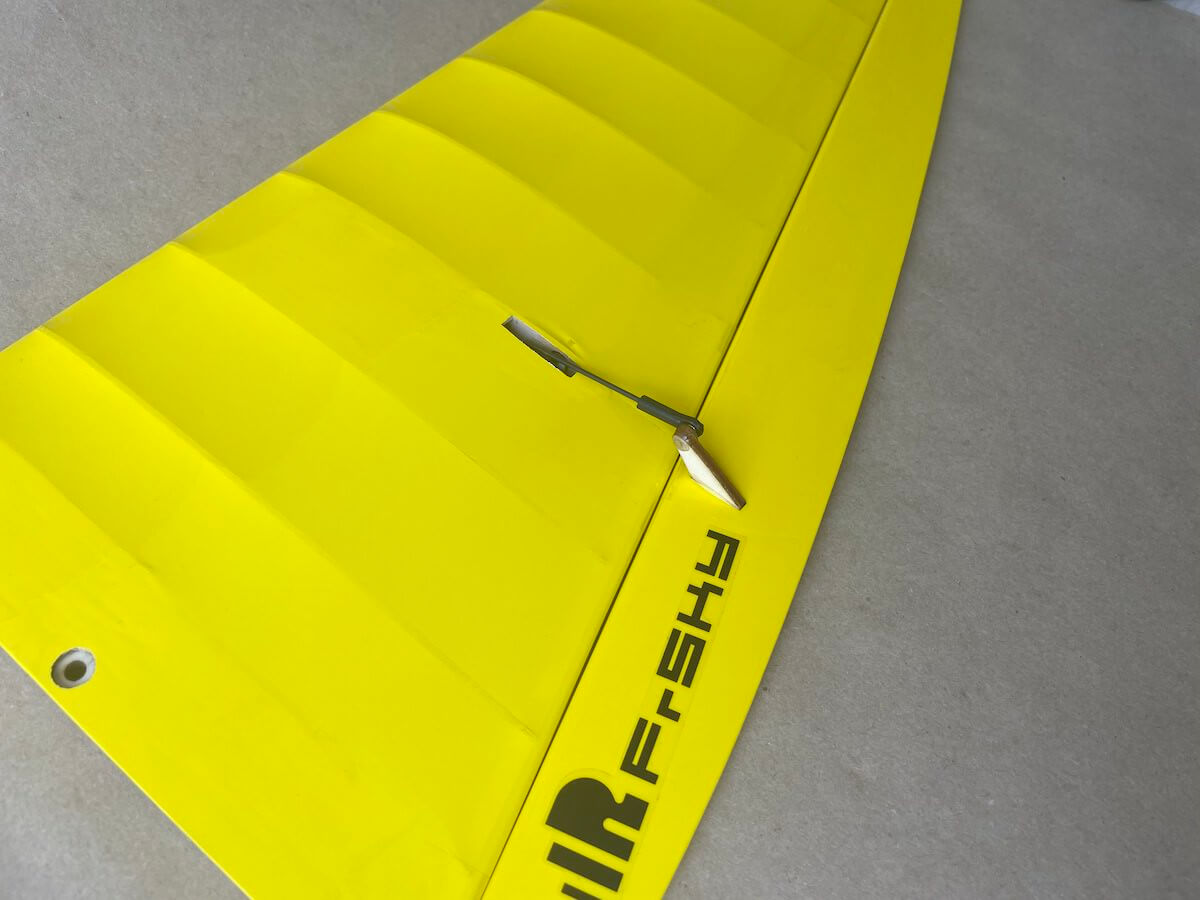
Elevon Conttrol Horns
Each Shaka kit comes with the ball links to be installed on the pushrods from the elevon side. The ball link comes with the M2 nut to secure it in place.
However, considering that the control horns are made of 3mm plywood, you can glue the threaded part of the ball link into the horn w/o using a nut.
This leads to a cleaner installation.
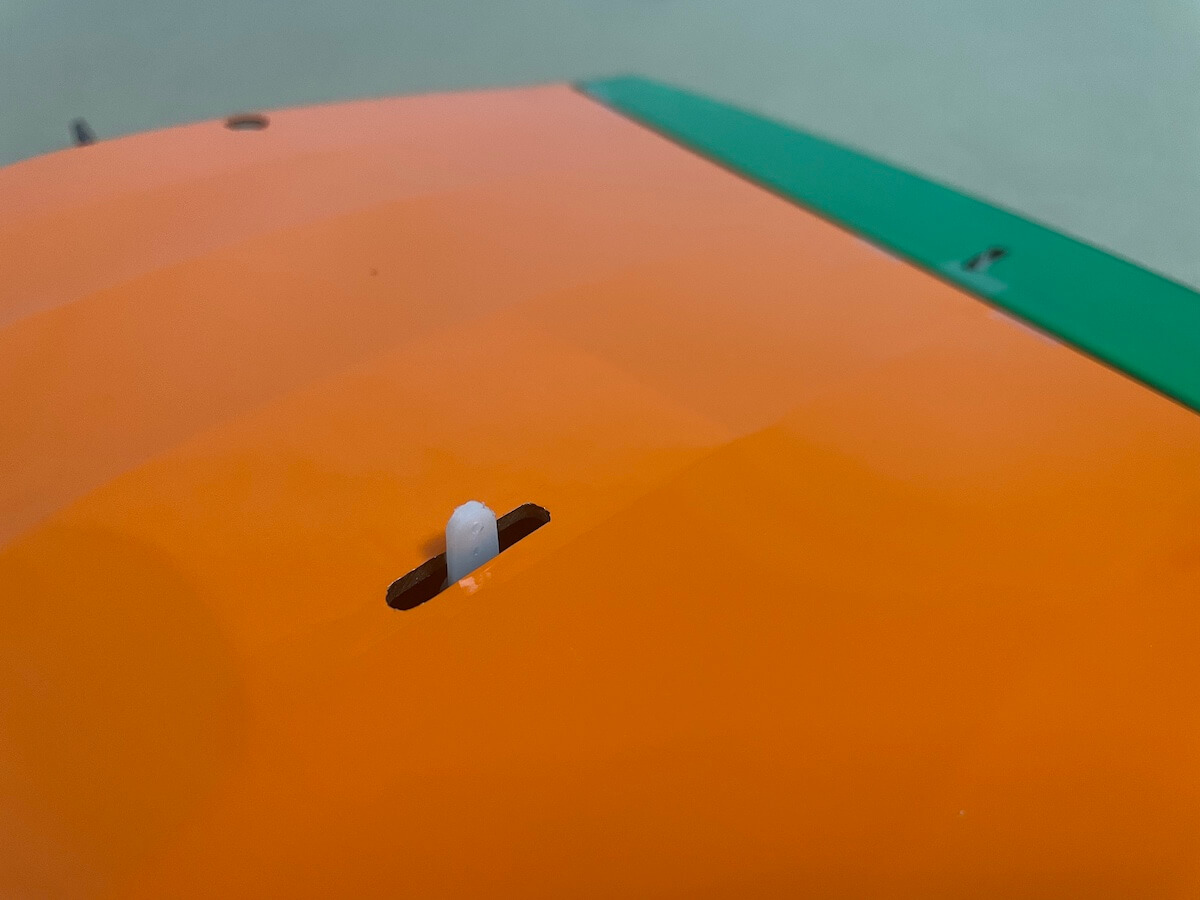
Simple Canopy Hatch Holder
There is a bunch of different methods on how to hold the canopy hatch cover in place.
A lot of pilots are using magnets, various latches, sticky tape, etc.
However, we found it the most convenient to use an O-ring made of regular scotch tape.
The video below will show how to make one in a few minutes.
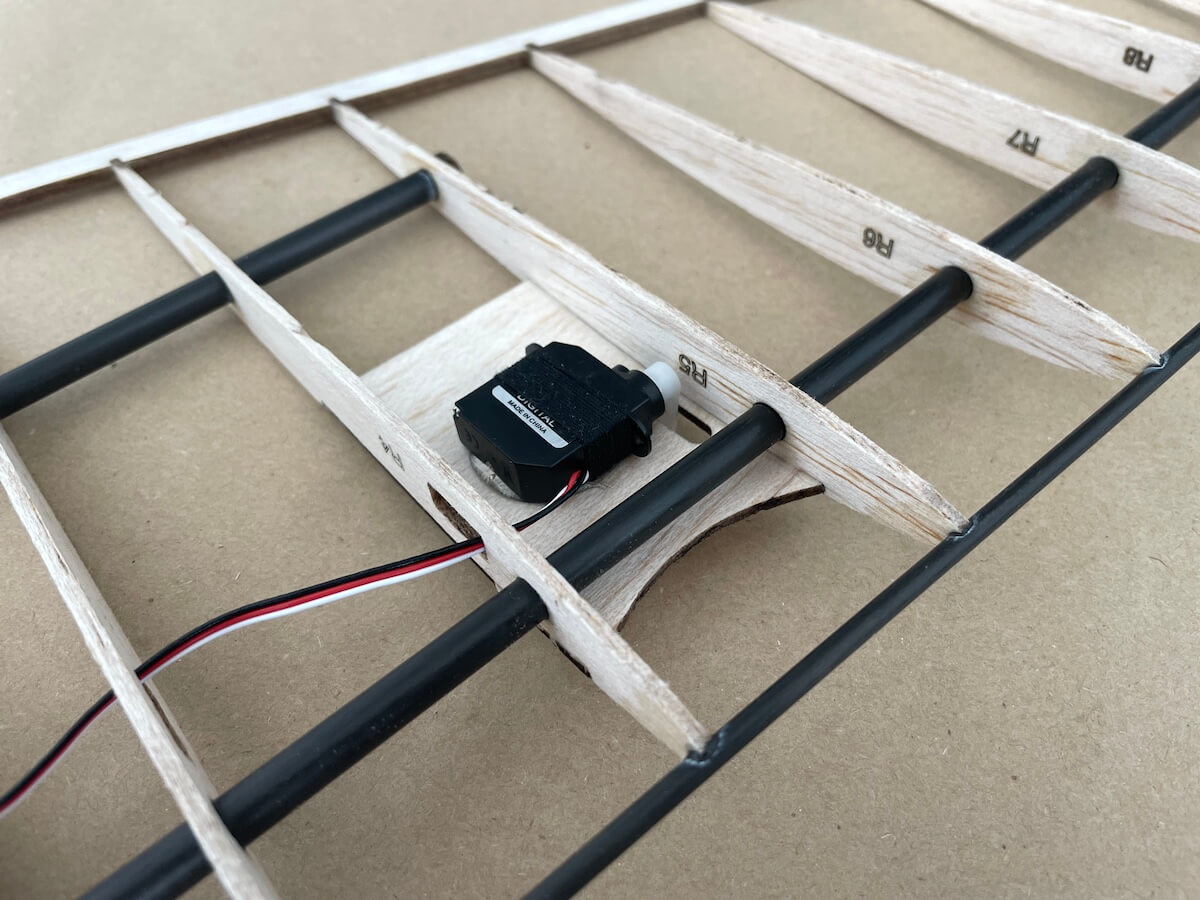
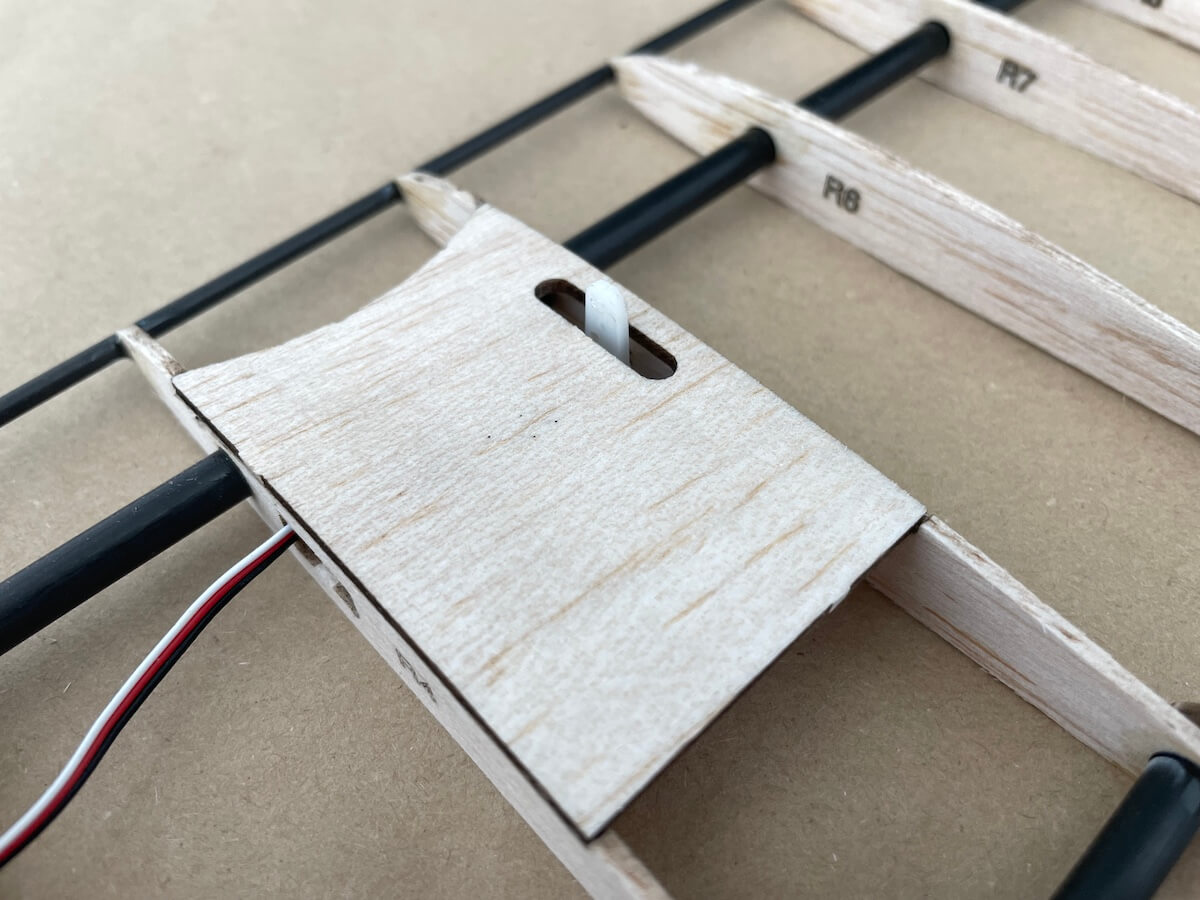
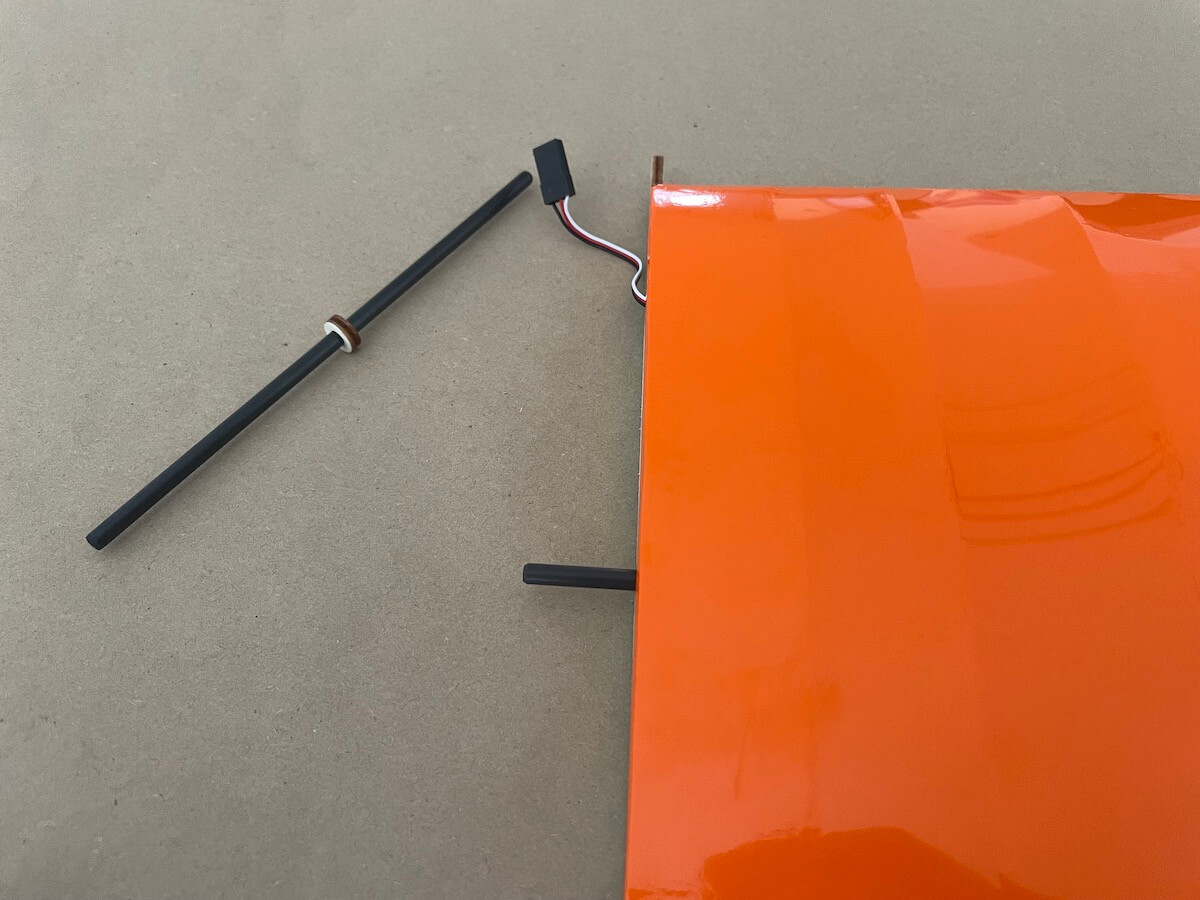
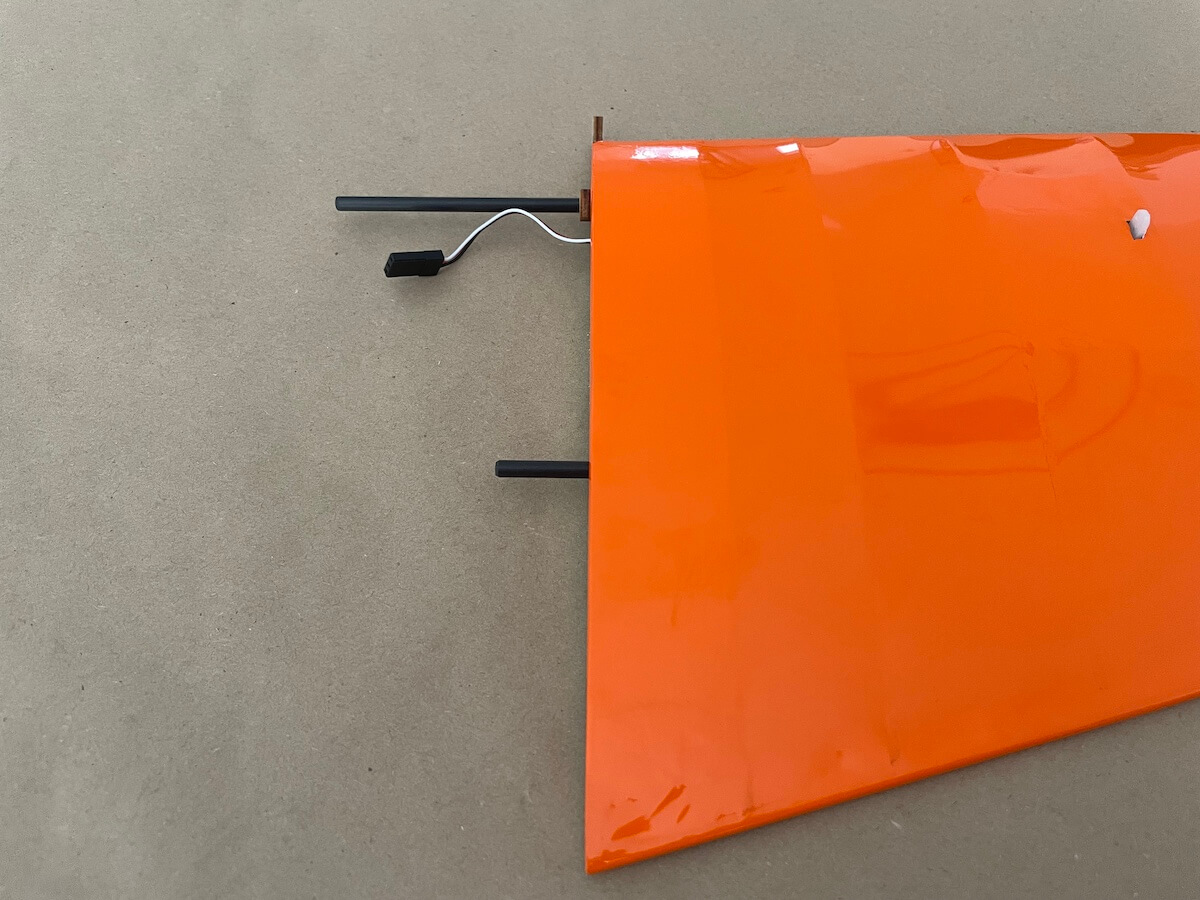
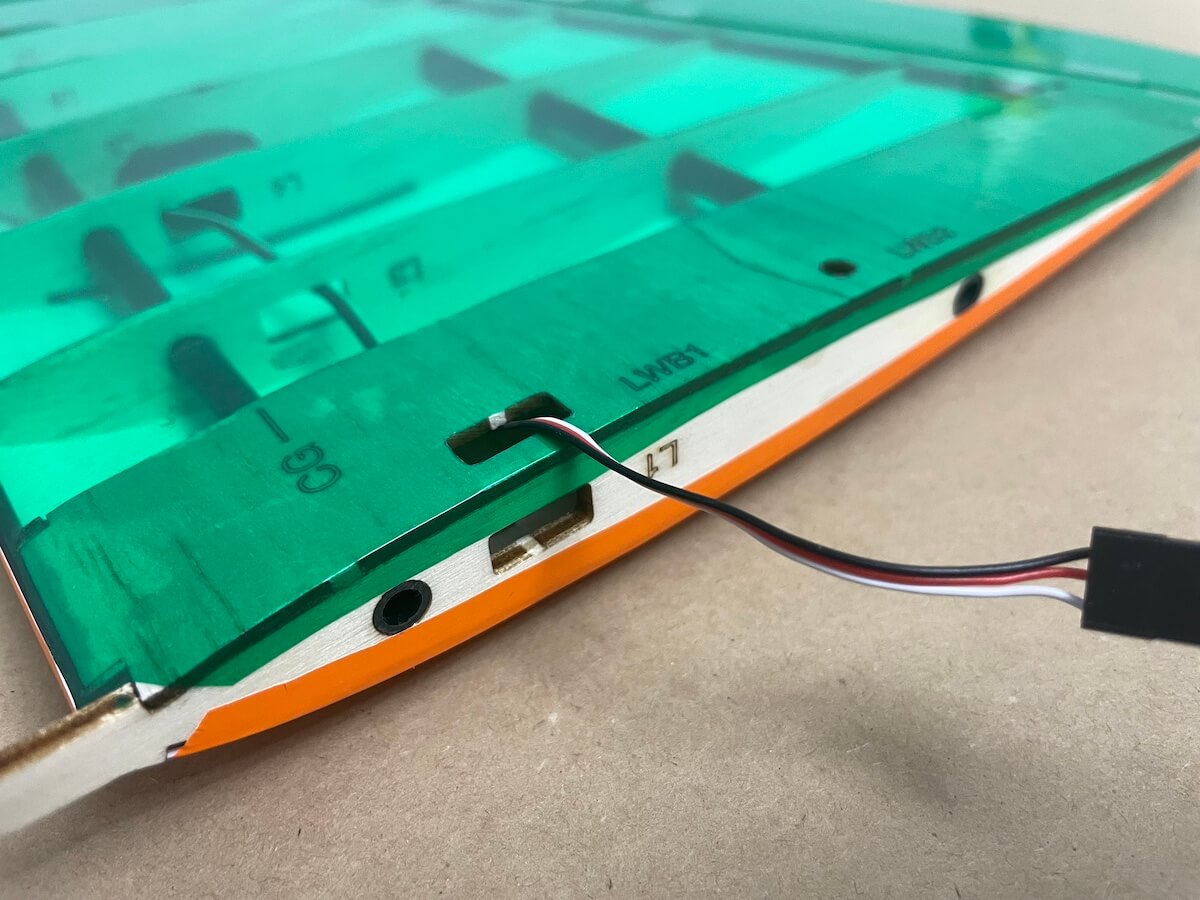
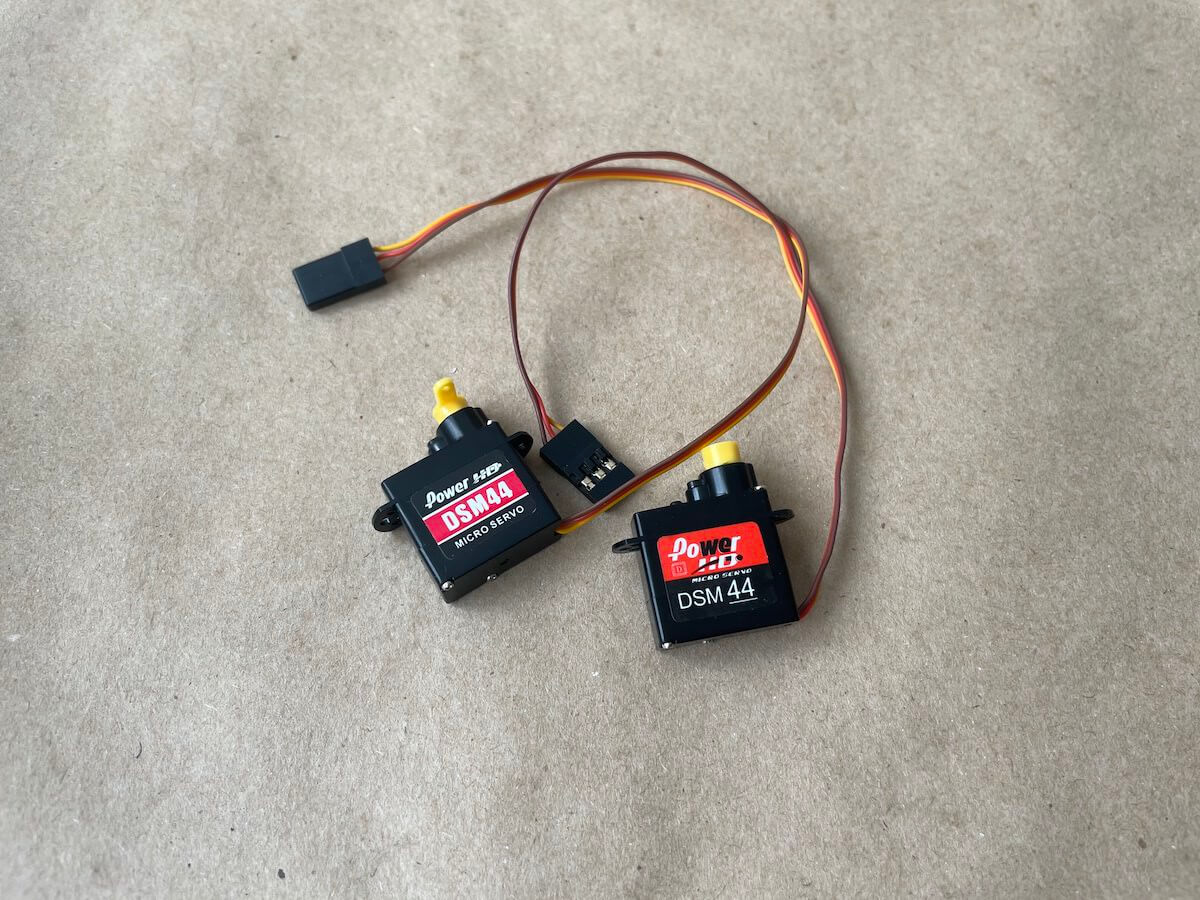
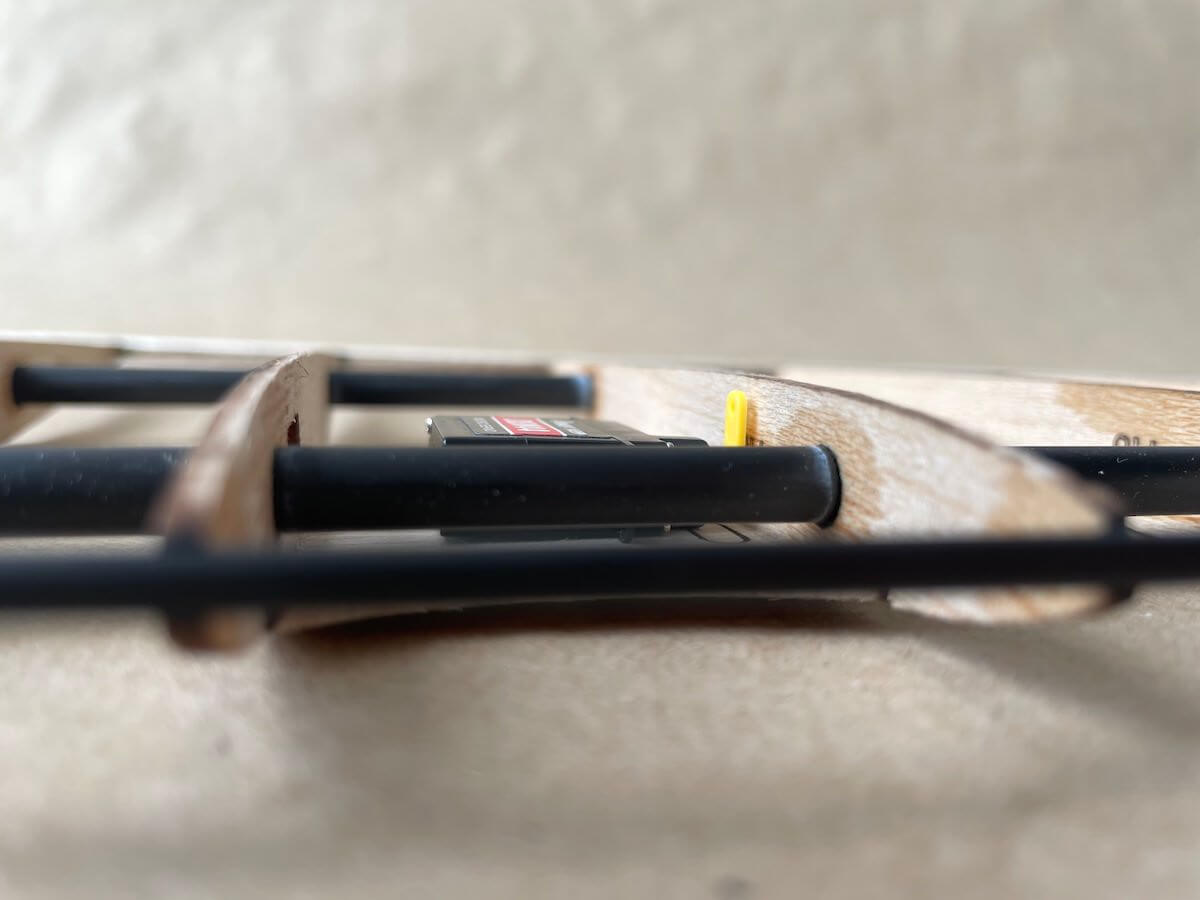
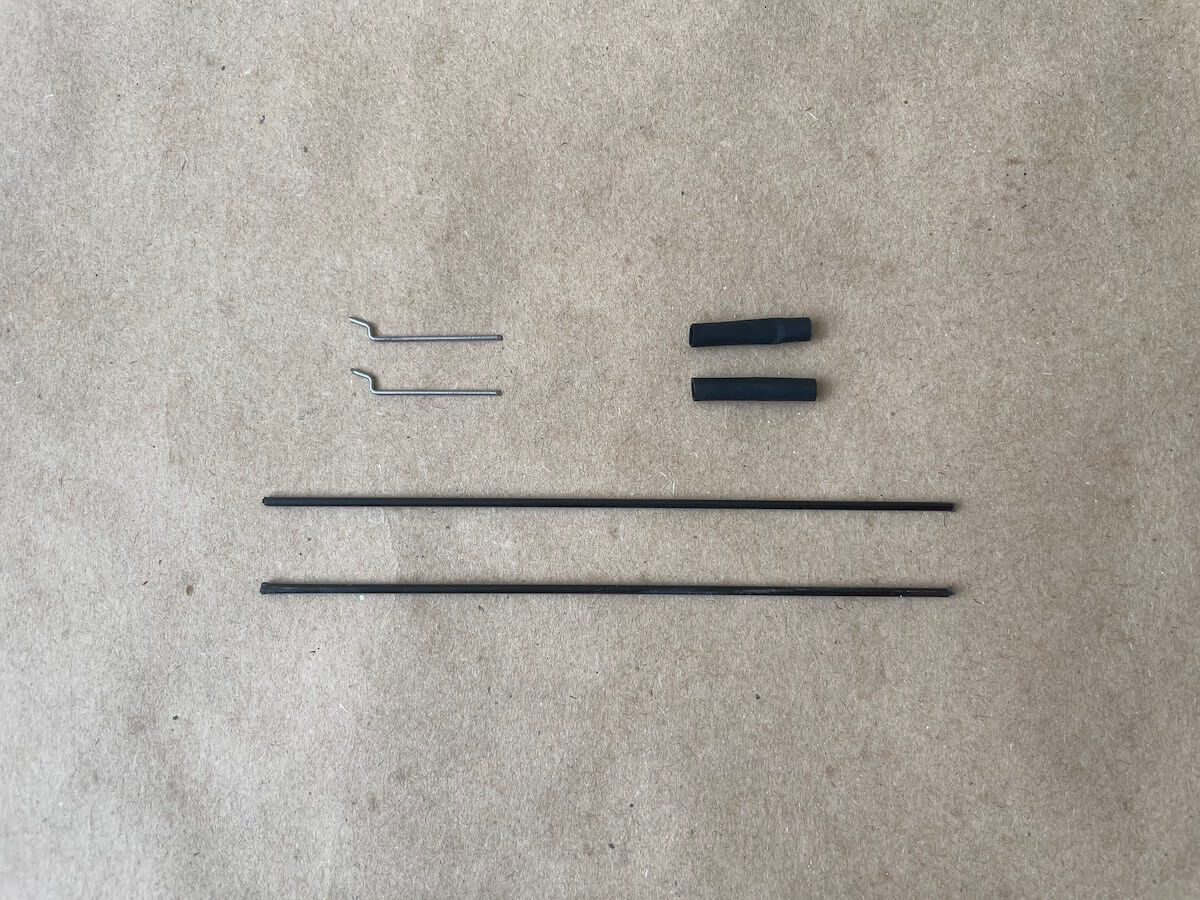
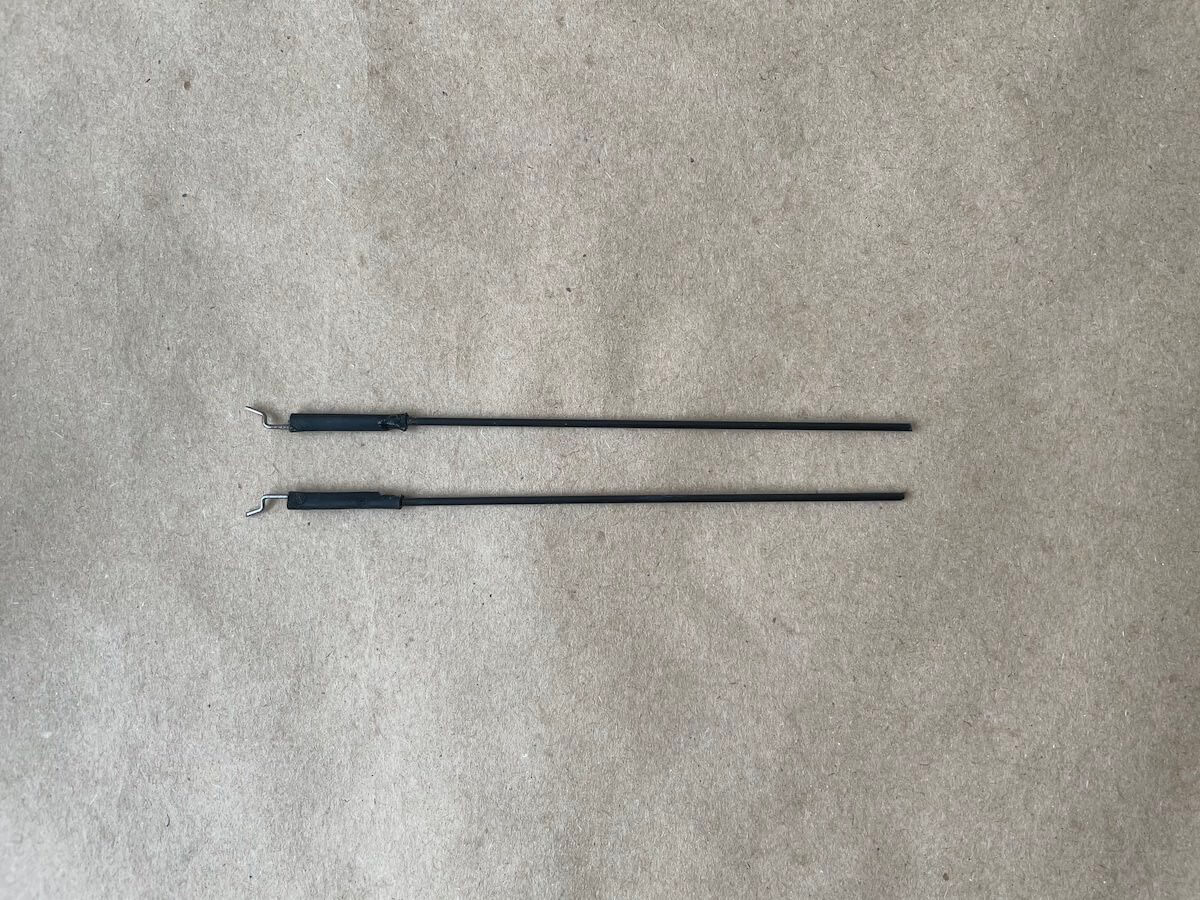
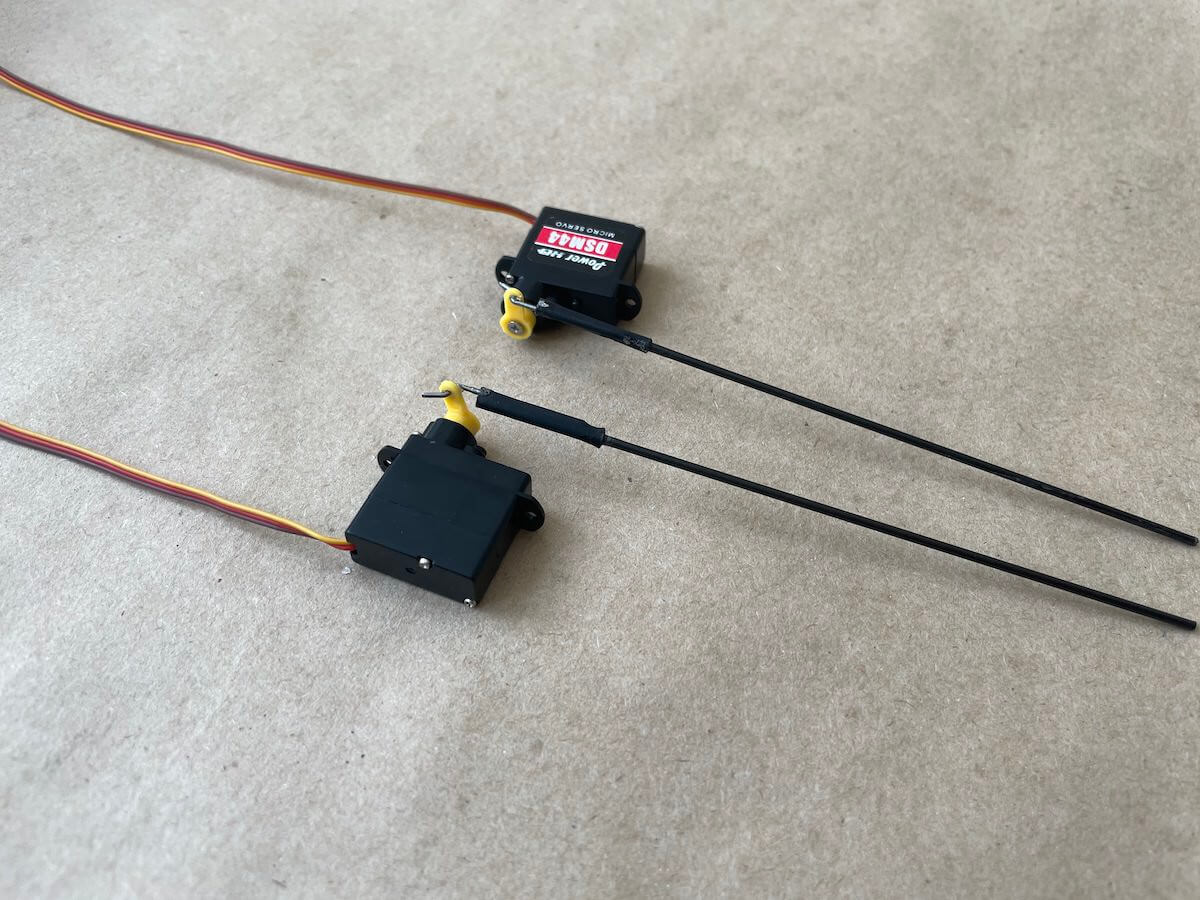
Low Drag Servo Installation
Advanced builders can also attempt for a cleaner servo and pushrod installation.
It uses the same 1.5mm carbon rod and the ball link that comes in the kit but will require some extra 2mm balsa sheeting, shrink tube, and a music wire z-bend which are not provided.
The installation below uses PowerHD DSM44 servos, however, you can use any servos that will fit and move freely underneath the future covering.
Please see the pictures below for reference.


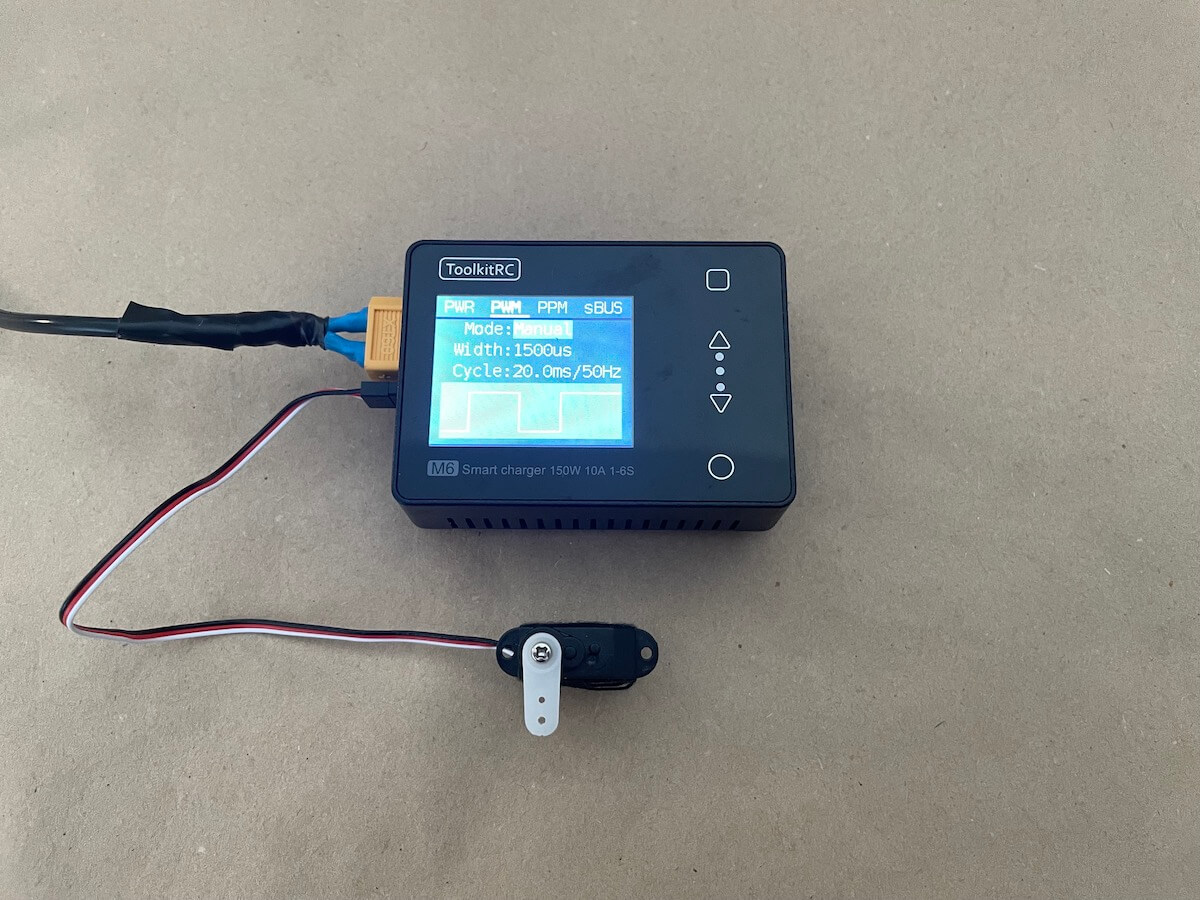
Part 4: Radio & Setup
Please note, that you will need a transmitter that allows for delta wing/elevon mixing for flying Shaka.
FrSky and other OpenTX-powered radio users can benefit from using a Wingy template provided by RC-Soar.
It will help you set up your Shaka avoiding an “infamous” OpenTX learning curve.
Also, some basic settings are also shown by Andrew Newton in his video below, starting at 5:25.
Neutral Elevon Position
One note about the wing construction – for better stability, it’s designed with a slight washout on the wingtips.
You can clearly see it on the model from the tail.
Considering the above, in the Neutral position the elevons should align with the wingtip and form a straight line. Please see the picture below for reference.
Considering that the flaperon is straight and flat, it will create a little reflex in the root while aligned with the wingtip.
Use this as your starting position for a maiden flight.
Note, that you might need some corrections during the maiden flight as the neutral elevon position strongly depends on the CG location. Even a few millimeters can affect the neutral.
Control throws
For Elevator throws, start with approx. 10°-15° and adjust according to your CG and flying style.
For Aileron throws you can go more, up to 30° from the neutral position.
Additionally, we recommend setting up a positive Aileron Differential (to make the ailerons travel less down than up) to 25-40%.
This will be useful for low lift slope or thermal flying. If you prefer aerobatic slope flying, just skip this step.
Otherwise, it will require some down elevator correction when inverted for keeping the rolls straight.
Center of gravity
For your convenience, the recommended CG position is marked on the bottom sheeting of the wing. Please, refer to this mark while setting up your model for the maiden flight and then adjust according to your flying style.
Then, choose some flat and safe field and give it a light toss before taking it on the slope.
Make sure all the controls are working as expected and the CG is in the right position.
If everything is good, find a nice slope and throw it into a lift to have some fun!
Hang Loose!.. with Shaka.
Baller little plane. Flies in a wa-ay wider range of conditions than it should. Setup as per plan and not a bit of trim was needed. Noteable to others that the CG is at 25mm. I think some folks think it is the center of the spar, but that is a bit too far back.
My Shaka flew for the first time last Wednesday . Can you tell me why it was so sensitive to the amount of elevator throw. We finally reduced the throw to almost zero and it flew great. What do I need to change? CG?
Thanks, Wally
Hi Wally,
Congrats on the maiden! Since it’s a wing that has no traditional tail, it is very sensitive to control throws and CG. Usually, you’d like to have low throws on a pitch since it will keep your speed while maneuvering, and higher throws on the roll. Another option is to move your CG a few millimeters forward and try this way.
But the reality is that you won’t have a lot of throws on the pitch for a comfortable flight.
Hope this helps.
-Gene
We flew our new Shaka this past Wednesday and were truly impressed at how it scoots and responds in 16mph wind. My question is what have I done wrong to make the glider uncontrol able with throws of about 0.25 inch or 8/10mm . I landed and reduced the throws down to about 4mm, about 1/16 inch and the glider flew great. Do I need to change raise the elevons to slow it down?
Thanks for any advise you can give me.
Wally in Yakima, WA.
Hi Wally,
Thanks for your question. Since this is a flying wing, it doesn’t need a lot of pitch control throws as the big angles make it stall. So usually, +/-4mm on the pitch is just a sweet spot. On the Roll you can go higher though, to make it more fun 😉
With the slow downs, it’s a little trickie. You really neet to hang it into the wind and slowly reduce the height, in the best-case scenario. Only because it is a sing with a slim airfoil, it doesn’t like to slow down and there isn’t a lot you can do with the controls here…